Introduction
Welcome to this step-by-step guide on how to draw a PlayStation! Whether you’re a fan of gaming or just appreciate the sleek design of this popular gaming console, learning how to draw it can be a fun and rewarding experience. In this tutorial, we will take you through each step, from sketching out the basic shape to adding intricate details and colors.
The PlayStation is a well-known gaming console that has captured the hearts of millions of gamers worldwide. Its distinctive features and iconic design make it a great subject to draw. By following the steps outlined in this tutorial, you will be able to create a lifelike representation of this beloved gaming device.
Don’t worry if you’re new to drawing or if you haven’t tried drawing objects like this before. This guide is designed to be accessible to artists of all skill levels, from beginners to more experienced artists. So grab your pencil, paper, and let’s get started on creating our own masterpiece of the PlayStation!
Materials Needed
Before we dive into drawing the PlayStation, it’s important to gather all the necessary materials. Here’s a list of what you’ll need:
- Pencil: A good quality pencil is essential for sketching out the initial outline of the console and controllers.
- Eraser: An eraser is handy for easily correcting any mistakes or making adjustments to your drawing.
- Thick paper or sketchbook: Choose a smooth and sturdy paper that can handle your drawing techniques and won’t easily tear.
- Ruler: A ruler will come in handy for ensuring straight lines while drawing the console and controllers.
- Colored pencils or markers (optional): If you wish to add color to your drawing, have some colored pencils or markers on hand.
Having these materials ready will make the drawing process smooth and enjoyable. Remember, the quality of your materials can have an impact on the final result, so if possible, invest in good quality pencils and paper to bring out the best in your drawing.
Step 1: Draw the Console
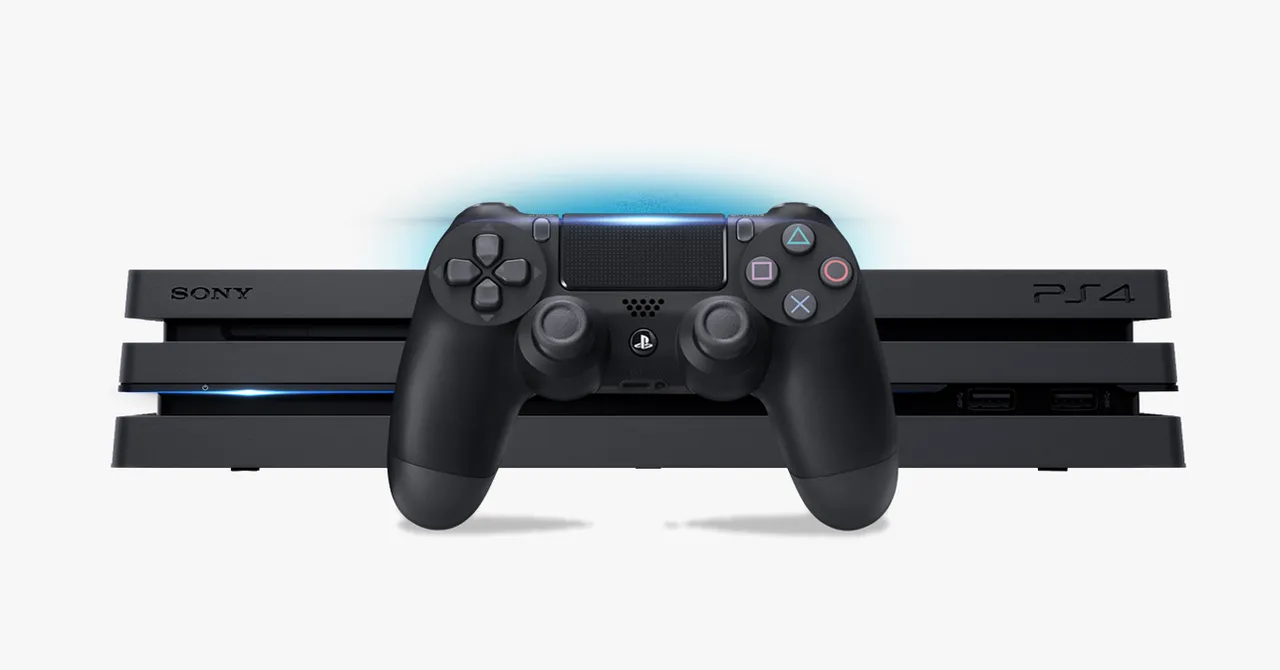
Let’s begin by sketching out the basic shape of the PlayStation console. Start by drawing a vertical rectangle in the center of your paper. This will serve as the main body of the console.
Next, we’ll add curves to the top and bottom of the rectangle to give it a more refined look. Draw two curves, one above and one below the rectangle, following the general shape of the console.
Now, it’s time to add the details. At the front of the console, draw a smaller rectangle for the disc slot. On the right side, add another rectangle for the power button. Then, on the left side, sketch a small circle for the eject button.
To complete the console, add two small rectangles on the front left side for the USB ports. These can be drawn slightly below the power and eject buttons.
Remember to sketch lightly with your pencil during this step, as we’ll be refining the lines later on. Take your time to ensure that the proportions and shapes are accurate.
Once you’re satisfied with the basic structure, you can move on to the next step, where we’ll add the buttons and ports.
Step 2: Add the Buttons and Ports
Now that we have the basic shape of the console, let’s focus on adding the buttons and ports that make the PlayStation recognizable.
Start with the buttons located on the front of the console. In the center of the power button, draw a small circle to represent the power indicator light. Then, on the right side of the power button, draw the iconic PlayStation logo, consisting of a combination of circles, triangles, and squares.
Beneath the logo, draw the buttons for controlling the console. These buttons include the directional pad, the triangle, circle, square, and cross buttons. Take your time to ensure that each button has the correct shape and proportions.
Next, let’s move on to the back of the console. Draw a series of rectangles to represent the different ports. These include the HDMI port, AV port, and Ethernet port. Make sure to align them properly and give them a realistic placement.
Once you have added the buttons and ports, take a step back and evaluate your drawing. Make any necessary adjustments to ensure that everything is in proportion and accurately represented.
Keep in mind that adding details may require you to erase some of the initial lines. Don’t worry if this happens – it’s all part of the refining process. Use your eraser to clean up any unwanted lines, and then proceed to the next step where we’ll draw the controllers.
Step 3: Draw the Controllers
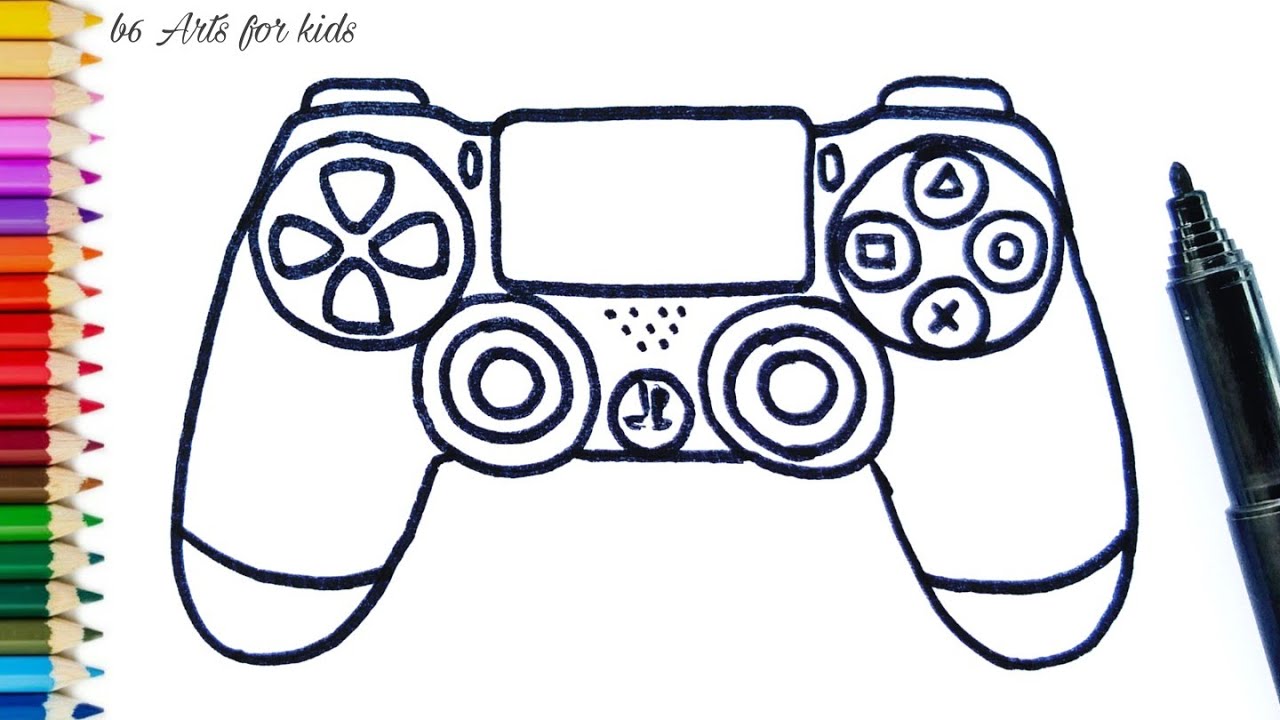
Now that we have the console with its buttons and ports, let’s focus on drawing the controllers that accompany the PlayStation. These controllers are an integral part of the gaming experience and are easily recognizable.
Start by drawing a rectangular shape on the left and right sides of the console. These rectangles are the main bodies of the controllers. Ensure that they are roughly the same size and proportionate to the console.
Next, draw the analog sticks. Position them near the top of the controller bodies. Each analog stick consists of a small circle on top of a stem. Pay attention to the angles and make sure they are consistent between both controllers.
Now, let’s add the buttons and triggers on the front of the controller. These buttons include the directional pad, triangle, circle, square, cross, and the shoulder buttons. Each button should be drawn with its unique shape, making them easily identifiable.
Once you have sketched out the buttons, move on to the back of the controllers. Draw the grips on the handles, which are curved shapes that provide a comfortable holding position. Add the triggers on the back of the controller as well, near the grip region.
Take your time to ensure that the proportions and placement of the controllers are accurate. Don’t forget to use lighter pencil strokes during this step, as we’ll be refining the lines later on.
Once you’re satisfied with the shape and details of the controllers, you can move on to the next step where we’ll add more details and texture to the drawing.
Step 4: Add Details and Texture
Now that we have the basic structure of the PlayStation console and its controllers, it’s time to add more details and texture to bring our drawing to life.
Start by refining the outlines of the console and controllers. Use darker pencil strokes to give the drawing more definition and depth. Pay attention to the curves and lines of each component, ensuring they follow the correct form.
Next, we’ll add texture to the drawing to make it look more realistic. The PlayStation console has a matte finish, so we want to represent that in our drawing. Use short, diagonal lines to create a cross-hatching effect on the surface of the console. This technique mimics the look of the textured material.
Additionally, you can add texture to the buttons and analog sticks on the controllers. A series of small dots or short lines can be used to depict texture on these components.
Don’t forget to add the small details that make the PlayStation unique. These include the PlayStation logo on the console and the Sony branding on the controllers. Take your time to accurately depict these details, as they contribute to the overall authenticity of the drawing.
Remember, practicing shading and texture techniques will help improve the realism of your drawing. Experiment with different pencil pressures and strokes to create the desired effects.
Once you’re satisfied with the details and texture, step back and take a moment to evaluate your drawing. Make any necessary adjustments or refinements to ensure accuracy. Now, let’s move on to adding color in the next step!
Step 5: Color the PlayStation
Now that we have our drawing outlined and detailed, it’s time to add color to bring the PlayStation to life! While adding color is optional, it can add a vibrant and realistic touch to your drawing.
Start by deciding on the color scheme for your PlayStation. The original PlayStation console is predominantly black, with hints of gray and white. Use a dark gray or black pencil to fill in the main body of the console, leaving the details and buttons untouched.
Next, use lighter shades of gray to add depth and dimension to the console. Use subtle, circular motions to create a gradient effect, shading the corners and edges slightly darker than the center.
For the buttons and logo, you can use a combination of different colors. The classic PlayStation logo consists of red, yellow, green, and blue colors. Use these colors to fill in the respective shapes, adding a pop of vibrancy to your drawing.
If you chose to draw the controllers, use various shades of gray to bring out the details. Keep the main body of the controllers darker and use lighter shades to highlight the buttons and triggers.
Feel free to experiment with different color variations or even add unique designs to make your PlayStation drawing stand out. Remember, this is your creation, so let your creativity shine!
Take your time and be patient when adding color. Remember to blend the colors smoothly and avoid harsh lines or uneven pigment distribution.
Once you have finished coloring, step back and admire your work. The added color adds depth and realism to your drawing, making it visually appealing.
Now that we’ve added color, you can move on to the final step where we’ll add some finishing touches to complete the drawing.
Step 6: Final Touches
We’re almost done! In this final step, we’ll add some finishing touches to our PlayStation drawing to make it polished and complete.
Start by examining your drawing and making any necessary adjustments. Look for areas where lines may need to be cleaned up or where shading can be enhanced. Use your eraser to carefully erase any stray marks or smudges that may have accumulated during the process.
Next, add highlights to your drawing to make it more realistic. Identify the light source in your drawing, and use a white pencil or eraser to gently create highlights on the edges and surfaces that would catch the light. This will add dimension and make your drawing appear more three-dimensional.
You can also add shadows to create depth and realism. Determine where the shadows would fall, based on the position of the light source, and use a darker pencil shade to gently shade those areas.
Pay attention to small details, such as buttons, logos, and text, and make sure they are crisp and clear. Take your time to refine these elements, as they can greatly contribute to the overall quality of your drawing.
Once you’re satisfied with the final touches, take a step back and admire your completed PlayStation drawing. You’ve successfully learned how to draw a PlayStation, capturing its design and essence.
Remember, practice is key to improving your drawing skills. Don’t be discouraged if your first attempt doesn’t turn out exactly as planned. With time and practice, you’ll continue to develop your artistic abilities.
Now that you’ve completed your PlayStation drawing, you can share it with others, use it for personal enjoyment, or even continue to refine and explore your artistic talents further. Congratulations on a job well done!
Conclusion
Congratulations on completing this step-by-step guide on how to draw a PlayStation! By following the outlined steps, you’ve learned how to create a detailed and realistic representation of this iconic gaming console. Whether you’re a gaming enthusiast or simply enjoy exploring your artistic talents, this drawing experience has surely been a rewarding one.
Throughout the tutorial, you started by drawing the basic shape of the console, added the buttons and ports, sketched the controllers, incorporated details and texture, added color, and finished with some final touches. Each step allowed you to build upon the previous one, resulting in a comprehensive and well-drawn representation of the PlayStation.
Remember, drawing takes practice and patience. Don’t be afraid to make mistakes and experiment with different techniques. As you continue to draw and refine your skills, you’ll notice improvements and develop your own unique style.
Feel free to explore drawing other gaming consoles or even venture into different subjects. The techniques and principles you’ve learned here can be applied to a variety of drawings, allowing you to expand your artistic repertoire.
Now that you have a completed PlayStation drawing, you can share your artwork with others, display it proudly, or use it as a starting point for further artistic endeavors. The possibilities are endless!
Remember, the key to becoming a skilled artist is practice, so keep drawing, honing your skills, and expressing your creativity. Happy drawing!