Introduction
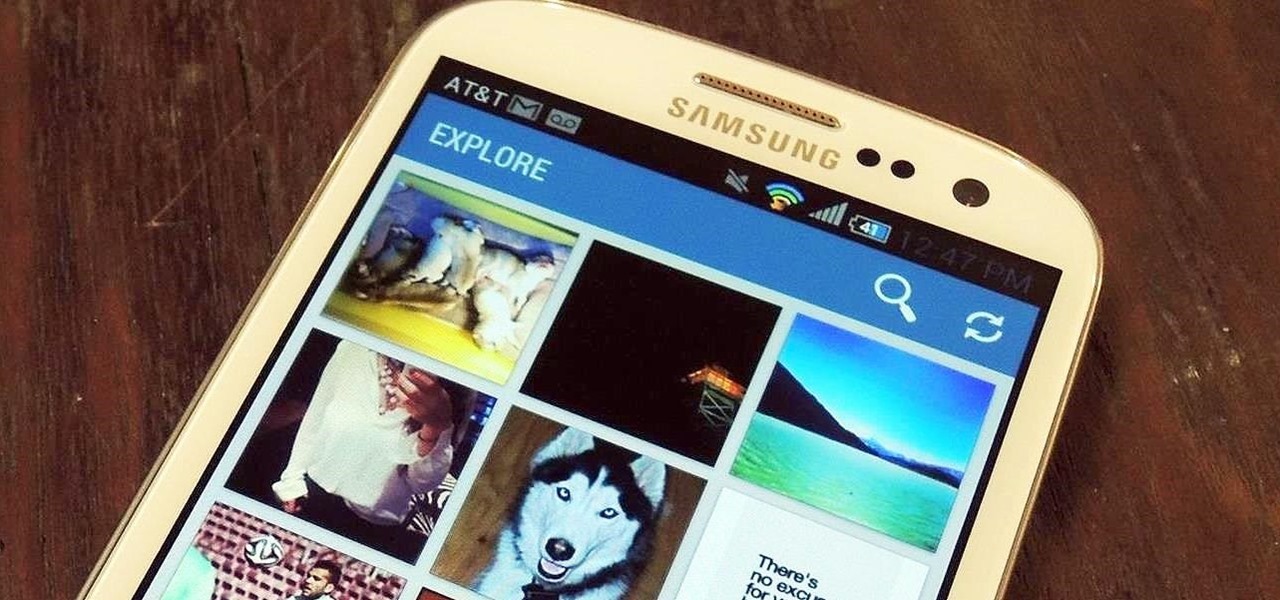
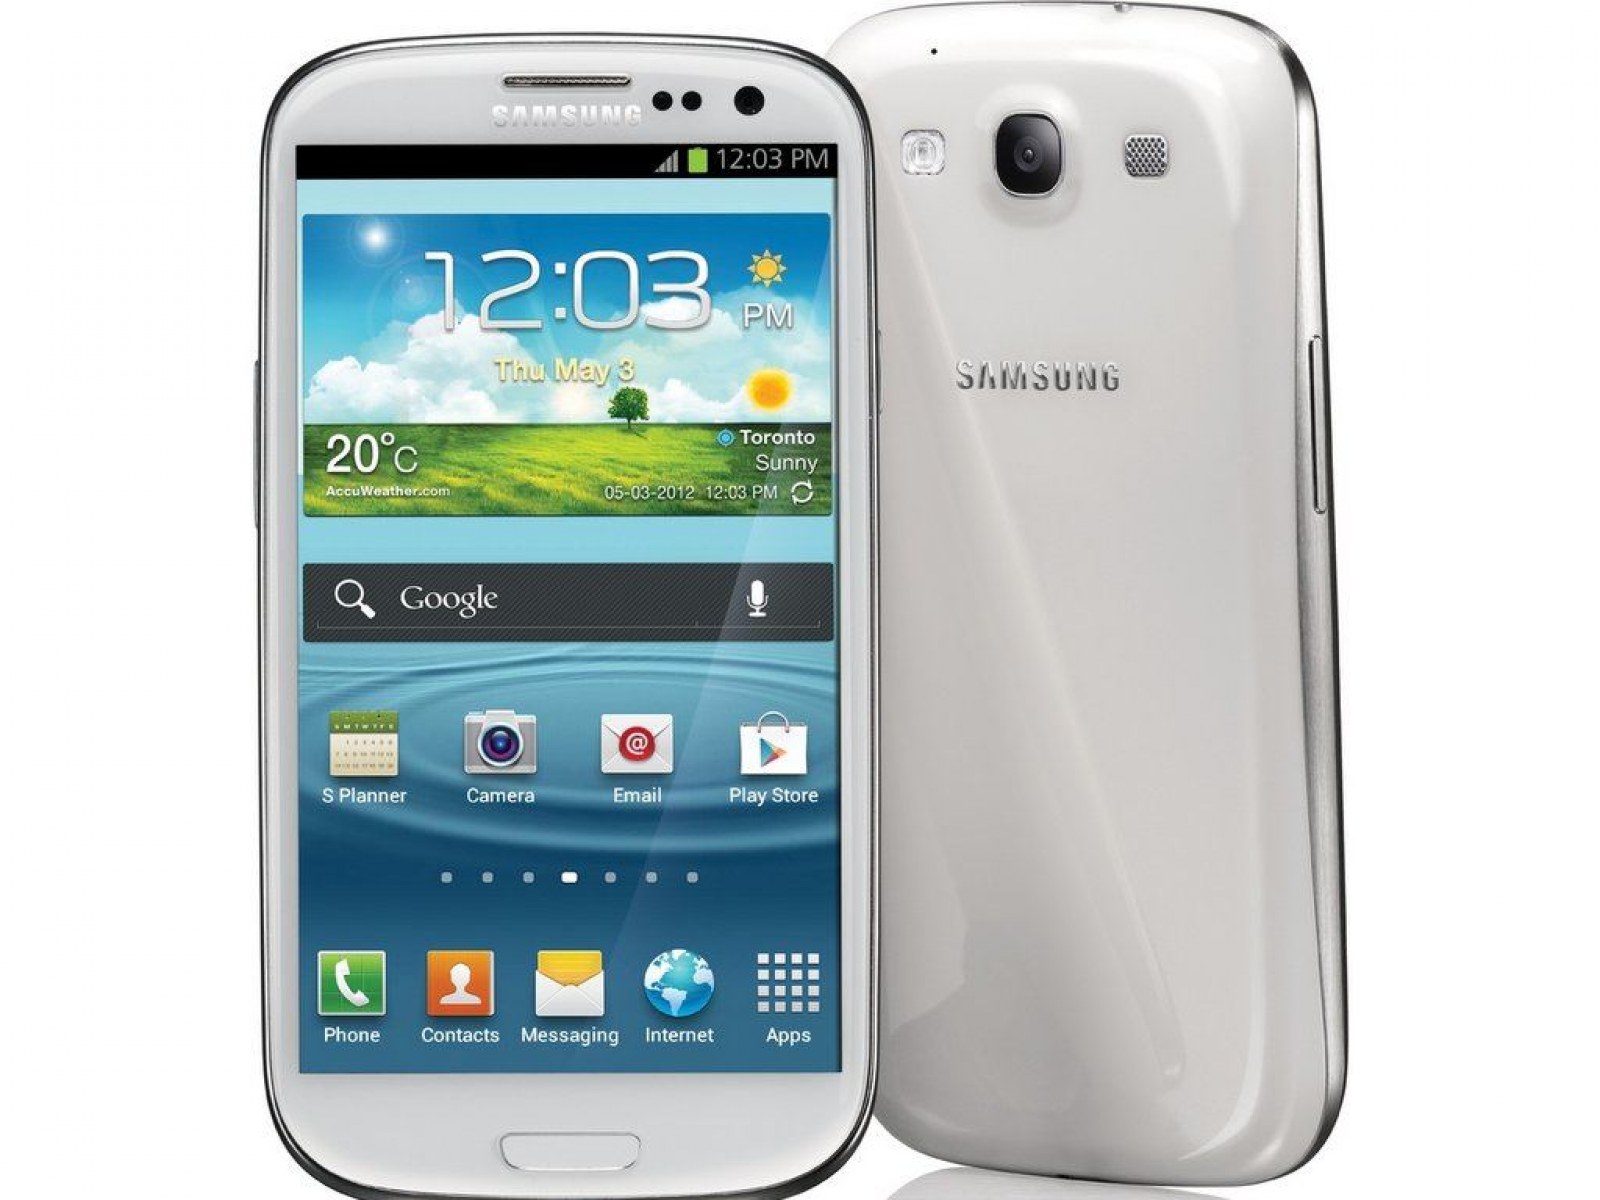
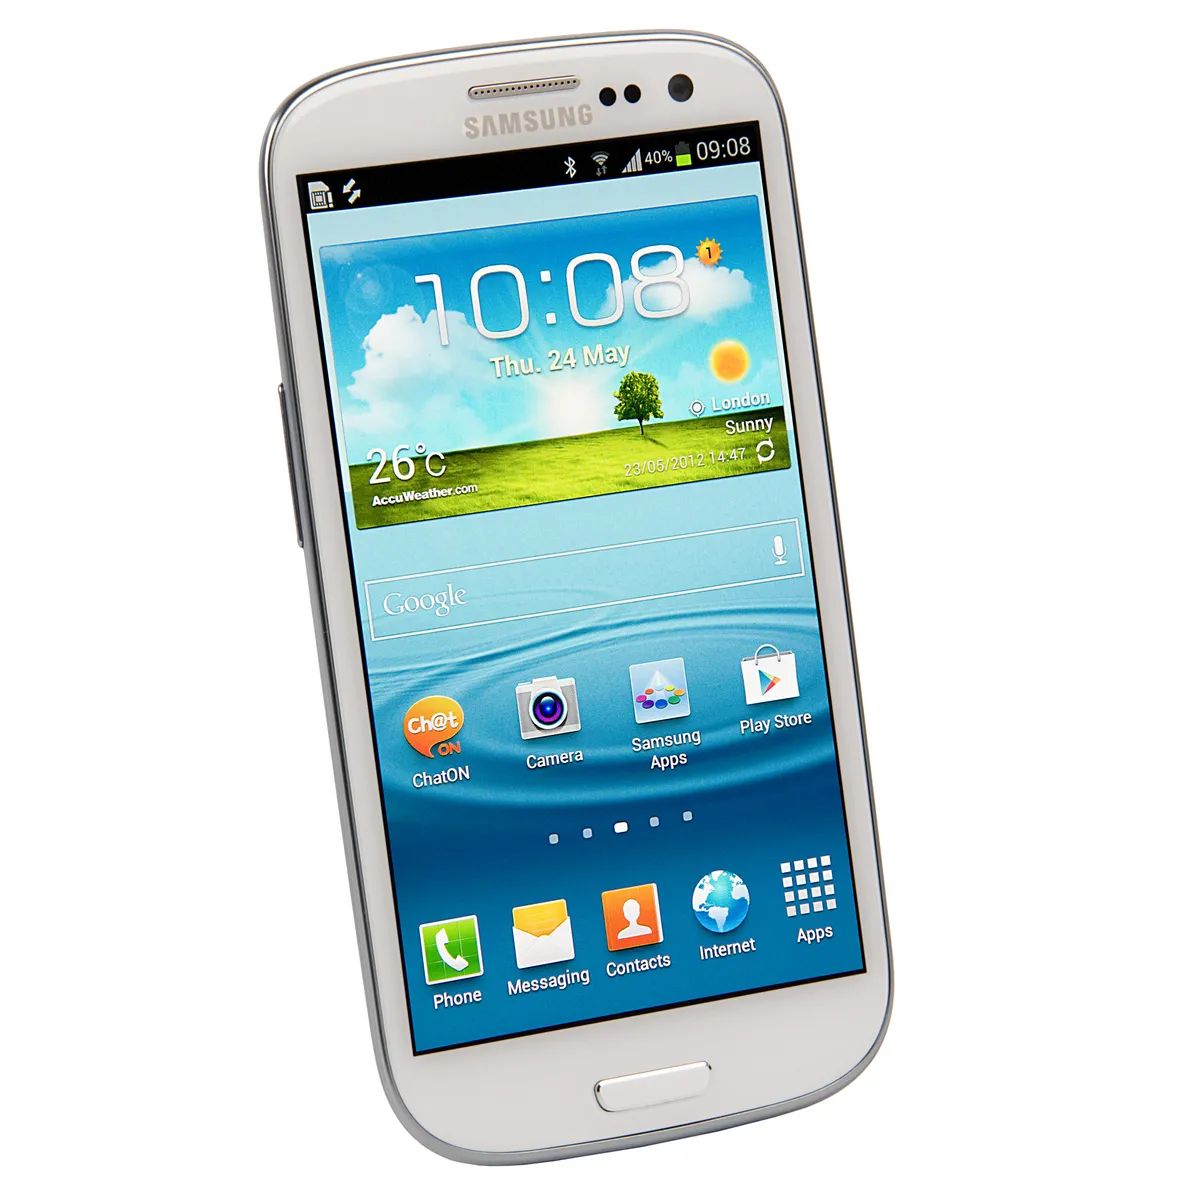
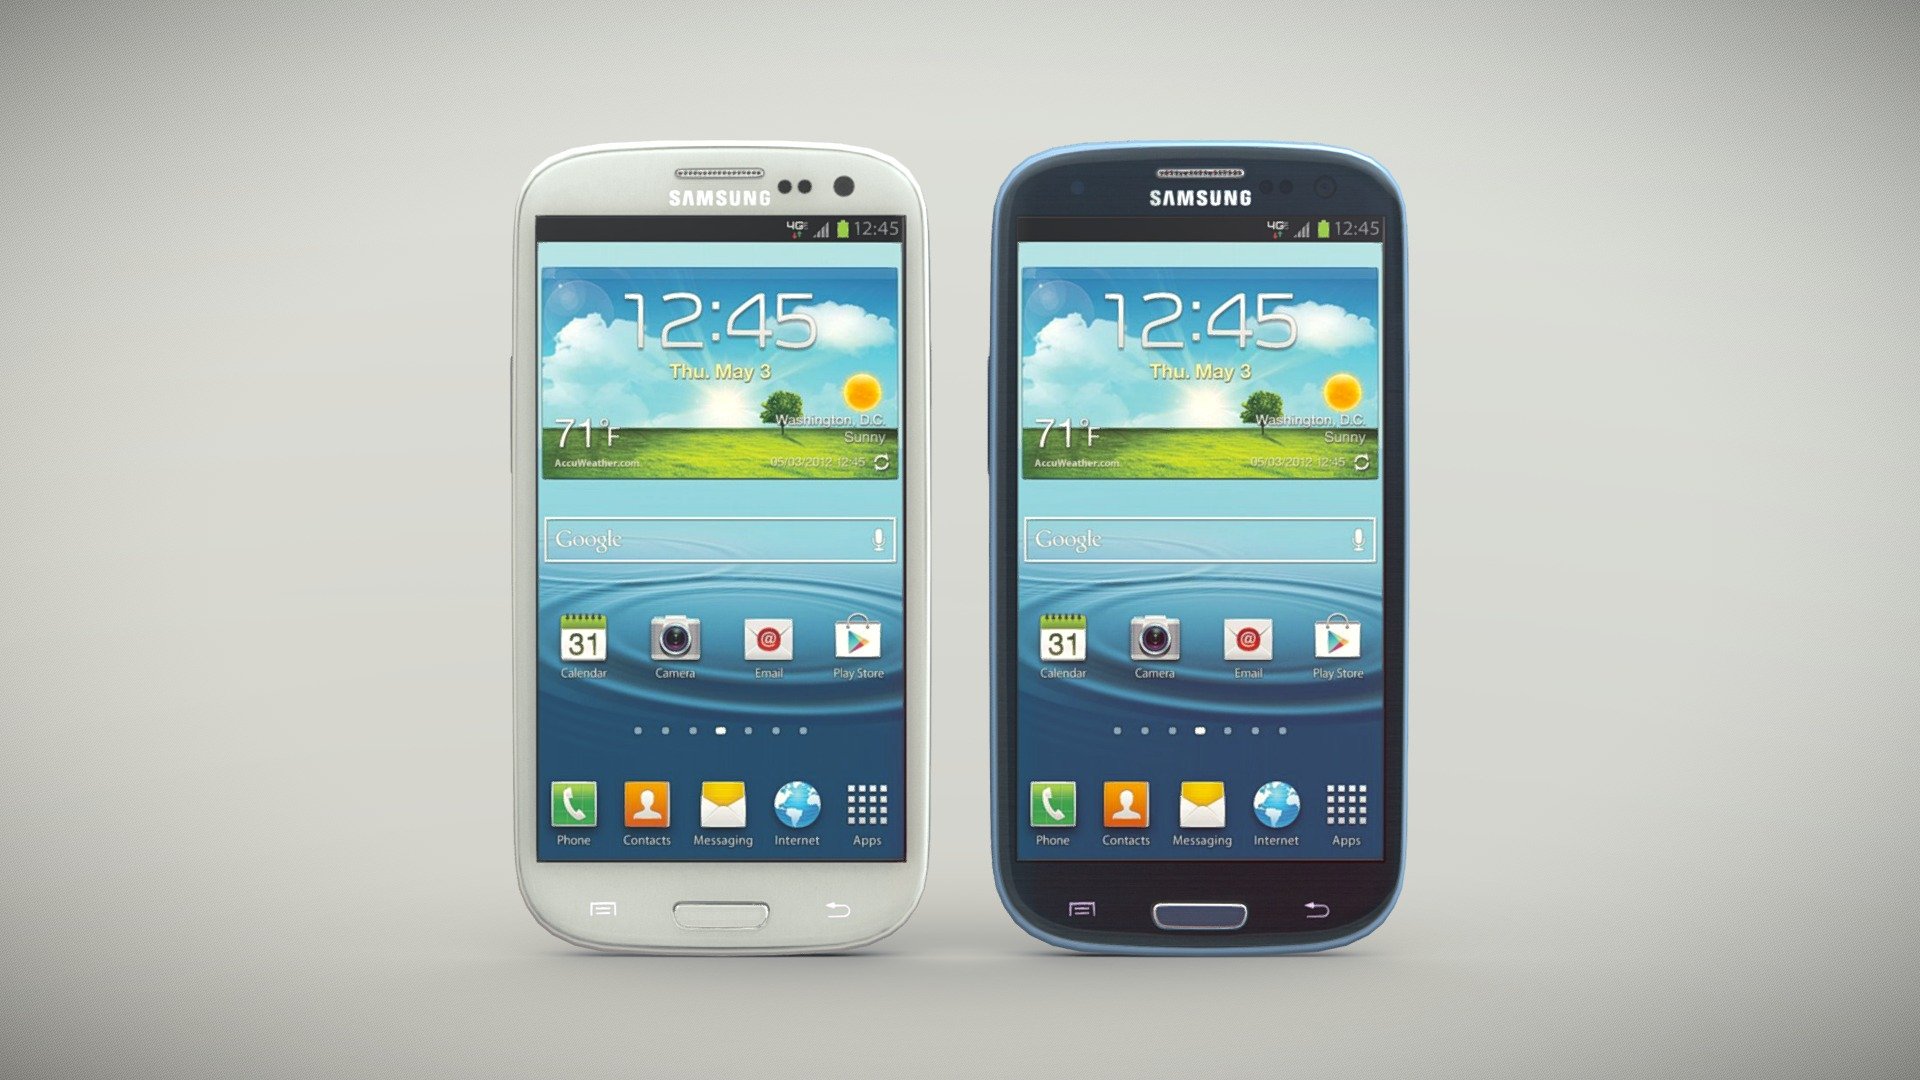
Are you a proud owner of a Samsung Galaxy S3 and wanting to download photos from your phone to your computer? Look no further, as we have got you covered! With just a few simple steps, you can easily transfer your photos from your Samsung Galaxy S3 to your computer, allowing you to save, organize, and share your precious memories.
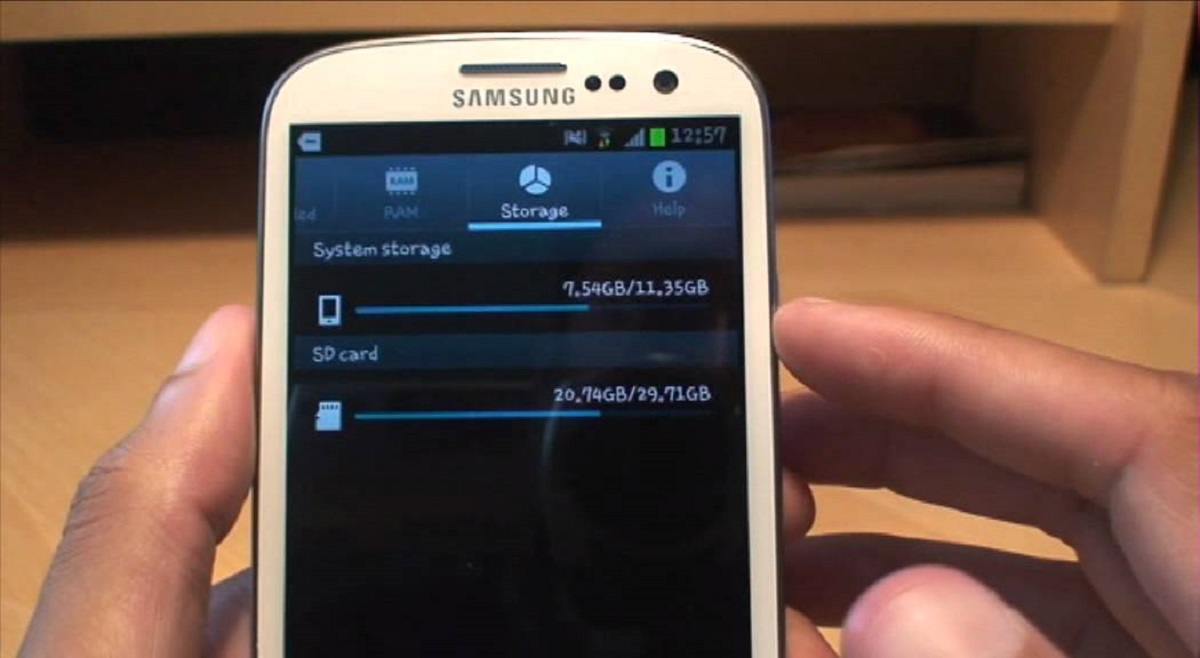
The Samsung Galaxy S3 is equipped with a powerful camera that captures stunning photos. However, the limited storage capacity of your device may prompt you to transfer your photos to a computer for safekeeping or editing. Whether you want to create photo albums, back up your files, or free up space on your phone, downloading photos from your Samsung Galaxy S3 is a straightforward process.
In this article, we will guide you through the step-by-step process of downloading photos from your Samsung Galaxy S3 to your computer. No technical expertise is required, and you can complete the process in just a few minutes.
Step 1: Connect your Samsung Galaxy S3 to your computer
The first step in downloading photos from your Samsung Galaxy S3 is to establish a connection between your phone and your computer. To do this, you will need a USB cable that is compatible with your Samsung Galaxy S3 and a USB port on your computer.
Here’s how to connect your Samsung Galaxy S3 to your computer:
- Locate the charging port on your Samsung Galaxy S3. It is usually located at the bottom of the device.
- Take one end of the USB cable and insert it into the charging port of your Samsung Galaxy S3.
- Take the other end of the USB cable and insert it into an available USB port on your computer.
- Once you have connected the USB cable to your Samsung Galaxy S3 and your computer, your phone should automatically initiate a connection with your computer. You may see a prompt on your phone asking for permission to allow the connection.
- On your computer, you may see a notification or a popup indicating that a new device has been connected. Wait for your computer to recognize your Samsung Galaxy S3.
Once the connection is established, you are ready to proceed to the next step and start downloading your photos.
Step 2: Open the File Explorer on your computer
After successfully connecting your Samsung Galaxy S3 to your computer, the next step is to open the File Explorer or File Manager on your computer. This will allow you to access the files and folders on your phone, including your photos.
Here’s how to open the File Explorer on your computer:
- Click on the Start button in the bottom left corner of your desktop screen.
- In the search bar, type “File Explorer” and press Enter.
- A window will open, displaying the File Explorer or File Manager.
Alternatively, you can also open the File Explorer by pressing the Windows key and the E key simultaneously on your keyboard.
Once the File Explorer is open, you will see a list of folders and drives on your computer.
Now that you have successfully navigated to the File Explorer on your computer, you are ready to proceed with the next step and locate the DCIM folder on your Samsung Galaxy S3.
Step 3: Locate the DCIM folder on your Samsung Galaxy S3
Now that you have opened the File Explorer on your computer, it’s time to locate the DCIM (Digital Camera Images) folder on your Samsung Galaxy S3. This is where all your photos captured by the device’s camera are stored.
Here’s how you can find the DCIM folder:
- In the File Explorer, look for your connected Samsung Galaxy S3. It is usually listed under the “Devices and Drives” section.
- Click on your Samsung Galaxy S3 to expand its contents.
- Within the expanded contents, you will typically find various folders, such as “Internal Storage” or “Phone”. Click on the appropriate folder to continue.
- Look for the “DCIM” folder within the selected folder. Double-click on it to open it.
- Inside the DCIM folder, you will find another folder named “Camera” or similar. This is the folder where your camera photos are stored. Double-click on it to access your photos.
Once you have successfully located the DCIM folder and accessed the Camera folder, you will see all your camera photos displayed. You are now ready to proceed to the next step and select the photos you want to download.
Step 4: Select the photos you want to download
Now that you have found the DCIM folder and opened the Camera folder, you can proceed to select the photos you want to download from your Samsung Galaxy S3 to your computer. This step allows you to choose specific photos or multiple photos for transfer.
Here’s how you can select the photos:
- Within the Camera folder, you will see a list of all the photos available on your Samsung Galaxy S3.
- To select a single photo, simply click on it. The selected photo will be highlighted or displayed with a tick mark.
- To select multiple photos, hold down the Ctrl key (for Windows) or the Command key (for Mac) on your keyboard. While holding the key, click on each photo you want to select. All the selected photos will be highlighted or displayed with tick marks.
You can continue selecting photos until you have chosen all the desired ones for download. It’s important to take your time and carefully select the photos to ensure you don’t miss any important memories.
Once you have finished selecting the photos, you are now ready to move on to the next step and copy the selected photos from your Samsung Galaxy S3 to your computer.
Step 5: Copy the selected photos to your computer
After selecting the photos you want to download from your Samsung Galaxy S3, the next step is to copy them to your computer. This process ensures that the chosen photos are transferred from your phone to a designated location on your computer, where they can be easily accessed and managed.
Follow these steps to copy the selected photos:
- Right-click on any of the selected photos.
- In the context menu that appears, click on the “Copy” option.
- Navigate to the desired location on your computer where you want to save the photos.
- Right-click on the desired location and click on the “Paste” option. Alternatively, you can press Ctrl+V (for Windows) or Command+V (for Mac) on your keyboard to paste the photos.
The selected photos will now begin copying from your Samsung Galaxy S3 to your computer. The time it takes for the transfer to complete will depend on the number and size of the photos.
It is recommended to create a dedicated folder on your computer, such as “Samsung Galaxy S3 Photos,” to keep the copied photos organized. This will make it easier for you to locate and access your downloaded photos.
Once the copy process is finished, you will find the downloaded photos in the designated folder on your computer. Congratulations! You have successfully copied the selected photos from your Samsung Galaxy S3 to your computer.
Step 6: Disconnect your Samsung Galaxy S3 from your computer
After successfully copying the selected photos from your Samsung Galaxy S3 to your computer, it is important to safely disconnect your phone from the computer. This ensures that all data transfers are complete and prevents any potential damage or data loss.
Follow these steps to disconnect your Samsung Galaxy S3 from your computer:
- On your computer, locate the system tray at the bottom-right corner of the screen. Look for the “Safely Remove Hardware” icon.
- Click on the “Safely Remove Hardware” icon. A list of connected devices will appear.
- From the list, find and click on the name of your Samsung Galaxy S3.
- A notification will appear, indicating that it is safe to remove the device. Proceed to disconnect your Samsung Galaxy S3 by gently unplugging the USB cable from your phone and computer.
It is important to note that abruptly disconnecting your phone while data is being transferred can result in data corruption or loss. Always follow the proper procedure to safely disconnect your Samsung Galaxy S3 from your computer.
Once your Samsung Galaxy S3 is safely disconnected, you can now enjoy your downloaded photos on your computer and continue exploring other ways to manage and organize your digital memories.
Conclusion
Downloading photos from your Samsung Galaxy S3 to your computer is a simple and convenient process that allows you to preserve and manage your precious memories. By following the step-by-step guide outlined in this article, you can easily transfer your photos and enjoy them on a larger screen or share them with friends and family.
Remember, the key steps involved in downloading photos from your Samsung Galaxy S3 include connecting your phone to your computer, opening the File Explorer or File Manager, locating the DCIM folder on your device, selecting the photos you want to download, copying them to your computer, and finally, safely disconnecting your phone from your computer.
By taking the time to organize and store your photos on your computer, you can free up valuable space on your Samsung Galaxy S3 and ensure that your memories are safely backed up and accessible.
Now that you have mastered the art of downloading photos from your Samsung Galaxy S3, you can easily manage your photo collection, create albums, and edit your images to perfection. So go ahead, capture those magical moments, and effortlessly transfer them to your computer for safekeeping and enjoyment.


