Introduction
When running a business, managing purchases and inventory is crucial. QuickBooks, a popular accounting software, offers a convenient way to create and manage purchase orders (POs). A purchase order serves as a formal document that outlines the details of goods or services to be purchased from a vendor.
Creating a purchase order in QuickBooks helps in maintaining accurate records of transactions, tracking inventory, and managing cash flow. It streamlines the purchasing process and ensures that goods or services are correctly ordered and delivered.
In this article, we will guide you through the steps to create a purchase order in QuickBooks. We will cover everything from preparing to create a PO to sending it to the vendor and tracking it within the system. Whether you’re a small business owner, an accountant, or a bookkeeper, understanding this process will enable you to efficiently manage your purchasing activities.
Before we dive into the details, it’s essential to note that the specific steps may vary slightly depending on the version of QuickBooks you are using. However, the overall process remains relatively consistent across the software’s various editions.
Now, let’s get started and explore the process of creating a purchase order in QuickBooks to streamline your business’s purchasing operations.
Preparing to Create a PO
Before you begin creating a purchase order in QuickBooks, it’s important to gather all the necessary information and ensure that your QuickBooks company file is set up correctly. Here are some steps to help you prepare:
- Review Your Inventory: Take stock of your inventory and determine the items you need to reorder. Ensure that you have accurate information about the products, quantities, and pricing.
- Vendor Information: Collect the necessary details about the vendor, including their name, address, contact information, and any specific terms or agreements you have with them.
- QuickBooks Company File: Open your QuickBooks software and make sure that your company file is open and accessible. Verify that you have the necessary user permissions to create and manage purchase orders within the software.
- Set Up Vendor Accounts: If you haven’t already, set up vendor accounts in QuickBooks. This will allow you to easily select the appropriate vendor when creating a purchase order.
- Enable Purchase Order Feature: Check that the purchase order feature is enabled in your QuickBooks settings. If not, go to “Preferences” and enable it to ensure you can create purchase orders.
By taking these initial steps, you will be well-prepared to create a purchase order in QuickBooks. Having accurate inventory information, vendor details, and a properly configured QuickBooks company file will streamline the PO creation process and avoid any unnecessary delays or errors.
Navigating to the Purchase Order Feature
Once you have prepared all the necessary information, it’s time to navigate to the Purchase Order feature in QuickBooks. Here’s how:
- Open QuickBooks on your computer and ensure that you are logged in to your company file with the necessary access permissions.
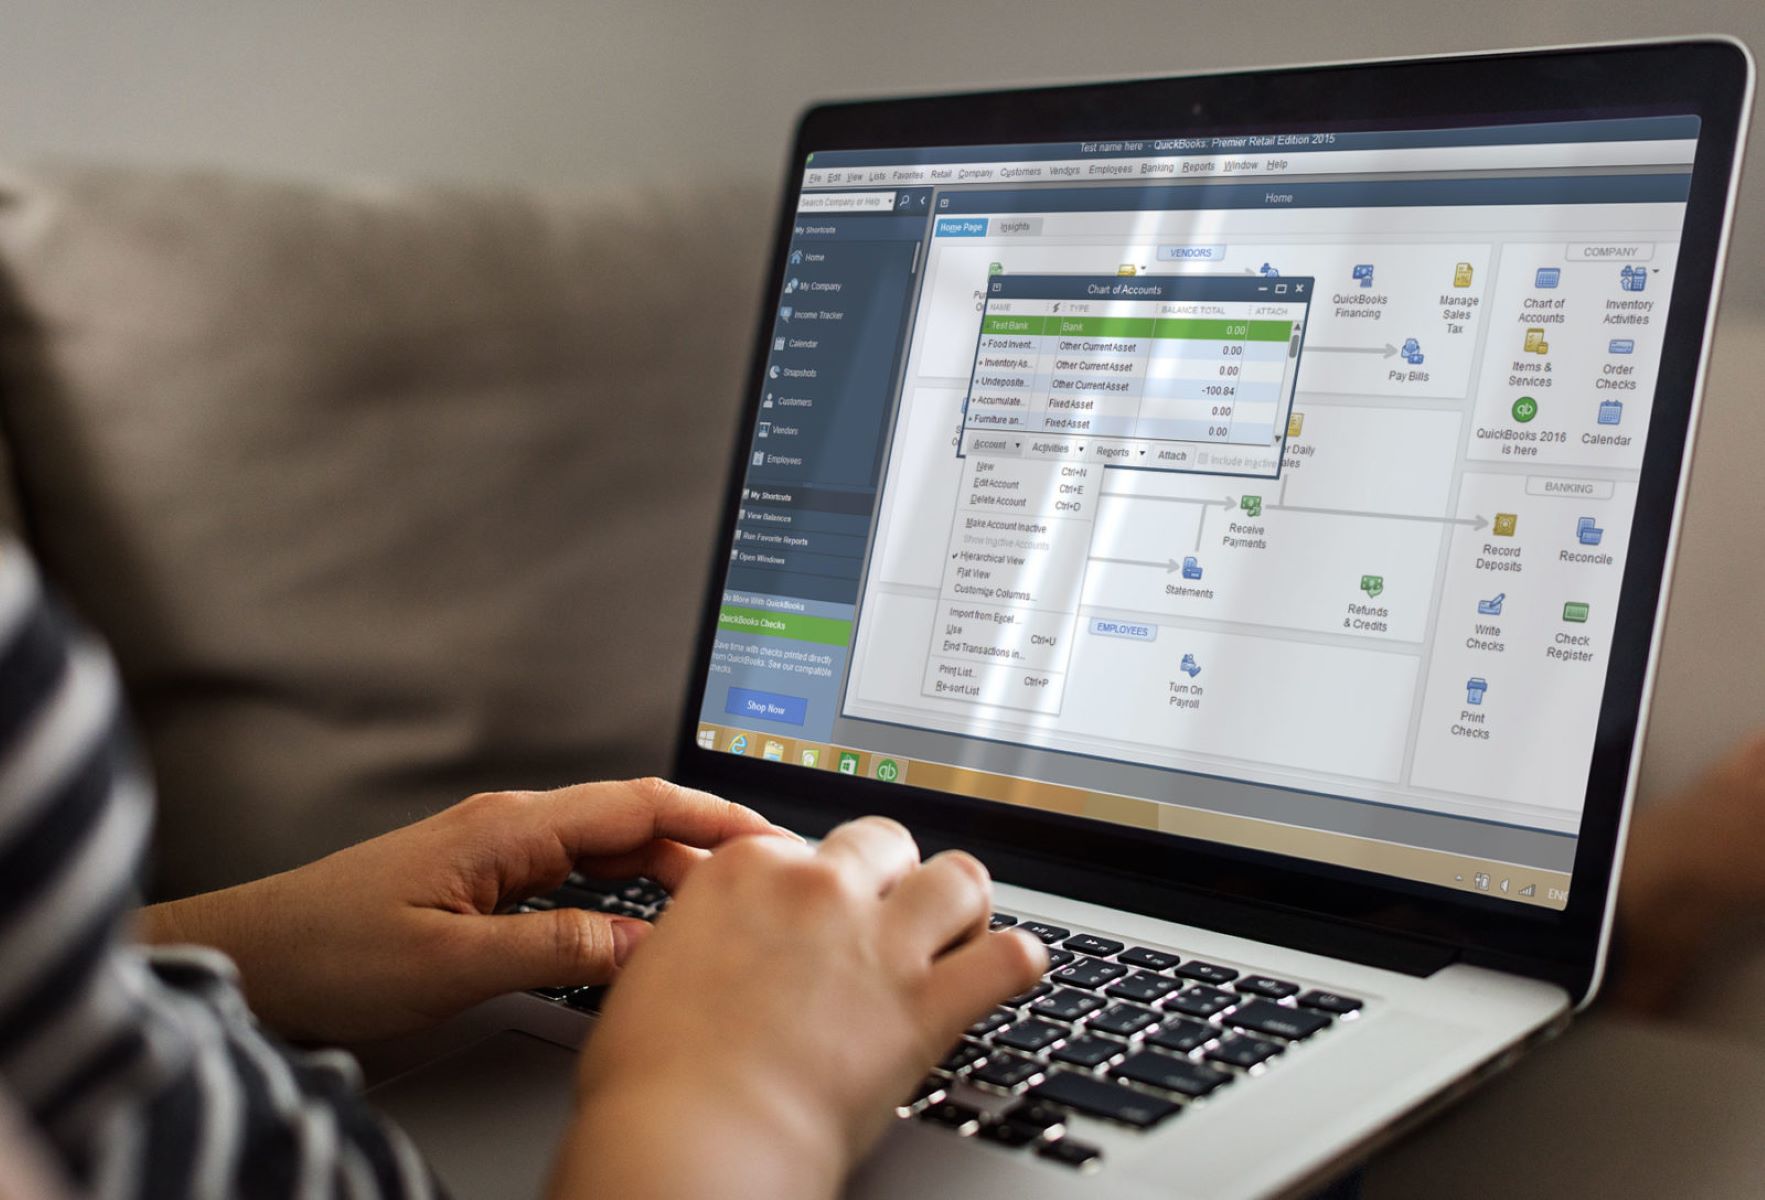
- From the main menu, go to the top navigation bar and click on the “Vendors” tab.
- In the drop-down menu that appears, click on “Create Purchase Orders.” This will open the Purchase Order window where you can start creating your PO.
Alternatively, you can use the keyboard shortcut by pressing Ctrl + T on your keyboard to quickly access the Create Purchase Order feature.
Once you have reached the Purchase Order window, you are ready to start filling out the necessary details for your purchase order.
It’s important to note that the navigation process may vary slightly depending on the version and layout of QuickBooks you are using. However, the general steps to access the Purchase Order feature remain relatively consistent.
By familiarizing yourself with the navigation process, you can quickly access the Purchase Order feature whenever you need to create a new PO in QuickBooks.
Filling out the Vendor Information
Now that you have accessed the Purchase Order window in QuickBooks, it’s time to fill out the vendor information section. This step is crucial in ensuring that the purchase order is accurately addressed and attributed to the correct vendor. Here’s how you can fill out the vendor information:
- Select the Vendor: In the Vendor field, click on the drop-down arrow to choose the appropriate vendor for this purchase order. If the vendor is not listed, you can click on the “Add New” option to create a new vendor profile in QuickBooks.
- Choose the Ship To Address: If you have multiple ship-to addresses associated with the selected vendor, select the appropriate one. This is particularly useful when dealing with vendors who have multiple locations or branches.
- Enter the Date: Fill in the date field with the current date or the date you want to associate with the purchase order.
- Assign a Purchase Order Number: QuickBooks will automatically generate a unique PO number for you. However, if you prefer to use a custom numbering system, you can manually enter the desired PO number in the designated field.
- Select Other Fields: Depending on your specific needs and preferences, you can also choose to fill out additional fields like Terms, Due Date, Ship Via, FOB, and Memo. These fields provide additional information and instructions related to the purchase order.
By accurately filling out the vendor information section, you ensure that the purchase order is properly addressed and provides all the necessary details for the vendor to process and fulfill the order. This step helps to establish clear communication and prevent any misunderstandings or errors in the purchasing process.
Adding Items to the Purchase Order
Once you have filled out the vendor information section in the Purchase Order window, the next step is to add the items you want to purchase to the PO. Adding items ensures that the vendor knows exactly what products or services you require. Here’s how to add items to the purchase order in QuickBooks:
- Item Selection: In the “Item” column, click on the drop-down arrow to see a list of items available in your QuickBooks inventory. Select the appropriate item you wish to order from the vendor.
- Item Description: QuickBooks will automatically populate the item description based on the item selected. However, you can modify the description if necessary to provide more specific details or instructions to the vendor.
- Quantity: Enter the quantity of the item you want to order from the vendor.
- Rate: Specify the rate or price per unit of the item. This will help the vendor calculate the total cost of the items and prepare the invoice accordingly.
- Tax: If applicable, select the appropriate tax code for the item. This ensures that the correct taxes are applied and calculated for the purchase order.
- Account: Choose the relevant expense account from the drop-down list to assign the proper account for tracking the item’s cost.
- Add More Items: If you need to add additional items to the purchase order, click on the “Add Lines” button to create new lines and repeat the above steps.
By carefully selecting and adding items to the purchase order, you provide clear instructions to the vendor about the products or services you require. This step ensures accuracy in the order fulfillment process and facilitates smooth communication between your business and the vendor.
Reviewing and Saving the Purchase Order
Before finalizing the purchase order in QuickBooks, it’s crucial to review the information entered to ensure accuracy and completeness. Reviewing the PO helps to avoid any errors or discrepancies that may impact the purchasing process. Here’s how to review and save the purchase order:
- Review Vendor Information: Double-check the vendor information section to ensure that the correct vendor, ship-to address, date, and purchase order number are entered.
- Verify Item Details: Review the item details, including the item description, quantity, rate, tax, and assigned account. Make any necessary edits or corrections.
- Check Additional Fields: Review any additional fields you filled out, such as terms, due date, ship via, FOB, and memo. Ensure that the information provided is accurate and reflects your requirements.
- Save the Purchase Order: Once you have reviewed the PO and are satisfied with the entered information, click on the “Save” button to save the purchase order. This will create a record of the PO in your QuickBooks system.
After saving the purchase order, you can also choose to print a physical copy for your records or for sharing with the vendor. Simply click on the “Print” button to generate a printed version of the purchase order.
Reviewing and saving the purchase order is a critical step to ensure the accuracy of the order details and maintain a comprehensive record of your purchasing transactions. By taking the time to review and save the PO, you can confidently proceed to the next steps in the purchasing process.
Sending the Purchase Order to the Vendor
After reviewing and saving the purchase order in QuickBooks, the next step is to send it to the vendor. Sending the PO provides the vendor with a formal document outlining the details of the order. Here’s how to send the purchase order to the vendor:
- Choose the Sending Method: Decide on the method you want to use to send the purchase order to the vendor. This can be via email, fax, or regular mail, depending on your established communication channels with the vendor.
- Email: If you choose to send the PO via email, click on the “Email” button within the Purchase Order window. This will open your default email client with the purchase order attached as a PDF or as a direct link to the online version of the PO.
- Fax and Regular Mail: If you prefer to send the purchase order via fax or regular mail, you can print a physical copy of the PO and proceed with the selected sending method. Make sure to include any necessary purchasing terms, instructions, or other relevant documents along with the purchase order.
By sending the purchase order to the vendor, you establish clear communication and provide the necessary details for a smooth ordering process. This step ensures that both you and the vendor are on the same page regarding the items, quantities, pricing, and any other specific instructions or terms associated with the purchase order.
It’s also a good practice to keep a copy of the sent purchase order for your records. This allows you to track and reference the communication with the vendor throughout the purchasing process.
Tracking Purchase Orders in QuickBooks
Tracking purchase orders in QuickBooks is essential for maintaining visibility and control over your purchasing activities. It allows you to monitor the progress of each order and ensures that the items are received and invoiced correctly. Here’s how to track purchase orders in QuickBooks:
- Purchase Order List: Access the Purchase Order List by going to the “Vendor” menu and selecting “Purchase Order List.” This will display a list of all the purchase orders you have created.
- View Purchase Order Status: In the Purchase Order List, you can see the status of each purchase order, such as “Open,” “Closed,” or “To Be Printed.” This status indicates the progress and completion of each order.
- Filter and Sort: Use the filter and sort options in the Purchase Order List to narrow down the displayed orders. You can filter by vendor, date range, status, and other criteria to easily locate specific purchase orders.
- View Purchase Order Details: Double-click on a particular purchase order to view its details. This will display all the information associated with the PO, including vendor information, item details, and any additional notes or instructions.
- Receive Items: As you receive the ordered items, go to the “Receive Inventory” option within the Purchase Order window and enter the quantity received. This helps in accurate inventory tracking and ensures that the received items are accounted for.
- Match Invoices: When you receive an invoice from the vendor, you can match it with the corresponding purchase order in QuickBooks. This helps in reconciling the order and verifying that the billed amount aligns with the agreed-upon pricing.
By actively tracking purchase orders in QuickBooks, you can stay organized and ensure that all orders are properly processed and accounted for. This visibility allows you to address any issues or discrepancies promptly and maintain accurate records of your purchasing activities.
Additionally, tracking purchase orders in QuickBooks provides valuable insights into your purchasing history, vendor relationships, and financial management. It empowers you to make informed decisions and optimize your procurement processes for greater efficiency and cost-effectiveness.
Editing or Canceling a Purchase Order
In the course of managing your purchasing activities, there may be instances where you need to edit or cancel a purchase order. QuickBooks provides the flexibility to make adjustments and changes when necessary. Here’s how you can edit or cancel a purchase order in QuickBooks:
- Edit a Purchase Order: To edit a purchase order, go to the “Vendor” menu, select “Purchase Order List,” and locate the PO you want to modify. Double-click on the purchase order to open it, make the necessary changes, and save the updated version. This ensures that the order reflects the correct information and requirements.
- Cancel a Purchase Order: If you need to cancel a purchase order entirely, go to the “Vendor” menu, select “Purchase Order List,” and find the PO you want to cancel. Double-click on the purchase order to open it and click on the “Cancel” button. Confirm the cancellation in the prompt that appears. Canceling a purchase order removes it from active status and prevents any further processing of the order.
- Communicate Changes: After editing or canceling a purchase order, it’s important to communicate the changes to the vendor. This ensures that both parties are aware of any modifications or cancellations to avoid any confusion or delivery of incorrect items.
By having the flexibility to edit or cancel a purchase order in QuickBooks, you can address any changes or unforeseen circumstances that may arise during the purchasing process. This feature enables you to maintain accuracy and control over your purchasing activities, providing you with the necessary flexibility to adapt and modify orders as needed.
It’s essential to keep a record of the changes made to the purchase order for future reference. QuickBooks allows you to track the revision history of the purchase order, providing transparency and accountability for any modifications.
Closing Thoughts
Creating and managing purchase orders efficiently is vital for the smooth operation of any business. QuickBooks offers a user-friendly interface and robust features that simplify the process of creating, tracking, and managing purchase orders.
Throughout this article, we have discussed the steps involved in creating a purchase order in QuickBooks. From preparing to create a PO, navigating to the Purchase Order feature, filling out vendor information, adding items, reviewing and saving the purchase order, sending it to the vendor, tracking the purchase order, and editing or canceling it, each step plays a crucial role in ensuring accuracy and control over your purchasing activities.
By leveraging QuickBooks’ various features and functionalities, you can streamline your procurement processes, maintain accurate records, track inventory, and foster strong vendor relationships.
Remember to regularly review your purchase orders, keep track of any changes or cancellations, and communicate effectively with your vendors, ensuring seamless collaboration and a smooth purchasing experience.
Mastering the creation and management of purchase orders in QuickBooks will ultimately contribute to better financial management, improved inventory control, and enhanced efficiency in your business operations.
So, take advantage of the tools and features provided by QuickBooks to streamline and optimize your purchasing process, allowing you to focus on driving your business forward.


