Introduction
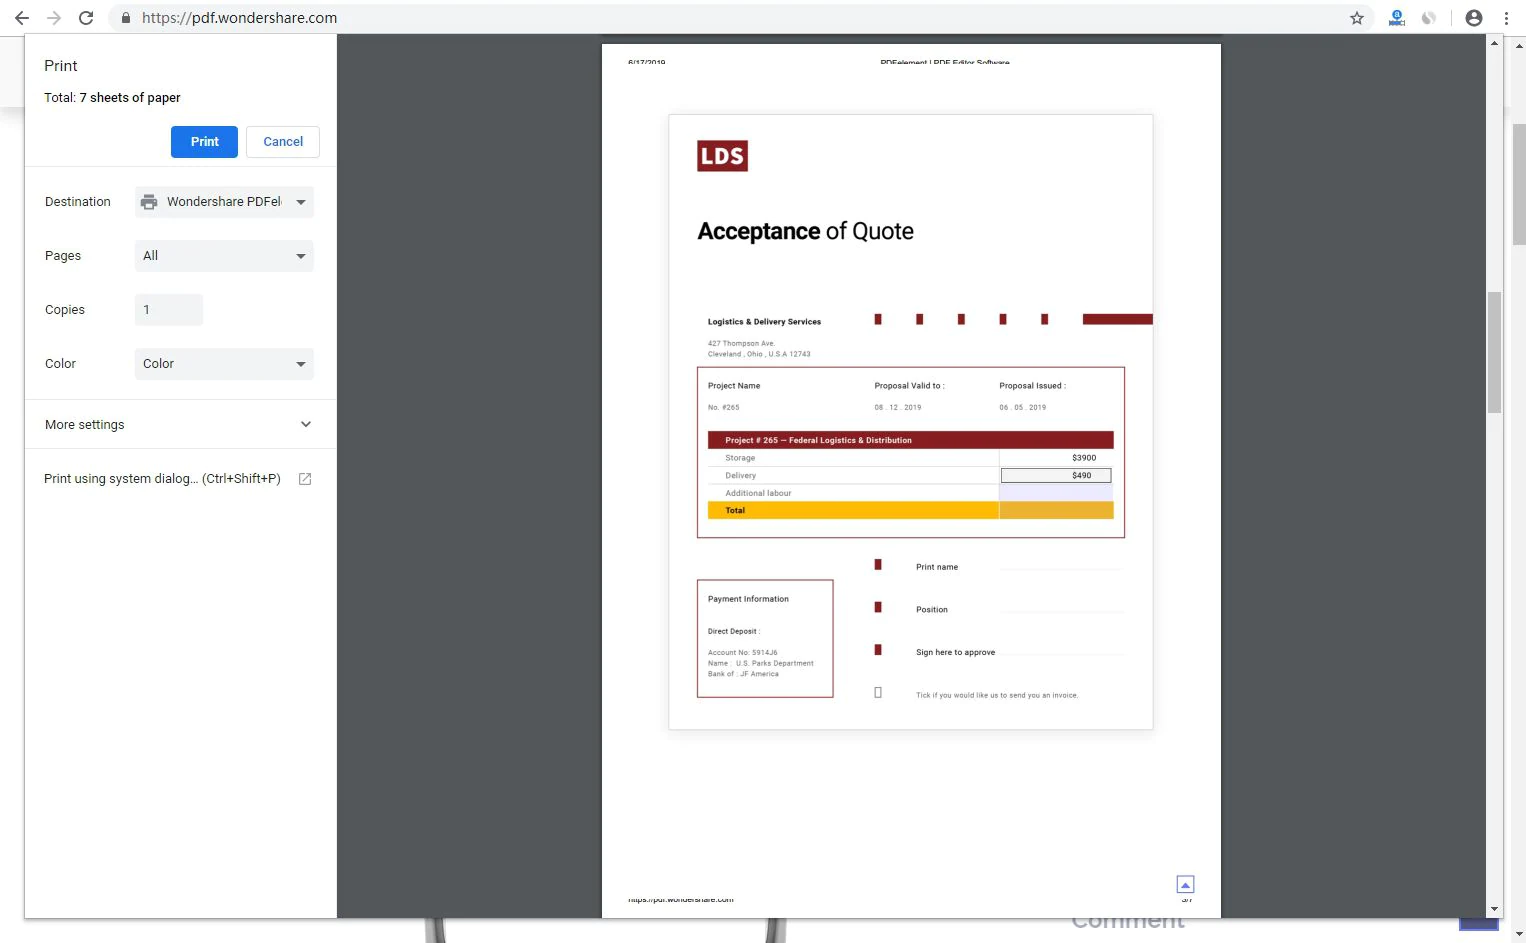
Welcome to this tutorial on how to create a PDF file using PHP. PDF (Portable Document Format) has become one of the most widely used file formats for sharing and preserving electronic documents. With PHP, a powerful server-side scripting language, you can dynamically generate PDF files from your website’s data and provide users with a professional-looking document that can be easily printed or downloaded.
In this tutorial, you will learn the step-by-step process of setting up PHP and the required libraries, creating a simple HTML form, handling form submission in PHP, converting the form data into a PDF file, saving the PDF file on the server, and finally allowing users to download the generated PDF file.
Whether you want to generate invoices, generate reports, or create any other type of printable document on the fly, this tutorial will provide you with all the knowledge and code snippets you need to make it happen.
Before diving into the technical details, it’s important to have a basic understanding of HTML, PHP, and how web servers function. Familiarity with HTML and PHP will be helpful in following along with the code examples. If you’re new to these technologies, don’t worry! This tutorial will guide you through the entire process and explain each step in a clear and understandable manner.
So, let’s get started by setting up PHP and the required libraries to create our PDF file using the power of PHP!
Setting up PHP and required libraries
Before we can start creating PDF files using PHP, we need to ensure that PHP is properly set up on our server and that we have the necessary libraries installed. Here are the steps to get everything up and running:
- Check PHP installation: First, make sure that PHP is installed on your server. You can do this by creating a simple PHP file with the following code:
<?php

    phpinfo();

    ?>
Save the file with a .php extension, upload it to your server, and access it through a web browser. If you see a page with detailed information about your PHP installation, then PHP is installed correctly. - Install PDF generation library: To generate PDF files, we’ll be using the TCPDF library, a powerful and flexible PHP class that enables you to create PDF documents programmatically. You can download TCPDF from the official website (https://tcpdf.org/) or use a package manager like Composer to install it. Follow the installation instructions provided by TCPDF to set it up on your server.
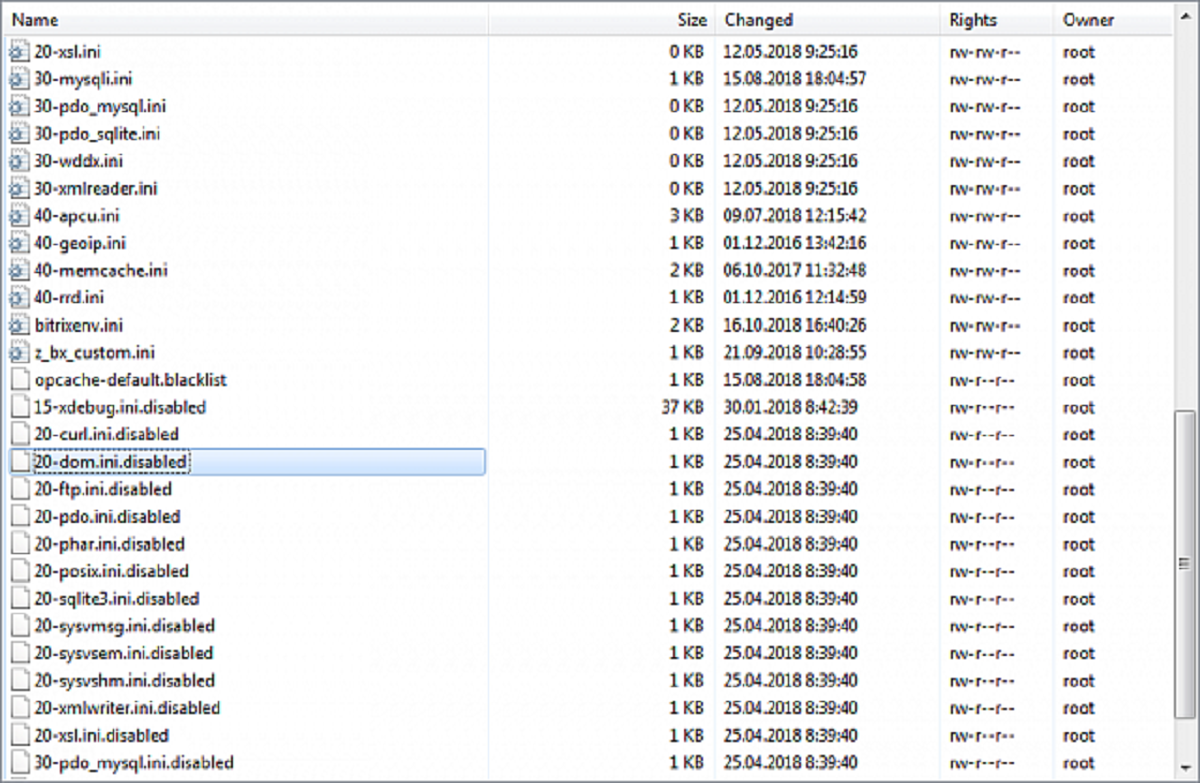
- Configure PHP settings: Depending on the size and complexity of the PDF files you plan to generate, you may need to adjust some PHP settings to ensure that the process doesn’t exceed the allowed memory or execution time. Open the php.ini file on your server and modify the following settings if necessary:
memory_limit: Increase the value if you encounter memory-related errors.max_execution_time: Increase the value if you experience timeouts during PDF generation.
Once you have completed these steps, you can move on to the next section, where we’ll create a simple HTML form to collect the data for our PDF file. By setting up PHP and the required libraries, we are now ready to embark on our journey of dynamically generating PDF files using PHP!
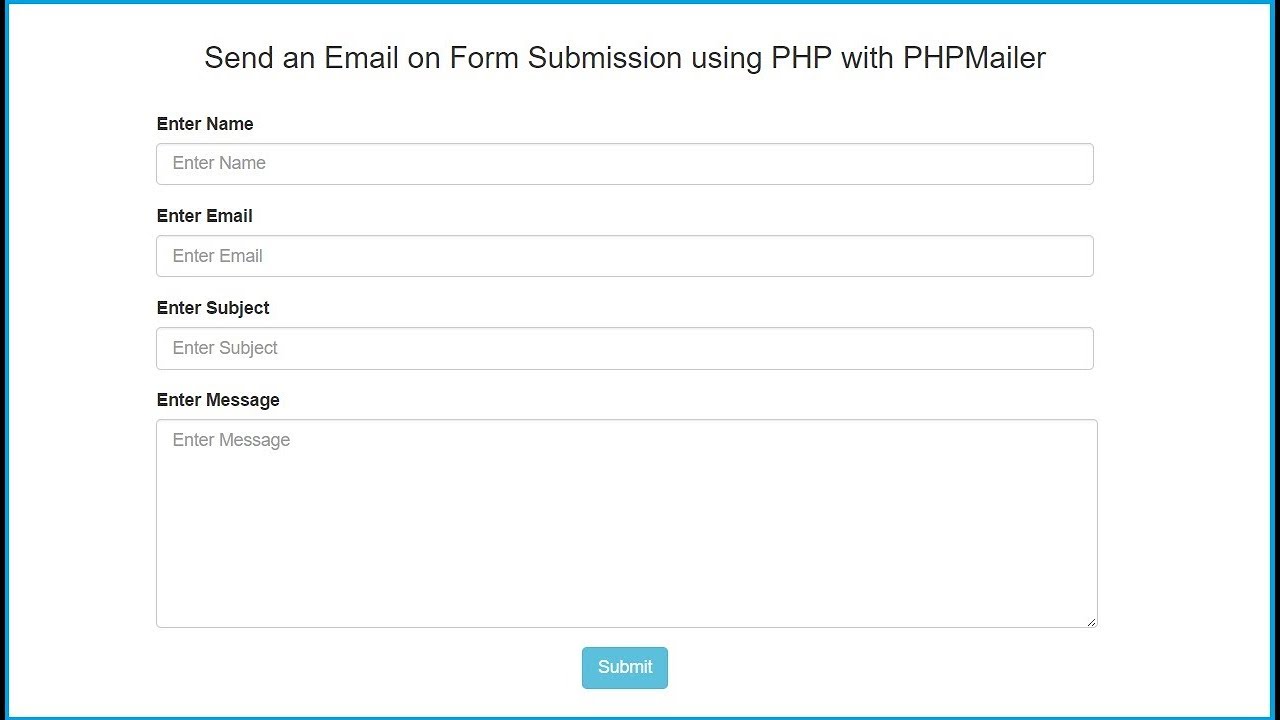
Creating a simple HTML form
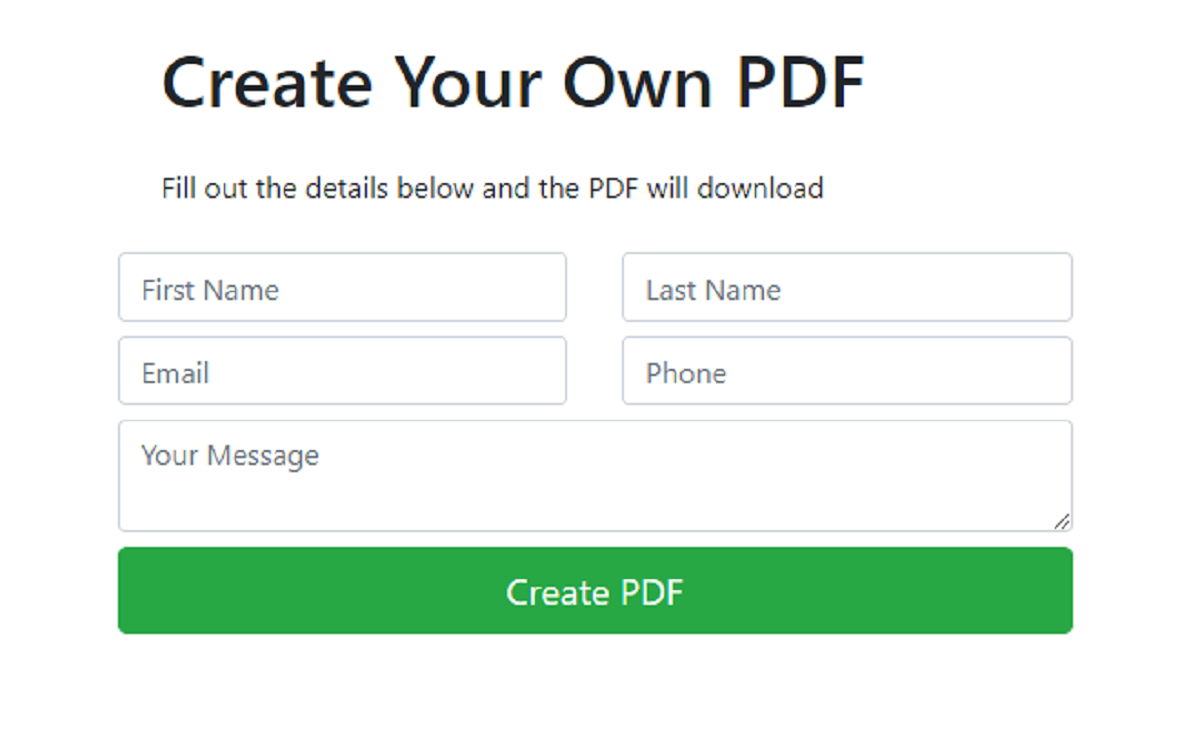
Now that we have PHP and the required libraries set up, let’s create a simple HTML form that will collect the data to be included in our PDF file. This form will allow users to input the necessary information that we will later convert into a PDF document. Follow the steps below to create the HTML form:
- Open your preferred text editor and create a new HTML file.
- Add the HTML
<form>element to create the form:
html
With these steps completed, you have successfully created a simple HTML form that will collect the necessary data for our PDF file. In the next section, we will learn how to handle the form submission in PHP and convert the form data into a PDF document.
Handling form submission in PHP
Now that we have our HTML form in place, it’s time to handle the form submission in PHP and convert the form data into a PDF document. Follow the steps below to handle the form submission:
- Create a new PHP file to handle the form submission. Let’s name it “process.php”.
- In the “process.php” file, retrieve the form data using the
$_POSTsuperglobal variable. This variable contains an associative array with the submitted form data. For example, to retrieve the user’s name, email, and message, you can use the following code: - Next, include the TCPDF library at the beginning of the file using the
require_oncestatement: - Create a new instance of the TCPDF class:
- Set the basic information for the PDF, such as the creator, title, and subject:
- Define the content of the PDF file using the
SetContent()method. This can include headers, text, images, or any other elements you want to include in the PDF: - Finally, output the generated PDF file using the
Output()method:
php
$name = $_POST[‘name’];
$email = $_POST[’email’];
$message = $_POST[‘message’];
Make sure to sanitize and validate the input data to ensure it is safe and meets the necessary requirements.
php
require_once(‘tcpdf/tcpdf.php’);
Make sure to specify the correct path to the TCPDF library if it is located in a different directory than the “process.php” file.
php
$pdf = new TCPDF();
php
$pdf->SetCreator(‘Your Name’);
$pdf->SetTitle(‘PDF Example’);
$pdf->SetSubject(‘Submitting Form Data to PDF’);
php
$pdf->SetContent(“Name: $name\n\nEmail: $email\n\nMessage: $message”);
php
$pdf->Output(‘generated_pdf.pdf’, ‘D’);
The first parameter of the Output() method specifies the filename of the generated PDF, and the second parameter determines how the PDF should be handled. In this example, ‘D’ is used to make the PDF automatically download to the user’s device. You can also use ‘I’ to open the PDF in the browser or ‘F’ to save it to a specific location on the server.
With these steps implemented, you have successfully handled the form submission in PHP and converted the form data into a PDF document. In the next section, we will learn how to save the generated PDF file on the server.
Converting form data into a PDF file
Once we have retrieved the form data and included the required TCPDF library, we can proceed to convert the form data into a PDF file. Follow the steps below to convert the form data into a PDF document:
- After retrieving the form data, create a new instance of the TCPDF class:
- Set the basic information for the PDF, such as the creator, title, and subject:
- Define the content of the PDF file using the
SetContent()method. This is where we will include the form data: - You can customize the appearance of the PDF file by setting various options. For example, you can set the font size, style, and alignment using the appropriate methods provided by TCPDF.
- You can also add additional elements to the PDF, such as images, tables, or QR codes using the appropriate methods provided by TCPDF. Refer to the TCPDF documentation for detailed information on how to include these elements in your PDF.
- Finally, you can output the generated PDF using the
Output()method:
php
$pdf = new TCPDF();
php
$pdf->SetCreator(‘Your Name’);
$pdf->SetTitle(‘PDF Example’);
$pdf->SetSubject(‘Form Data to PDF’);
php
$pdf->SetContent(“Name: $name\n\nEmail: $email\n\nMessage: $message”);
php
$pdf->SetFont(‘Helvetica’, ”, 12);
$pdf->SetFillColor(200);
$pdf->SetTextColor(0);
$pdf->SetXY(10, 50);
$pdf->Cell(0, 10, “Name: $name”, 0, 1, ‘L’, true);
This example demonstrates how to set the font, fill color, text color, position, and draw a cell in the PDF file. You can explore other methods and properties provided by TCPDF to further customize the appearance of your PDF.
php
$pdf->Output(‘generated_pdf.pdf’, ‘D’);
The first parameter of the Output() method specifies the filename of the generated PDF, and the second parameter determines how the PDF should be handled. In this example, ‘D’ is used to make the PDF automatically download to the user’s device. You can also use ‘I’ to open the PDF in the browser or ‘F’ to save it to a specific location on the server.
With these steps completed, you have successfully converted the form data into a PDF file. In the next section, we will learn how to save the generated PDF file on the server.
Saving the PDF file on the server
After generating the PDF file, you may want to save it on the server for future reference or to provide a download link to the users. Follow the steps below to save the generated PDF file on the server:
- After generating the PDF using the
Output()method, you can save it to a specific location on the server by specifying the path and filename in the first parameter of theOutput()method: - If you want to dynamically generate a unique filename for each PDF, you can use the
uniqid()function along with a timestamp to generate a unique identifier. For example: - After saving the PDF file, you can perform additional tasks such as updating your database with the file path or sending an email notification to the user with the download link. These additional steps are optional and depend on your specific requirements.
php
$pdf->Output(‘/path/to/save/generated_pdf.pdf’, ‘F’);
Make sure to replace /path/to/save/ with the desired directory path where you want to save the PDF file. Ensure that the server has write permissions in the specified directory.
php
$filename = ‘pdf_’ . uniqid() . ‘.pdf’;
$pdf->Output(‘/path/to/save/’ . $filename, ‘F’);
This will result in a filename like “pdf_56e4ab8e61e28.pdf” where “pdf_” is a prefix and the unique identifier is appended to it.
By following these steps, you can save the generated PDF file on your server. This allows you to organize and manage the PDF files according to your needs. In the next section, we will learn how to provide the users with the ability to download the generated PDF file.
Downloading the PDF file
Once the PDF file is generated and saved on the server, you can provide users with the option to download the file. This allows them to save a local copy of the PDF for future reference. Follow the steps below to enable users to download the generated PDF file:
- Create a download link in your HTML page that points to the location of the generated PDF file on the server. For example:
- Specify the
downloadattribute in the<a>tag to indicate that the file should be downloaded instead of opening in the browser.
html
Download PDF
Make sure to replace /path/to/generated_pdf.pdf with the actual file path and name of the generated PDF file.
With these steps implemented, users visiting your webpage will be able to click on the download link and save the generated PDF file to their devices. They can then access the PDF offline, print it, or share it as needed.
It’s worth noting that the availability of the PDF file for downloading may be subject to access restrictions or user authentication, depending on your specific application requirements. You may need to implement additional security measures to safeguard the PDF files from unauthorized access.
In the final section, we will summarize the key points covered in this tutorial and provide some closing thoughts.
Conclusion
Congratulations! You have successfully learned how to generate PDF files using PHP. By following the steps outlined in this tutorial, you can dynamically convert form data or any other data into professional-looking PDF documents that can be easily downloaded or printed by users.
We started by setting up PHP and the necessary libraries, ensuring that everything is properly configured. Then, we created a simple HTML form to collect the data that will be included in the PDF file. We learned how to handle the form submission in PHP, retrieve the form data, and convert it into a PDF using the TCPDF library.
Furthermore, we explored how to save the generated PDF file on the server for future reference or to provide users with the ability to download it. Finally, we learned how to create a download link in HTML to make it convenient for users to access the PDF file.
By mastering the skills presented in this tutorial, you can enhance your PHP development capabilities and provide valuable features to your web applications or websites. Generating PDF files dynamically opens up a world of possibilities, including generating invoices, reports, certificates, and more.
Keep in mind that this tutorial covered the basics of generating PDF files using PHP, but there is always room for further exploration and customization. Feel free to explore additional features and functionalities provided by the TCPDF library or other PDF generation libraries to expand your PDF generation capabilities.
Now it’s time to put your newfound knowledge into practice and create stunning PDF files with PHP. Happy coding!