Introduction
Connecting to a proxy server in Windows 7 can help you enhance your online security, privacy, and access to certain websites or online content. A proxy server acts as an intermediary between your computer and the internet, allowing you to browse the web anonymously and bypass any restrictions imposed by your network or internet service provider.
In this guide, we will walk you through the steps to connect to a proxy server in Windows 7. Whether you want to increase your online privacy or access geo-restricted content, configuring a proxy server can be a valuable tool in your online arsenal.
Before we begin, it’s important to note that connecting to a proxy server can have performance implications, as all your web traffic will be routed through an additional server. While this may slightly slow down your internet speed, the added security and functionality it provides is often well worth it.
Please keep in mind that the exact steps to connect to a proxy server may vary depending on the specific proxy service you are using. However, the general process remains the same across different proxy setups. So let’s dive in and learn how to connect to a proxy server in Windows 7.
Step 1: Accessing the Proxy Settings
The first step in connecting to a proxy server in Windows 7 is accessing the proxy settings. Here’s how you can do it:
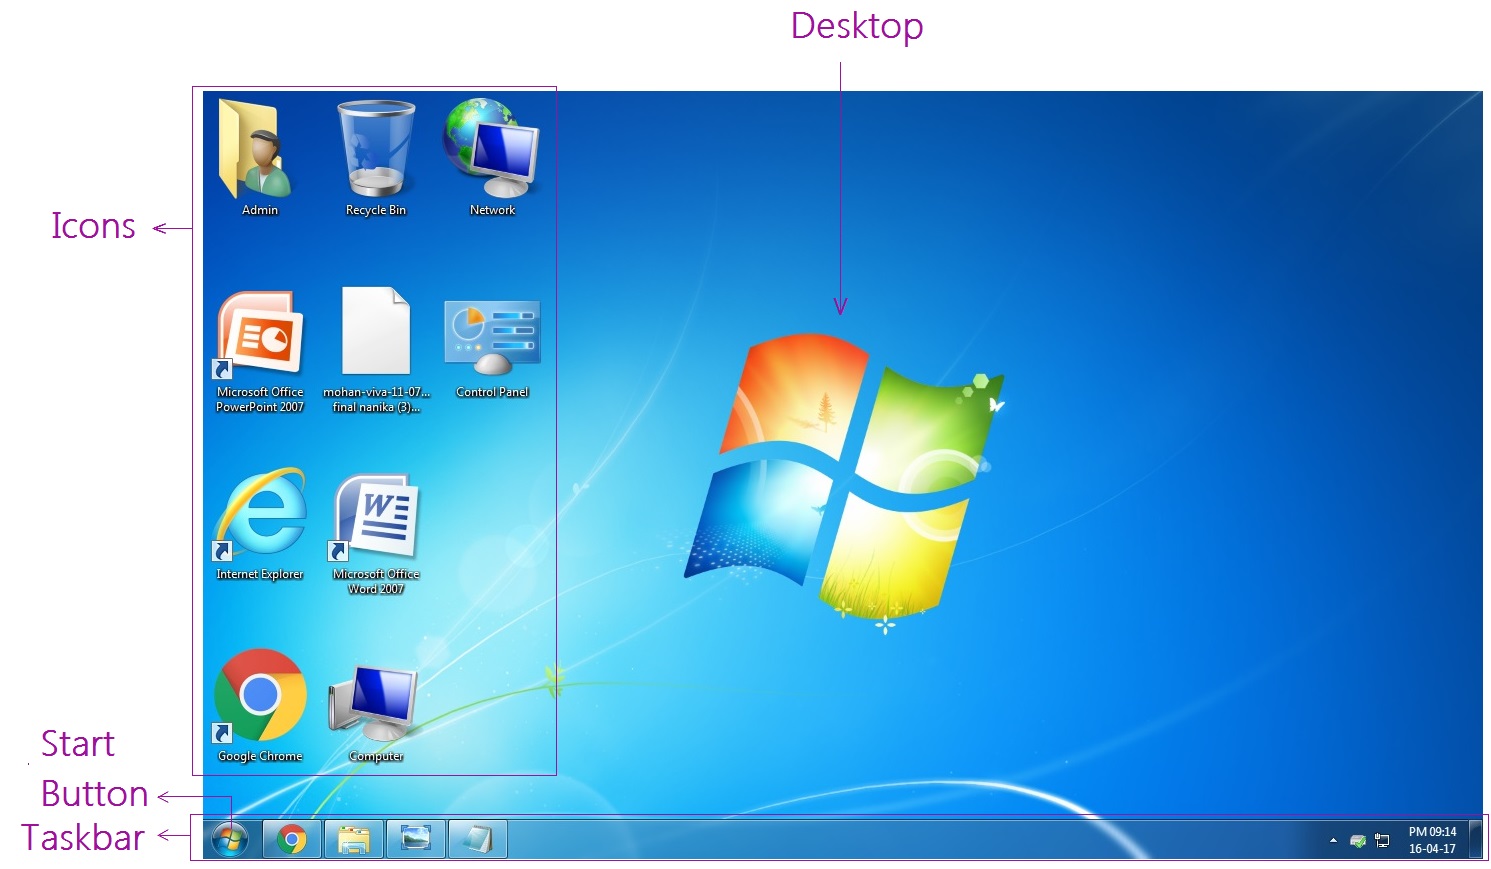
- Open the Control Panel by clicking on the Start button and selecting the Control Panel option from the menu.
- In the Control Panel, navigate to the “Network and Internet” category and click on it.
- Next, locate and click on the “Internet Options” icon. This will open the Internet Properties window.
- In the Internet Properties window, go to the “Connections” tab.
- Click on the “LAN settings” button. This will open the Local Area Network (LAN) Settings window.
By accessing the LAN settings, you will be able to configure the proxy server settings in Windows 7.
It’s worth mentioning that if you’re using a different web browser like Chrome or Firefox, you may need to access the proxy settings within the browser itself. Each browser has its own settings menu where you can configure the proxy server. However, for the purpose of this guide, we will focus on accessing the proxy settings through the Control Panel in Windows 7.
Once you have opened the LAN Settings window, you are ready to move on to the next step and configure the proxy server in Windows 7. Whether you’re using a free proxy service or a paid one, the steps to configure the proxy settings are similar across different proxy providers.
Step 2: Configuring the Proxy Server
After accessing the proxy settings, the next step is to configure the proxy server in Windows 7. Here’s how you can do it:
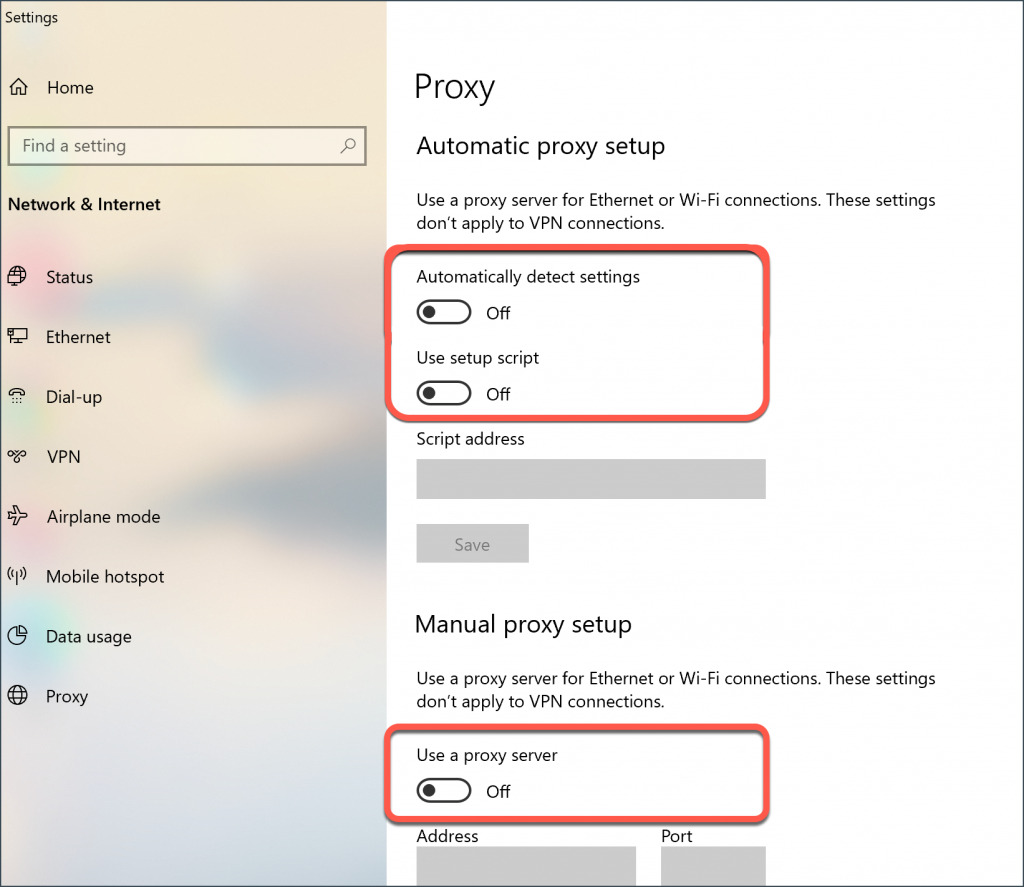
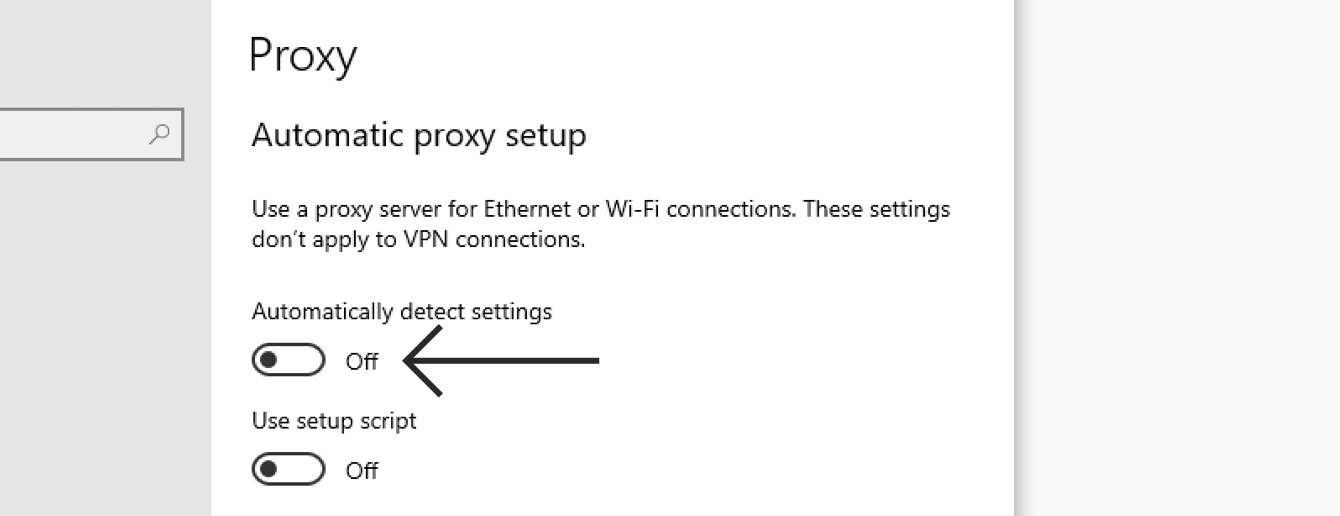
- In the Local Area Network (LAN) Settings window, check the box that says “Use a proxy server for your LAN.”
- Enter the IP address or domain name of the proxy server you want to connect to. You can obtain this information from your proxy service provider.
- Specify the port number that the proxy server uses. The default port for most proxy servers is 8080, but it may vary depending on your provider.
- If your proxy server requires authentication, check the box that says “Use automatic configuration script” or “Use a proxy server for your LAN,” depending on the setup provided by your proxy service. Then, enter the URL or file path of the configuration script provided by your proxy service.
- Click on the “OK” button to save your settings.
By configuring the proxy server settings, you are telling Windows 7 to route your internet traffic through the specified proxy server. This will enable you to browse the web anonymously and access content that may be otherwise restricted in your location.
It’s important to note that if you’re using a proxy server for specific applications or programs instead of your entire network connection, you can often configure the proxy settings directly within those applications. Common examples include web browsers like Chrome or Firefox, as well as some instant messaging or torrent clients. Refer to the documentation or settings menu of each specific application to set up the proxy server accordingly.
Once you have configured the proxy server settings in Windows 7, you’re just one step away from establishing the connection. Let’s move on to the next step and test the connection to ensure that everything is set up correctly.
Step 3: Testing the Connection
After configuring the proxy server settings in Windows 7, it’s important to test the connection to ensure that everything is working correctly. Here’s how you can do it:
- Open your web browser. It could be Internet Explorer, Chrome, Firefox, or any other browser you prefer.
- Type in a website address or URL in the address bar and press Enter.
- If the web page loads successfully, it means your connection to the proxy server is functioning properly. You are now browsing the web through the proxy server.
- To further verify that your IP address has changed, you can search for “What’s my IP” on your preferred search engine. The results should display a different IP address than your original one.
If the web page does not load or you encounter any issues, here are a few troubleshooting steps you can try:
- Double-check that you have entered the correct IP address or domain name of the proxy server.
- Verify that the port number is correct. The default port for most proxy servers is 8080, but it may vary depending on your provider.
- Ensure that any authentication details or configuration scripts provided by your proxy service are correctly entered.
- If you are still experiencing issues, try connecting to a different proxy server or contact your proxy service provider for assistance.
By testing the connection, you can confirm that your Windows 7 proxy server setup is functioning as intended. You can now enjoy the benefits of browsing the web securely, privately, and with unrestricted access through the proxy server.
Now that you have successfully connected to a proxy server in Windows 7 and tested the connection, you are ready to browse the web with enhanced privacy, security, and access to geo-restricted content. Remember that you can always modify or disable the proxy server settings in Windows 7 depending on your needs or preferences.
Conclusion
Connecting to a proxy server in Windows 7 can greatly enhance your online experience by providing increased privacy, security, and access to restricted content. By following the steps outlined in this guide, you can easily configure and connect to a proxy server in Windows 7.
Accessing the proxy settings through the Control Panel allows you to configure the proxy server and specify the necessary details, such as the IP address or domain name and the port number. You can also authenticate yourself if required by your proxy service provider.
After configuring the proxy server settings, it is crucial to test the connection to ensure that everything is set up correctly. By opening a web browser and navigating to a website, you can determine if your connection is working and if your IP address has changed, indicating that you are successfully browsing through the proxy server.
If any issues arise during the setup process or while testing the connection, double-checking the entered details and troubleshooting steps can help resolve them. Additionally, contacting your proxy service provider for assistance can offer further guidance.
Keep in mind that connecting to a proxy server may slightly impact your internet speed due to the additional routing of web traffic. However, the enhanced security, privacy, and access to restricted content outweigh this minor inconvenience for many users.
Now that you have successfully connected to a proxy server in Windows 7, you can enjoy the benefits of anonymous, secure, and unrestricted web browsing. Whether you’re looking to protect your online privacy or access geographically restricted content, utilizing a proxy server can be a valuable tool in your online toolkit.
Remember to periodically review and update your proxy server settings as needed and explore different proxy service options to find the one that best suits your requirements. Happy browsing!