Introduction
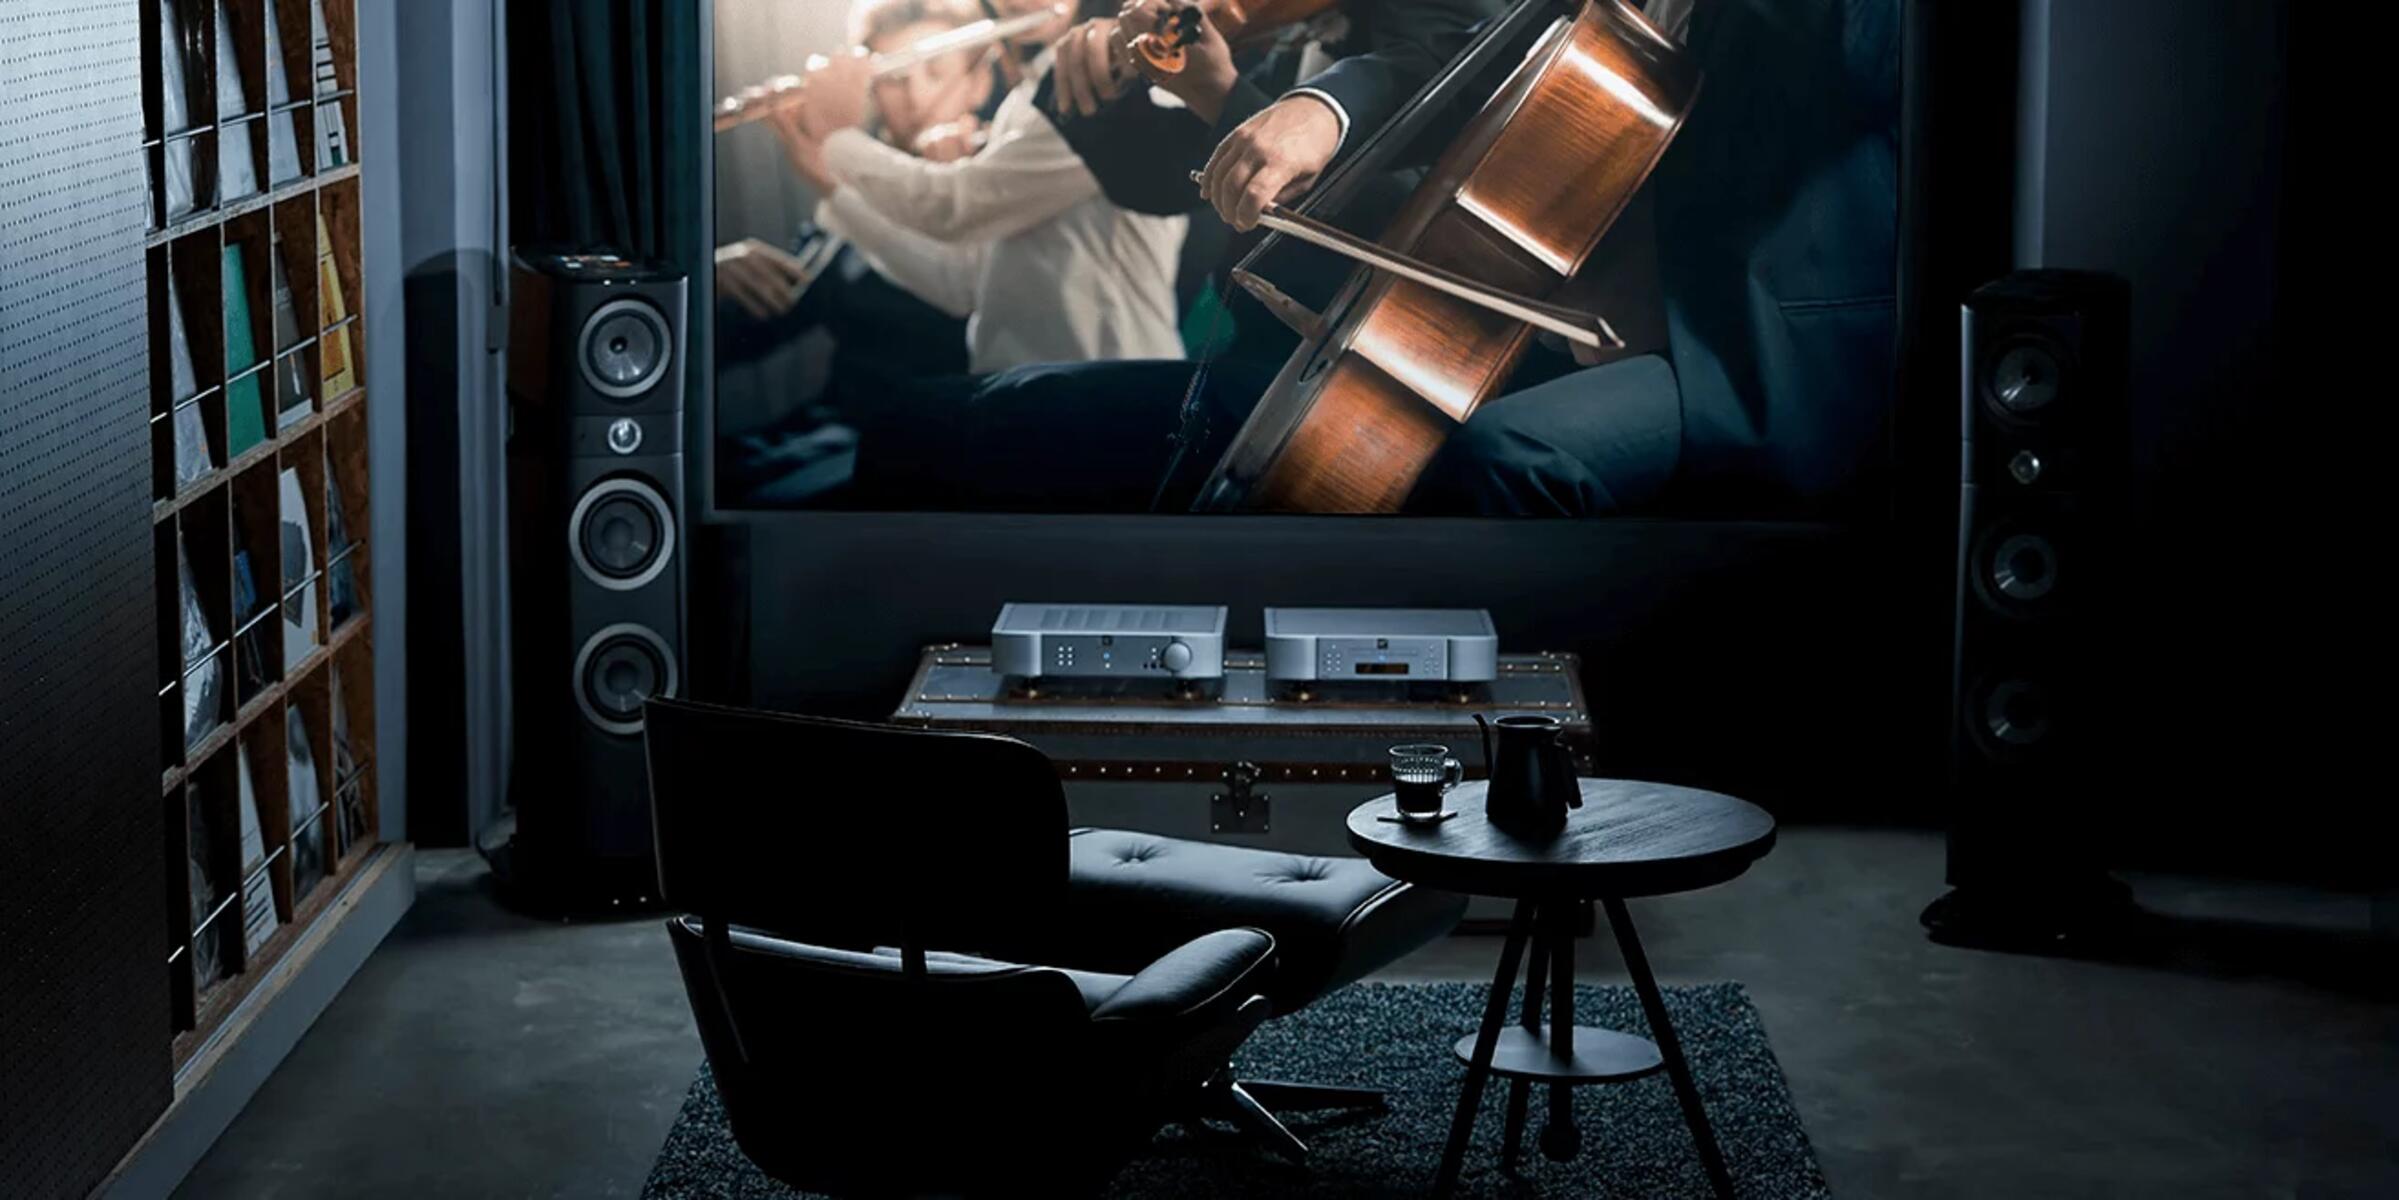
When it comes to enjoying a true cinematic experience at home, a high-quality projector can provide stunning visuals. However, to fully immerse yourself in the movie or to create a captivating audio-visual presentation, connecting sound to your projector becomes essential.
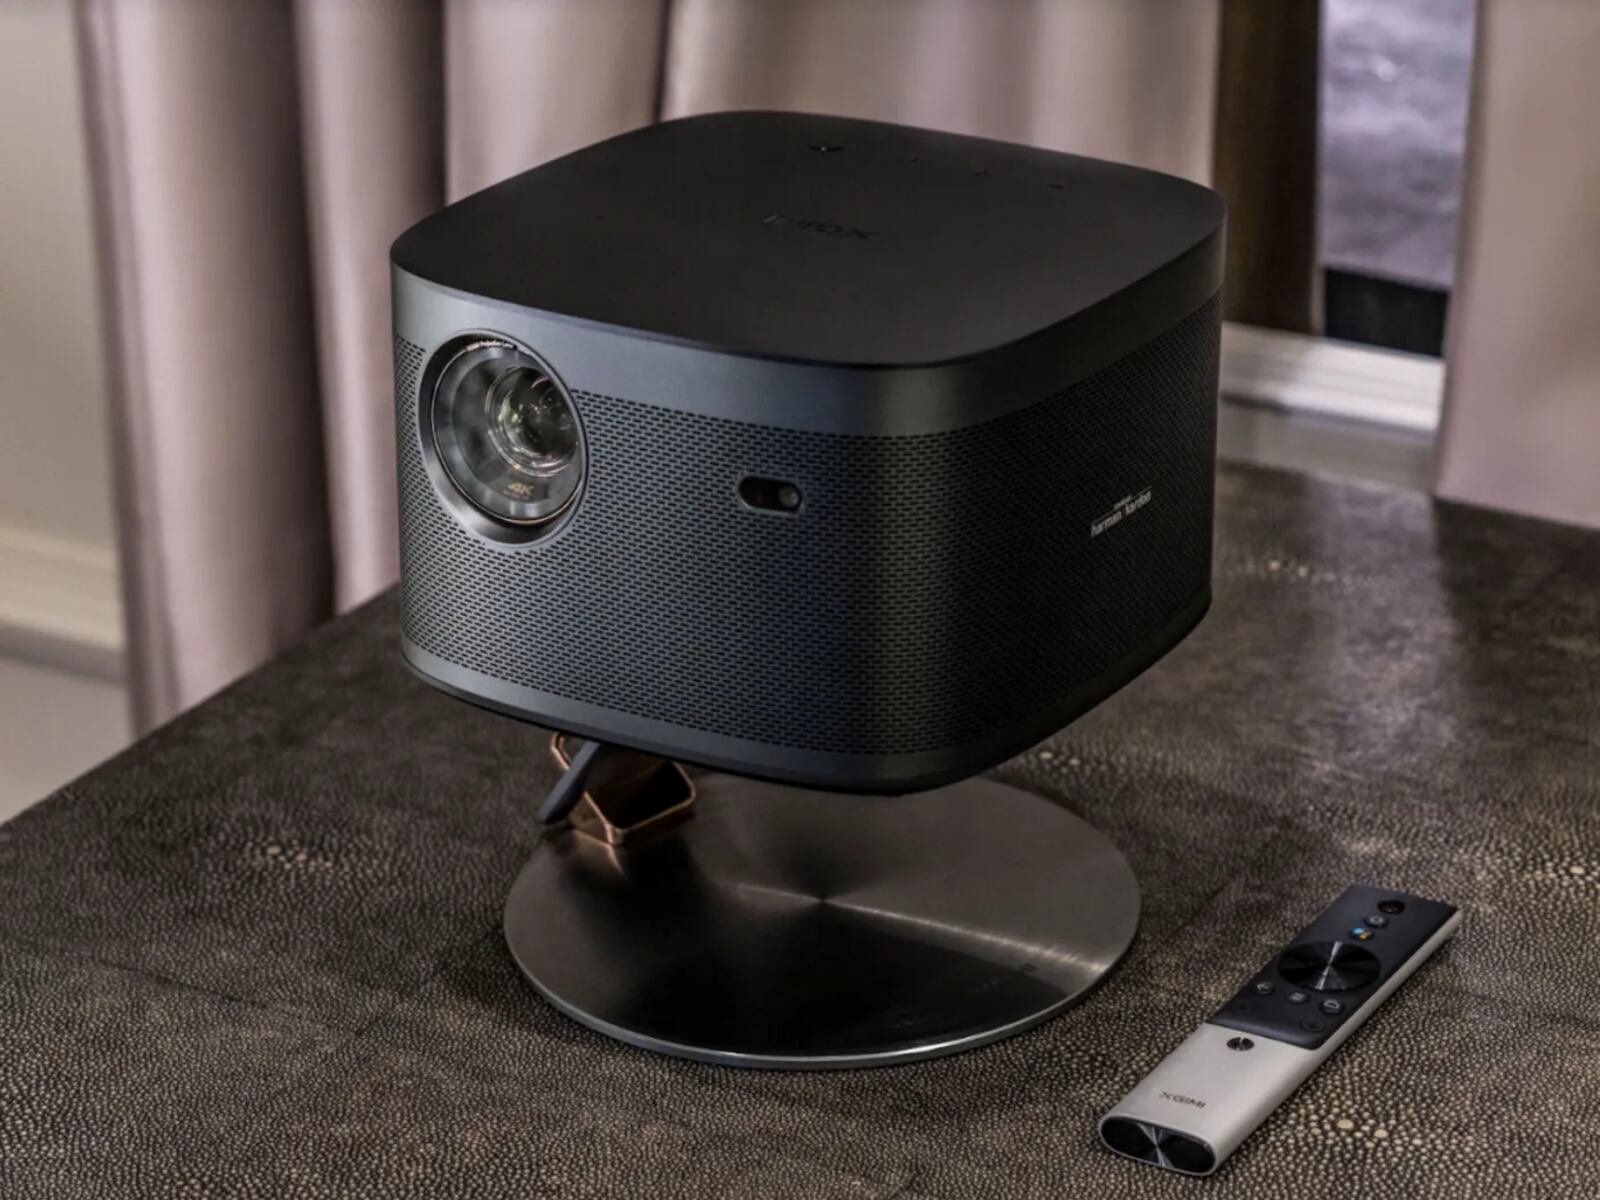
While projectors don’t typically come with built-in speakers, they offer various options for connecting external sound devices. By understanding these sound connection options, you can enhance the audio quality of your projector setup and elevate your viewing experience to new heights.
In this article, we will explore the different ways to connect sound to a projector and provide helpful tips for troubleshooting common sound connection issues. Whether you’re setting up a home theater or preparing for a business presentation, this guide will equip you with the knowledge you need to achieve optimal sound performance.
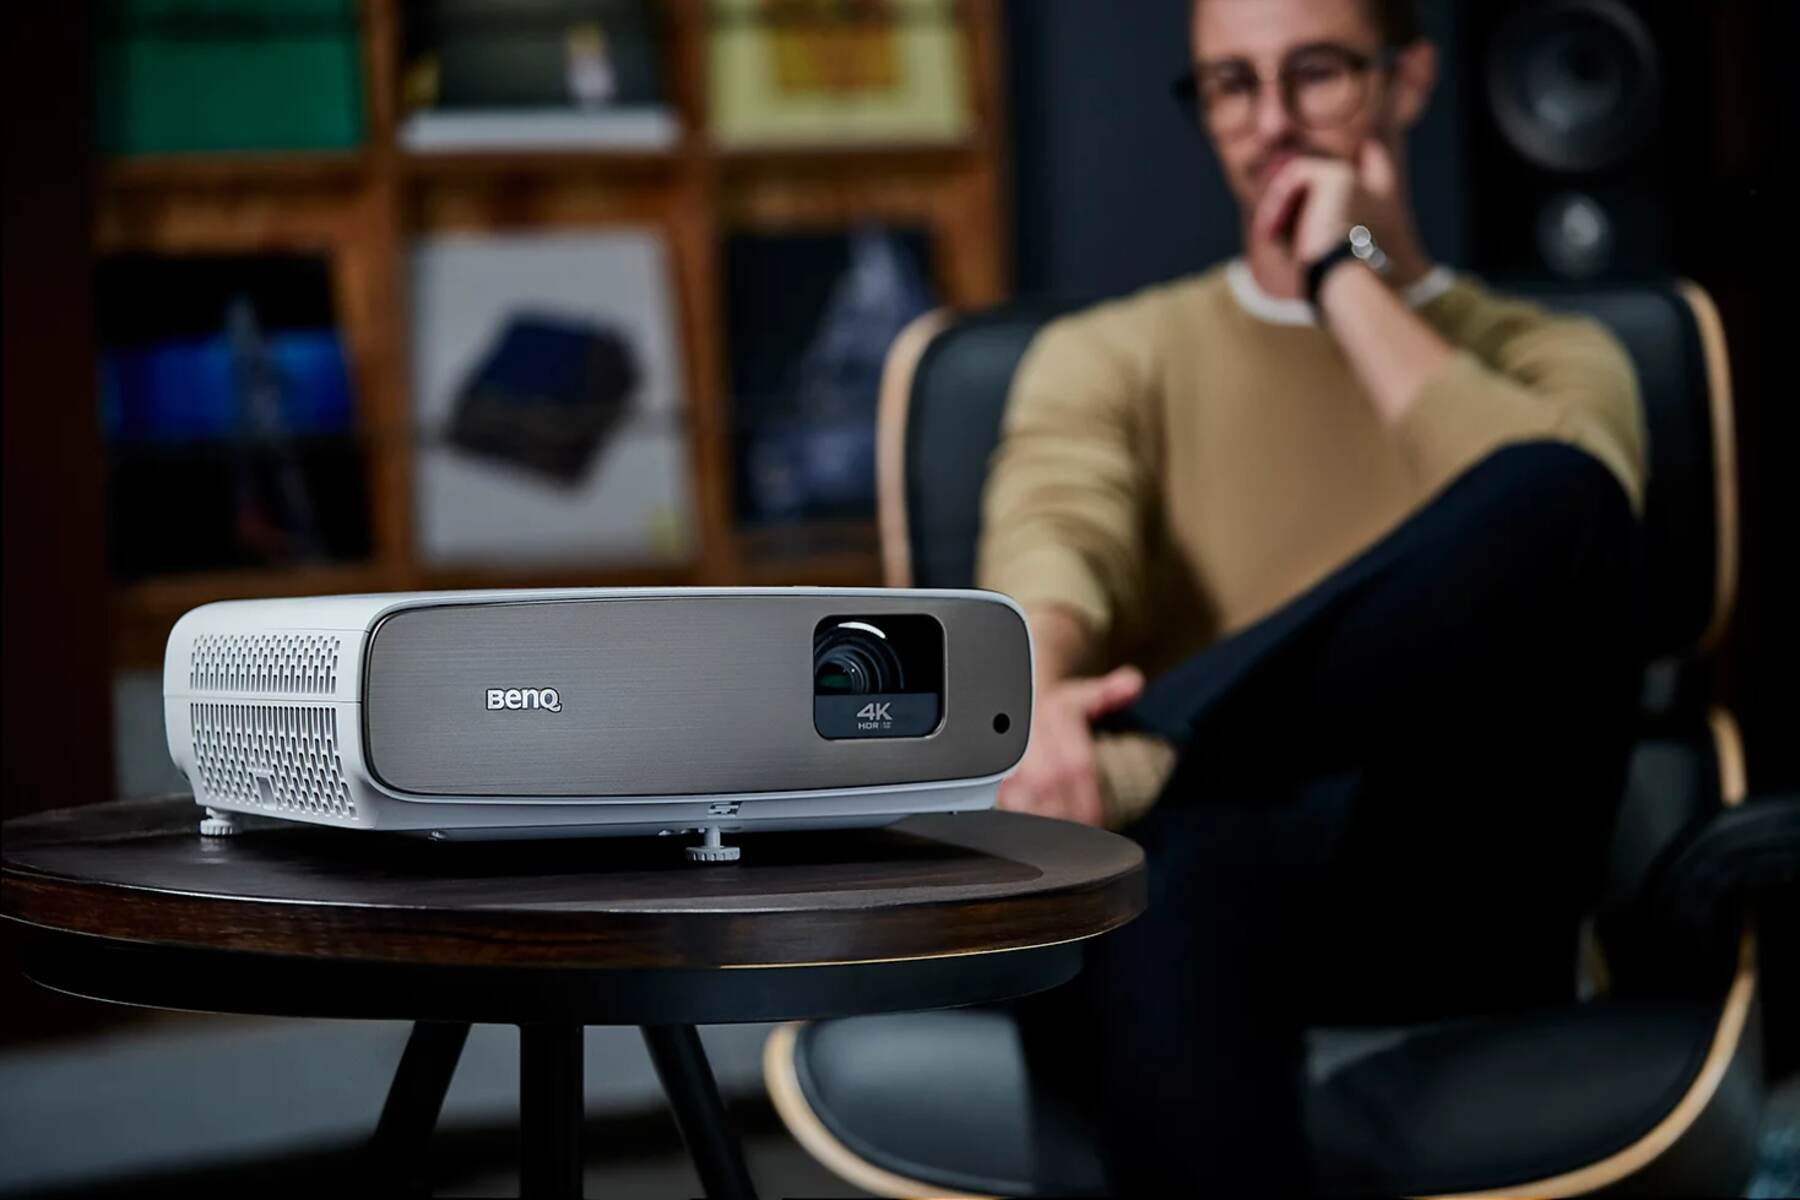
Before we delve into the details of connecting sound to a projector, it’s important to note that the specific sound options available may vary depending on the make and model of your projector. Therefore, it’s advisable to consult your projector’s user manual for detailed instructions tailored to your specific device.
Now, let’s dive into the various sound connection options and explore how you can achieve immersive sound playback with your projector.
Understanding the sound options for projectors
Before you connect sound to your projector, it’s important to understand the available sound options. Projectors typically offer a range of audio output ports that allow you to connect external speakers or sound systems. Let’s explore some of the most common sound connection options:
- HDMI: HDMI (High-Definition Multimedia Interface) is a popular audio and video interface that can transmit high-quality digital audio signals. Many projectors come equipped with HDMI ports, making it convenient to connect your audio source directly to the projector using an HDMI cable. This option ensures a simple setup and can provide excellent audio quality.
- HDMI ARC: HDMI ARC (Audio Return Channel) is a feature found in some projectors and audio systems. It allows for two-way communication between the projector and an ARC-compatible sound system. By connecting an ARC-enabled HDMI cable between the projector and the sound system, you can transmit audio from the projector to the speakers and control the sound system using the projector’s remote control.
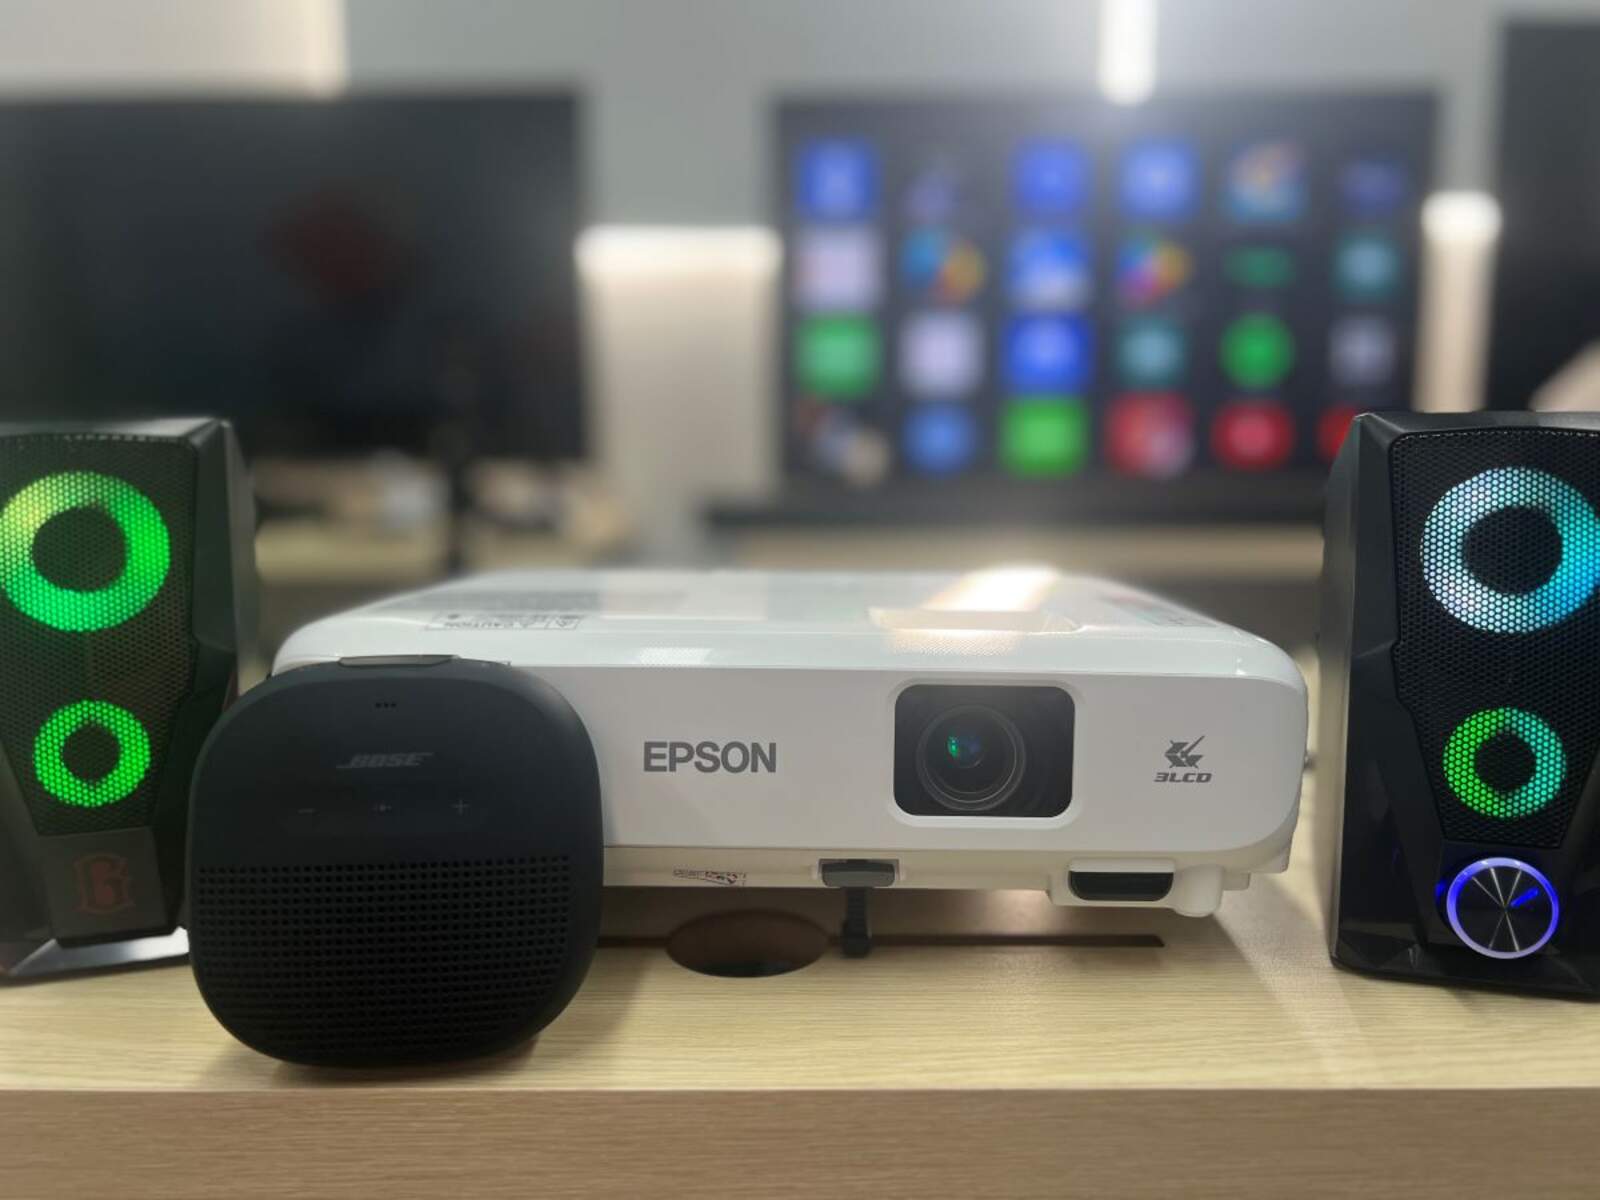
- 3.5mm Headphone Jack: Some projectors feature a 3.5mm headphone jack that allows you to connect external speakers or headphones directly. This option is suitable for smaller setups or when you want a quick and straightforward connection. Simply plug in your speakers or headphones into the jack, and you’ll have audio output from your projector.
- Optical Audio: Optical audio, also known as Toslink or S/PDIF, is a digital audio connection that transmits audio signals using light. If your projector and sound system support optical audio, you can use an optical audio cable to connect them. This option offers high-quality audio transmission and is commonly used in home theater setups.
By understanding the sound options available for your projector, you can choose the best connection method based on your specific setup and audio requirements. Whether you prefer a simple audio setup or a more advanced home theater experience, the right sound connection option will elevate your projector’s audio performance and bring your movies or presentations to life.
Connecting sound via HDMI
HDMI (High-Definition Multimedia Interface) is a commonly used method to connect both audio and video signals between devices. If your projector has an HDMI port, it provides a straightforward and convenient way to connect sound.
To connect sound via HDMI, follow these steps:
- Ensure that your projector and sound system have HDMI ports.
- Connect one end of an HDMI cable to the HDMI output port on your audio source, such as a Blu-ray player, streaming device, or laptop.
- Connect the other end of the HDMI cable to the HDMI input port on your projector.
- Using a separate HDMI cable, connect the HDMI output port on your projector to the HDMI input port on your sound system.
- Turn on your projector, audio source, and sound system.
- Access the settings on your projector and ensure that the audio output is set to HDMI. This step may vary depending on your projector model.
- Adjust the volume levels on your audio source and sound system to suit your preferences.
By connecting sound via HDMI, the audio signals from your source device will be transmitted to both the projector and the sound system simultaneously. This setup allows you to enjoy high-quality audio through your external speakers or sound system, enhancing the overall viewing or presentation experience.
It’s important to note that if you’re using a sound system with multiple HDMI inputs, you may need to select the correct input source on your sound system to ensure the audio is properly routed from the projector.
If your projector and sound system support HDMI ARC (Audio Return Channel), you can also control the sound system using the projector’s remote control. This feature eliminates the need for a separate remote to adjust volume or other sound settings.
Connecting sound via HDMI offers a simple and effective way to achieve enhanced audio performance with your projector. Whether you’re enjoying a movie with friends or delivering a presentation with impactful audio, the HDMI connection method ensures a seamless integration between your projector and sound system.
Connecting sound via HDMI ARC
HDMI ARC (Audio Return Channel) is a convenient feature available on some projectors and sound systems that simplifies the audio setup process. It allows for two-way communication between the projector and an ARC-compatible sound system, eliminating the need for extra audio cables.
To connect sound via HDMI ARC, follow these steps:
- Ensure that both your projector and sound system support HDMI ARC.
- Connect one end of an HDMI cable to the HDMI ARC output port on your sound system. This port is usually labeled “ARC” or has a distinctive marking.
- Connect the other end of the HDMI cable to the HDMI ARC input port on your projector. Again, this port is typically labeled “ARC.”
- Turn on your projector, audio source, and sound system.
- Access the settings on your projector and verify that the audio output is set to HDMI ARC.
- Adjust the volume levels on your audio source and sound system as desired.
When you connect sound via HDMI ARC, the audio signals from your projector will be transmitted to your sound system through the HDMI cable. Simultaneously, you can control the sound system using the projector’s remote control, making it more convenient to adjust volume levels or switch between audio modes without the need for multiple remotes.
It’s important to note that not all HDMI ports support ARC, so it’s necessary to use the designated HDMI ARC ports on both your projector and sound system. Additionally, make sure the HDMI cable you’re using is ARC-compatible to ensure a proper connection.
By connecting sound via HDMI ARC, you can enjoy high-quality audio playback through your sound system without the need for extra cables or complex configurations. This seamless integration between your projector and sound system enhances the overall audio experience and allows you to create an immersive environment for watching movies, playing games, or delivering presentations.
Connecting sound via 3.5mm headphone jack
If your projector features a 3.5mm headphone jack, you have the option to connect external speakers or headphones directly to the projector for audio output. This method is suitable for smaller setups or when you want a quick and straightforward connection.
To connect sound via the 3.5mm headphone jack, follow these steps:
- Locate the 3.5mm headphone jack on your projector. It is usually located on the side or the back of the device.
- If you’re using speakers, connect the audio cable from the speakers to the 3.5mm headphone jack on your projector. Ensure a secure connection.
- If you’re using headphones, simply plug them directly into the 3.5mm headphone jack on your projector.
- Turn on your projector and adjust the volume levels on your speakers or headphones to your preferred setting.
Connecting sound via the 3.5mm headphone jack offers a quick and convenient way to enjoy audio from your projector. However, it’s important to note that the audio quality may depend on the quality of the speakers or headphones you connect.
If you’re using headphones, make sure they have a suitable impedance level for the projector’s output. Additionally, using external powered speakers can provide better audio quality than relying on the projector’s built-in speaker.
Keep in mind that this connection method may not offer the same immersive sound experience as other options like HDMI or optical audio. However, it is a viable solution for situations where simplicity and portability are more important than high-fidelity sound.
If you plan to connect external speakers using the 3.5mm headphone jack, ensure that the speakers are positioned close to the projector for optimal audio synchronization. Additionally, always refer to your projector’s user manual for any specific instructions or limitations regarding using the 3.5mm headphone jack for audio output.
Connecting sound via the 3.5mm headphone jack provides a straightforward solution for obtaining audio output from your projector. Whether you’re watching a movie or giving a presentation, this method allows you to enjoy sound without the need for additional audio equipment or complex configurations.
Connecting sound via optical audio
If your projector and sound system support optical audio (Toslink or S/PDIF), using an optical audio cable to connect them can be an excellent choice for achieving high-quality audio transmission.
To connect sound via optical audio, follow these steps:
- Locate the optical audio output port on your projector. It is typically labeled as “Optical Out” or has a distinctive marking.
- Connect one end of the optical audio cable to the optical audio output port on your projector.
- Locate the optical audio input port on your sound system. It is usually labeled as “Optical In” or has a similar designation.
- Connect the other end of the optical audio cable to the optical audio input port on your sound system.
- Turn on your projector, audio source, and sound system.
- Set the audio output on your projector to optical audio. This step may vary depending on your projector model.
- Adjust the volume levels on your audio source and sound system as desired.
By connecting sound via optical audio, you can transmit digital audio signals from your projector to your sound system, resulting in excellent audio quality. This method is commonly used in home theater setups and ensures immersive audio reproduction.
It’s important to note that the optical audio cable is a fragile cable, so handle it with care to avoid any damage. Additionally, make sure that the optical audio port you’re using on your projector and sound system is clear of any dust or debris for a proper connection.
If your sound system has multiple optical audio inputs, you may need to select the correct input source on your sound system to ensure the audio signals from the projector are properly received.
Connecting sound via optical audio offers a reliable and high-fidelity solution for achieving excellent audio performance with your projector. Whether you’re enjoying a movie, gaming, or giving a presentation, this connection method ensures crisp and immersive sound that complements the visual experience.
Troubleshooting common sound connection issues
While connecting sound to a projector can enhance your viewing or presentation experience, it’s not uncommon to encounter some challenges along the way. Here, we’ll explore common sound connection issues and provide troubleshooting tips to help you overcome them:
- No audio: If you’re not hearing any sound from your connected speakers or sound system, first ensure that the volume levels are properly adjusted on both your projector and audio device. Additionally, check if the correct audio input is selected on your sound system.
- Poor audio quality: If you notice distorted or low-quality audio, verify that your audio cables are connected securely. Sometimes, loosely connected cables can result in weak or distorted sounds. Additionally, check the settings on your projector and sound system to ensure that the audio output is configured correctly.
- No sound through HDMI or HDMI ARC: If you’re using HDMI or HDMI ARC to connect the audio, ensure that both your projector and sound system support these features. Check if the HDMI cable is properly plugged into the correct input and output ports. You may also need to adjust the audio settings on your projector and sound system to enable audio playback through HDMI.
- Audio delay: If you’re experiencing a delay between the video and audio when using external speakers or sound systems, check if your sound system has an audio delay adjustment feature. You can adjust this setting to sync the audio with the video playback on your projector.
- Compatibility issues: Different devices and sound systems may have varying compatibility requirements. Ensure that your projector and audio device are compatible in terms of audio formats, output levels, and signal compatibility. Consult the user manuals or the manufacturer’s support resources for guidance on compatibility.
If you’re still facing issues with sound connectivity, consider updating the firmware or software of your projector and audio devices. Manufacturers often release updates to improve compatibility and address known issues. Additionally, consulting the user manuals or reaching out to the manufacturers’ customer support can provide valuable assistance in troubleshooting specific issues.
Remember, patience and perseverance are key when troubleshooting sound connection issues. Taking the time to explore different settings, checking connections, and ensuring compatibility will help you identify and resolve any problems, allowing you to enjoy optimal sound quality with your projector.
Conclusion
Connecting sound to a projector is an essential step to create an immersive audio-visual experience. By understanding the available sound options and following the appropriate connection methods, you can enhance the overall quality of sound in your projector setup.
Whether you choose to connect sound via HDMI, HDMI ARC, the 3.5mm headphone jack, or optical audio, each method offers its advantages and suits different setups and preferences.
Remember to consult your projector’s user manual for specific instructions tailored to your device. Troubleshooting common sound connection issues is a common part of the process, so don’t get discouraged if you encounter challenges along the way. With patience, persistence, and the troubleshooting tips provided, you’ll be able to resolve any issues and achieve optimal sound performance.
Now that you have a better understanding of sound connection options for projectors, you can confidently set up your audio system to enjoy a truly immersive viewing experience or deliver impactful presentations. Sit back, relax, and enjoy the powerful combination of stunning visuals and cinematic sound with your projector setup.