Introduction
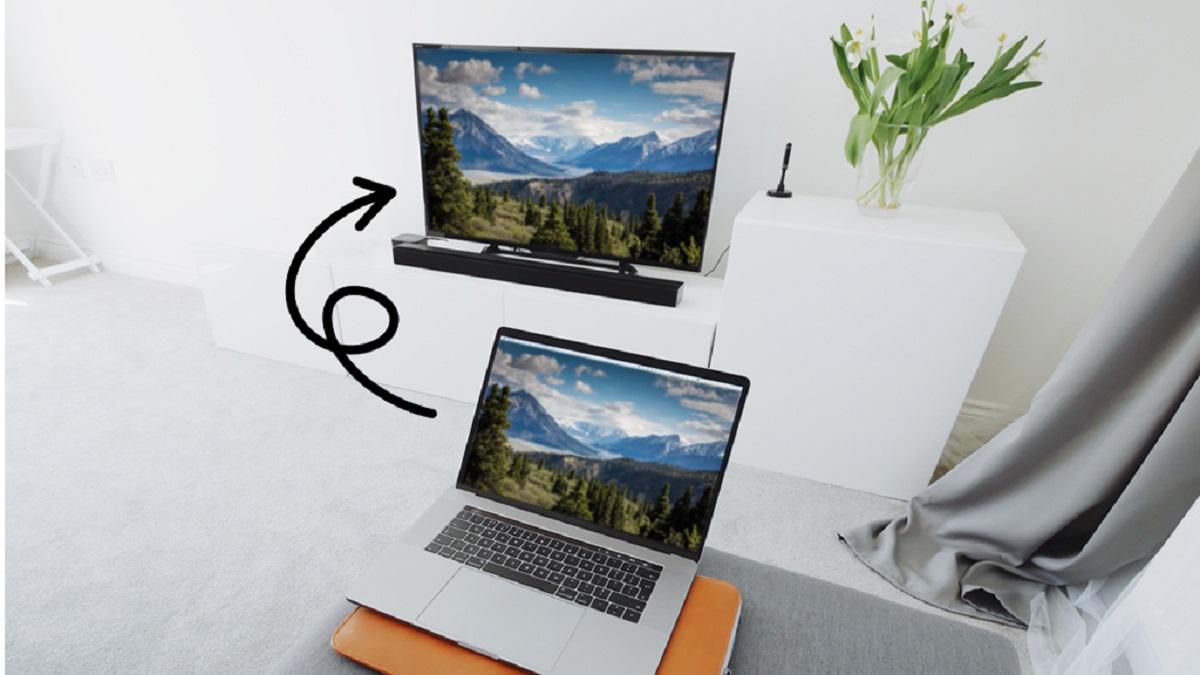
Connecting your computer to your Smart TV opens up a world of possibilities, allowing you to enjoy multimedia content, stream videos and movies, or play games on a bigger screen. Whether you have a smart TV with built-in streaming capabilities or a regular TV that can be connected to external devices, the process is relatively straightforward. In this guide, we will walk you through the steps to connect your computer to your smart TV using either cables or a wireless connection.
Before we dive into the details, it’s important to note that the specific steps may vary depending on the make and model of your smart TV and computer. However, the general principles remain the same, so this guide will provide you with a good starting point for connecting your devices.
So, let’s get started with the first step: checking the ports on your smart TV and computer. Both your TV and computer should have compatible ports for a successful connection.
Step 1: Check the Ports on Your Smart TV and Computer
Before connecting your computer to your smart TV, it’s essential to ensure that both devices have the necessary ports for a successful connection. The type of ports you have will determine the type of cable or wireless connection you can use.
Most smart TVs have multiple input ports, such as HDMI, VGA, or DisplayPort, while computers usually have output ports for video and audio signals. The most common port found on modern computers is HDMI, which is also present in many smart TVs. HDMI provides high-quality audio and video signals, making it an ideal choice for connecting your computer to your TV.
To check the ports on your smart TV, locate the side or back panel of the TV and look for the input or connection ports. Common ports include HDMI, VGA, USB, and Ethernet. Make sure to take note of the available ports and their corresponding labels.
Next, check the ports on your computer to see if it has an HDMI, VGA, or DisplayPort output. If your computer is relatively new, it is likely to have an HDMI output port. Laptops, in particular, often have multiple output options, including HDMI, DisplayPort, and VGA. If your computer lacks these ports, you may need to consider using an adapter or alternative connection method.
Once you have identified the available ports on both your smart TV and computer, you are ready to move on to the next step: choosing the right cable or wireless connection for your setup.
Step 2: Choose the Right Cable or Wireless Connection
After checking the ports on your smart TV and computer, the next step is to decide on the type of connection you will use to connect the two devices. There are two main options: using a cable or establishing a wireless connection.
If both your smart TV and computer have HDMI ports, using an HDMI cable is the most straightforward and convenient option. HDMI cables provide a direct and high-quality connection for transmitting both audio and video signals. Simply connect one end of the HDMI cable to the HDMI output port on your computer and the other end to the HDMI input port on your smart TV.
In case your computer lacks an HDMI port, you may need to consider using alternative cables such as VGA or DisplayPort. VGA cables are an older analog connection, so they may not deliver the same level of audio and video quality as HDMI. DisplayPort cables are a digital alternative and are capable of transmitting high-definition video and audio signals.
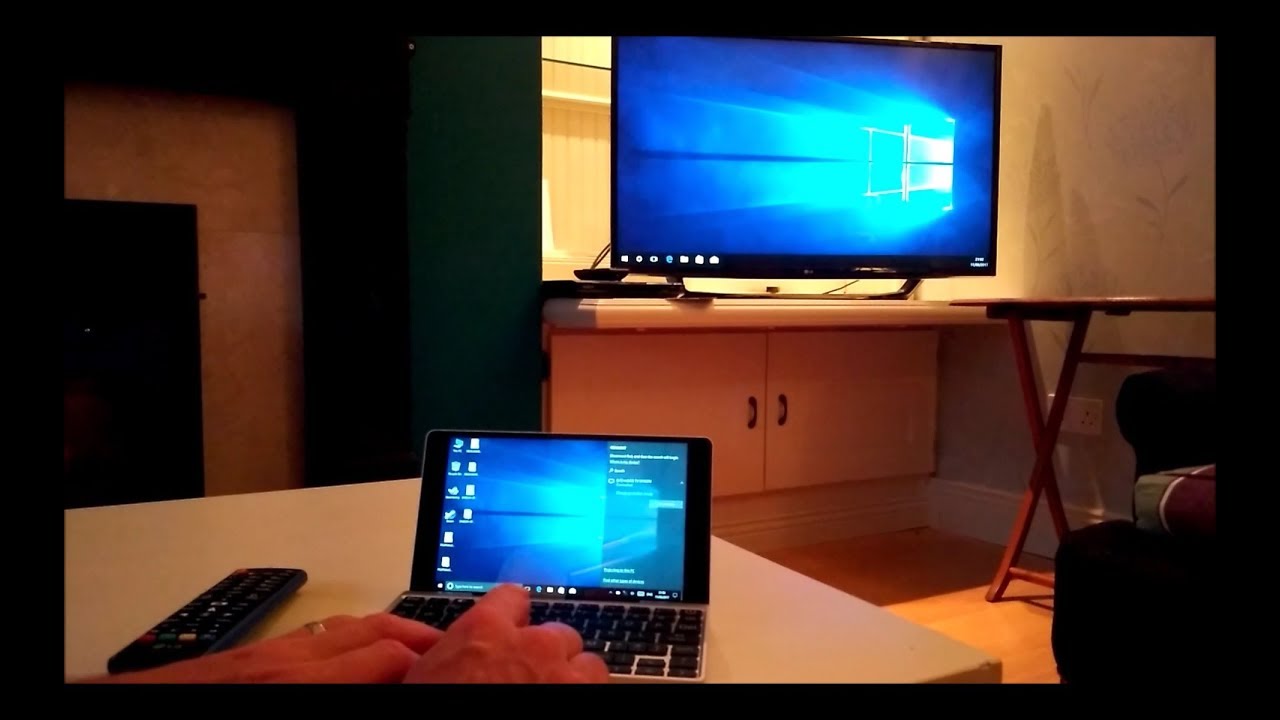
If you prefer a wireless connection, your smart TV may support built-in Wi-Fi capabilities, allowing you to establish a wireless connection with your computer. Check the user manual or the manufacturer’s website for instructions on how to enable and configure the wireless connection on your smart TV.
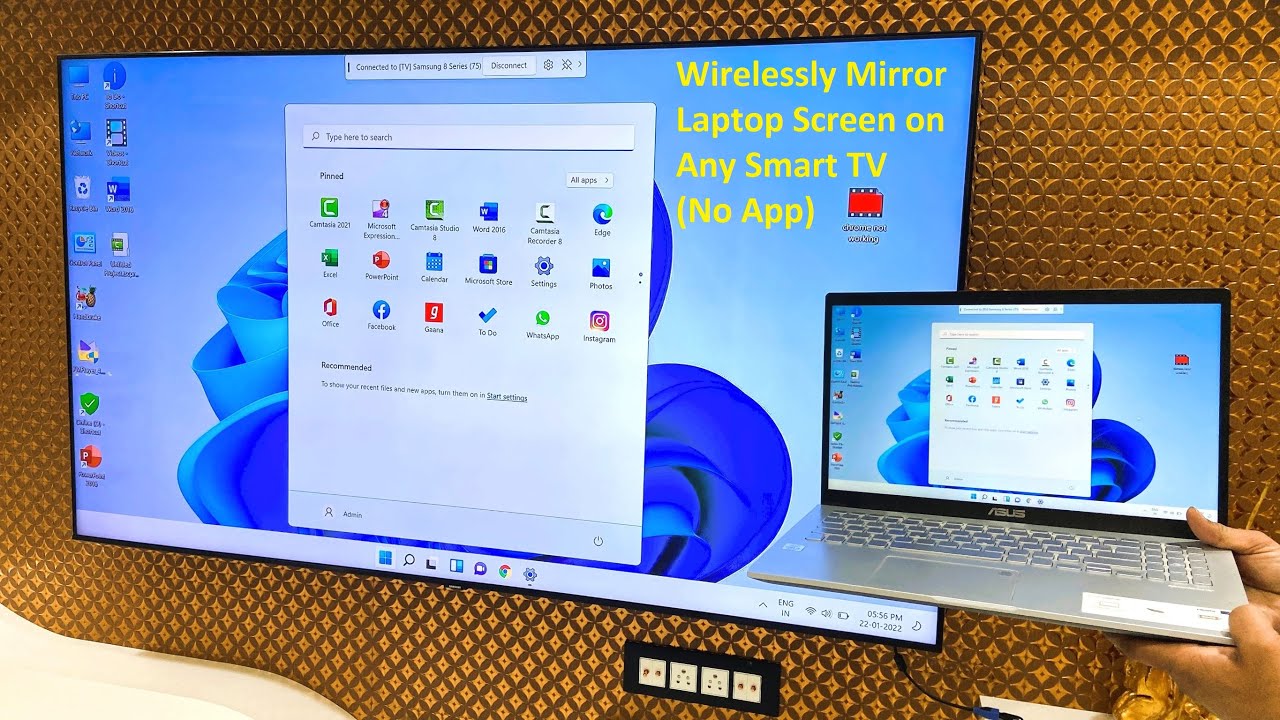
For computers, you can make use of technologies like Miracast or Chromecast to wirelessly mirror your computer screen on your smart TV. Miracast is available on many Windows PCs, while Chromecast is a popular casting device for both Windows and Mac computers. These options require a stable Wi-Fi connection and may have specific setup instructions, so refer to the respective user manuals or online resources for more details.
Once you have determined the type of connection you will use, it’s time to move on to the next step: connecting the cable from your computer to your smart TV and configuring the settings.
Step 3: Connect the Cable from Your Computer to Your Smart TV
With the right cable selected and in hand, it’s time to connect your computer to your smart TV. Follow these steps to establish a physical connection:
- Ensure both your computer and smart TV are turned off. This prevents any potential issues during the connection process.
- Identify the HDMI, VGA, or DisplayPort output port on your computer. Plug one end of the cable into this port.
- Identify the corresponding input port on your smart TV. Plug the other end of the cable into this port.
- Ensure the cable is securely connected to both the computer and smart TV. Gently wiggle the cable to confirm a solid connection.
Once the cable is connected, you can proceed with turning on both your computer and smart TV. Allow the devices to boot up completely before moving on to the next step.
It’s important to note that if you’re using an HDMI cable, the audio and video signals should automatically transmit from your computer to your smart TV. However, if you’re using a VGA or DisplayPort cable, you may need to adjust the audio settings to ensure the sound is being routed correctly.
Now that the cable is connected, move on to the next step: adjusting the display settings on your computer.
Step 4: Adjust Display Settings on Your Computer
Once the cable is securely connected between your computer and smart TV, you need to configure the display settings on your computer to ensure the optimal viewing experience on the TV screen. Follow these steps to adjust the display settings:
- On your computer, right-click on the desktop and select “Display settings” or “Screen resolution”.
- In the display settings window, you should see two displays listed: the primary display (your computer monitor) and the secondary display (your smart TV). Select the secondary display.
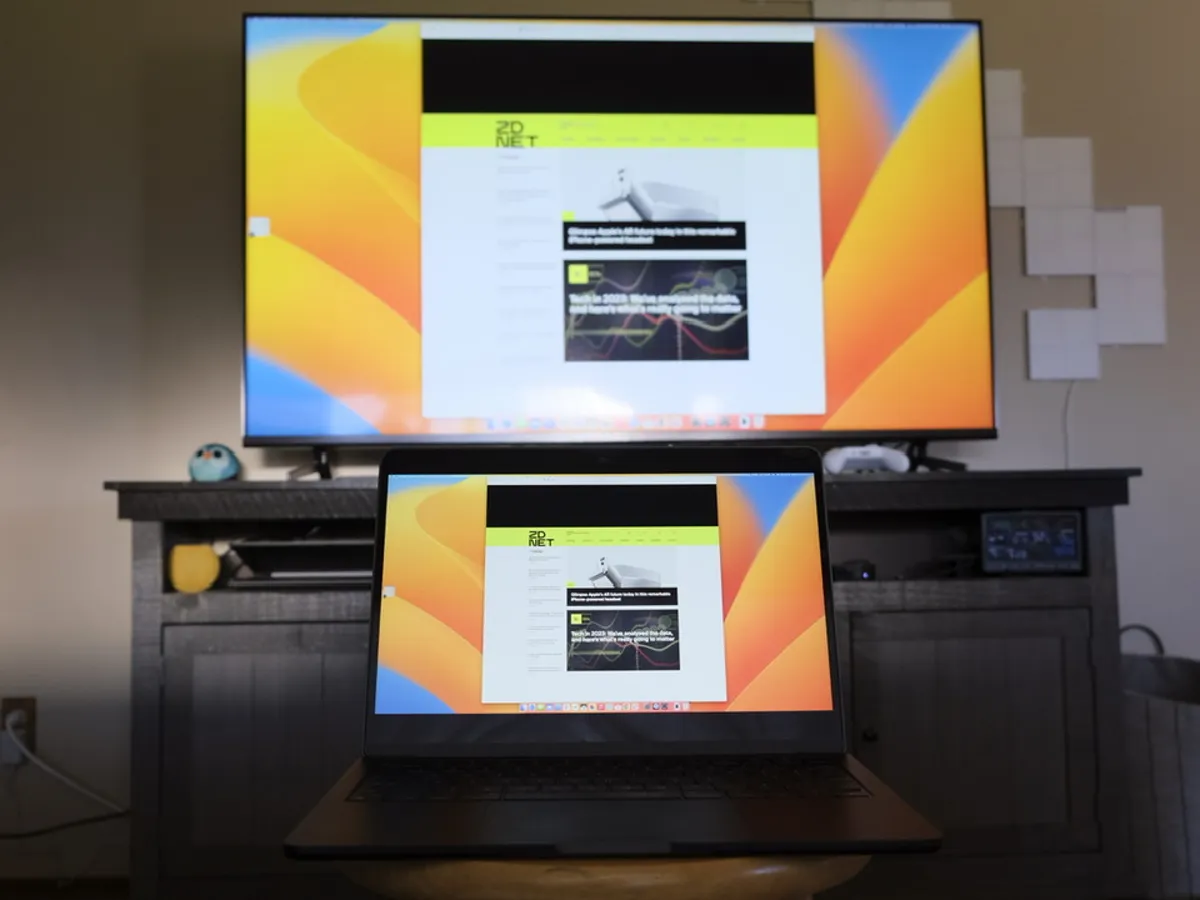
- Choose the desired display mode for your smart TV. You can usually select options like “Duplicate” (to mirror your computer screen), “Extend” (to use your smart TV as an extended display), or “Second screen only” (to use only your smart TV as the display).
- Adjust the screen resolution on your computer to match the optimal resolution supported by your smart TV. This will ensure the best display quality. Consult your smart TV’s user manual or manufacturer’s website for the recommended resolution.
- Make any additional display settings adjustments, such as orientation (landscape or portrait) or screen position.
After making the necessary adjustments, click “Apply” or “OK” to save the changes. Your computer should now be properly configured to display on your smart TV.
Note that the specific steps and options may vary depending on your computer’s operating system and graphics card. Refer to your computer’s user manual or online resources for more detailed instructions specific to your setup.
With the display settings configured, you can move on to the next step: setting up the audio settings for your smart TV.
Step 5: Set Up Audio Settings for the Smart TV
After connecting your computer to your smart TV and adjusting the display settings, it’s time to configure the audio settings to ensure you have sound coming from your TV speakers. Follow these steps to set up the audio settings:
- On your smart TV, go to the settings menu. The exact location may vary depending on your TV model, but you can usually access it by pressing the “Menu” button on your remote control.
- Look for the audio or sound settings within the TV’s menu. This section typically includes options related to audio output sources and settings.
- Select the appropriate audio output source. Since you connected your computer to the TV, choose the HDMI or audio input corresponding to the cable you used. If you are using a VGA or DisplayPort cable, additional steps may be required to route the audio separately.
- Adjust the audio settings as desired, such as volume levels, equalizer settings, or audio output type (e.g., stereo or surround sound).
- Test the audio by playing a video or audio file on your computer. Make sure the sound is coming from the TV speakers instead of your computer’s built-in speakers or external speakers.
Once you have completed the audio settings configuration, your computer should now output audio through your smart TV’s speakers. Adjust the volume on your TV to a comfortable level and enjoy your multimedia content with enhanced sound.
If you encounter any audio issues, double-check the cable connections and ensure the audio settings on both your computer and smart TV are correctly configured. You may also need to consult the user manuals or online resources specific to your particular devices for troubleshooting guidance.
With the audio settings set up, you are ready to utilize your computer on your smart TV and enjoy a more immersive multimedia experience.
Step 6: Troubleshooting Common Issues
While connecting your computer to your smart TV is usually a straightforward process, you may encounter some common issues along the way. Here are a few troubleshooting tips to help you address them:
- No display: If you don’t see any display on your smart TV, ensure that the cable is securely connected to both your computer and TV. You may also need to manually switch the input source on your smart TV to the appropriate HDMI or VGA input.
- No audio: If you have a video display but no sound, check that the audio cable is properly connected to both your computer and smart TV. Make sure the audio output settings on your computer and TV are correctly configured.
- Poor video quality: If the video quality is not as expected, double-check that you have set the correct screen resolution on your computer to match your smart TV’s recommended resolution. Additionally, ensure that the cable you’re using supports high-definition video signals.
- Incompatible ports: If your computer and smart TV have incompatible ports, you may need to utilize adapters or converters to establish a connection. Consult with a tech expert or refer to the user manuals for your devices to determine the appropriate adapters to use.
- Wireless connection issues: If you’re encountering difficulties with a wireless connection, ensure that your computer and smart TV are both connected to the same Wi-Fi network. Update the firmware or drivers for any devices involved in the wireless connection, such as Miracast or Chromecast.
- Audio/video sync: If you experience a delay between the audio and video playback, adjust the audio delay settings on your smart TV. This feature may be found in the audio settings menu.
If you have tried these troubleshooting tips and are still experiencing issues, consult the user manuals for your computer and smart TV or reach out to technical support for further assistance. They will be able to provide specific guidance based on your devices and setup.
By troubleshooting common issues, you can overcome any obstacles in connecting your computer to your smart TV and enjoy a seamless multimedia experience.
Conclusion
Connecting your computer to your smart TV opens up a whole new world of entertainment possibilities. By following the steps outlined in this guide, you can successfully establish a connection and enjoy your favorite multimedia content on a larger screen with enhanced audio.
We started by checking the ports on both your smart TV and computer to ensure compatibility. Then, we explored the options of using cables or a wireless connection, depending on the available ports and your preferences.
We walked through the process of connecting the cable from your computer to your smart TV and adjusting the display settings on your computer to optimize the viewing experience. Additionally, we discussed how to set up the audio settings on your smart TV to ensure sound output from the TV speakers.
To help you overcome any hurdles, we provided troubleshooting tips for common issues you may encounter along the way. By following these troubleshooting steps and consulting the user manuals or technical support, you can resolve most issues and achieve a seamless connection between your computer and smart TV.
Remember, the specific steps and options may vary depending on your devices and setup. Always refer to the user manuals or online resources provided by the manufacturers for detailed instructions specific to your equipment.
With your computer now connected to your smart TV, you can enjoy a more immersive multimedia experience, stream your favorite shows and movies, play games on a larger screen, or even give impressive presentations.
So, go ahead and connect your computer to your smart TV, and expand the possibilities of entertainment and productivity in your home or office setup!