Introduction
Welcome to this comprehensive guide on how to connect your Brookstone wireless earbuds. If you’ve recently purchased a pair of Brookstone earbuds or are considering doing so, you’re in the right place. These wireless earbuds provide you with the freedom to enjoy your favorite music, podcasts, or calls without the hassle of tangled wires.
Connecting your Brookstone earbuds to your device is a straightforward process that can be completed in just a few simple steps. Whether you’re using a smartphone, tablet, or a computer, we will walk you through the process so you can start enjoying a wire-free listening experience in no time.
Before we dive into the steps, it’s important to note that every model of Brookstone wireless earbuds may have a slightly different connectivity process. However, the fundamental principles remain the same. So, without further ado, let’s get started!
If you’ve ever connected any Bluetooth device to your smartphone or computer, you’ll find this process familiar. However, if you’re new to the world of wireless earbuds or Bluetooth connectivity, don’t worry. We’ll explain each step in detail, making it easy for beginners to follow along.
In the next sections, we will cover the necessary steps to connect your Brookstone wireless earbuds. From checking if the earbuds are charged to putting them in pairing mode and connecting them to your device, we’ve got you covered. By the end of this guide, you’ll be able to enjoy your favorite audio content wirelessly and hassle-free.
So, let’s begin with the first step: checking if the earbuds are charged.
Step 1: Check if the earbuds are charged
Before attempting to connect your Brookstone wireless earbuds, it’s essential to ensure that they are adequately charged. If the earbuds have a low battery, it may interfere with the connection process and cause frustration. Here are the steps to check if your earbuds are charged:
- Locate the charging port on your earbuds. It is usually located on the bottom or the side of the earbud.
- Connect the charging cable to the charging port of the earbuds.
- Plug the other end of the charging cable into a power source, such as a wall adapter or a USB port on your computer.
- Allow the earbuds to charge for the recommended amount of time specified in the user manual. This can vary depending on the model of your Brookstone earbuds.
- While the earbuds are charging, you can usually see a small LED light on the earbuds indicating that they are receiving power. The LED light may turn off or change color to indicate that the earbuds are fully charged.
Once your earbuds are fully charged, you’re ready to proceed to the next step of the connection process. It’s important to note that the charging time can vary depending on the battery capacity of your earbuds. Some models may fully charge within an hour, while others may require a longer charging time.
Ensuring that your Brookstone wireless earbuds have sufficient battery power before attempting to connect them will help ensure a smooth and uninterrupted pairing process. With a fully charged battery, you can enjoy hours of wireless audio without interruptions due to low power.
Now that you’ve checked that your earbuds are charged, let’s move on to the next step, which is turning on Bluetooth on your device.
Step 2: Turn on Bluetooth on your device
Before you can connect your Brookstone wireless earbuds to your device, you need to ensure that Bluetooth is enabled on your device. Bluetooth is a wireless technology that allows devices to communicate and connect wirelessly. Follow these steps to turn on Bluetooth on your device:
- Unlock your device and go to the settings menu.
- Scroll down and look for the “Bluetooth” option. Tap on it to access the Bluetooth settings.
- You will see a toggle switch next to the Bluetooth option. Tap on the switch to turn it on. It may take a few seconds for your device to enable Bluetooth.
- Once Bluetooth is enabled, your device will start scanning for available Bluetooth devices nearby.
Keep in mind that the exact steps to enable Bluetooth may vary depending on the operating system of your device. The above steps are general guidelines, but you may need to consult your device’s user manual or perform an internet search for specific instructions based on your device.
Once you have successfully turned on Bluetooth on your device, it’s time to move on to the next step, which is putting your Brookstone earbuds into pairing mode.
Step 3: Put the earbuds in pairing mode
To establish a connection between your Brookstone wireless earbuds and your device, you need to put the earbuds into pairing mode. In pairing mode, the earbuds are ready to be discovered and connected to your device via Bluetooth. Follow these steps to put your earbuds into pairing mode:
- Ensure that your earbuds are powered off. If they are powered on, turn them off by pressing and holding the power button until the earbuds shut down.
- Next, press and hold the power button for a few seconds. This will activate the pairing mode. Different Brookstone earbud models may have slightly different methods to enter pairing mode, so consult your user manual or the manufacturer’s website for specific instructions if needed.
- While in pairing mode, you may see a blinking LED light or hear an audio prompt indicating that the earbuds are ready to connect.
It’s important to note that the duration of the pairing mode may vary. Some earbuds enter pairing mode for a specific period, while others may stay in pairing mode until they are successfully connected to a device or manually turned off. Refer to your user manual for the exact instructions regarding pairing mode for your specific model of Brookstone earbuds.
With your earbuds in pairing mode, you’re ready to move on to the next step, which involves connecting the earbuds to your device.
Step 4: Connect the earbuds to your device
Now that your Brookstone wireless earbuds are in pairing mode, it’s time to connect them to your device. Follow these steps to establish a connection between your earbuds and your device:
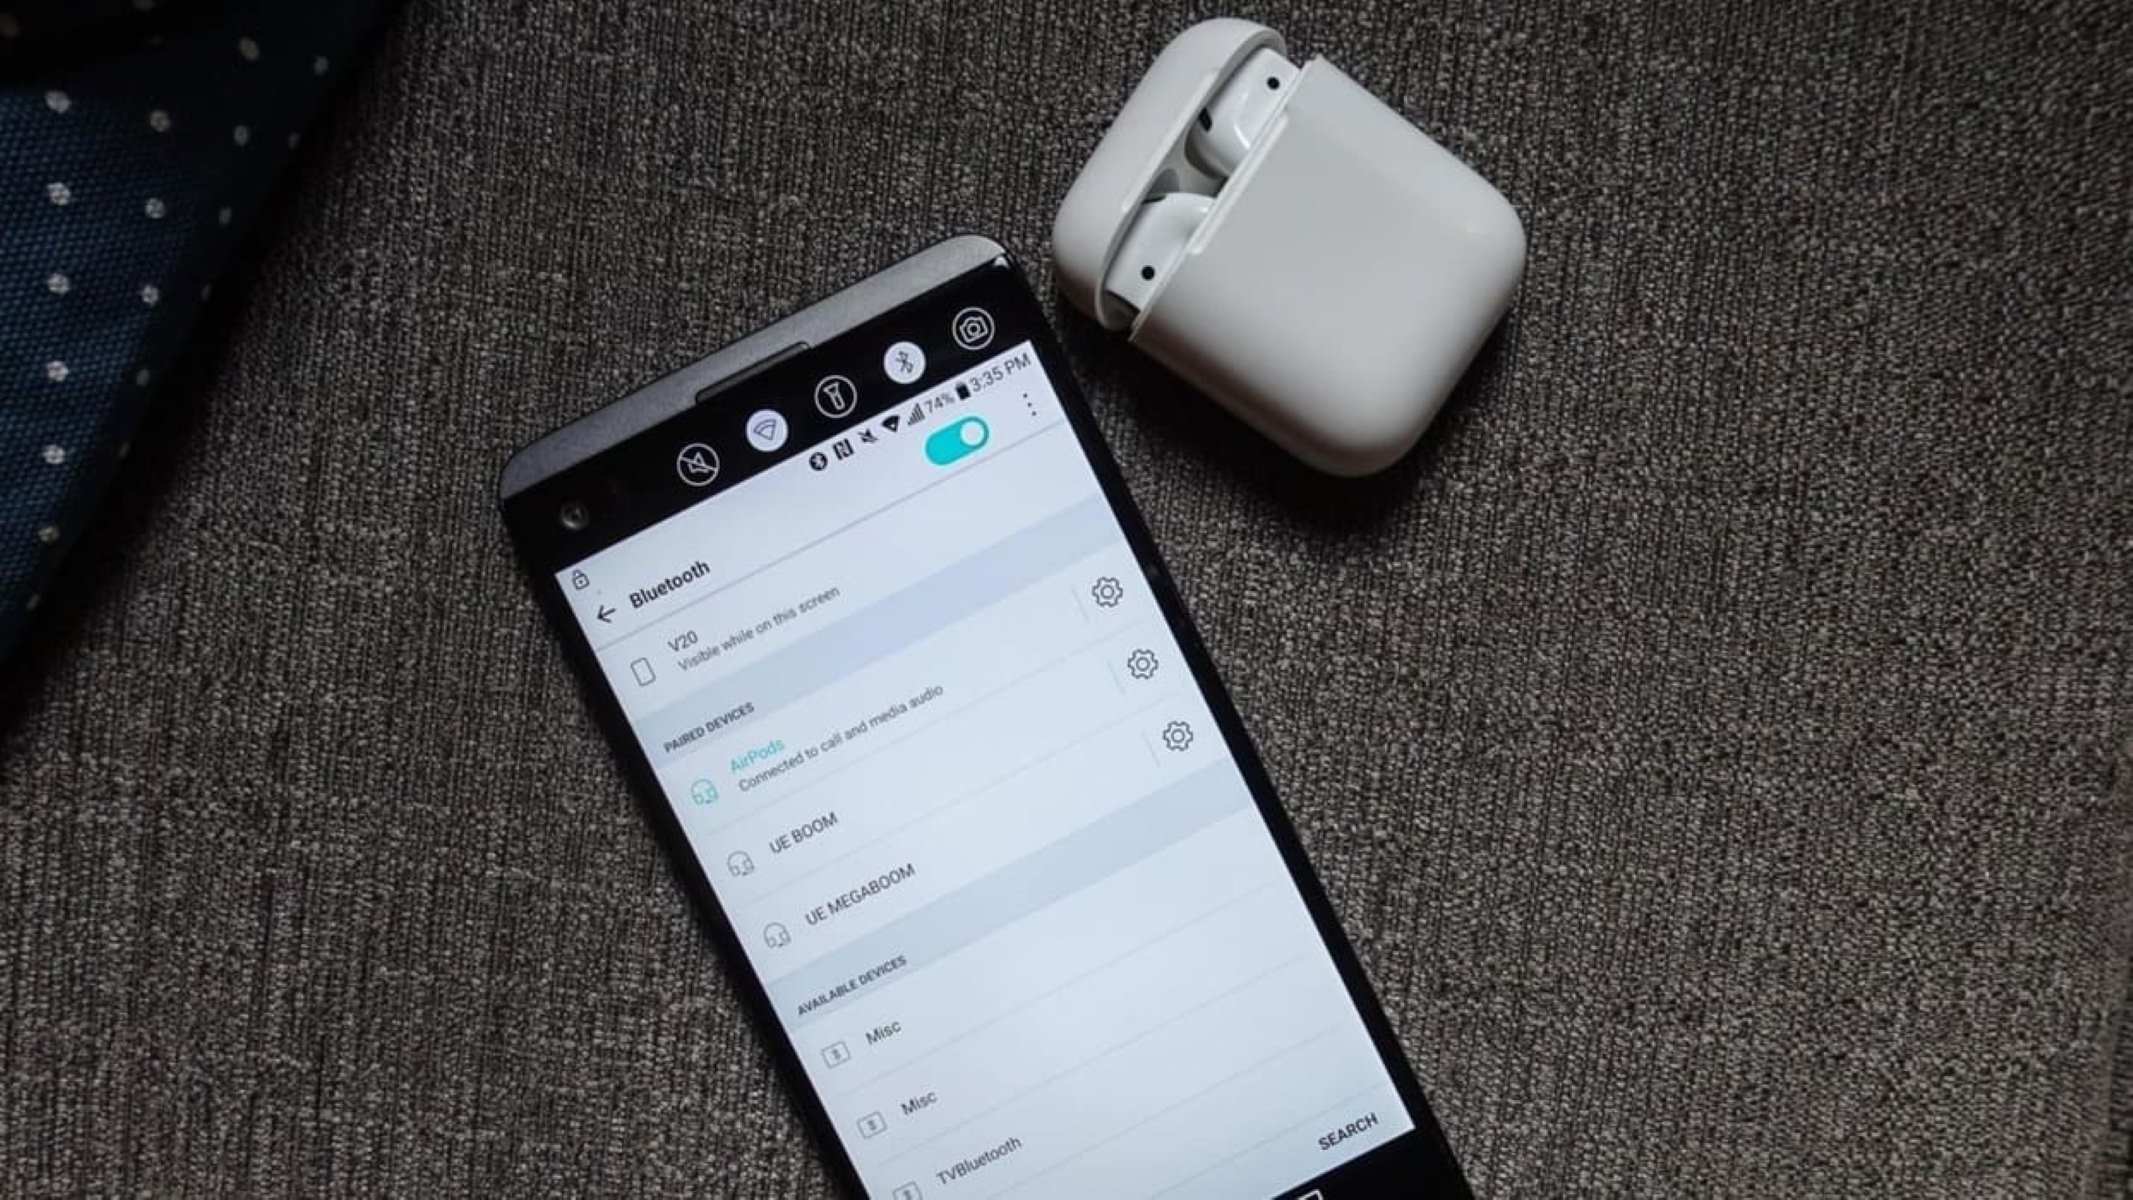
- Open the Bluetooth settings on your device. This can usually be found in the settings menu, or you may have a shortcut icon in the notification panel or control center.
- In the list of available Bluetooth devices, you should see your Brookstone earbuds listed. It may be identified with the specific model name or a generic name like “Brookstone Earbuds”. Tap on the earbuds to select them.
- Your device will start the pairing process and attempt to establish a connection with the earbuds. This may take a few seconds.
- If prompted, enter any required PIN or passcode to pair your device with the earbuds. You may find this information in the user manual or on the manufacturer’s website.
- Once the pairing process is completed, your device will show a confirmation message or a connected status for the earbuds.
After successfully connecting your Brookstone wireless earbuds to your device, you should be able to enjoy audio playback, make calls, and control other functions directly from your earbuds. Some models may also provide additional features such as volume control, track skipping, and voice assistant integration.
If your device fails to connect to the earbuds, make sure they are still in pairing mode and try the connection process again. It’s also a good idea to ensure that your device is within the Bluetooth range of the earbuds and that there are no obstructions interfering with the signal.
With the earbuds connected to your device, you’re almost ready to start using them. However, before you can fully dive into your audio experience, it’s important to test the connection and ensure everything is working correctly. Let’s move on to the next step and perform a quick test.
Step 5: Test the connection
Once you have successfully connected your Brookstone wireless earbuds to your device, it’s important to test the connection to ensure that everything is working as expected. Here are a few steps you can take to test the connection:
- Play a song or audio file on your device. Ensure that the volume is set to an audible level.
- Listen carefully to the sound quality coming from your earbuds. Make sure that the audio is clear, without any distortion or static.
- You can also test the functionality of the earbuds’ controls, if available. For example, try adjusting the volume, skipping tracks, or using voice commands if your earbuds support it.
- If you’re using the earbuds for calls, make a test call to ensure that the audio quality is satisfactory and that the microphone is working correctly.
- Walk around your space while listening to the audio. This will help you determine the effective range of your earbuds and ensure that there are no dropouts or signal loss.
If you encounter any issues during the testing phase, such as poor audio quality, connectivity problems, or dysfunctional controls, try the following troubleshooting steps:
- Disconnect the earbuds from your device and repeat the pairing process outlined in Step 4.
- Make sure that your device’s software is up to date. Updating the operating system or firmware can often resolve compatibility issues.
- Restart your device and perform a reset on your earbuds if necessary. Consult the user manual for instructions on how to reset your specific model.
- If the problem persists, reach out to Brookstone customer support for further assistance.
By testing the connection and addressing any issues promptly, you can ensure a seamless and enjoyable experience when using your Brookstone wireless earbuds.
With everything set up, tested, and working smoothly, you’re now ready to fully immerse yourself in your favorite audio content, whether it’s music, podcasts, or even phone calls. Enjoy the freedom and convenience provided by your Brookstone wireless earbuds!
Conclusion
Congratulations! You have successfully learned how to connect your Brookstone wireless earbuds to your device. By following the steps outlined in this guide, you can now enjoy a wire-free and hassle-free audio experience.
We started by checking if the earbuds were charged, ensuring that you have enough battery power to enjoy uninterrupted listening. Then, we moved on to turning on Bluetooth on your device, a crucial step that allows for seamless connectivity.
Next, we put the earbuds into pairing mode, making them discoverable to your device. This step paved the way for establishing a connection between the earbuds and your device, which we achieved in the fourth step by navigating to the Bluetooth settings and selecting the earbuds.
Finally, we tested the connection to ensure that the audio quality was up to par and that the earbud controls were functioning correctly. If you encountered any issues during testing, we provided some troubleshooting steps to help you resolve them.
Now that you have successfully connected your Brookstone wireless earbuds and tested the connection, you can fully immerse yourself in your favorite audio content with convenience and freedom. Whether it’s enjoying music on a jog, catching up on podcasts during your commute, or making hands-free phone calls, your Brookstone earbuds will provide an enhanced audio experience.
Remember to follow the instructions specific to your Brookstone earbud model and consult the user manual or manufacturer’s website for any additional guidance. If you encounter any ongoing issues or have further questions, don’t hesitate to reach out to Brookstone customer support for assistance.
Thank you for choosing Brookstone wireless earbuds. We hope this guide has been helpful, and we wish you many enjoyable hours of wireless listening!