Introduction
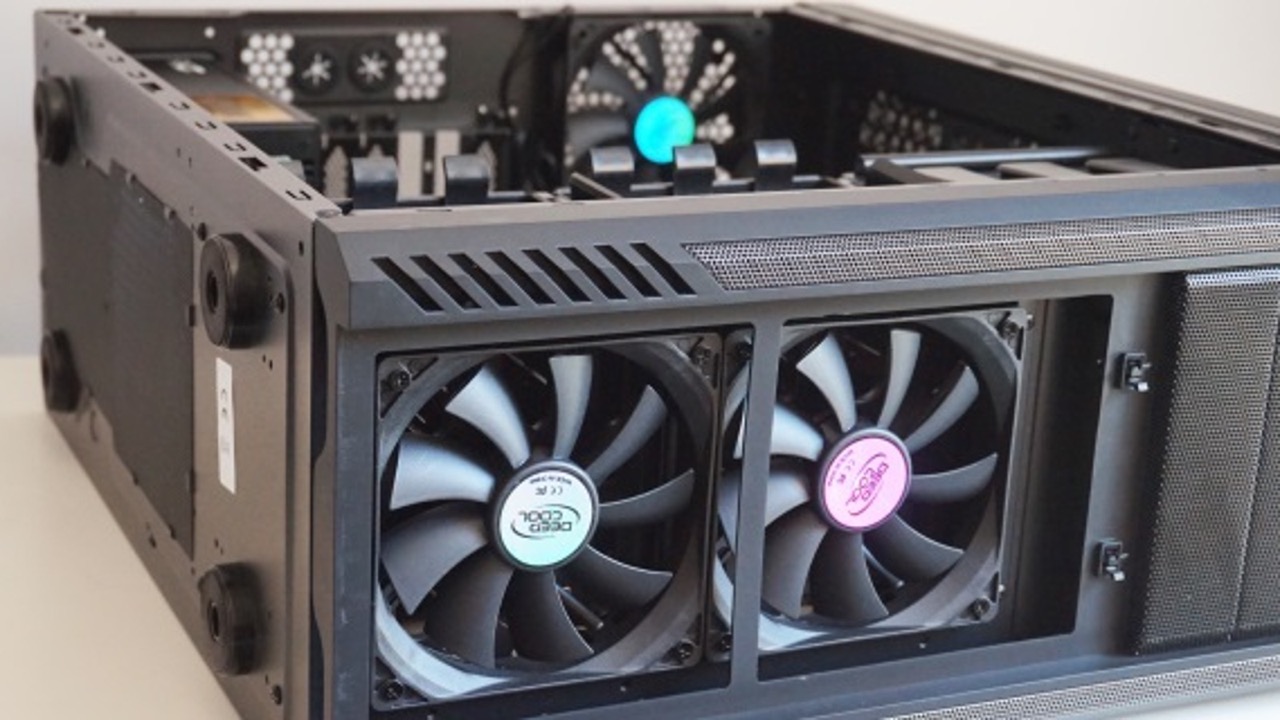
When it comes to keeping your computer cool and running smoothly, fans play a vital role. One popular type of fan used in computer cases is the 4-pin case fan. These fans are designed to provide efficient cooling and airflow, helping to prevent your computer from overheating.
Connecting a 4-pin case fan to your motherboard is a relatively straightforward process that can be done by following a few simple steps. In this guide, we will walk you through the process of connecting a 4-pin case fan to ensure that your computer stays cool and performs optimally.
Before we dive into the steps, it is important to gather the necessary tools and materials needed. These typically include a Phillips screwdriver, the 4-pin case fan itself, and a motherboard with a compatible fan header.
Once you have everything ready, we will go through the steps of identifying the fan header on your motherboard, checking the voltage and amperage requirements, locating the 4-pin fan connector, connecting the fan to the motherboard, securing the fan in place, and finally, testing the fan operation.
By the end of this guide, you will have the knowledge and confidence to successfully connect your 4-pin case fan, allowing for improved airflow and cooling in your computer case. So, let’s get started with step one: identifying the fan header on your motherboard.
Tools and Materials Needed
Before you start connecting your 4-pin case fan, make sure you have the following tools and materials at hand:
1. Phillips screwdriver: This will be needed to remove any screws or fasteners that secure the fan to the case or the motherboard.
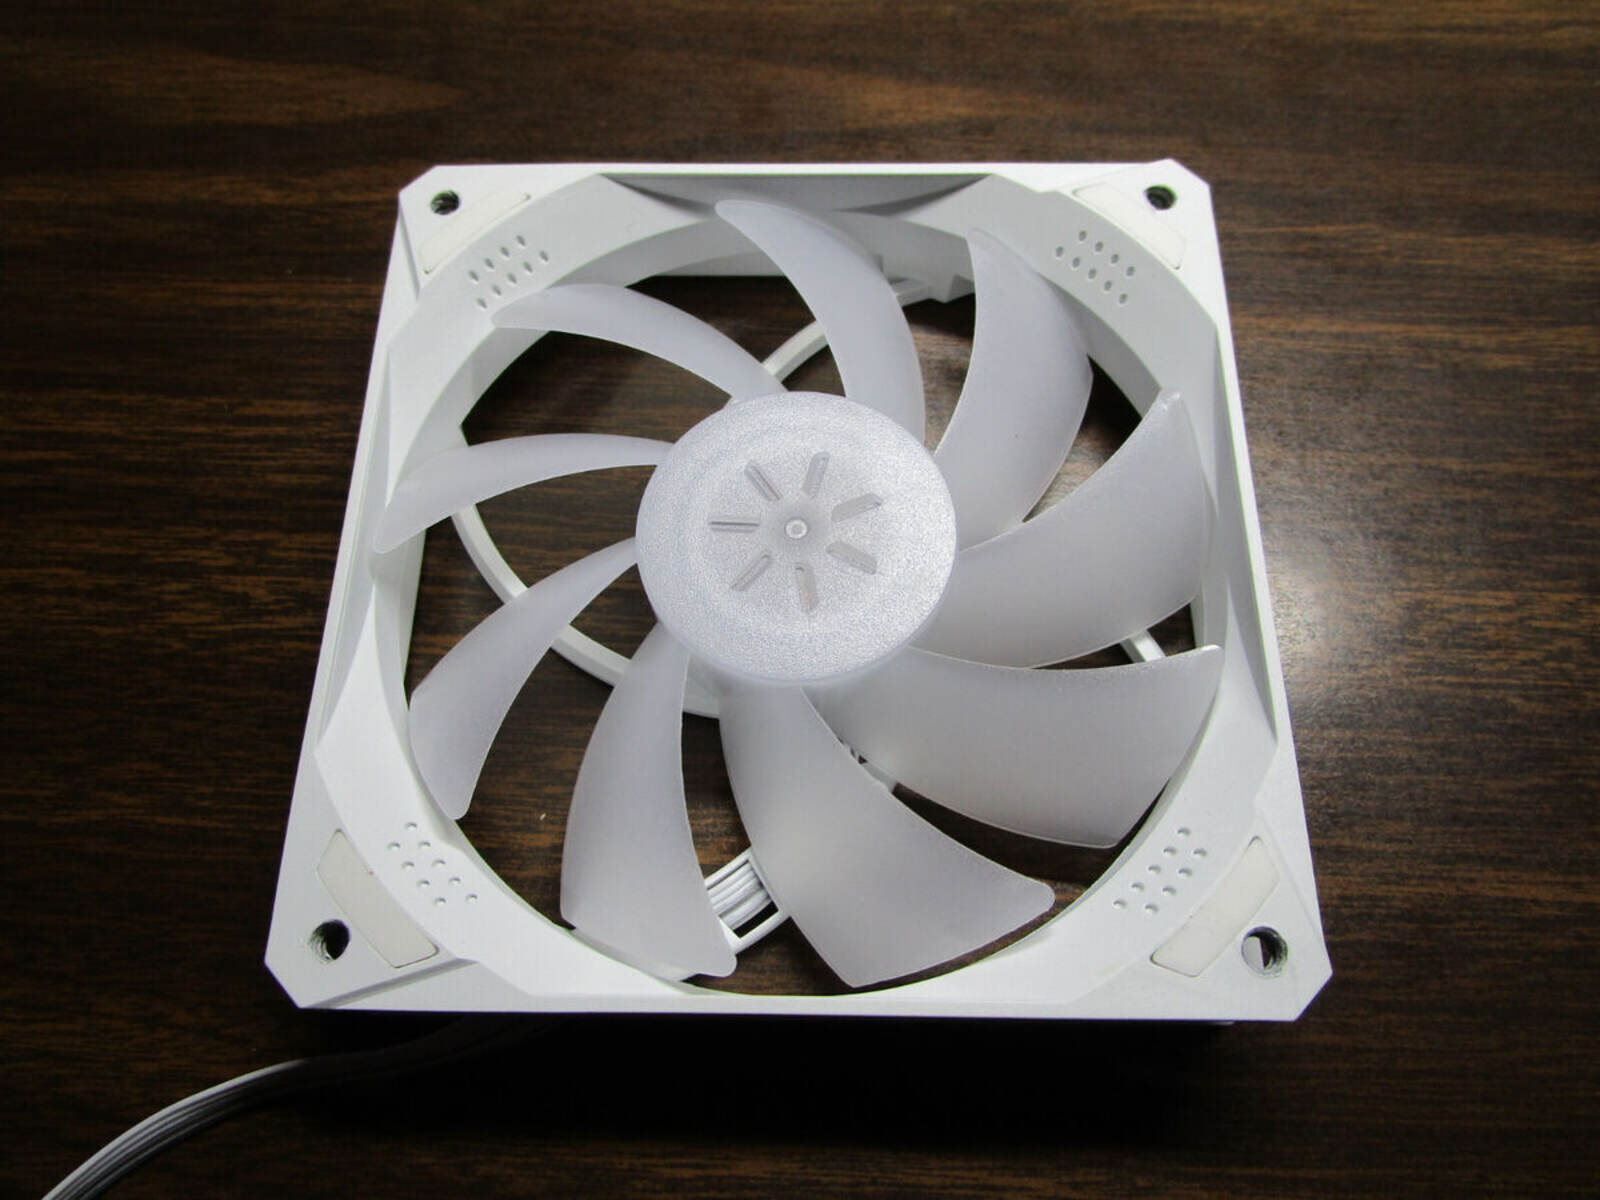
2. 4-pin case fan: Ensure that you have the correct size and type of fan for your computer case. Pay attention to the dimensions and compatibility to ensure a proper fit.
3. Motherboard with a compatible fan header: Check your motherboard’s specifications to ensure that it has a 4-pin fan header. This is where you will connect the fan to the motherboard.
4. Thermal paste (optional): If you are replacing an existing fan, you may need thermal paste to ensure proper heat transfer between the CPU and the cooling fan.
It’s important to have these tools and materials ready before you proceed with the fan installation process. Doing so will make the process smoother and prevent any unnecessary delays or complications.
Remember to exercise caution while handling the tools and components to prevent any damage or injury. Now that we have gathered the necessary tools and materials, let’s move on to the first step: identifying the fan header on your motherboard.
Step 1: Identify the Fan Header on Your Motherboard
The first step in connecting your 4-pin case fan is to locate the fan header on your motherboard. This is where you will connect the fan’s power cables, allowing it to receive power and control signals from the motherboard.
To identify the fan header, consult your motherboard’s documentation. Look for labels such as “SYS_FAN” or “CHA_FAN.” These headers are specifically designed to power and control case fans. They are typically located near the edges of the motherboard, close to where the case fan will be installed.
In some cases, the fan headers may be color-coded or have unique markings to differentiate them from other connectors on the motherboard. This can make it easier to locate the correct header.
If you are unable to find the fan header in the documentation or physically on the motherboard, you can also use visual clues. Look for a connector socket with multiple pins, usually four, arranged in a square shape. This indicates that it is a fan header.
Once you have identified the fan header, take note of its location and orientation. Most headers have a small notch or guide pin that ensures the connector is aligned correctly with the pins.
It is important to connect the fan to the correct header to ensure proper power delivery and control. Connecting the fan to the wrong header can result in the fan not working or operating at an incorrect speed.
Now that you have identified the fan header on your motherboard, let’s move on to the next step: checking the voltage and amperage requirements of your 4-pin case fan.
Step 2: Check the Voltage and Amperage Requirements
Before connecting your 4-pin case fan to the motherboard, it is essential to verify the voltage and amperage requirements of the fan. This information ensures that the fan operates within the specified parameters and prevents any potential damage to the fan or the motherboard.
To find the voltage and amperage specifications of the fan, refer to the fan’s documentation or manufacturer’s website. Typically, a 4-pin case fan operates on a voltage of 12 volts (V). However, it is always a good idea to double-check to ensure compatibility with your specific fan.
Checking the amperage requirement is equally important. The amperage, measured in amperes (A), indicates the electrical current the fan requires to operate effectively. Exceeding the amperage limit can overload the fan header on the motherboard and potentially cause issues.
To check the amperage requirement, look for a label or sticker on the fan itself. It should clearly state the amperage or provide the power consumption in watts. Alternatively, you can refer to the fan’s documentation or reach out to the manufacturer for this information.
Once you have determined the voltage and amperage requirements, make sure that your motherboard’s fan header can provide enough power to support the fan. Most modern motherboards are capable of supplying sufficient power to multiple case fans. However, if you plan to connect multiple fans to a single header, ensure that the total amperage does not exceed the motherboard’s limit.
Taking the time to check the voltage and amperage requirements ensures a successful and safe installation. Now that you have confirmed the specifications, it’s time to locate the 4-pin fan connector and move on to the next step: connecting the fan to the motherboard.
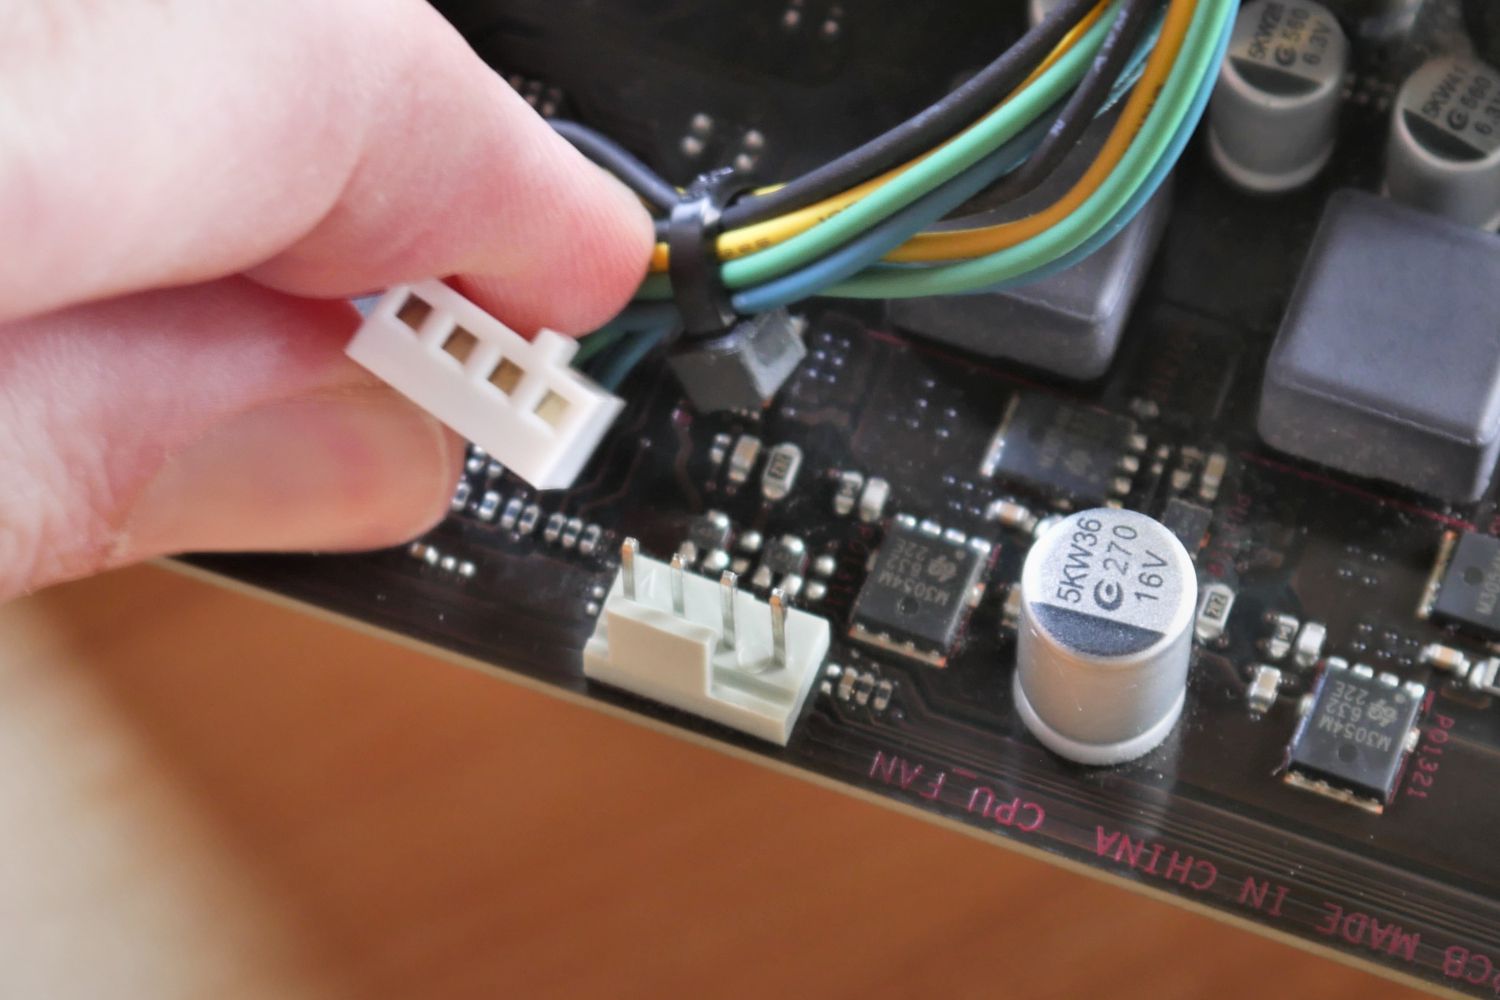
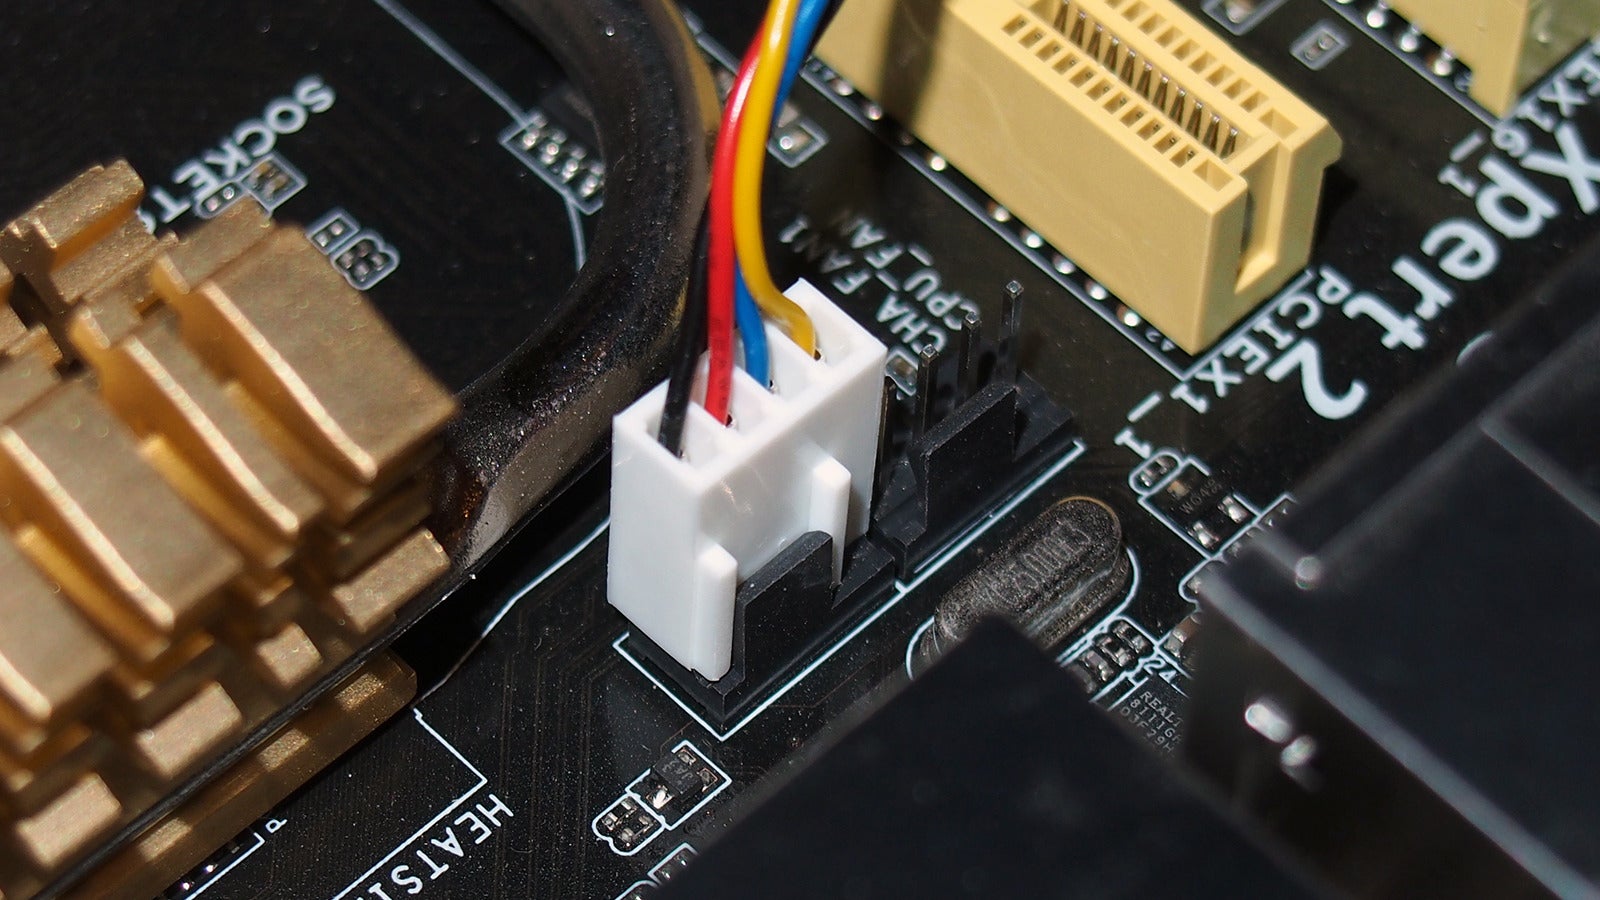
Step 3: Locate the 4-pin Fan Connector
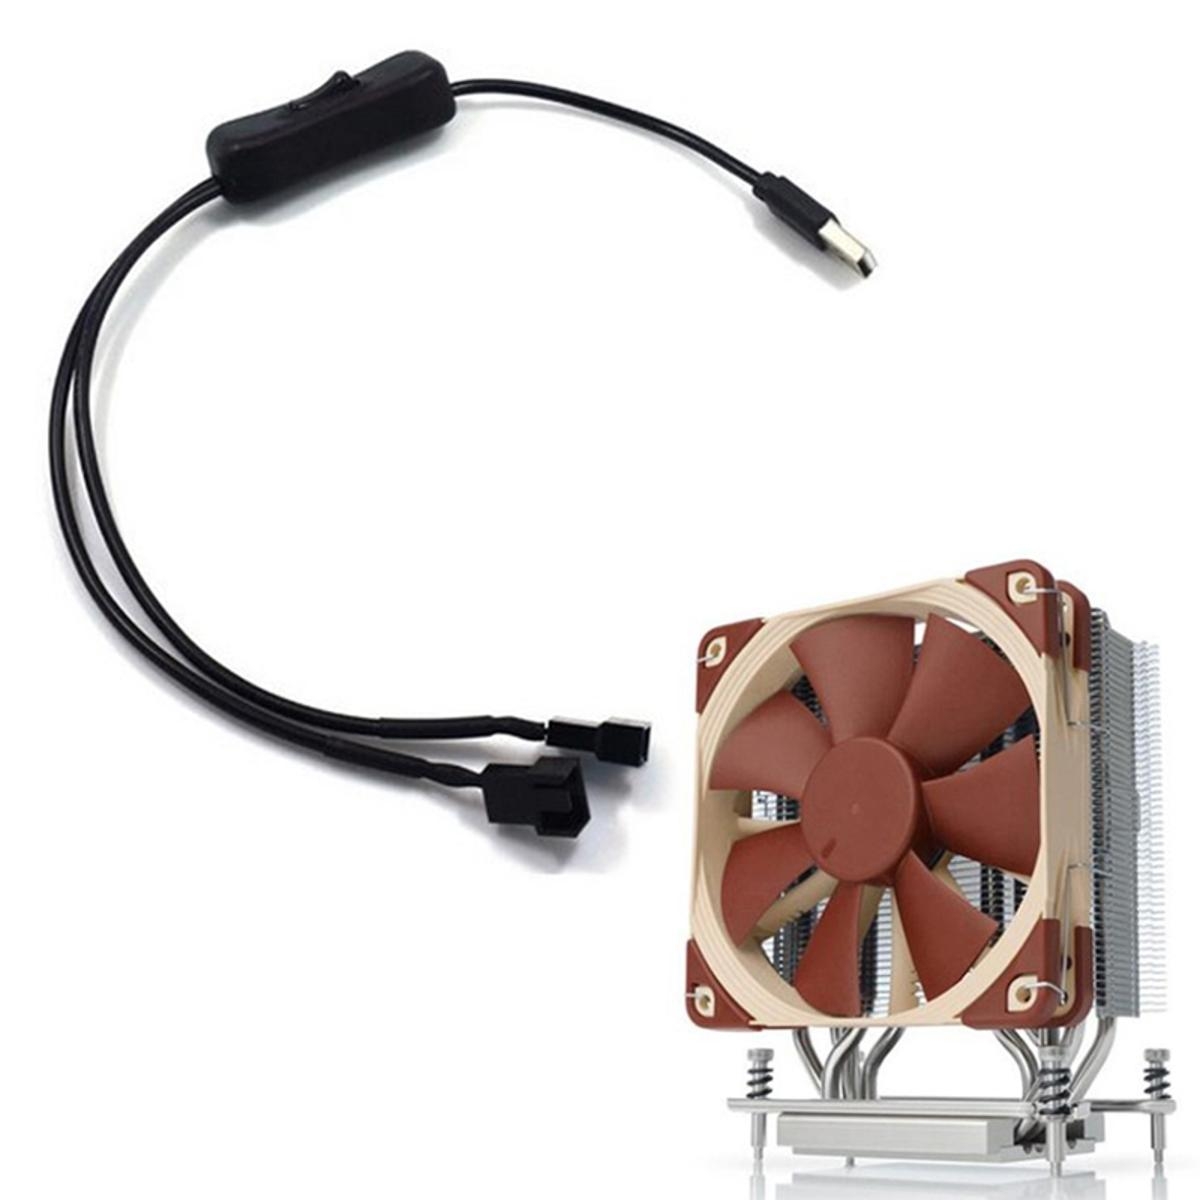
After verifying the voltage and amperage requirements, the next step is to locate the 4-pin fan connector on your case fan. This connector contains four pins that correspond to different functions and allow for proper communication between the fan and the motherboard.
Typically, the 4-pin fan connector is located at the end of the fan’s cable. It may be attached directly to the fan housing or have a short extension cable. The connector is designed in a way that it can only be inserted one way, ensuring proper alignment with the motherboard’s fan header.
When locating the 4-pin fan connector, you may also notice a small arrow or triangle-shaped marking on the connector itself. This marking serves as a guide for proper orientation when connecting the fan. Make sure to align this marking with the corresponding marking on the fan header.
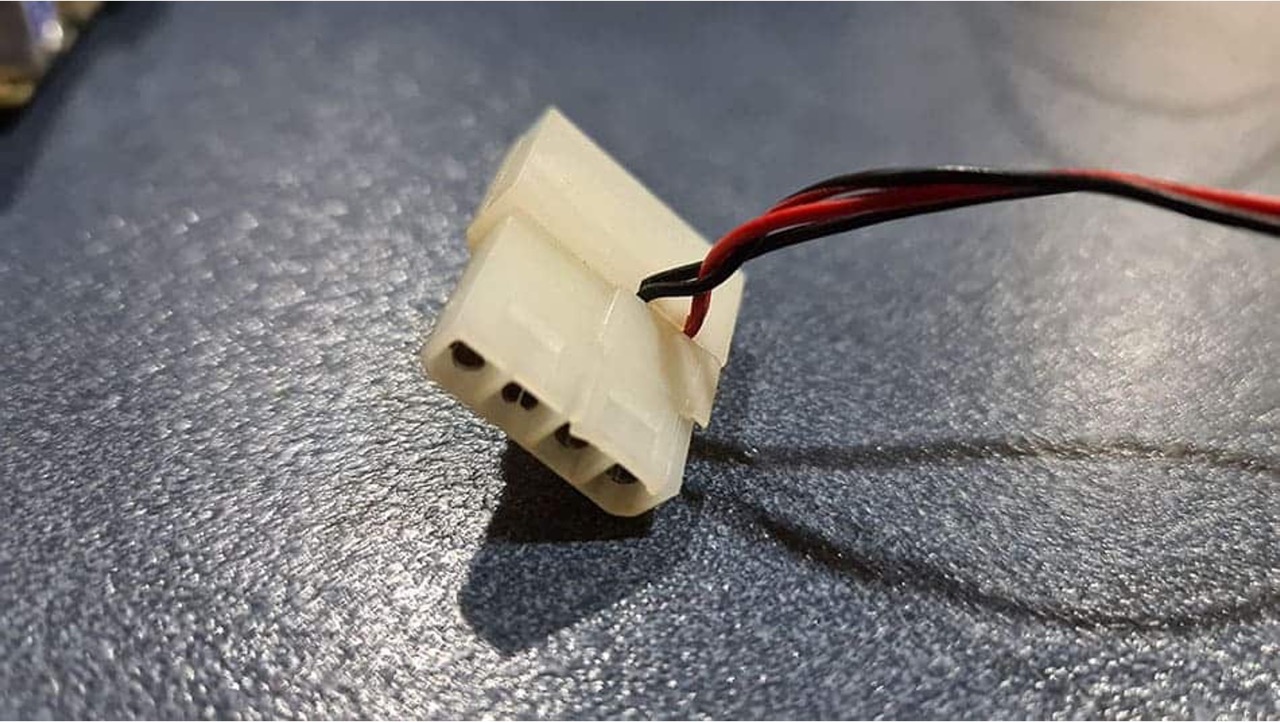
It is important to note that the 4-pin fan connector is not compatible with the older 3-pin fan headers found on some motherboards. Attempting to force the connector into a 3-pin header could damage both the connector and the header. So, double-check that you have a 4-pin fan header on your motherboard before proceeding.
In some cases, if you have a different type of fan connector, such as a 5-pin or 6-pin, it may still be possible to connect it using an adapter or a fan controller. However, for this guide, we will focus on the 4-pin case fan connection.
Now that you have located the 4-pin fan connector, we can move on to the next step: connecting the fan to the motherboard and ensuring a secure connection.
Step 4: Connect the Fan to the Motherboard
Now that you have located the 4-pin fan connector, it’s time to connect the fan to the motherboard. This step ensures that the fan receives power and control signals from the motherboard, allowing it to operate effectively.
Identify the 4-pin fan header on your motherboard that corresponds to the location of the case fan. Align the 4-pin fan connector with the header, ensuring that the small arrow or triangle-shaped marking on the connector matches the marking on the fan header.
Gently push the connector onto the header, making sure it fits snugly and securely. You may need to apply a little bit of pressure, but be careful not to exert too much force. Forceful or incorrect insertion could damage the pins on the connector or the header.
Once connected, give the connector a gentle wiggle to ensure it is securely in place. A loose connection may cause the fan to operate intermittently or not at all.
It’s important to note that the 4-pin fan connector is designed to fit only one way onto the header due to its unique shape and pin layout. This ensures that the fan receives the correct power and signal information from the motherboard.
If you have multiple case fans, repeat this process for each fan, connecting them to their respective headers on the motherboard. Make sure to keep track of which fan is connected to which header for proper control and troubleshooting in the future.
Once you have connected the fan to the motherboard, proceed to the next step: securing the fan in place to ensure stability and proper airflow within your computer case.
Step 5: Secure the Fan in Place
After connecting the fan to the motherboard, it’s important to secure it in place to ensure it remains stable and properly positioned within your computer case. This step helps prevent vibrations and potential damage to the fan or motherboard.
In most cases, the fan will come with mounting brackets or screws designed for easy installation. The exact method of securing the fan may vary depending on your computer case’s design, so refer to the case’s manual or documentation for specific instructions.
Generally, the process involves aligning the mounting brackets or screw holes on the fan with the corresponding holes or slots in your case. Once aligned, insert the screws or secure the brackets into position. Use a screwdriver to tighten the screws, but be careful not to overtighten, as it may damage the fan or the case.
Ensure that the fan is securely fastened and does not move or wobble when pressure is applied. This helps maintain proper airflow and prevents the fan from interfering with other components within the case.
If you are replacing an existing fan, remove any screws or brackets holding the old fan in place before installing the new one. Clean any dust or debris from the mounting area to ensure a clean and secure fit for the new fan.
Additionally, consider cable management to keep the fan cables neat and organized. Use cable ties or clips to secure the fan cables together and prevent them from interfering with other components or obstructing airflow.
Once you have secured the fan in place, proceed to the next step: testing the fan operation to ensure it is functioning correctly.
Step 6: Test the Fan Operation
After connecting and securing the fan, it is important to test its operation to ensure it is working correctly. This step allows you to verify that the fan is receiving power and spinning at the intended speed.
To test the fan, power on your computer and enter the BIOS or UEFI settings. Navigate to the section that controls the fan speeds or monitoring. This is typically labeled as “Fan Control” or “Hardware Monitor.”
Check if the fan is detected in the BIOS and that its speed is displayed correctly. Some motherboards allow you to manually adjust the fan speed or set it to automatic control.
If available, set the fan speed to a low setting and observe if the fan starts spinning. Gradually increase the speed setting and listen for any unusual noises or vibrations. If the fan is spinning smoothly and quietly, it indicates that the connection and configuration are successful.
In addition to checking the fan in the BIOS, you can also run demanding applications or tasks that generate heat to see if the fan responds accordingly. Monitor the temperature of your CPU or GPU to ensure that the fan is effectively cooling the system.
If the fan does not spin or operate as expected, double-check the connections, ensure that the fan is properly seated and connected to the correct header. If the issue persists, consult the fan’s documentation or contact the manufacturer for troubleshooting assistance.
Remember to regularly monitor the fan’s performance and cleanliness. Dust and debris can accumulate on the fan blades, affecting its efficiency and performance. Regularly clean the fan using compressed air or a soft brush to maintain optimal cooling.
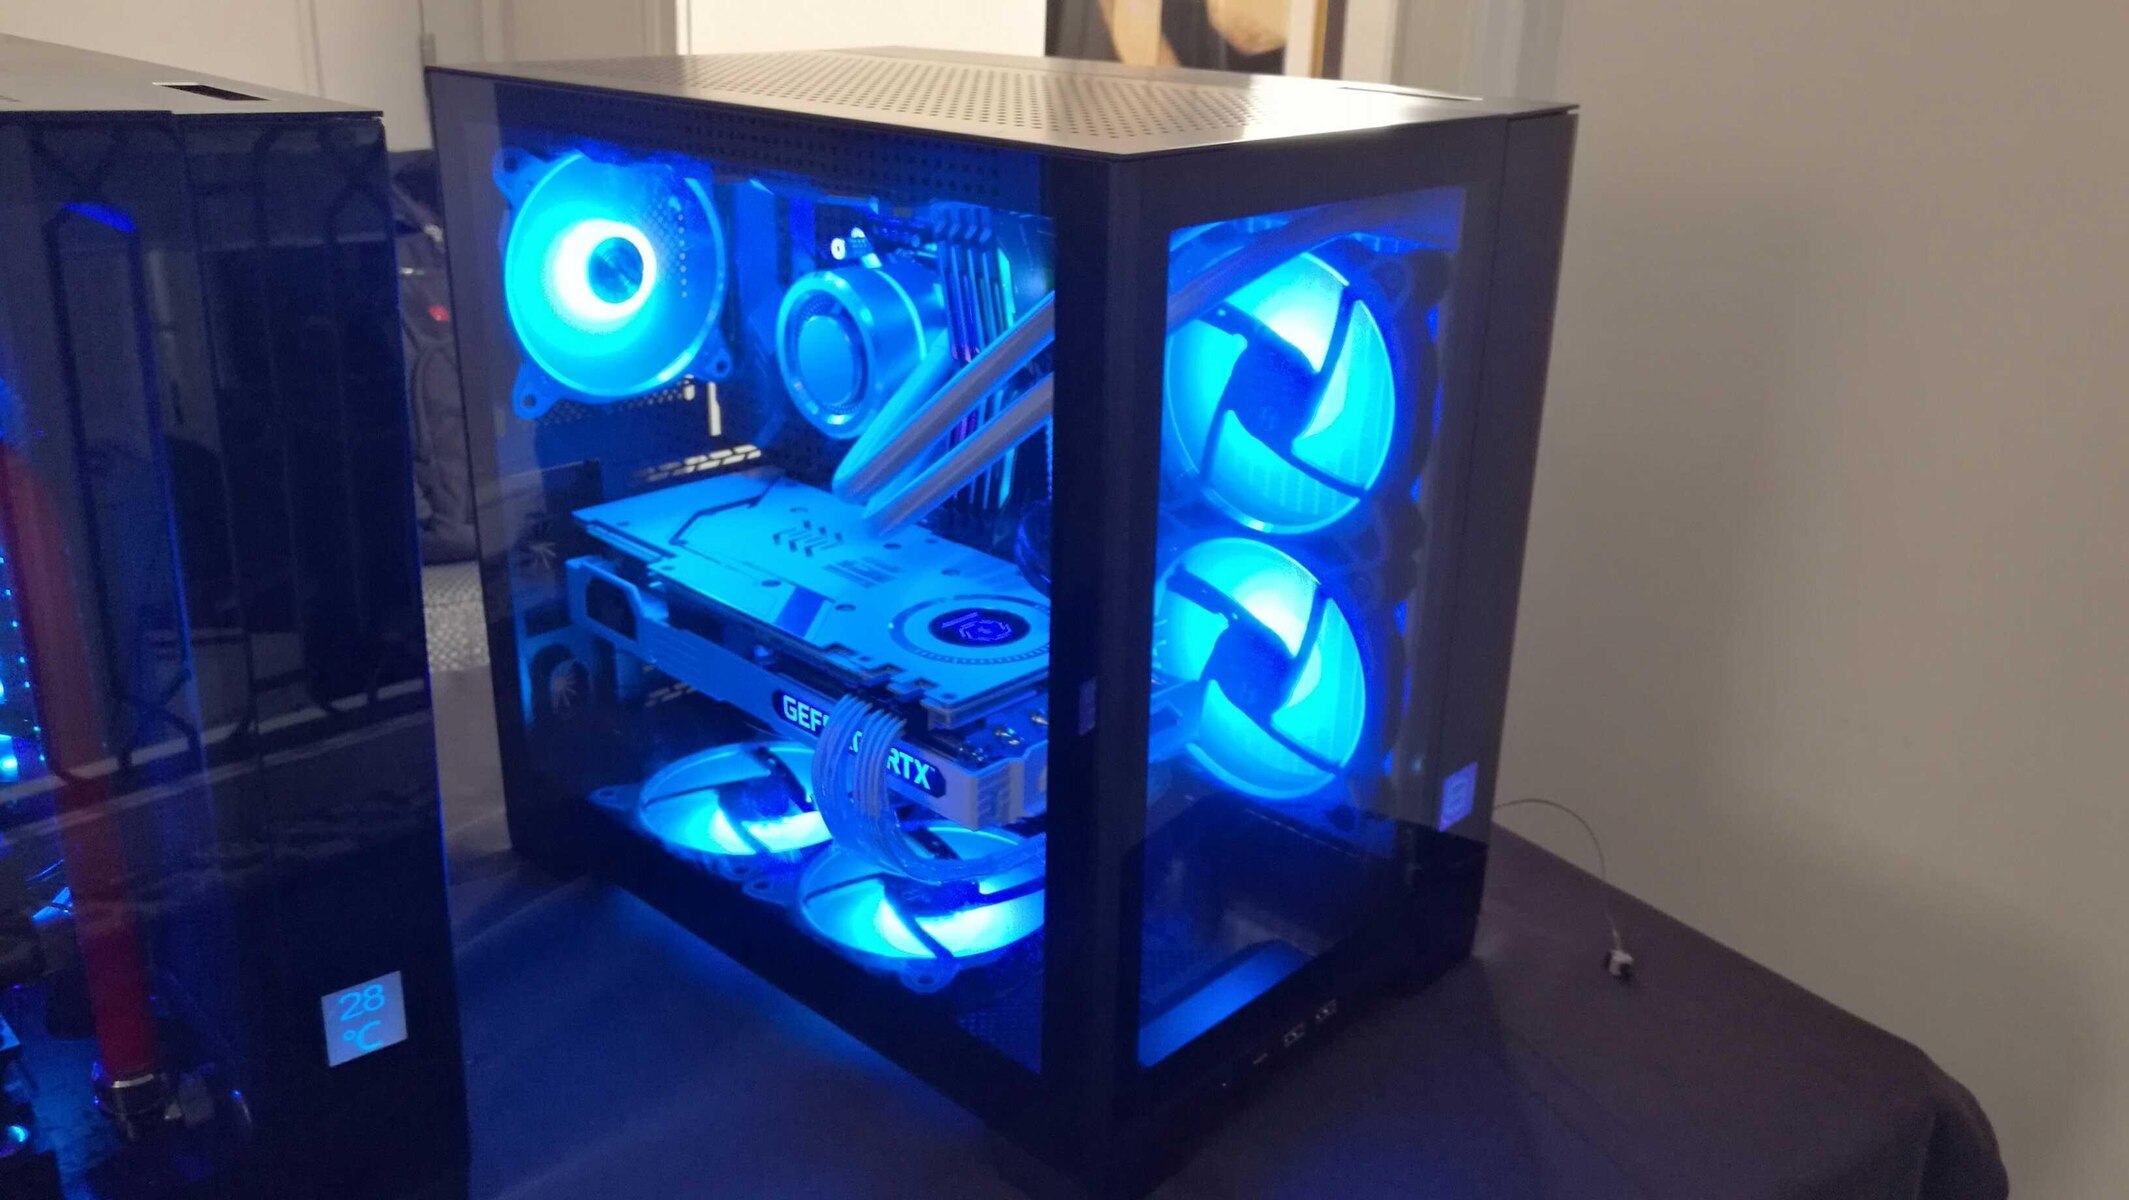
With the fan connected, secured, and tested, you have successfully installed and verified its operation. Enjoy the improved airflow and cooling benefits provided by your 4-pin case fan.
Conclusion
Connecting a 4-pin case fan to your motherboard is a relatively simple process that can greatly enhance the cooling and performance of your computer. By following the steps outlined in this guide, you have learned how to identify the fan header on your motherboard, check the voltage and amperage requirements, locate the 4-pin fan connector, connect the fan to the motherboard, secure the fan in place, and test its operation.
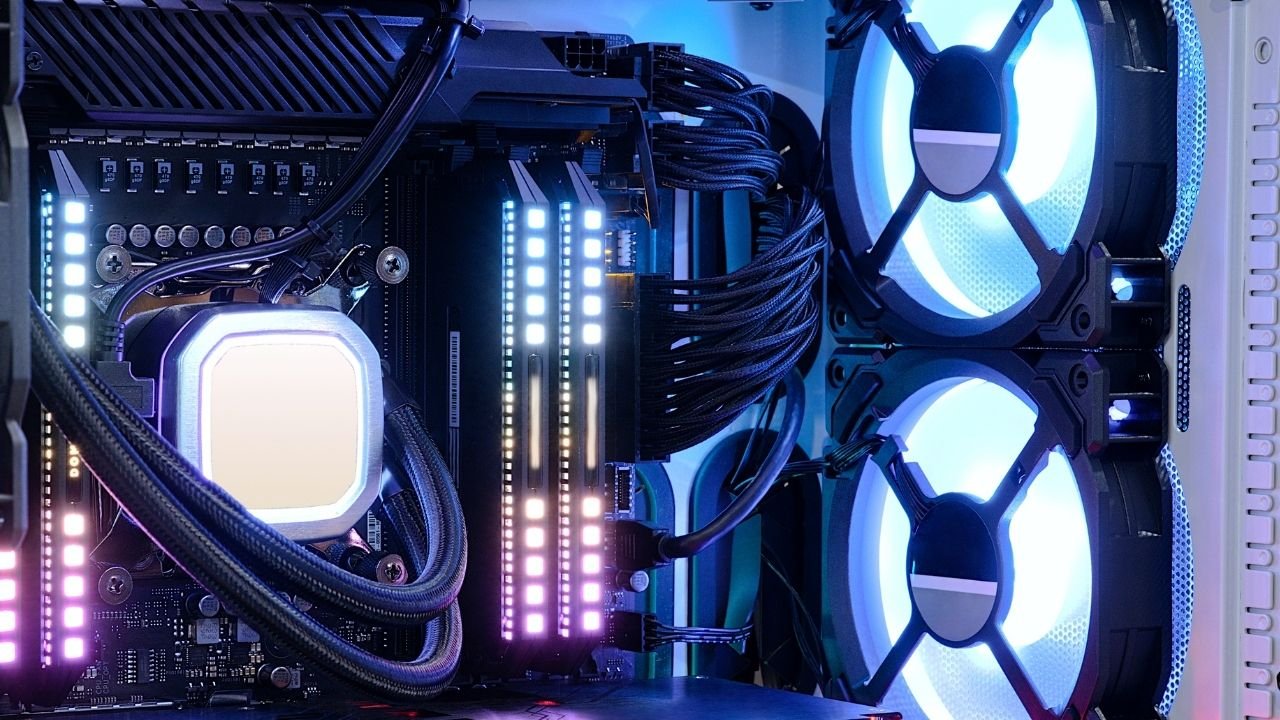
A properly installed and functioning 4-pin case fan helps maintain optimal temperatures inside your computer case, preventing overheating and ensuring the longevity of your components. Proper airflow is vital in dissipating the heat generated by the CPU, GPU, and other parts, ensuring their efficient operation.
Remember to regularly clean and maintain your case fan to prevent dust accumulation, which can hinder performance. Additionally, keep an eye on the fan’s performance and adjust the fan speed settings as needed for optimal cooling.
By successfully connecting a 4-pin case fan, you have taken a proactive step in improving the overall performance and longevity of your computer. Enjoy the benefits of better cooling and quieter operation, allowing you to work, play, and multitask with confidence.