Introduction
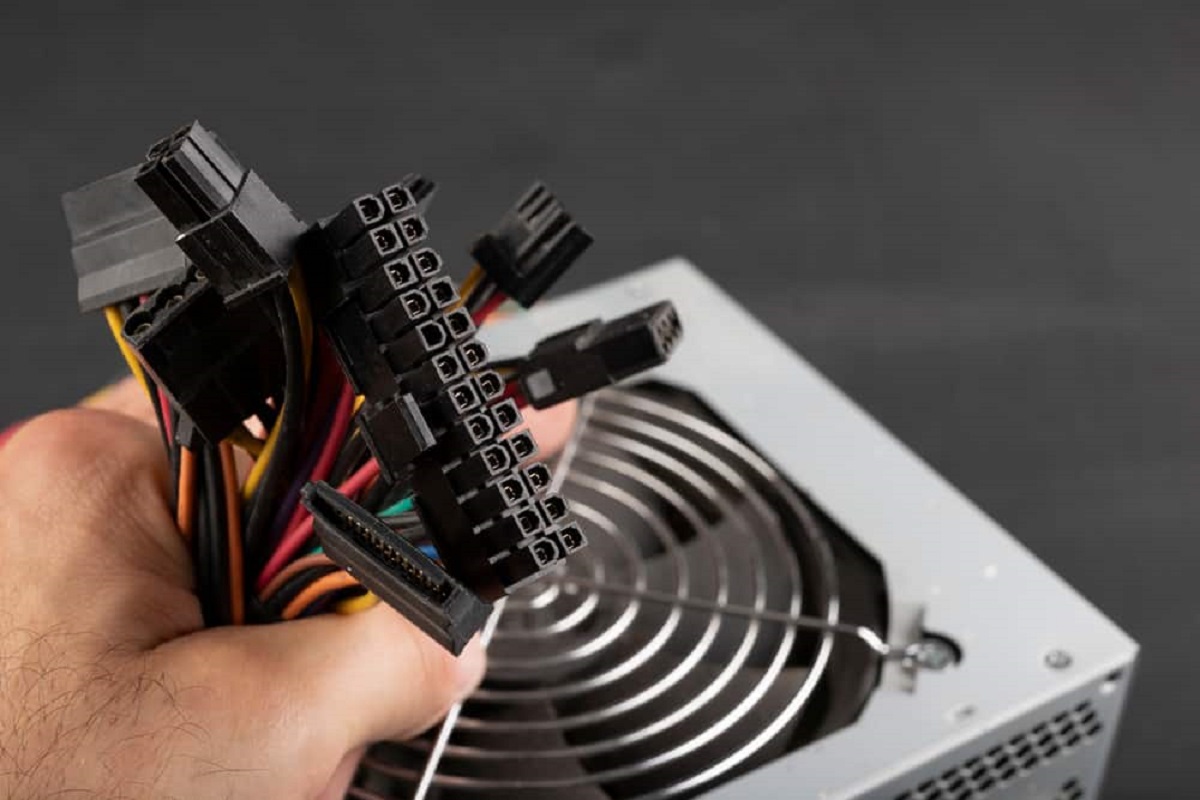
The power supply unit (PSU) is a crucial component in any computer system, responsible for converting and regulating electrical power from the outlet into usable power for all the internal components. A properly functioning PSU ensures the stability and longevity of your computer. However, in some cases, the PSU may become overloaded, leading to issues such as unexpected shutdowns, hardware damage, or reduced system performance.
Identifying whether a PSU is overloading is essential in order to take necessary actions to prevent further problems. In this article, we will discuss the signs of PSU overloading and provide you with step-by-step instructions on how to check if your PSU is overloading.
Understanding these signs and conducting the necessary checks will help you determine if your PSU is operating within safe limits or if it requires further attention or even replacement. By ensuring the proper functioning of your PSU, you can avoid potential damage to your computer system and enjoy a smoother computing experience.
Signs of PSU Overloading
An overloaded PSU can exhibit various warning signs, indicating that it’s struggling to supply adequate power to your computer components. By recognizing these signs early on, you can prevent further damage and troubleshoot the issue promptly. Here are some common signs of PSU overloading:
- Frequent System Crashes: If your computer frequently crashes or freezes, it may be a result of an overloaded PSU unable to handle the power demands of your components.
- Unexpected Shutdowns: When your PSU is overloaded, it may cause your computer to shut down suddenly, without any warning. This can lead to data loss and potential damage to your hardware.
- Strange and Inconsistent Behavior: Overloaded PSUs can cause various strange behaviors, such as sudden reboots, screen flickering, or input/output errors that are inconsistent and difficult to troubleshoot.
- Noisy Power Supply Unit: An overloaded PSU can generate excessive heat and strain on its components, resulting in louder fan noise or buzzing sounds. If you notice an unusually loud PSU, it may indicate an overload.
- Dimming or Flickering Lights: When the PSU is under heavy load, it can affect the power supply to other devices in your home or office. If you notice the lights dimming or flickering when your computer is running, it could be a sign of PSU overloading.
- Unstable Wi-Fi or USB Connections: Overloaded PSUs may also lead to unstable or intermittent connections with Wi-Fi or USB devices. If you’re experiencing issues with your wireless network or USB peripherals, it’s worth checking if your PSU is causing the problem.
Keep in mind that these signs can also be caused by other factors or hardware issues, so it’s necessary to methodically verify PSU overloading using the steps outlined in the following section.
Steps to Check for PSU Overloading
To determine if your PSU is overloading, you can follow several steps to evaluate its performance and power capabilities. By going through these steps, you can gain a better understanding of your PSU’s capacity and make an informed decision on whether any actions need to be taken. Here are the steps to check for PSU overloading:
- Calculate Power Consumption: Start by calculating the power consumption of your computer system. You can use various online PSU calculator tools or refer to the specifications of your components to estimate their power requirements. This will give you an idea of the total power load your PSU needs to handle.
- Check PSU Wattage: Verify the wattage rating of your PSU. The wattage represents the maximum power that the PSU can provide. Ensure that the wattage rating is equal to or higher than the power consumption calculated in the previous step. If the calculated power consumption exceeds the PSU’s wattage, it may be a sign of overload.
- Monitor PSU Temperature: Overloaded PSUs tend to generate more heat due to higher power demand. Use monitoring software to check the temperature of your PSU while your computer is under heavy load. If the temperature exceeds the maximum recommended level, it could indicate an overload situation.
- Test with a Multimeter: For a more accurate assessment, you can use a multimeter to measure the voltage outputs of your PSU. Follow the manufacturer’s instructions and measure the +3.3V, +5V, and +12V rails. If the voltages deviate significantly from their expected values, it may indicate a problem with the PSU’s capacity to supply power.
- Observe System Stability: Pay attention to the overall stability of your computer system. If you experience frequent crashes, random shutdowns, or other unstable behavior, it could be a sign of PSU overloading. Monitor your system’s performance and identify any abnormalities.
By going through these steps, you can gather valuable information about your PSU’s performance and determine if it’s overloaded. Remember to consider other factors that may contribute to the observed issues, such as faulty components or inadequate cooling, before concluding that the PSU is the sole culprit.
Calculate Power Consumption
One of the initial steps in determining if your PSU is overloading is to calculate the power consumption of your computer system. This estimation gives you an idea of the total power load your PSU needs to handle. Here’s how you can calculate your power consumption:
- List all components: Make a list of all the components in your computer system that consume power. This includes the CPU, GPU, hard drives, RAM, fans, and any additional peripherals like sound cards or optical drives.
- Find power requirements: Check the power requirements of each component. This information can often be found on the component’s label or in the manufacturer’s specifications. Look for values expressed in watts (W).
- Calculate power consumption: Add up the power requirements of all the components. For example, if your CPU requires 95W and your GPU requires 150W, your total power consumption for these two components would be 245W.
- Consider other factors: Keep in mind that there are additional power-consuming factors like overclocking or high-performance settings that may increase power consumption. It’s essential to account for these factors as well.
By accurately calculating the power consumption of your computer system, you gain a better understanding of the power demands placed on your PSU. This information will help you determine if your PSU’s wattage is sufficient to handle the power load. If the calculated power consumption exceeds the wattage rating of your PSU, it could potentially lead to overloading and other performance issues.
Check PSU Wattage
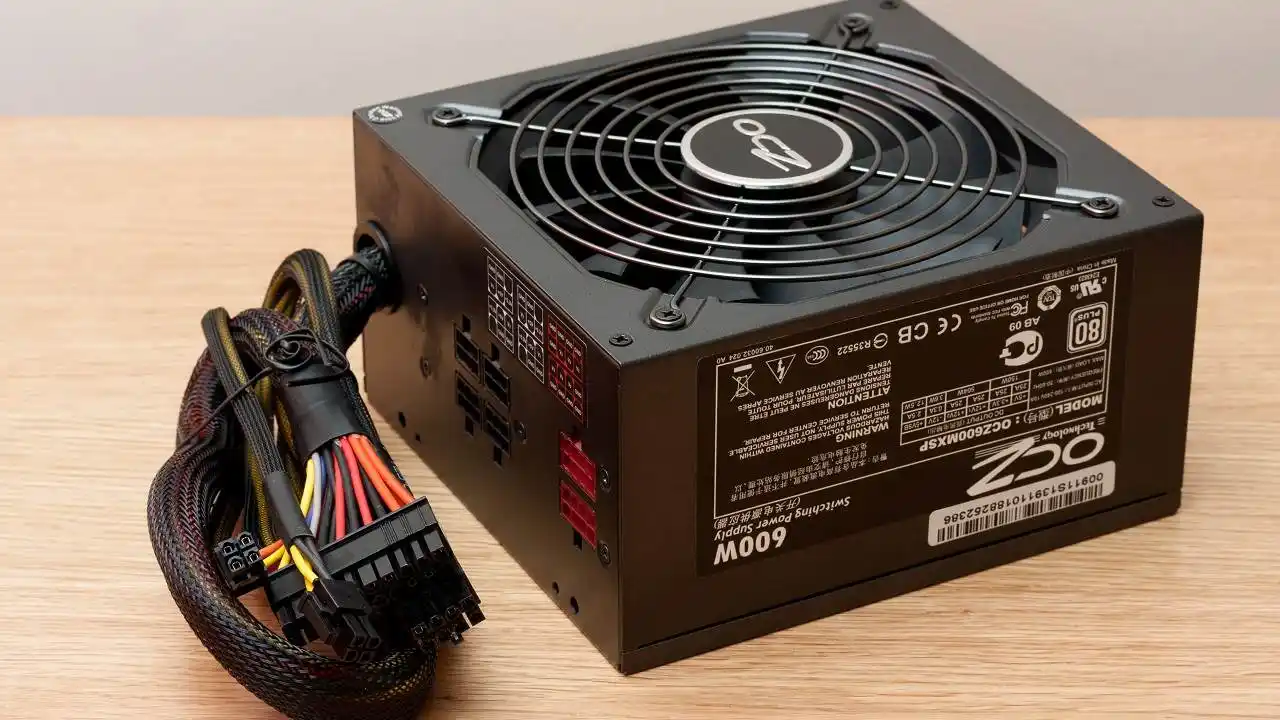
After calculating the power consumption of your computer system, the next step is to check the wattage rating of your PSU. The PSU wattage represents the maximum power that it can provide to your components. Here’s how you can check the wattage of your PSU:
- Review PSU specifications: Refer to the product documentation or specifications of your PSU. Look for the wattage rating, which is often listed on the PSU label or in the product description.
- Ensure wattage sufficiency: Compare the wattage rating of your PSU with the calculated power consumption of your components. The wattage rating should be equal to or higher than the total power consumption. If the calculated power consumption exceeds the PSU’s wattage, it could be a sign that your PSU is inadequately rated and may lead to overloading.
- Consider future upgrades: If you plan to add more power-hungry components or upgrade your existing ones in the future, it’s advisable to have some headroom in terms of your PSU’s wattage. A higher wattage PSU can provide more power for future expansion without worrying about overloading.
Checking the wattage rating of your PSU is crucial to ensure that it can handle the power demands of your computer system. If your PSU’s wattage is insufficient, it may struggle to supply enough power to your components, leading to instability, crashes, or other performance issues. In such cases, upgrading your PSU to one with a higher wattage can help alleviate potential overloading problems and provide a more stable and reliable power supply to your system.
Monitor PSU Temperature
Monitoring the temperature of your PSU is another important step in checking for PSU overloading. Overloaded PSUs tend to generate more heat due to the higher power demand placed on them. By monitoring the PSU temperature, you can assess whether it falls within safe operating limits. Here’s how you can do it:
- Use monitoring software: Install monitoring software that can track the temperature of various components in your computer system, including the PSU. There are several free and paid monitoring tools available that can provide real-time temperature readings.
- Run system-intensive tasks: Perform activities that put a significant load on your computer system, such as running resource-intensive applications or playing graphically demanding games. This will increase the power consumption and workload on your PSU.
- Monitor PSU temperature: While your system is under heavy load, closely monitor the temperature of your PSU using the monitoring software. Different tools may have varying interfaces, but generally, they display temperature readings in real-time.
- Compare with safe operating limits: Refer to the manufacturer’s specifications or guidelines for your PSU to determine the safe operating temperature range. If the PSU temperature exceeds the recommended maximum temperature, it could indicate an overload situation.
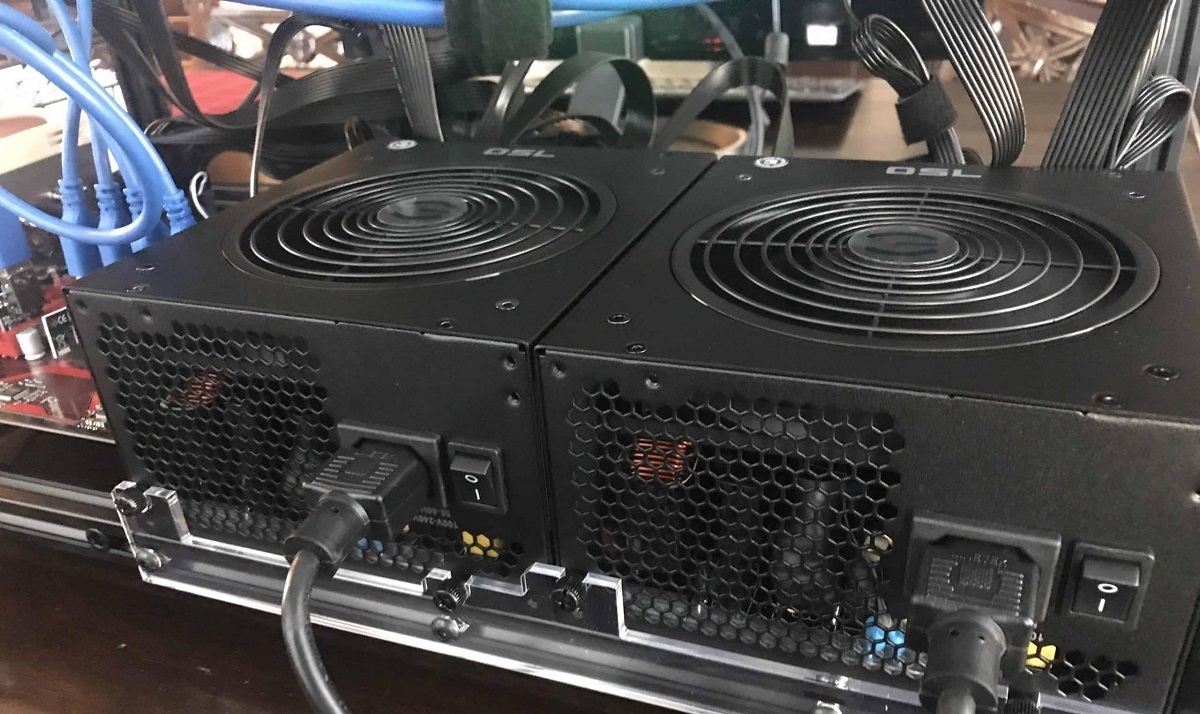
- Note fan behavior: Pay attention to the behavior of the PSU fan. If the fan becomes excessively loud or runs at high speeds consistently, it may be a sign that the PSU is working harder to dissipate heat due to overloading.
By monitoring the temperature of your PSU, you can identify if it’s operating within safe limits. If the temperature exceeds the recommended range, it suggests that your PSU may be struggling to handle the power demands. In such cases, it’s crucial to take action to prevent further issues, such as improving airflow within your computer case, cleaning dust buildup, or considering upgrading to a more powerful PSU if necessary.
Test with a Multimeter
Testing your PSU with a multimeter is a more precise method to assess its performance and determine if it’s overloading. A multimeter allows you to measure the voltage outputs of your PSU under load conditions. Here’s how you can test your PSU with a multimeter:
- Gather necessary tools: Ensure you have a multimeter capable of measuring DC voltages and the appropriate cables or probes to connect to the PSU.
- Turn off your computer: Shut down your computer completely and unplug it from the power source. This ensures your safety during the testing process.
- Connect the multimeter: Connect the multimeter probes to the +3.3V, +5V, and +12V pins of one of the PSU’s molex connectors or SATA connectors. Ensure the black probe is connected to a ground pin or any black (ground) wire in the connector.
- Power on your computer: Plug in your computer and power it on. This will put the PSU under load, allowing you to measure the voltage outputs more accurately.
- Measure voltage outputs: Read the voltage values displayed on the multimeter for each rail (+3.3V, +5V, and +12V). Compare these values with the expected voltage ranges specified by the PSU manufacturer.
- Evaluate voltage stability: Monitor the voltage readings over a period of time while your computer is under load. Fluctuations or significant deviations from the expected voltage values could indicate an issue with the PSU’s capacity to supply power reliably.
Testing your PSU with a multimeter provides more accurate readings of the voltage outputs and helps identify any potential problems, including overloading. If you notice the voltages deviating significantly from their expected values, it may indicate that your PSU is reaching its limits and struggling to provide sufficient power. In such cases, it’s recommended to consult a professional or consider replacing your PSU if necessary.
Observe System Stability
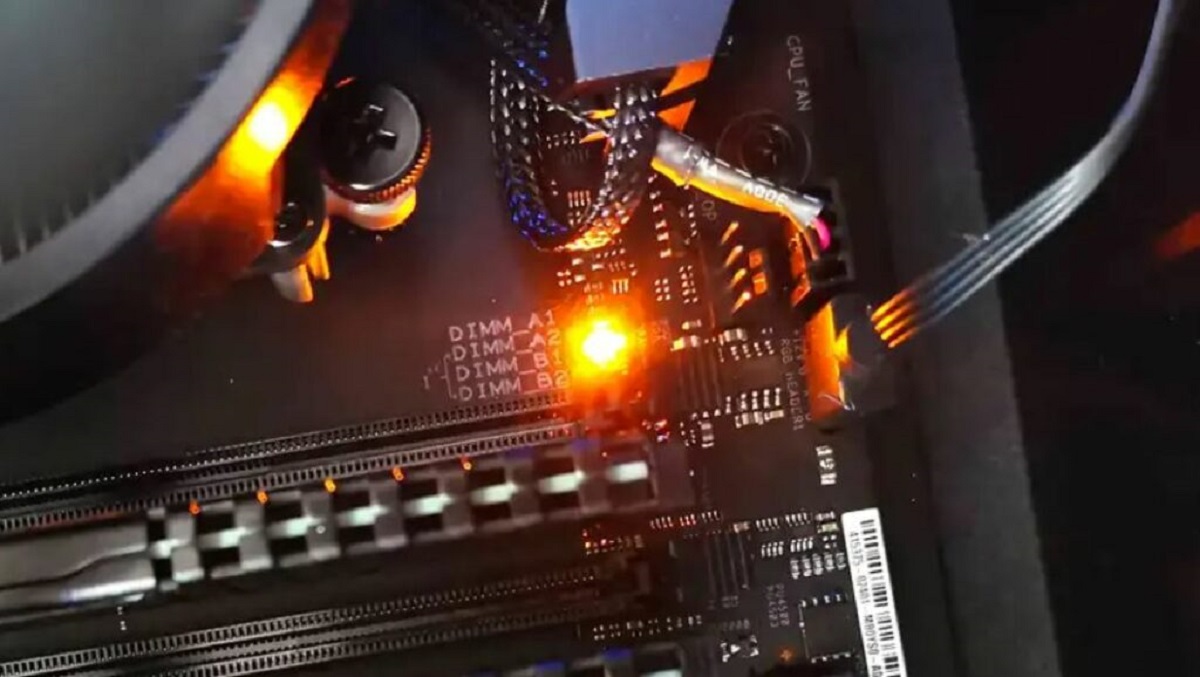
Observing the stability of your computer system is an essential step in checking for PSU overloading. Instability issues such as frequent crashes, unexpected shutdowns, or erratic behavior can indicate that your PSU is struggling to handle the power demands. Here’s how you can assess your system’s stability:
- Monitor system performance: Pay attention to the overall performance of your computer system, especially during resource-intensive tasks. If you notice a significant decrease in performance or sluggishness, it may be a sign of PSU overloading.
- Track system crashes or unexpected shutdowns: Keep a record of any system crashes or unexpected shutdowns you experience. If these occurrences happen consistently, especially under heavy load conditions, it could indicate that your PSU is unable to provide adequate power, leading to instability.
- Log error messages: Note any error messages or warnings that appear on your screen during system instability. These messages can provide valuable information about the underlying cause, which may involve PSU overloading.
- Perform stress tests: Utilize stress-testing software to put your computer system under high load for an extended period. This can help highlight any instability issues caused by PSU overloading.
- Check for hardware issues: It’s essential to rule out other potential hardware issues that can cause system instability. Ensure that all components are properly seated, cables are securely connected, and there are no signs of physical damage or malfunction.
By observing the stability of your computer system, you can identify any patterns of instability or performance issues that may be indicative of PSU overloading. Keep in mind that system instability can also be caused by other factors, such as faulty components or inadequate cooling. Therefore, it’s important to consider these factors alongside the symptoms of PSU overloading to accurately diagnose the underlying issue.
Conclusion
Checking for PSU overloading is crucial for maintaining the stability and longevity of your computer system. By recognizing the signs of PSU overloading and following the steps outlined in this article, you can assess your PSU’s performance and make informed decisions about necessary actions.
Signs of PSU overloading include frequent system crashes, unexpected shutdowns, strange behavior, noisy PSU fans, dimming/flickering lights, and unstable connections with peripherals. These signs indicate that your PSU may be struggling to handle the power demands of your components.
To check for PSU overloading, calculate the power consumption of your system, check the wattage rating of your PSU, monitor the PSU temperature, test the voltage outputs with a multimeter, and observe the stability of your system. These steps provide valuable information about your PSU’s capacity and performance.
If you determine that your PSU is overloaded or experiencing issues, consider taking appropriate actions such as upgrading to a higher wattage PSU, improving cooling, or consulting a professional for assistance.
Remember that the stability and reliability of your computer system depend on a properly functioning PSU. By being proactive in checking for PSU overloading and addressing any issues, you can ensure a smoother computing experience and protect your hardware from potential damage.