Introduction
Welcome to our guide on how to change your Spotify plan! As music lovers, we understand that your preferred streaming service can change over time. Maybe you’re ready to upgrade to a premium plan with ad-free listening and additional features, or perhaps you want to switch to a different subscription to better suit your needs and budget. No matter the reason, this step-by-step tutorial will walk you through the process of changing your Spotify plan.
Whether you’re using Spotify on your computer, smartphone, or tablet, the steps for changing your plan are similar across all platforms. By following this guide, you’ll be able to access your account settings, navigate to the subscription page, choose a new plan, confirm your choice, and verify the changes. With these simple instructions, you’ll be well on your way to enjoying your favorite tunes on Spotify with the plan that best fits your preferences.
Before we dive into the detailed steps, it’s worth noting that Spotify offers a variety of plans to cater to different users. The options include Spotify Free, Spotify Premium, Spotify Student, Spotify Family, and even Spotify Duo. Each plan comes with its own features, benefits, and pricing, so it’s important to explore the available options to find the one that suits you best. Without further ado, let’s get started on changing your Spotify plan!
Step 1: Accessing Your Spotify Account
The first step towards changing your Spotify plan is accessing your Spotify account. This can be done through either the Spotify website or the Spotify app on your preferred device. Here’s how you can do it:
- If you’re using a computer, open the web browser of your choice and navigate to the Spotify website. On the website, locate and click on the “Log In” button located at the top-right corner of the screen. Enter your Spotify credentials (username/email and password) to log in to your account.
- If you’re using a smartphone or tablet, open the Spotify app. If you’re not already logged in, tap on the “Log In” or “Sign In” option and enter your login details. If you’re already logged in, the app will open to your personal account.
- Once you’re logged in, you’ll have access to your personalized Spotify home screen, where you can discover new music, access your playlists, and manage your account settings.
By successfully logging in to your Spotify account, you’re now ready to move on to the next step and navigate to the subscription page. This is where you’ll be able to view and select the different plans available to you. Stay tuned for the next section!
Step 2: Navigating to the Subscription Page
Now that you’re logged in to your Spotify account, it’s time to navigate to the subscription page, where you can view and select the different plans available to you. Follow these simple steps to get there:
- On the Spotify website, look for the account settings menu, usually located in the top-right corner of the screen. It is represented by either your account profile picture or a dropdown menu icon. Click on this menu to reveal a list of options.
- In the dropdown menu, find and select “Account” or a similar option. This will take you to the account overview page, where you can manage various aspects of your Spotify account.
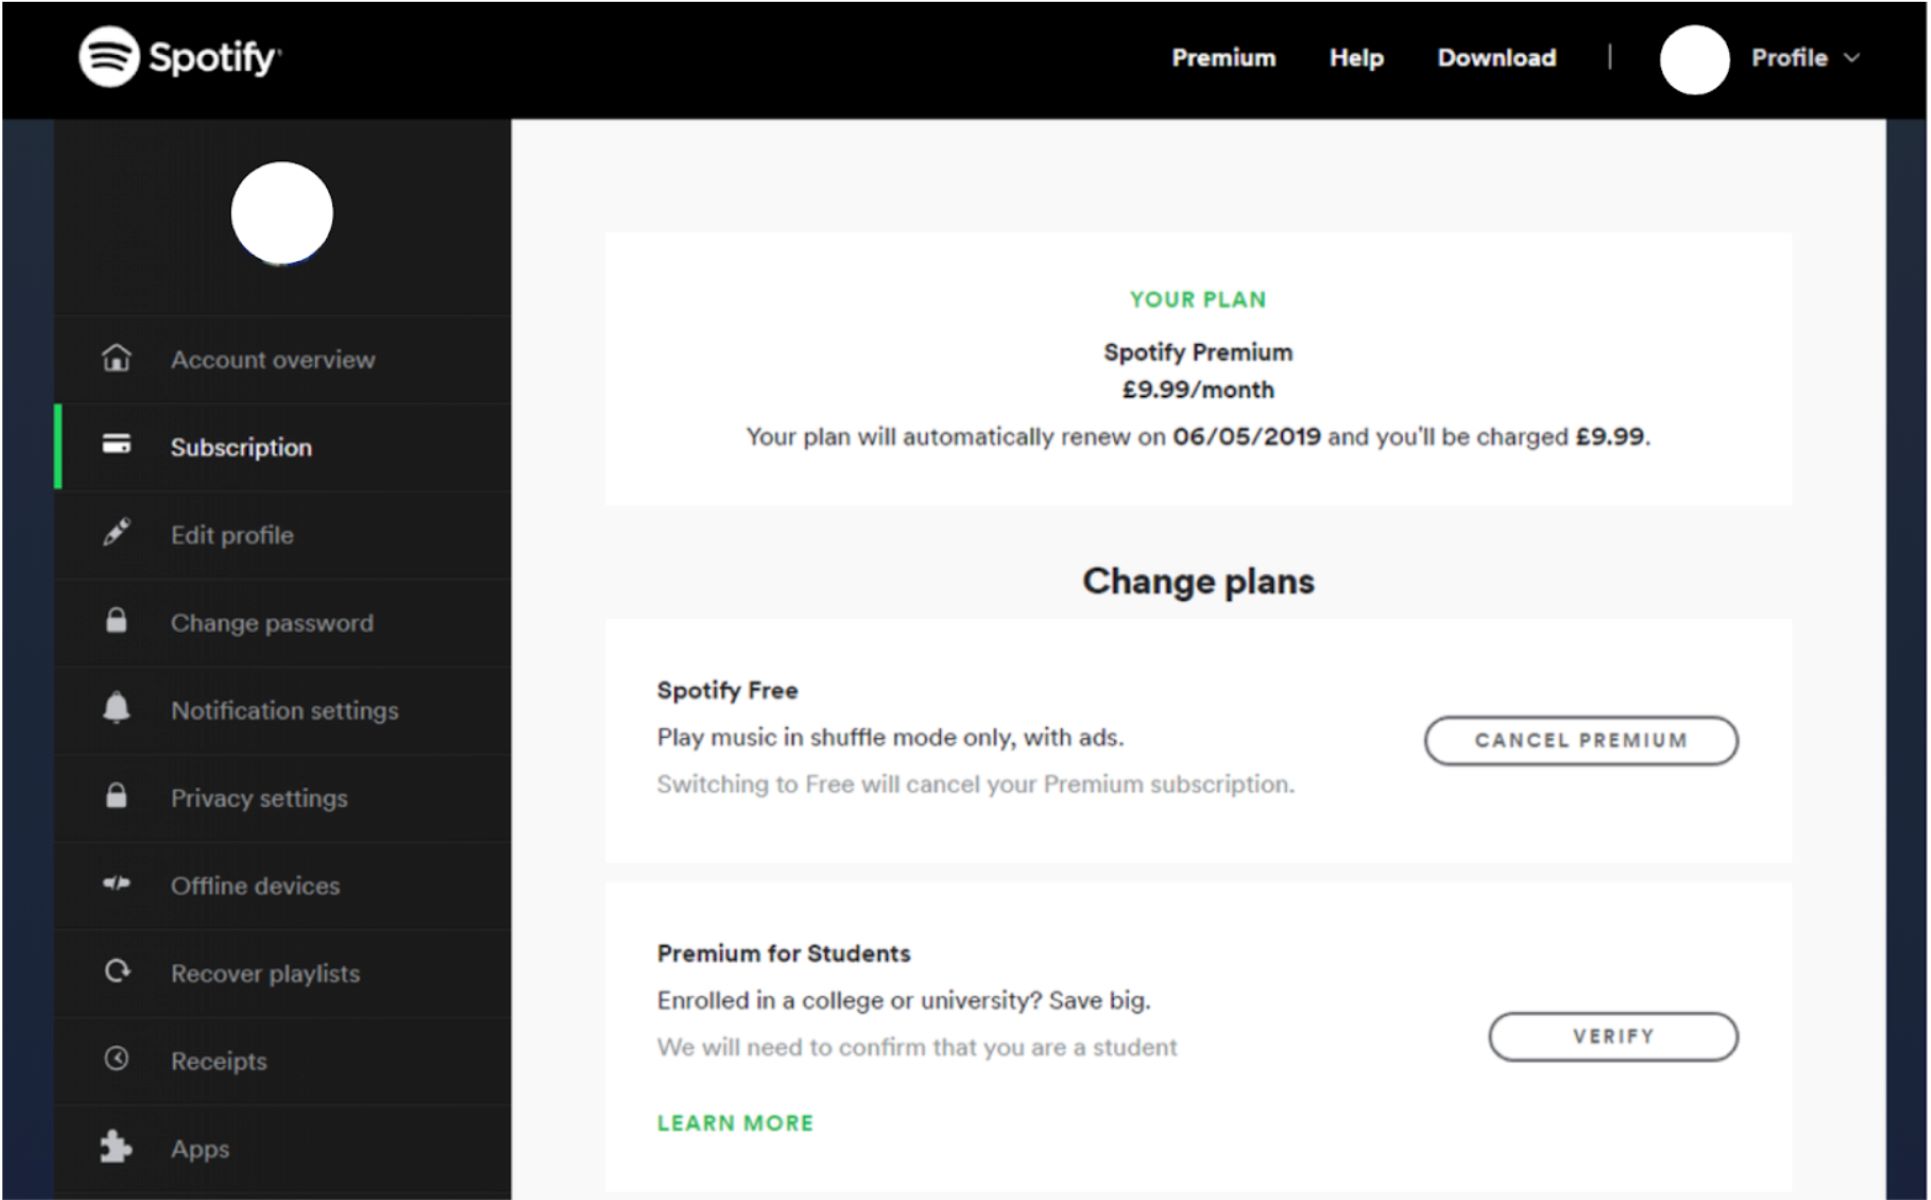
- On the account overview page, navigate to the “Subscription” section or a similar option. This is where you’ll find all the information related to your current Spotify plan.
- Once you’ve located the subscription section, you may see details about your current plan, including the plan name, renewal date, and payment method. Look for an option to change or upgrade your plan. This may be labeled as “Change Plan,” “Upgrade,” or a similar phrase.
- Click on the “Change Plan” or equivalent option to proceed to the page where you can select a new Spotify plan.
If you’re using the Spotify app on a mobile device, the steps may differ slightly but the general process remains the same. Look for the account settings menu, access your account options, and find the section related to your subscription. Tap on the appropriate option to change your plan.
Now that you’ve successfully navigated to the subscription page, it’s time to move on to the next step and choose a new plan that suits your preferences. Keep reading to find out how!
Step 3: Selecting a New Plan
After reaching the subscription page, you are now ready to select a new plan that meets your needs and preferences. Spotify offers a range of plans to choose from, including Spotify Free, Spotify Premium, Spotify Student, Spotify Family, and Spotify Duo. Here’s how you can select a new plan:
- On the subscription page, you will see a list of available plans and their respective features. Take a moment to review the options and consider which plan best suits your requirements.
- Click on the plan you wish to select. This will usually involve clicking on a button, such as “Choose,” “Select,” or “Get Premium.” The button may be located next to the plan’s details or within a separate overlay window.
- Review the features and benefits of the plan you have selected. This will help ensure that the plan aligns with your desired listening experience and any specific perks you may be seeking, such as offline listening or high-quality audio.
- If you have selected a premium plan, you may be prompted to choose the billing frequency (e.g., monthly or annually) and provide payment details. Follow the on-screen instructions to complete this step. If you are switching to a free plan, you may simply need to confirm your selection.
It is worth noting that some plans, such as Spotify Premium Family, may require you to invite or add additional members to your plan. Make sure to carefully follow the prompts and instructions provided to successfully set up your chosen plan.
Once you have selected your new plan and completed the necessary steps, you are almost ready to enjoy the benefits of your updated Spotify subscription. The next section will guide you through confirming the changes you have made.
Step 4: Confirming Your Choice
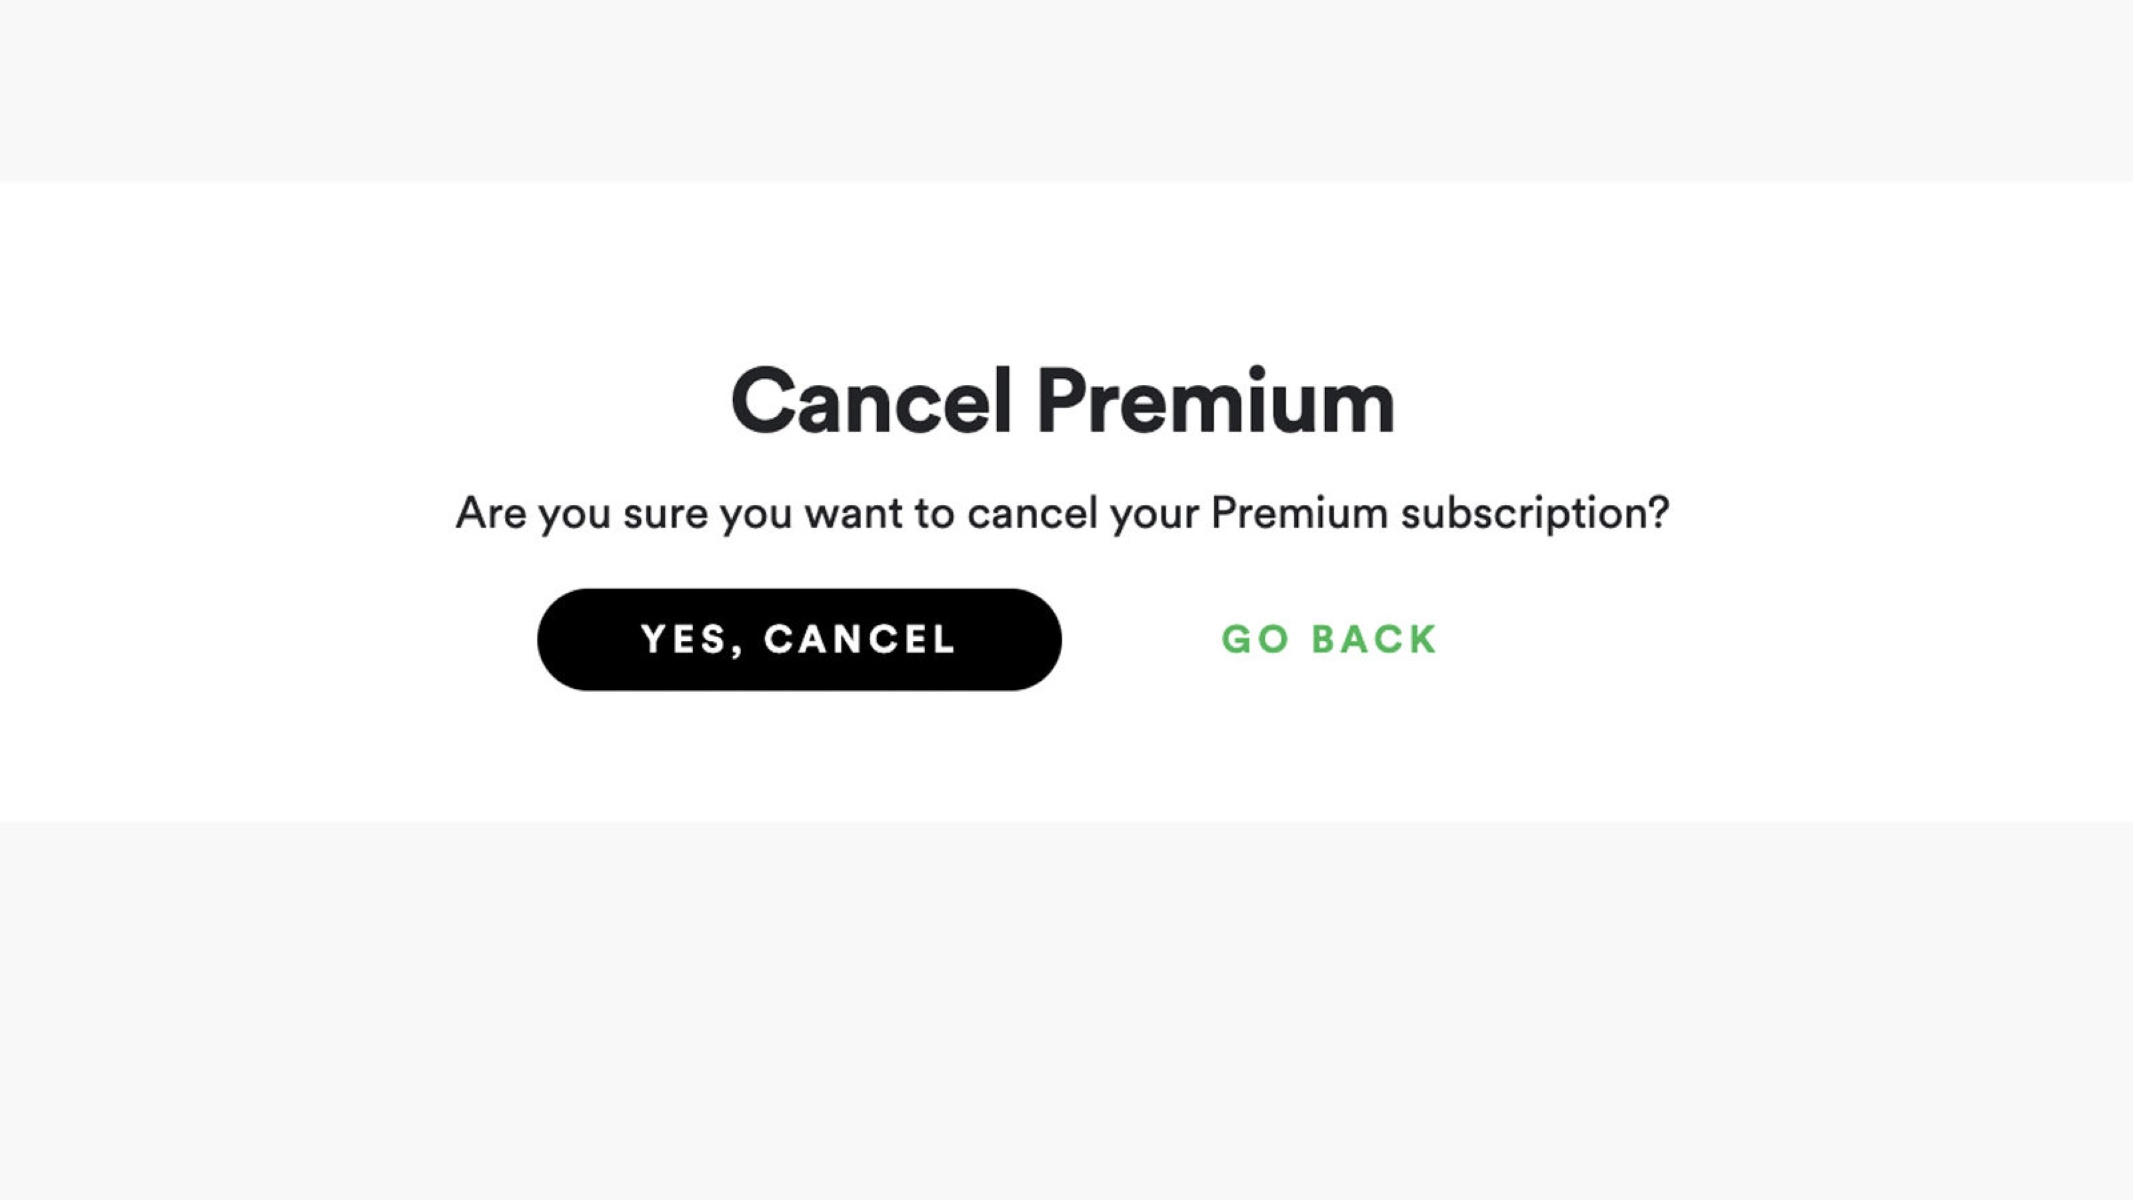
After selecting a new plan, it’s essential to confirm your choice to ensure that the changes are applied correctly to your Spotify account. Confirming your selection helps to avoid any misunderstandings or accidental changes. Follow these steps to confirm your choice:
- Once you have selected the desired plan, you will be taken to a confirmation page or overlay window. This page typically provides an overview of the plan you have chosen, including its features, pricing, and any additional details you need to be aware of.
- Take a moment to review the information on the confirmation page. Make sure that the plan details match your expectations and preferences.
- If everything is in order, look for a confirmation button or option, such as “Confirm,” “Continue,” or “Upgrade now.” Click on this button to move forward with the changes.
- Depending on the plan you selected, you may need to provide additional information or complete specific actions. For example, if you are upgrading to Spotify Premium Family, you may need to invite family members to join your plan. Follow the on-screen instructions to complete any necessary steps.
- After confirming your choice and completing any required actions, you will typically receive a notification or confirmation message indicating that your plan change has been processed. Keep an eye out for this confirmation to ensure that your desired plan is now active.
By carefully confirming your choice, you ensure that the changes you have made to your Spotify plan are accurately applied to your account. Now, it’s time to move on to the final step to verify and enjoy your updated subscription!
Step 5: Verifying the Changes
After confirming your plan change, it’s important to verify that the changes have been successfully applied to your Spotify account. This will ensure that you now have access to the features and benefits of your new subscription. Follow these steps to verify the changes:
- Return to the main screen or homepage of your Spotify account. This is where you typically have access to your playlists, library, and search features.
- Take a moment to observe any visible changes or updates to your account. For example, if you have upgraded to Spotify Premium, you should notice the absence of ads during playback, improved audio quality, and the ability to download music for offline listening.
- Navigate to the settings or account menu of your Spotify app or website. Look for options related to your subscription or plan. Here, you may find additional details about your new plan, such as its renewal date, payment method, and any other relevant information.
- If you have changed to a plan that offers exclusive features, such as Spotify Premium Family or Spotify Student, verify that you have access to these features. For example, if you have joined a family plan, check that you can manage the members included in your plan.
- Lastly, test out your new plan by exploring the various features it offers. Play a song, create a playlist, or explore personalized recommendations to experience the benefits of your updated Spotify subscription.
If, after verifying the changes, you notice any discrepancies or have any concerns, it’s advisable to reach out to Spotify support for assistance. They can help troubleshoot any issues and ensure that your plan is correctly set up.
By following these steps and verifying the changes, you can enjoy a seamless transition to your new Spotify plan. Now, go ahead and enjoy an enhanced music streaming experience with all the features and benefits that come with your updated subscription!
Conclusion
Congratulations! You have successfully learned how to change your Spotify plan. By following the step-by-step instructions in this guide, you were able to navigate to your Spotify account, access the subscription page, select a new plan, confirm your choice, and verify the changes made to your account.
Changing your Spotify plan is a straightforward process that allows you to tailor your music streaming experience to your preferences. Whether you upgraded to Spotify Premium for ad-free listening, joined a Spotify Family plan to share music with loved ones, or chose another plan that aligns with your needs, you can now enjoy all the benefits and features that come with your updated subscription.
Remember, Spotify offers a variety of plans to accommodate different users, so it’s essential to explore the options and select the plan that best suits you. Whether you’re a student looking for a discounted subscription or a family seeking a shared music experience, Spotify has a plan that caters to your requirements.
If at any point you encounter difficulties or have questions during the process of changing your Spotify plan, don’t hesitate to reach out to Spotify’s customer support for assistance. They are available to help you with any issues or concerns you may have.
Now that you’ve successfully changed your Spotify plan, it’s time to sit back, relax, and enjoy your favorite music without any interruptions or limitations. Whether you’re working, exercising, or simply unwinding, let the power of music enhance your everyday experiences.
Thank you for following this guide, and we hope you enjoy your new Spotify subscription!