Introduction
Welcome to the world of CenturyLink WiFi! As an Internet service provider, CenturyLink provides reliable and fast internet connections to millions of users. One important aspect of securing your internet network is to regularly change your WiFi password. In this article, we will guide you through the process of changing your CenturyLink WiFi password.
Why is it essential to change your WiFi password? Well, by changing your password periodically, you can add an extra layer of security to your network and protect it from unauthorized access. Additionally, changing your password ensures that any devices connected to your WiFi are continuously authenticated, preventing any potential threats or intrusions.
Don’t worry if you’re not a tech expert – changing your CenturyLink WiFi password is a simple and straightforward process. In just a few steps, you can safeguard your network and gain peace of mind.
So, without further ado, let’s dive into the step-by-step guide on how to change your CenturyLink WiFi password.
Why should you change your CenturyLink WiFi password?
Security is of paramount importance when it comes to your internet network. Changing your CenturyLink WiFi password regularly offers several key benefits:
- Preventing unauthorized access: By changing your WiFi password, you ensure that only authorized individuals have access to your network. This helps to safeguard sensitive information and prevents malicious parties from infiltrating your system.
- Protecting your personal data: With cybercrime on the rise, changing your CenturyLink WiFi password helps protect your personal information. By creating a strong password and regularly updating it, you minimize the risk of identity theft, financial fraud, or the unauthorized use of your network.
- Blocking unwanted devices: Changing your WiFi password allows you to revoke access to any devices that you no longer want connected to your network. This is particularly useful if you suspect that someone is using your WiFi without your permission or if you have shared your password with someone who you no longer wish to have access.
- Enhancing network performance: Over time, numerous devices may have connected to your WiFi, causing potential congestion and slower internet speeds. By changing your WiFi password, you can ensure that only the devices you authorize are connected, optimizing your network’s performance.
- Staying ahead of security vulnerabilities: As technology advances, new security vulnerabilities may be discovered. Changing your CenturyLink WiFi password regularly helps you stay proactive and mitigates the risk of your network being compromised by newly discovered threats.
By understanding the importance of changing your CenturyLink WiFi password, you can take the necessary steps to protect your network and maintain a secure online environment for yourself and your family. Now that you know why it’s essential let’s move on to the step-by-step process of changing your password.
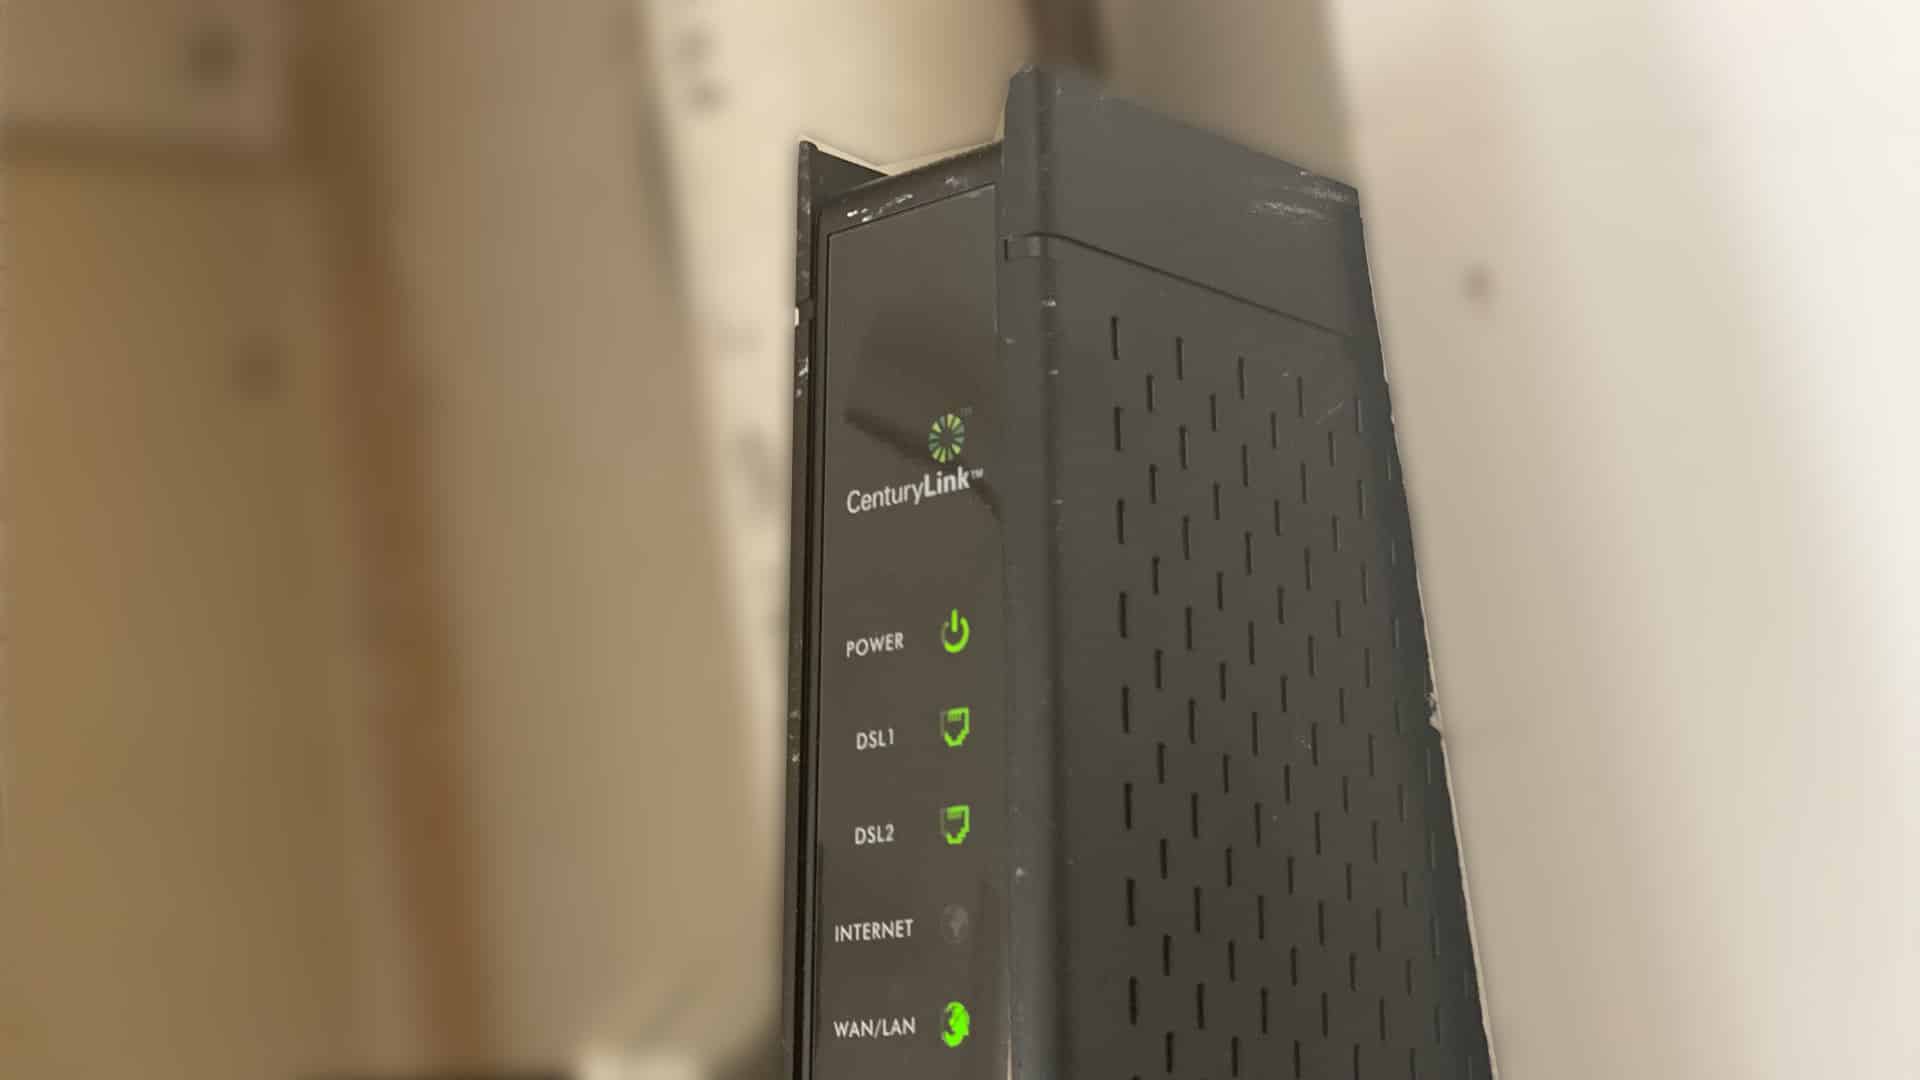
Step 1: Accessing the CenturyLink modem interface
The first step in changing your CenturyLink WiFi password is to access the modem interface. The modem interface is a web-based portal that allows you to manage various settings for your CenturyLink modem, including changing the WiFi password.
To access the modem interface, follow these steps:
- Connect your computer or mobile device to the CenturyLink modem using an Ethernet cable or by connecting to the WiFi network.
- Launch a web browser of your choice (such as Google Chrome, Mozilla Firefox, or Safari) and type in the modem’s IP address in the address bar. The default IP address for most CenturyLink modems is usually 192.168.0.1 or 192.168.1.1. Press Enter.
- A login page will appear, prompting you to enter your CenturyLink modem login credentials.
- If you have never changed your login credentials before, you can use the default username and password provided by CenturyLink. Typically, the default username is “admin” and the default password is “password”. However, it’s always a good practice to change these default credentials to a more secure combination. If you have already changed your login credentials, enter the appropriate username and password.
- Once you have entered the login credentials, click on the “Login” or “Sign In” button to proceed.
By successfully accessing the CenturyLink modem interface, you are now ready to move on to the next step: logging into the CenturyLink modem.
Step 2: Logging into the CenturyLink modem
After accessing the CenturyLink modem interface, the next step is to log into the modem using your CenturyLink login credentials. This will allow you to access the settings and make changes to your WiFi password.
Follow these instructions to log into your CenturyLink modem:
- On the modem interface login page, enter your CenturyLink username and password in the appropriate fields.
- If you don’t remember your login credentials, you can try the default username and password combination provided by CenturyLink. However, it is strongly recommended to change the default credentials to ensure the security of your network.
- Once you have entered your login credentials, click on the “Login” or “Sign In” button to proceed.
- If the login information you entered is correct, you will be granted access to the CenturyLink modem settings page.
- Now that you have successfully logged into your CenturyLink modem, you are ready to proceed to the next step: locating the WiFi settings.
Logging into your CenturyLink modem allows you to access the necessary settings to change your WiFi password. By ensuring that you have the correct login credentials, you can move forward confidently in the process of securing your network. Let’s move on to the next step and explore how to locate the WiFi settings.
Step 3: Locating the WiFi settings
Once you have logged into your CenturyLink modem, the next step is to locate the WiFi settings. These settings will allow you to view and change your WiFi password.
Follow these steps to locate the WiFi settings:
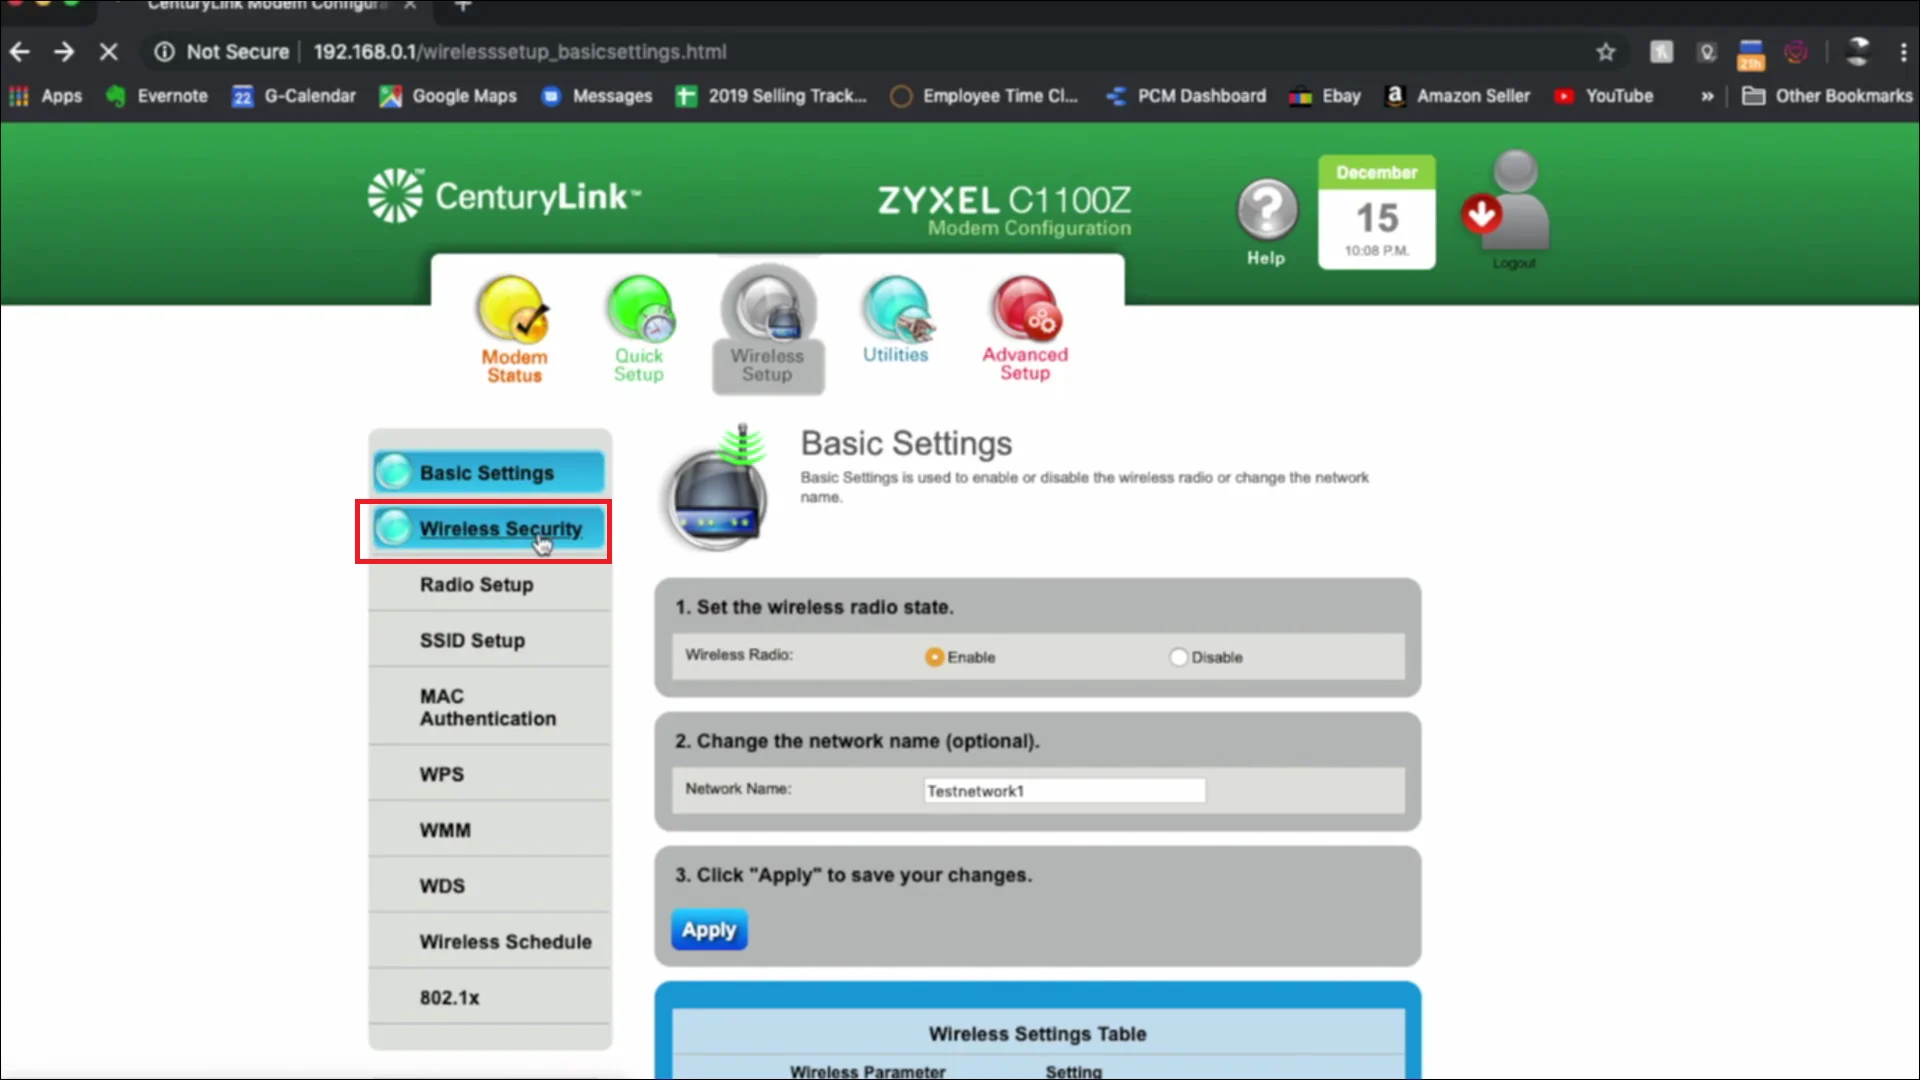
- After logging in, you will be on the modem settings page. Look for the section that refers to “Wireless”, “WiFi”, or “Network Settings”. The exact location and naming may differ based on the model of your CenturyLink modem.
- Click on the appropriate section to expand and view the available WiFi settings.
- Within the WiFi settings, you should be able to see the current WiFi network name (SSID) and other related details.
- Look for an option or tab labeled “Security”, “Authentication”, or similar. This is where you will locate the WiFi password settings.
- Within the security settings, you will find the current WiFi password. Typically, the password is displayed as a series of dots or asterisks for security purposes.
By successfully locating the WiFi settings, you are now ready to move on to the next step: changing the WiFi password. Having an understanding of where to find the WiFi settings ensures that you can easily navigate through the modem interface to secure your network. Let’s proceed to the next step and explore how to change the WiFi password.
Step 4: Changing the WiFi password
Now that you have located the WiFi settings within your CenturyLink modem, it’s time to proceed with changing the WiFi password. Follow these simple steps:
- Within the WiFi settings, locate the field or option that allows you to modify the WiFi password. This may be labeled as “Password”, “Passphrase”, or “Security Key”.
- Click on the field or option to select it, and then delete the existing password.
- Enter your new desired WiFi password. It is recommended to choose a strong password that combines a mix of uppercase and lowercase letters, numbers, and special characters. This will increase the security of your network.
- Take note of the new password or write it down in a secure location for future reference.
- Once you have entered the new password, save the changes by clicking on the “Apply” or “Save” button within the WiFi settings. The modem interface may take a moment to process the changes.
Congratulations! You have successfully changed the WiFi password for your CenturyLink modem. Your network is now more secure, and you can proceed to the final step of testing the new WiFi password.
Remember, it is essential to update the WiFi password on all devices that connect to your network to ensure uninterrupted access. Now, let’s move on to the last step of this process: testing the new WiFi password.
Step 5: Testing the new WiFi password
After changing your CenturyLink WiFi password, it’s crucial to test the new password to ensure that it has been set up correctly. Testing the new password will also help you verify that all of your devices can connect to the network without any issues. Follow these steps to test the new WiFi password:
- Disconnect all of your devices from the current WiFi network. This includes laptops, smartphones, tablets, smart TVs, and any other devices that were previously connected.
- Reconnect the devices one by one to the WiFi network using the new WiFi password. Go to the WiFi settings on each device, select your WiFi network from the list of available networks, and enter the new password when prompted.
- Ensure that each device connects successfully to the network using the new password. Check that you have internet access and that the connection is stable.
- If you encounter any issues, double-check that you have entered the correct new password. If necessary, repeat the steps for changing the WiFi password to ensure that it was done correctly.
- Once all devices are successfully connected to the network using the new WiFi password, you can be confident that the password change was successful.
By testing the new WiFi password, you can confirm that your devices can connect to the network and that the password has been set up correctly in the modem. You can now enjoy a more secure and protected WiFi network.
Now that you have successfully changed and tested your CenturyLink WiFi password, you can rest assured knowing that you have taken an important step in securing your network. Remember to periodically change your WiFi password to maintain the security of your network and protect your personal information.
Tips for creating a strong WiFi password
Creating a strong WiFi password is essential to protect your network from unauthorized access. A strong password makes it significantly more difficult for potential intruders to crack and helps safeguard your personal information. Consider the following tips when creating a secure WiFi password:
- Length and complexity: Choose a password with a minimum length of 12 characters. Include a combination of uppercase and lowercase letters, numbers, and special characters (such as !@#$%^&*).
- Avoid personal information: Avoid using easily guessable information like your name, address, or birthdate as part of your password. Using personal information makes it easier for attackers to gain unauthorized access to your network.
- Unique and random: Create a password that is unique and unrelated to any commonly used words or phrases. Using a mix of characters that don’t form coherent words or sequences adds an extra layer of security.
- Frequent updates: Change your WiFi password regularly. We recommend updating it every 3-6 months to maintain the security of your network.
- Don’t reuse passwords: Avoid using the same password for multiple accounts or services. Using unique passwords for each login helps prevent potential security breaches across various platforms.
- Consider a password manager: If it becomes difficult to remember multiple complex passwords, consider using a password manager. These tools securely store your passwords and can generate strong passwords for you.
Remember, the strength of your WiFi password is crucial to ensure the security of your network. By following these tips, you can create a password that is difficult to crack and significantly reduce the risk of unauthorized access.
With a strong WiFi password in place, you can have peace of mind knowing that your network is protected and your personal information is secure.
Conclusion
Changing your CenturyLink WiFi password is a crucial step in maintaining the security of your network. By following the step-by-step guide outlined in this article, you can easily change your WiFi password and enhance the protection of your personal information. Regularly updating your password and implementing strong security practices will help safeguard your network from unauthorized access and potential cyber threats.
Remember to access the CenturyLink modem interface, log in with your credentials, locate the WiFi settings, and change the password to a strong and unique combination of characters. Test the new password by connecting all devices to the network, and ensure they have a stable connection. Additionally, incorporate tips for creating a strong WiFi password, such as using a combination of uppercase and lowercase letters, numbers, and special characters, as well as regularly updating your password.
By taking these precautions and staying proactive, you can enjoy a secure and protected CenturyLink WiFi network. Safeguarding your network not only protects your personal information but also ensures a smooth and reliable internet experience for you and your family.
So, what are you waiting for? Follow the steps and create a strong WiFi password for your CenturyLink network today!