Requirements
Before you can start casting from your Macbook to your Apple TV, make sure you have the following requirements:
- A Macbook computer (compatible with AirPlay) running macOS High Sierra or later.
- An Apple TV (2nd generation or later) with AirPlay support.
- A stable Wi-Fi network that both your Macbook and Apple TV can connect to.
- The latest version of the operating system installed on both your Macbook and Apple TV.
It’s important to ensure that your devices meet these requirements to ensure a smooth casting experience.
If you’re not sure whether your Macbook is compatible with AirPlay, you can check the system requirements on the official Apple website. Additionally, make sure to update your Macbook and Apple TV to the latest software version to avoid any compatibility issues.
If you don’t already have an Apple TV, you can purchase one online or from an authorized Apple retailer. Make sure to choose a model that supports AirPlay to enjoy the casting functionality.
Once you have all the necessary requirements in place, you can proceed to the next steps to begin casting from your Macbook to your Apple TV.
Step 1: Check the System Requirements
Before you start casting from your Macbook to your Apple TV, it’s crucial to ensure that your system meets the necessary requirements. Checking the system requirements will help avoid any compatibility issues and ensure a smooth casting experience.
To check the system requirements, follow these steps:
- Make sure you have a Macbook computer that is compatible with AirPlay. AirPlay is supported on Macbooks running macOS High Sierra or later versions. To check your macOS version, click on the Apple menu in the top-left corner of your screen and select “About This Mac.” A new window will open, displaying the version of macOS installed on your Macbook.
- Next, confirm that you have an Apple TV with AirPlay support. AirPlay is available on Apple TVs from the 2nd generation onwards. If you’re not sure which Apple TV model you have, go to the settings on your Apple TV and navigate to “About.” Here, you will find the model information.
- Ensure that both your Macbook and Apple TV are connected to the same Wi-Fi network. Casting requires both devices to be on the same network for seamless communication.
- Check for any software updates for your Macbook and Apple TV. Keeping your devices up to date will help eliminate any potential compatibility issues. On your Macbook, go to the Apple menu, select “System Preferences,” and choose “Software Update.” On your Apple TV, go to “Settings,” then “System,” and select “Software Update.”
Once you have verified that your system meets the requirements, you can proceed to the next step of connecting your Macbook and Apple TV to the same Wi-Fi network.
Step 2: Connect your Macbook and Apple TV to the same Wi-Fi network
In order to cast from your Macbook to your Apple TV, it is essential to have both devices connected to the same Wi-Fi network. This ensures a seamless connection and allows for smooth casting of media files.
To connect your Macbook and Apple TV to the same Wi-Fi network, follow these steps:
- Make sure your Macbook is powered on and connected to a Wi-Fi network. To check your Wi-Fi connection, look for the Wi-Fi icon in the menu bar at the top-right corner of your Macbook’s screen. If the icon is solid, it means your Macbook is connected to a network.
- On your Apple TV, navigate to the home screen by pressing the Menu button on your Apple TV remote.
- Using your Apple TV remote, navigate to the “Settings” option on the home screen and select it.
- In the Settings menu, find and select the “Network” option.
- Within the Network menu, select “Wi-Fi” and you will see a list of available Wi-Fi networks.
- Select the Wi-Fi network that your Macbook is connected to from the list. If prompted, enter the Wi-Fi password to connect to the network.
- Wait for your Apple TV to connect to the Wi-Fi network. Once connected, you will see a checkmark next to the network name.
Once both your Macbook and Apple TV are connected to the same Wi-Fi network, you are ready to enable AirPlay on your Apple TV and Macbook to begin casting.
Step 3: Enable AirPlay on your Apple TV
Before you can start casting from your Macbook to your Apple TV, you need to enable the AirPlay feature on your Apple TV. AirPlay allows you to wirelessly stream content from your Macbook to your Apple TV, enhancing your viewing experience on the big screen.
To enable AirPlay on your Apple TV, follow these simple steps:
- Turn on your Apple TV and make sure it is connected to your TV and powered on.
- Using your Apple TV remote, navigate to the home screen by pressing the Menu button.
- Scroll through the options and select “Settings.”
- In the Settings menu, locate and click on the “AirPlay” option.
- Within the AirPlay settings, you will see the “AirPlay” toggle switch. Ensure that it is turned on.
- If you want to require a code for AirPlay, you can toggle on the “Require Code” option. This adds an extra layer of security and prevents unauthorized access to your Apple TV.
By enabling AirPlay on your Apple TV, you are allowing your Macbook to detect and connect to it for casting purposes. Once AirPlay is enabled, you can move on to enabling AirPlay on your Macbook in the next step.
Step 4: Enable AirPlay on your Macbook
To cast from your Macbook to your Apple TV, you need to enable the AirPlay feature on your Macbook. Enabling AirPlay allows your Macbook to detect and connect to your Apple TV wirelessly, enabling seamless casting of media content.
Follow these steps to enable AirPlay on your Macbook:
- Ensure that your Macbook is connected to the same Wi-Fi network as your Apple TV. This is crucial for establishing a connection between the devices.
- Open the “System Preferences” on your Macbook. You can do this by clicking on the Apple menu in the top-left corner of your screen and selecting “System Preferences” from the drop-down menu.
- In the System Preferences window, locate and click on the “Displays” icon. This will open the Display settings.
- Within the Displays settings, navigate to the tab that says “AirPlay” or “AirPlay Display.” Click on it.
- You will see a list of available AirPlay devices, including your Apple TV. To enable AirPlay, check the box next to your Apple TV’s name.
- If you want to adjust the display settings for AirPlay, click on the “Options” button. Here, you can choose whether to mirror your Macbook’s display on the Apple TV or extend it as a separate display.
- Once you have enabled AirPlay and adjusted the settings as desired, close the Displays settings.
With AirPlay now enabled on your Macbook, you are ready to select the Apple TV as your display option and start casting your content.
Step 5: Select the AppleTV as your display option
Now that AirPlay is enabled on your Macbook and Apple TV, it’s time to select the Apple TV as your display option. By doing so, you can wirelessly cast your Macbook’s screen onto your Apple TV, allowing you to enjoy your content on a larger display.
Follow these steps to select the Apple TV as your display option:
- Ensure that your Macbook and Apple TV are turned on and connected to the same Wi-Fi network.
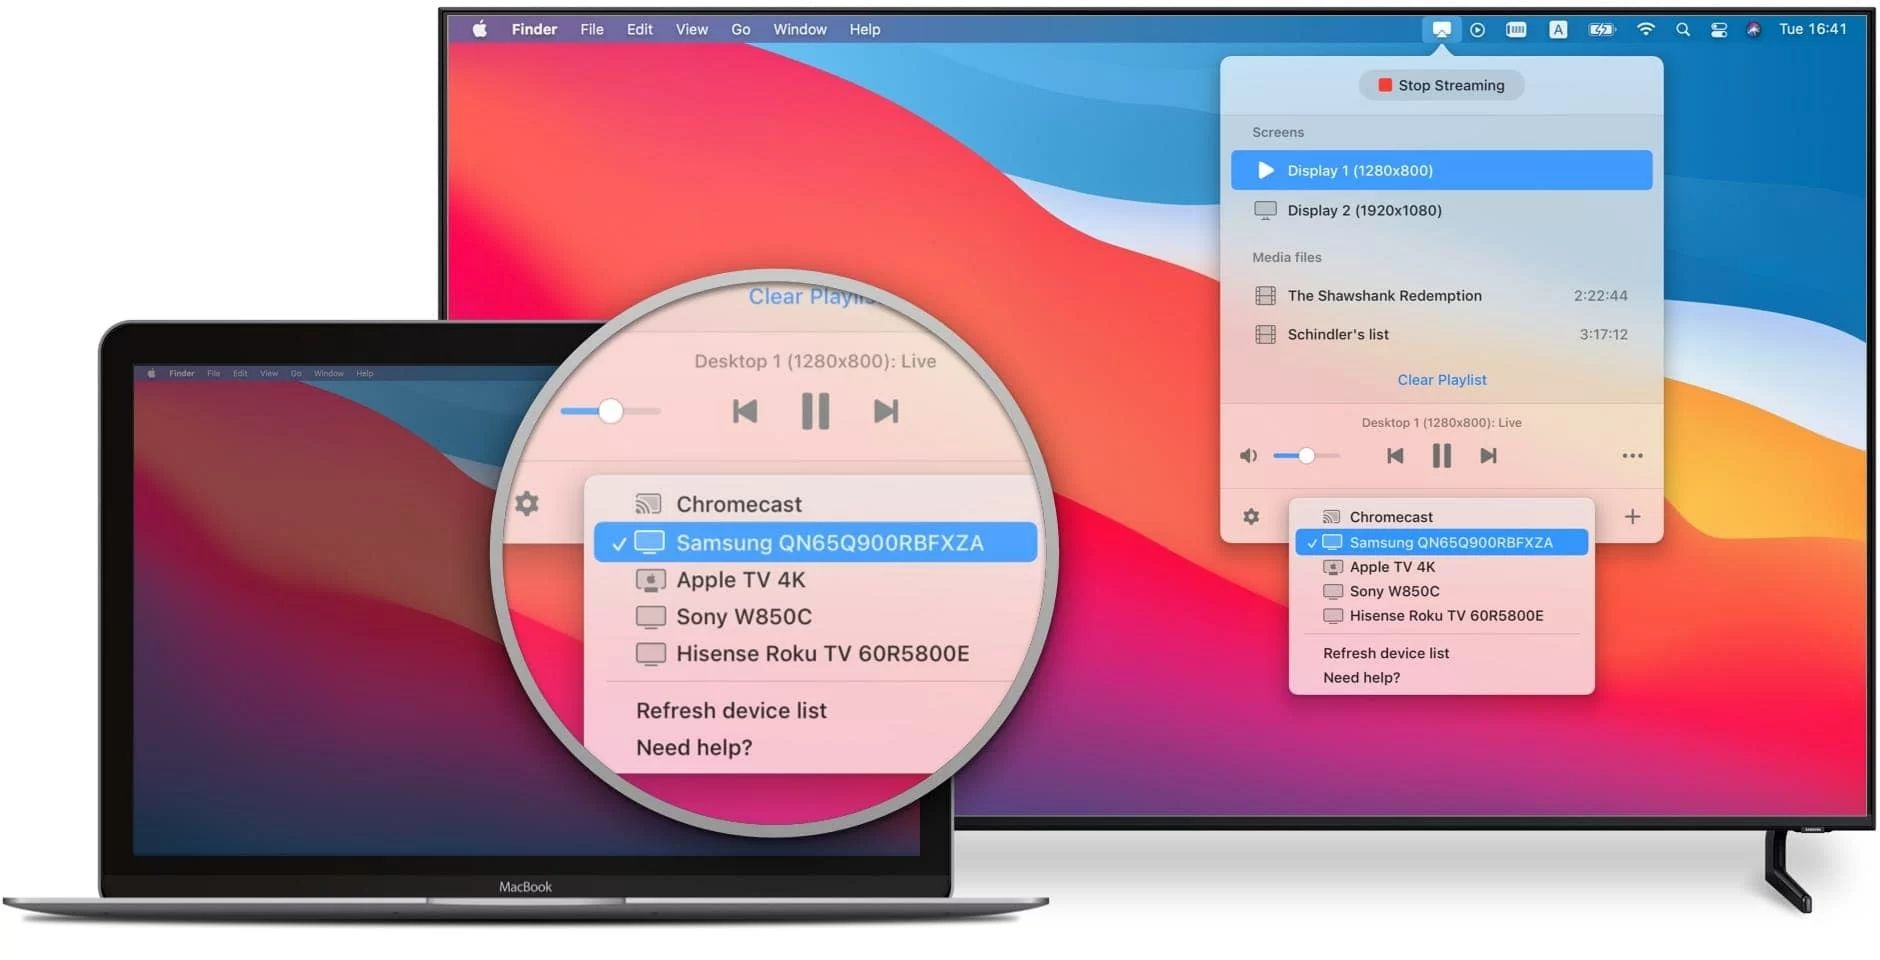
- Click on the AirPlay icon located in the menu bar on your Macbook’s screen. The AirPlay icon looks like a rectangle with an arrow pointing upwards.
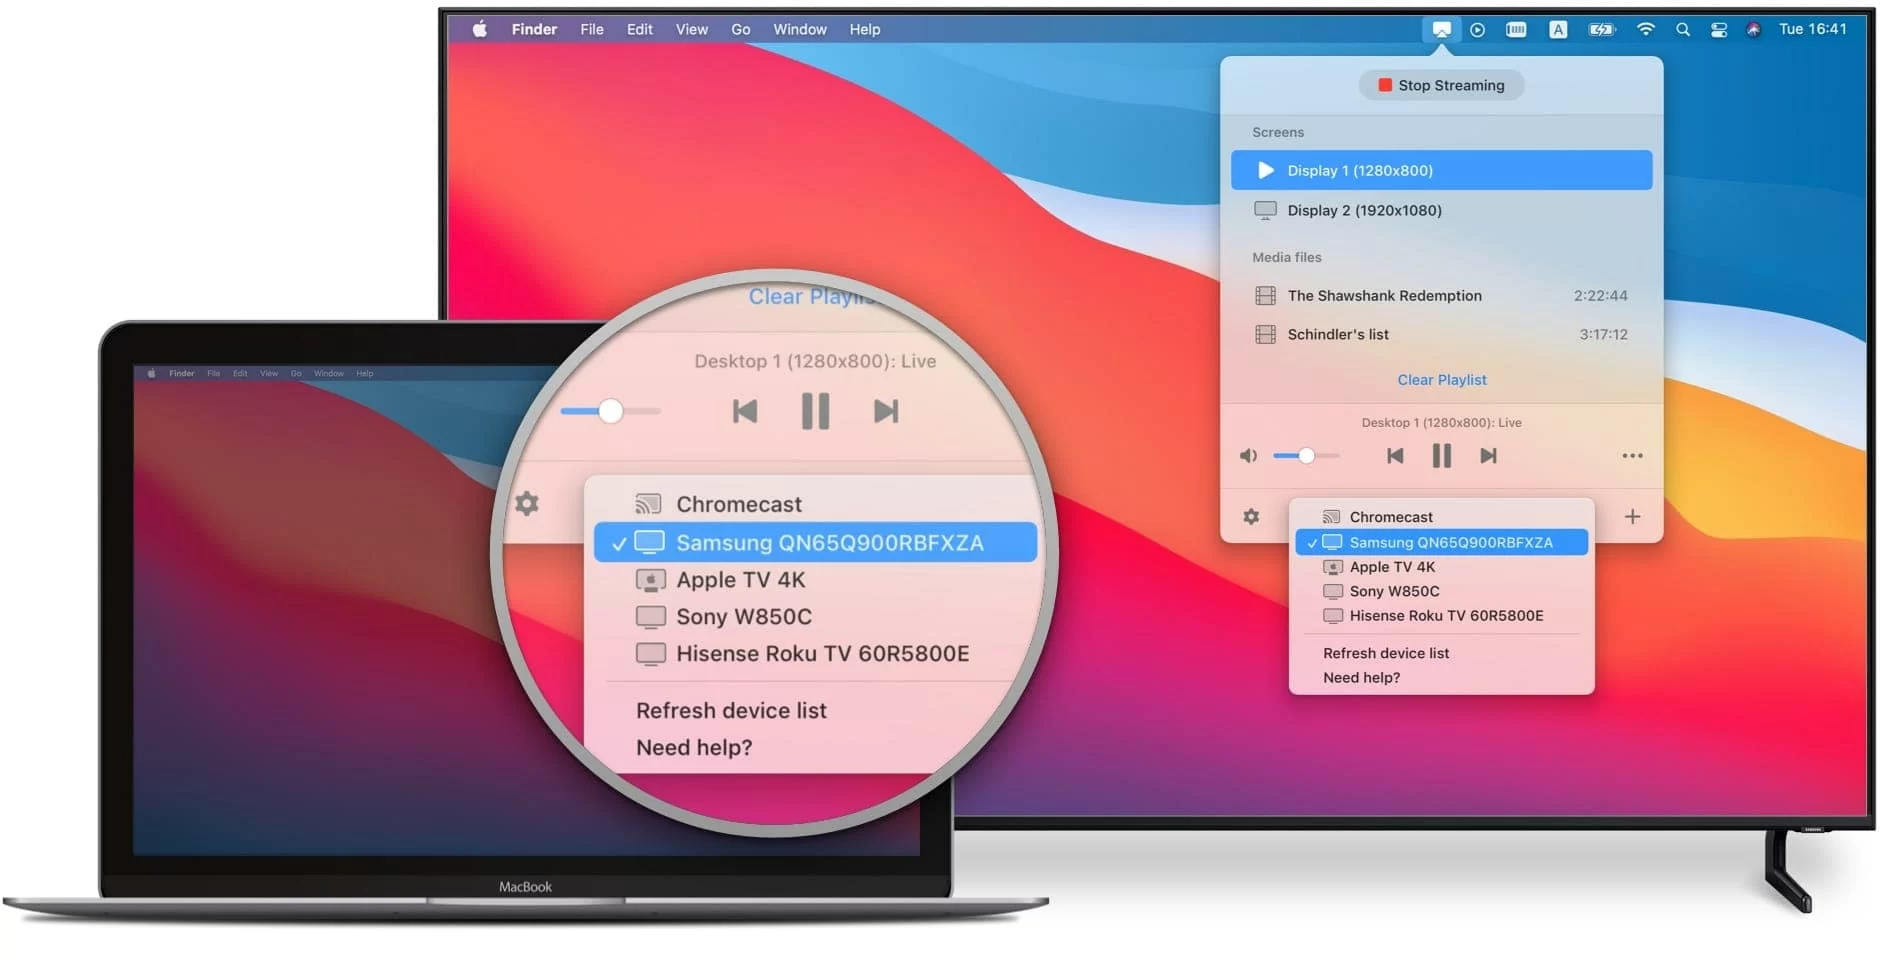
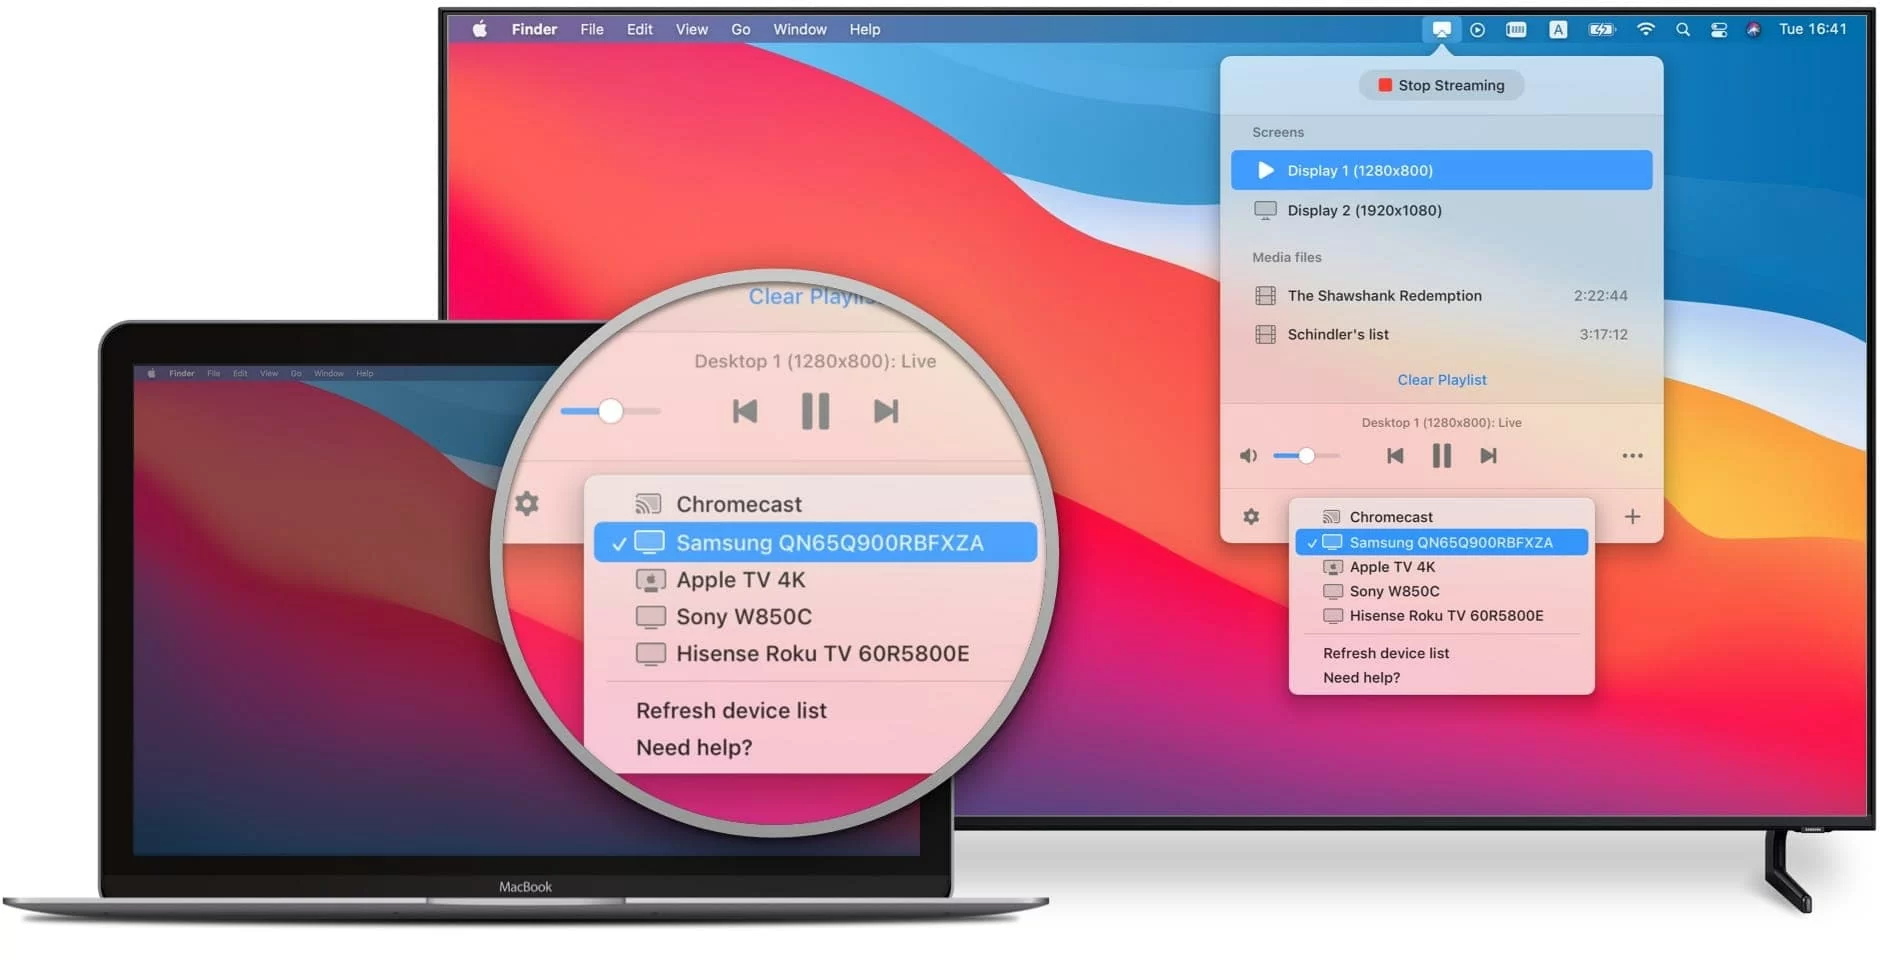
- A dropdown menu will appear, listing the available AirPlay devices. Look for your Apple TV’s name in the list and click on it.
- If prompted, enter the AirPlay code that appears on your Apple TV screen to establish the connection between your Macbook and Apple TV.
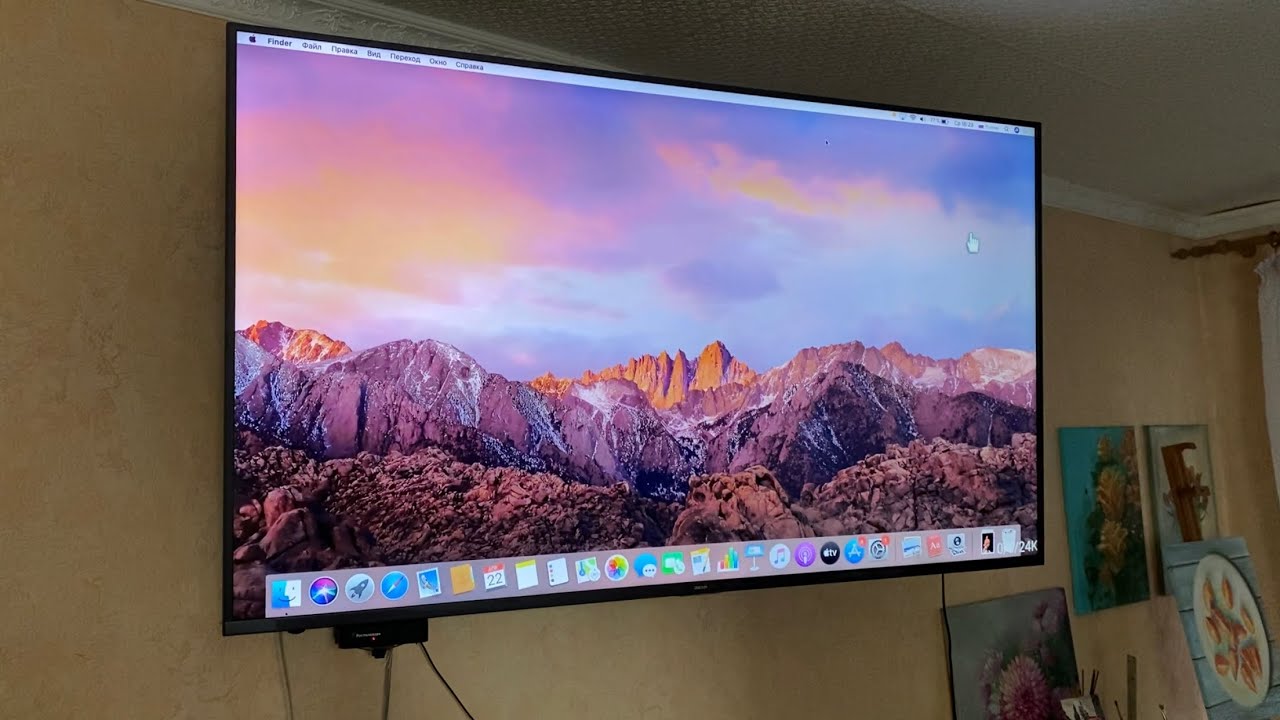
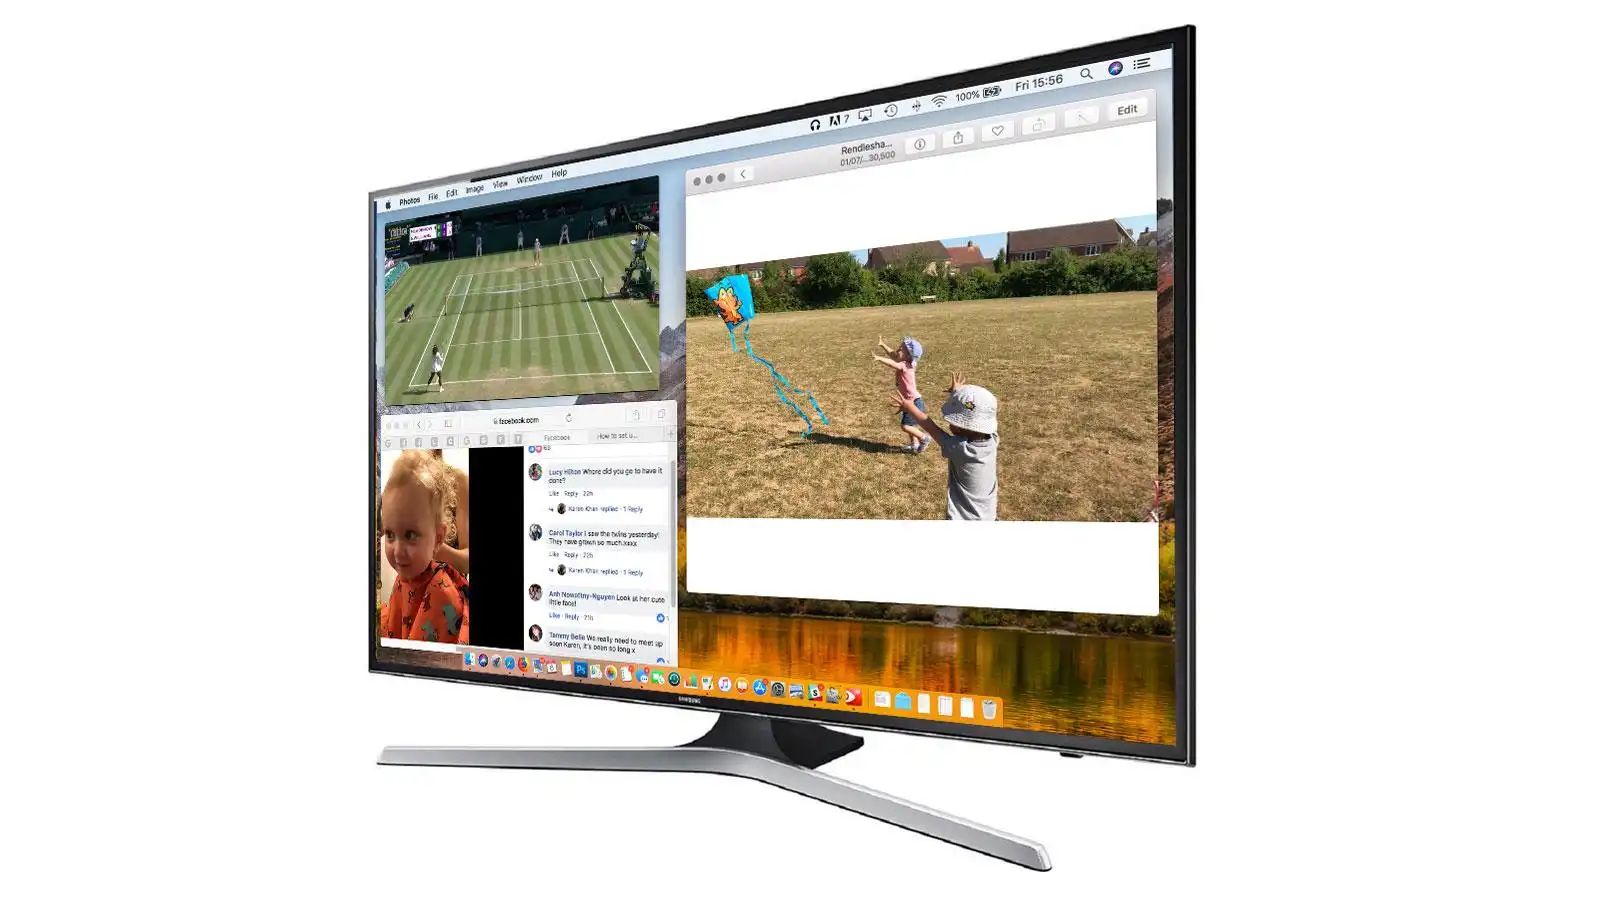
- After selecting your Apple TV, your Macbook’s screen will be mirrored or extended onto the larger display. You should now see your Macbook’s content on your TV.
With the Apple TV selected as your display option, you can now start casting your favorite movies, videos, presentations, and more from your Macbook to your Apple TV for an immersive viewing experience.
Step 6: Start Casting from your Macbook to Apple TV
With AirPlay enabled on both your Macbook and Apple TV, and the Apple TV selected as your display option, you are now ready to start casting your content from your Macbook to your Apple TV. Follow these steps to begin casting:
- Open the media file or application that you want to cast on your Macbook. This can include movies, videos, photos, presentations, or even a web browser with a specific webpage.
- Ensure that the media or content is visible on your Macbook’s screen.
- Once you have the desired content ready, click on the AirPlay icon located in the menu bar on your Macbook’s screen. The AirPlay icon looks like a rectangle with an arrow pointing upwards.
- In the dropdown menu that appears, select your Apple TV from the list of available AirPlay devices.
- After a moment, your Macbook’s screen will start mirroring or extending onto your Apple TV. You will now see the content displayed on your TV screen.
- Play the media file or interact with the application on your Macbook, and the content will be mirrored in real-time on your Apple TV. You can use your Macbook as a control device, while the content is displayed on the larger screen of your TV.
Enjoy your content on a bigger screen with enhanced viewing and media playback capabilities. Whether you’re watching a movie, presenting a slideshow, or even playing games, casting from your Macbook to your Apple TV provides a more immersive experience.
Step 7: Adjust settings and volume as needed
While casting from your Macbook to your Apple TV, it’s important to have control over the settings and volume to enhance your viewing experience. Adjusting settings and volume ensures optimal audio and video quality, making your content more enjoyable. Follow these steps to adjust settings and volume as needed:
- To adjust the display settings, such as brightness, contrast, or resolution, you can go to the System Preferences on your Macbook and select the Displays option. Here, you can make the necessary adjustments to suit your preferences.
- If you want to control the volume, you can do so using either your Macbook’s volume keys or the volume buttons on your Apple TV remote. Adjust the volume to a comfortable level that suits your viewing environment.
- If the audio is not playing on your Apple TV, ensure that the sound output is set to the Apple TV. On your Macbook, go to the System Preferences, select Sound, and choose the Apple TV as the output device.
- If you encounter any lag or buffering issues during the casting process, try pausing the content for a few seconds to allow it to buffer. This can help improve the streaming quality and prevent interruptions.
- If you want to stop casting or switch back to your Macbook’s display, click on the AirPlay icon in the menu bar on your Macbook and select “Turn Off AirPlay” or choose your Macbook as the display option.
By adjusting settings and volume as needed, you can tailor the casting experience to your preferences and create a more immersive and enjoyable viewing environment.
Step 8: End Casting from your Macbook to Apple TV
Once you’re done casting from your Macbook to your Apple TV, you may want to end the casting session and revert back to using your Macbook’s display. Here’s how to do it:
- On your Macbook, click on the AirPlay icon in the menu bar. The AirPlay icon looks like a rectangle with an arrow pointing upwards.
- In the dropdown menu that appears, select “Turn Off AirPlay” or choose your Macbook as the display option.
- After selecting the appropriate option, your Macbook’s screen will no longer be mirrored or extended onto your Apple TV.
- You can now use your Macbook’s display independently again.
Ending the casting session is as simple as selecting the option to turn off AirPlay and disconnecting your Macbook from the Apple TV. This allows you to regain full control over your Macbook and continue using it normally.
Remember that when you’re not actively using AirPlay, it’s a good practice to keep the AirPlay settings turned off on both your Macbook and Apple TV to avoid any unintentional casting or interference with other devices.
By following these steps, you can efficiently end the casting session and seamlessly transition back to using your Macbook without any interruptions.
Troubleshooting Tips
While casting from your Macbook to your Apple TV is usually a straightforward process, you may encounter some issues along the way. Here are some troubleshooting tips to help you resolve common problems:
- Ensure that both your Macbook and Apple TV are connected to the same Wi-Fi network. If they are on different networks, you won’t be able to establish a successful connection.
- Verify that both your Macbook and Apple TV have the latest software updates installed. Outdated software can sometimes cause compatibility issues.
- If you’re unable to see your Apple TV in the AirPlay options on your Macbook, try restarting both devices. This can help refresh their connection and make them detect each other.
- If you’re experiencing poor video or audio quality, make sure that your Wi-Fi network is stable and not being disrupted by other devices. Signal interference can impact the streaming performance.
- Check if there are any physical obstructions or objects causing interference between your Macbook and Apple TV. Clearing the line of sight between the devices can improve the connection.
- If the video is out of sync with the audio, try adjusting the audio delay settings on your Apple TV. This can be done through the audio settings on your Apple TV’s menu.
- If there are playback issues with specific media files, ensure that the file format is compatible with AirPlay. Some formats may not be supported, resulting in playback problems.
- Restarting your Wi-Fi router can sometimes resolve connectivity issues. Power off the router for a few seconds, then turn it back on and allow it to reconnect to your devices.
- If all else fails, you can try resetting your Macbook’s network settings or resetting your Apple TV to its factory settings. However, keep in mind that these steps will erase any saved network settings or preferences.
By following these troubleshooting tips, you can overcome common issues and ensure a smooth and uninterrupted casting experience from your Macbook to your Apple TV.
Conclusion
Casting from your Macbook to your Apple TV is a convenient way to enjoy your favorite media content on a larger screen. With the AirPlay feature enabled on both devices and the necessary settings configured, you can seamlessly mirror or extend your Macbook’s screen onto your Apple TV.
Throughout this guide, we’ve covered the step-by-step process, starting from checking the system requirements to ending the casting session. By following these steps, you can successfully cast your Macbook’s screen to your Apple TV and enjoy an enhanced viewing experience.
Remember to ensure that your devices are connected to the same Wi-Fi network, have the latest software updates, and are properly set up for AirPlay. If you encounter any issues, refer to the troubleshooting tips provided to resolve common problems.
Casting from your Macbook to your Apple TV opens up a world of entertainment and possibilities. You can enjoy movies, videos, presentations, and more on a larger, more immersive screen. Take advantage of the AirPlay feature to make the most of your Macbook and Apple TV combination.
So, grab your popcorn, sit back, and enjoy the seamless casting experience from your Macbook to your Apple TV!


