Introduction
Welcome to the world of Chromebooks, where you can enjoy the convenience of a lightweight and affordable laptop running on the Chrome OS. One of the exciting features of Chromebooks is the ability to cast your screen onto a larger display, such as a TV. This allows you to enjoy your favorite content, whether it’s a movie, TV show, or even a presentation, on a bigger screen.
In this guide, we will walk you through the steps to cast from your Chromebook to your TV, so you can take advantage of the larger display and enjoy a more immersive viewing experience. Whether you want to stream videos, share photos, or give a presentation, casting from your Chromebook to your TV is a simple and effective way to do it.
Before we dive into the steps, it’s important to note that not all Chromebooks are compatible with casting. You may need to check the specifications of your specific Chromebook model to ensure it has the necessary capabilities.
Now that you’re ready, let’s get started on casting from your Chromebook to your TV!
Step 1: Check the compatibility of your Chromebook and TV
Before you start casting from your Chromebook to your TV, it’s important to ensure that both devices are compatible with each other. Here’s how to do it:
- Check the availability of the casting feature: First, check if your Chromebook has the casting feature. Most modern Chromebooks come with built-in casting capabilities, allowing you to easily cast your screen to a TV. You can typically find this feature in the system settings or in the quick settings panel.
- Confirm your TV’s casting compatibility: Next, make sure that your TV supports casting. Many newer smart TVs have built-in casting capabilities, which allows you to directly cast from your Chromebook to your TV without the need for additional devices. If your TV is not a smart TV, you may need to connect a casting device, such as a Chromecast, to enable casting.
- Ensure both devices are connected to the same Wi-Fi network: Casting requires that both your Chromebook and TV are connected to the same Wi-Fi network. This ensures a seamless connection and smooth casting experience. Make sure that your Chromebook and TV are connected to the same Wi-Fi network before proceeding.
Checking the compatibility of your Chromebook and TV is an important first step to ensure that you can successfully cast from your Chromebook to your TV. Once you have confirmed compatibility, you can move on to the next steps and start casting your screen.
Step 2: Connect your Chromebook to the same Wi-Fi network as your TV
In order to cast from your Chromebook to your TV, it is essential that both devices are connected to the same Wi-Fi network. This ensures a smooth and stable connection for streaming your content. Here’s how you can connect your Chromebook to the same Wi-Fi network as your TV:
- Open the Wi-Fi settings on your Chromebook: Click on the Wi-Fi icon in the bottom-right corner of the screen, next to the system clock. A list of available Wi-Fi networks will appear.
- Select your Wi-Fi network: Locate and select your home Wi-Fi network from the list. If your Wi-Fi network is not displayed, click on the “Add network” option and manually enter your network details.
- Enter the Wi-Fi password: If you are connecting to a secure network, you will be prompted to enter the Wi-Fi password. Make sure to enter the password correctly to establish a successful connection.
- Connect your TV to the same Wi-Fi network: On your TV, access the settings menu and navigate to the network settings. From there, select your home Wi-Fi network and enter the corresponding password. Once connected, your TV will be on the same network as your Chromebook.
Once both your Chromebook and TV are connected to the same Wi-Fi network, they will be able to communicate with each other for casting purposes. Make sure that the connection is stable and that both devices are within a reasonable range of the Wi-Fi router for optimal performance.
Now that your Chromebook and TV are connected to the same Wi-Fi network, you are ready to move on to the next step and start casting from your Chromebook.
Step 3: Cast from your Chromebook
With your Chromebook and TV connected to the same Wi-Fi network, you are now ready to cast from your Chromebook to your TV. Follow these simple steps to start enjoying your favorite content on the big screen:
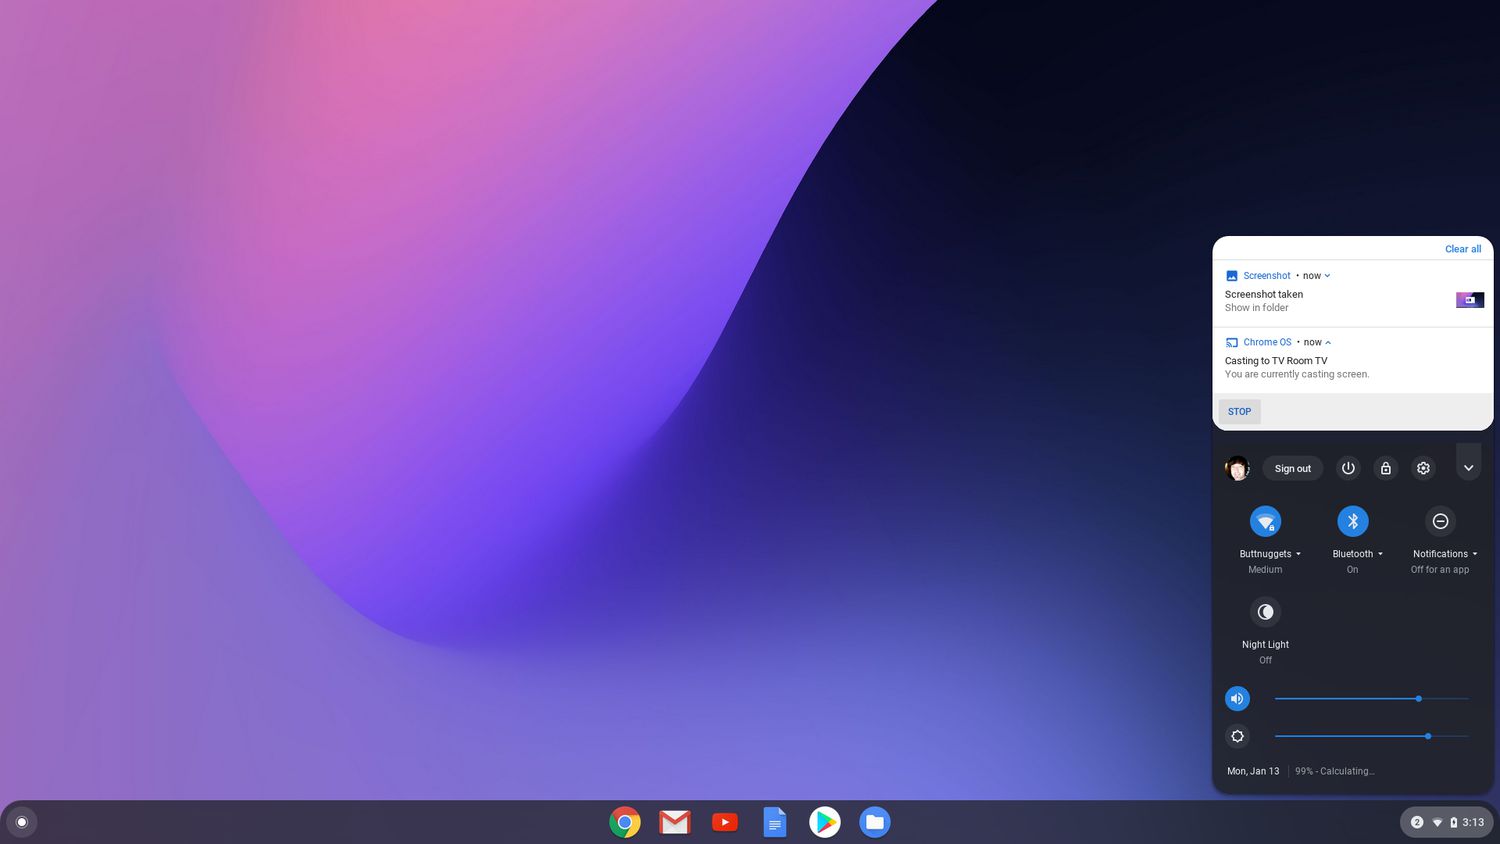
- Open the settings menu on your Chromebook: Click on the system clock in the bottom-right corner of the screen, then click on the gear icon to access the settings menu.
- Select “Displays” or “Device” settings: In the settings menu, look for the “Displays” or “Device” option. This may vary depending on your Chromebook model.
- Enable casting: Look for the option to enable casting or screen mirroring. It may be labeled as “Cast” or “Mirror display”. Click on this option to initiate the casting process.
- Select your TV: A list of available devices will appear. Look for your TV on the list and click on it to establish the connection. If you have multiple TVs or casting devices, make sure to select the correct one.
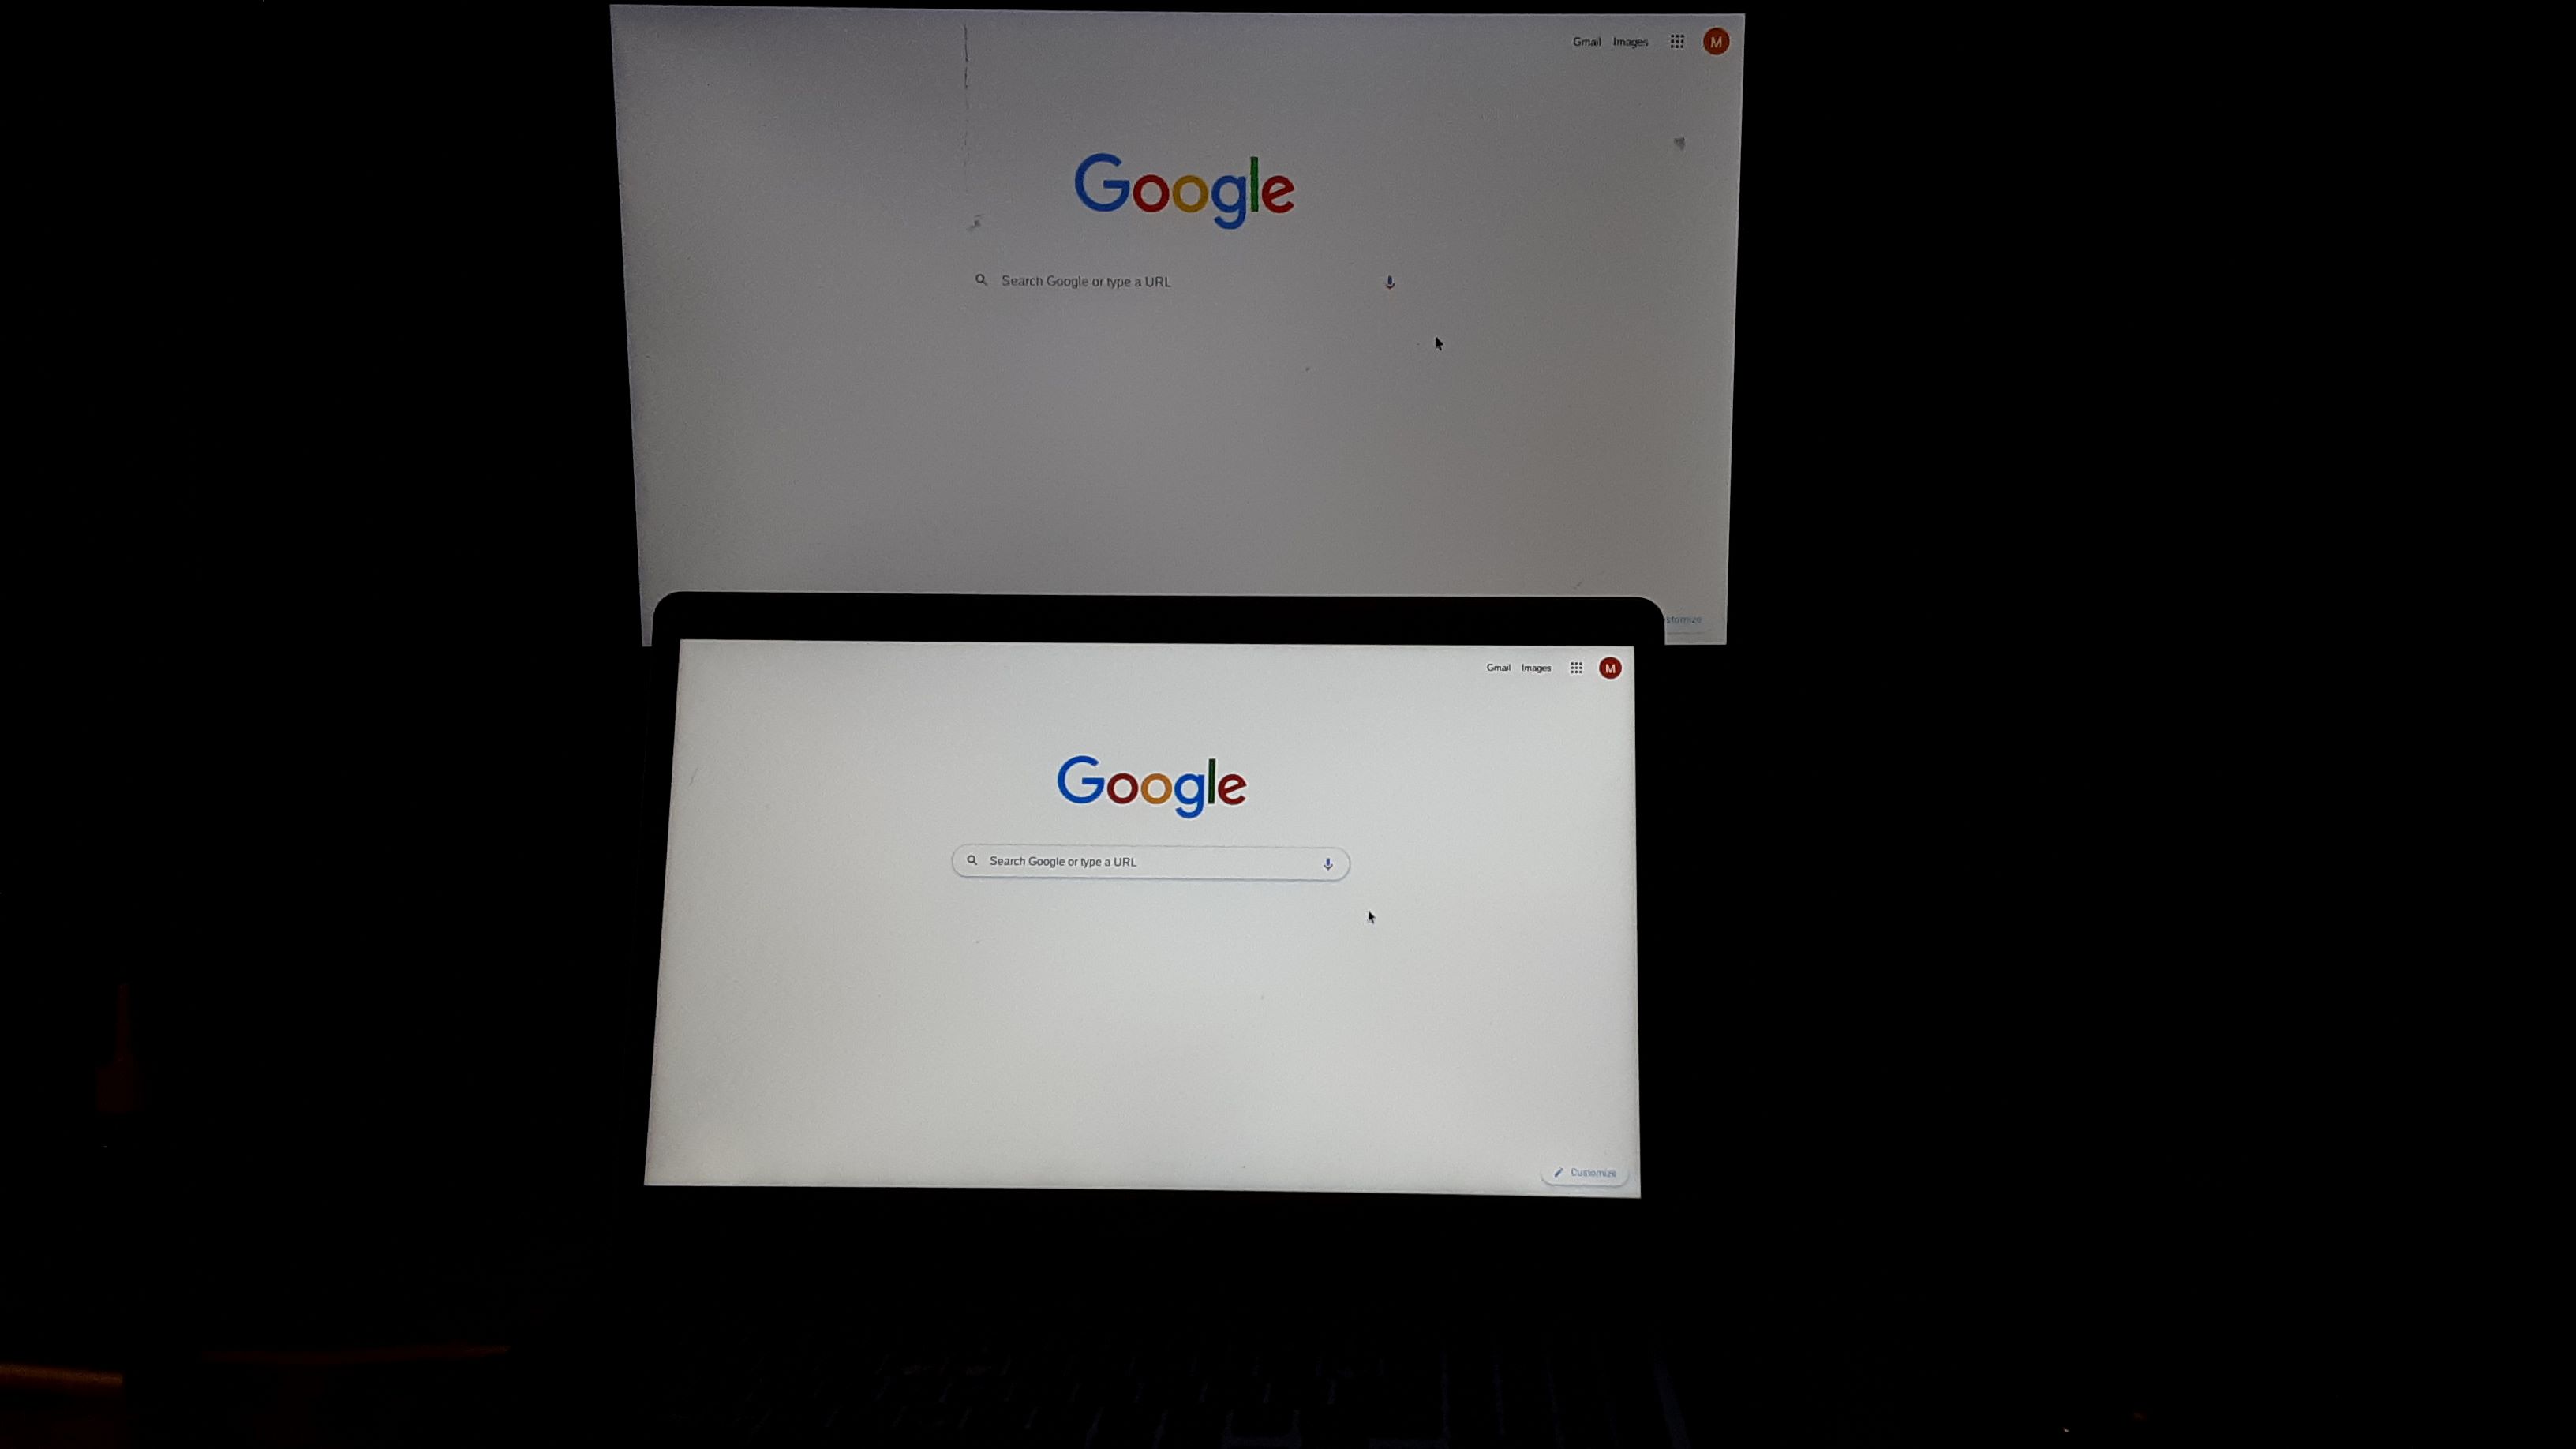
- Start casting: Once the connection is established, your Chromebook screen will be mirrored on your TV. You can now start playing videos, browsing websites, or doing any other activity, and it will be displayed on the TV in real-time.
- Control the casting: You can control the casting from your Chromebook by using the mouse or touchpad as you normally would. Any actions you take on the Chromebook, such as playing/pausing a video or scrolling through a webpage, will be reflected on the TV.
- End the casting: When you’re done casting, simply disable casting or disconnect from your TV. You can do this by returning to the settings menu and toggling off the casting option, or by clicking on the “Disconnect” button.
That’s it! You can now enjoy your favorite content on a larger screen by casting from your Chromebook to your TV. Whether you’re watching a movie, showing off your photo collection, or giving a presentation, casting provides a convenient and immersive viewing experience.
Step 4: Troubleshooting common casting issues
While casting from your Chromebook to your TV is a straightforward process, you may encounter some common issues along the way. Here are a few troubleshooting tips to help you overcome these challenges:
- Ensure a stable Wi-Fi connection: A poor Wi-Fi connection can lead to buffering issues or a disrupted casting experience. Make sure that both your Chromebook and TV are connected to a stable Wi-Fi network with a strong signal. Consider moving closer to the Wi-Fi router or using a Wi-Fi range extender if needed.
- Restart your devices: Sometimes, simply restarting your Chromebook, TV, or both can resolve any temporary issues that may be interfering with the casting process. Turn off your devices, wait for a few seconds, and then turn them back on.
- Update your software: Keeping your Chromebook and TV’s software up to date is crucial for optimal performance and compatibility. Check for any available updates for both devices and install them if necessary.
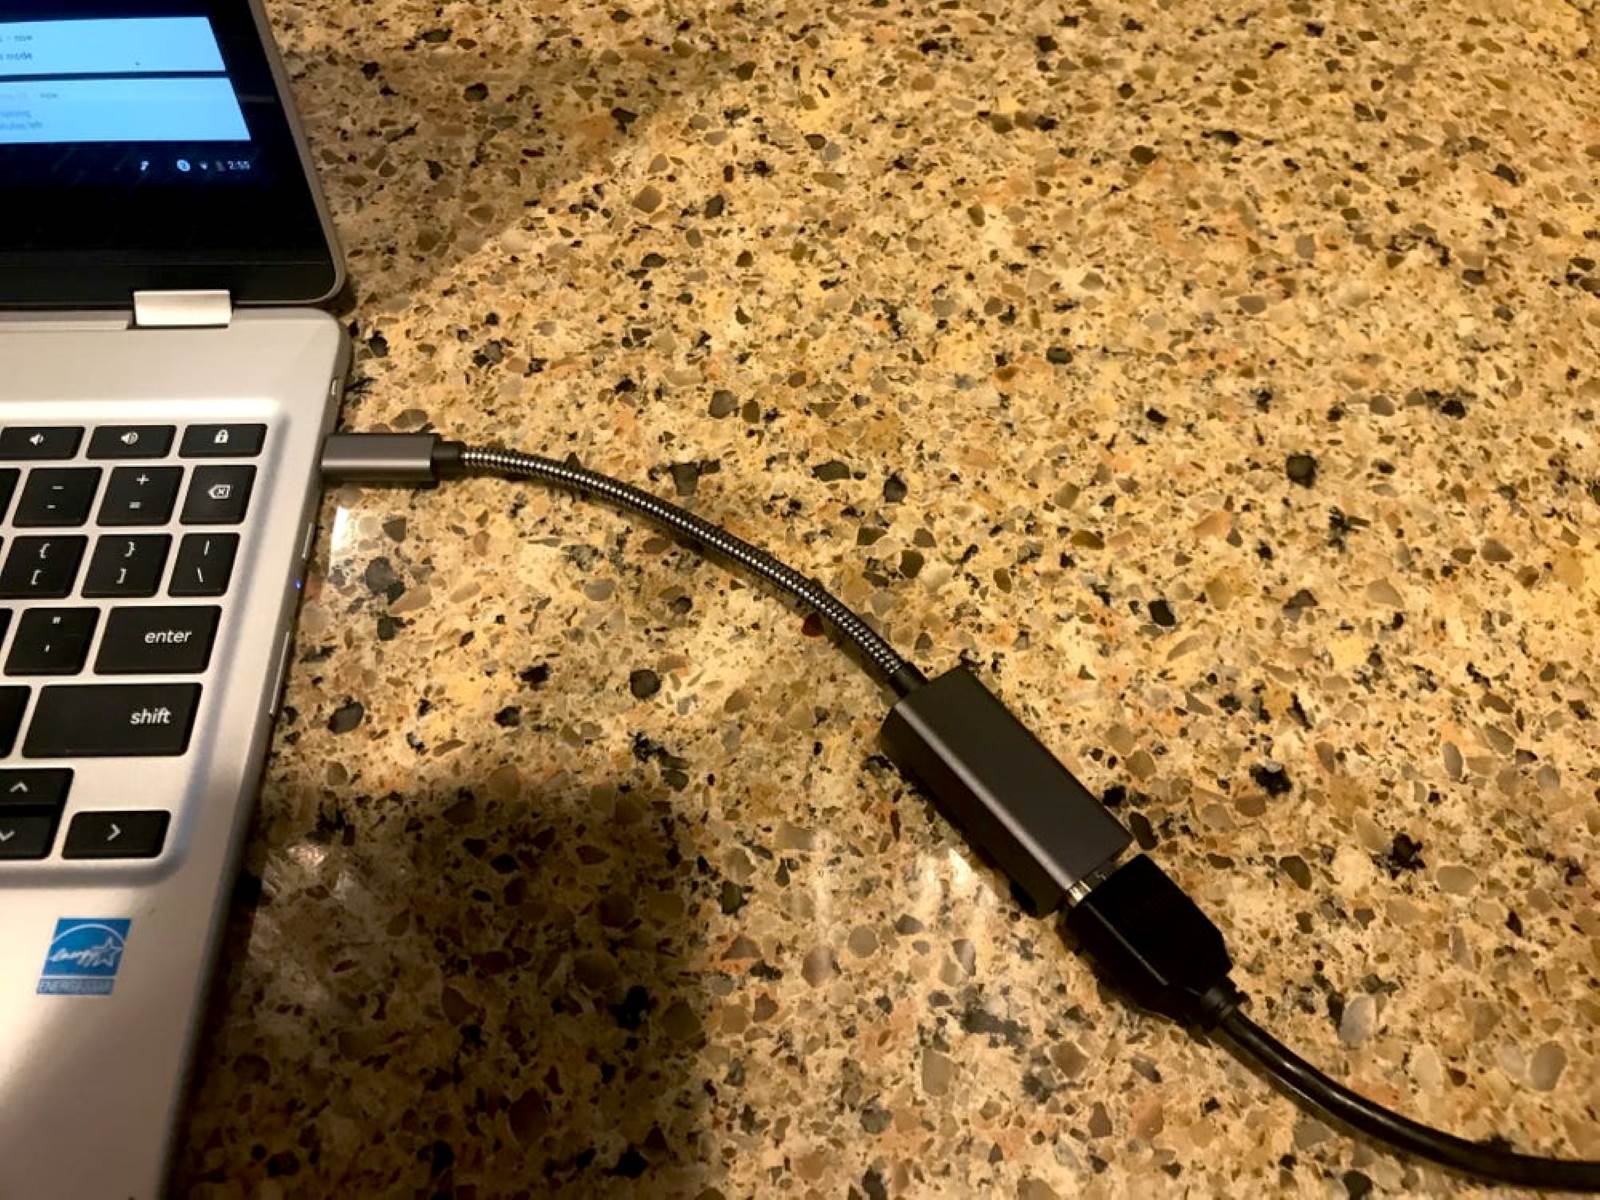
- Check HDMI connections: If you’re using a Chromecast or any other casting device, ensure that it is properly connected to your TV’s HDMI port. Sometimes, a loose or faulty connection can cause casting problems. Disconnect and reconnect the HDMI cable to ensure a secure connection.
- Disable VPN or proxy settings: If you have a VPN or proxy enabled on your Chromebook, it may interfere with the casting process. Try disabling these settings and then attempt casting again.
- Clear cache and cookies: Clearing the cache and cookies on your Chromebook can help resolve any browser-related issues that may be affecting casting. Go to the Chrome browser settings, click on “Privacy and security,” and then select “Clear browsing data”. Make sure to select the appropriate time range and include cache and cookies in the deletion process.
- Use a different casting app or extension: If you’re experiencing issues with the default casting feature on your Chromebook, you can try using a different casting app or extension from the Chrome Web Store. There are several options available that may offer enhanced compatibility and features.
- Refer to the manufacturer’s support: If you have tried the above troubleshooting steps and are still encountering issues, it’s best to refer to the manufacturer’s support documentation or contact their customer support for further assistance. They can provide personalized solutions based on your specific devices and setup.
By following these troubleshooting steps, you can effectively resolve common casting issues and ensure a smooth and enjoyable casting experience from your Chromebook to your TV.
Conclusion
Casting from your Chromebook to your TV opens up a world of entertainment and productivity possibilities. Whether you want to enjoy movies, videos, photos, or give presentations on a larger screen, casting allows you to seamlessly mirror your Chromebook’s screen to your TV.
In this guide, we discussed the steps to cast from your Chromebook to your TV. We started by checking the compatibility of your Chromebook and TV, ensuring that both devices support casting. Then, we connected your Chromebook to the same Wi-Fi network as your TV, establishing a stable connection for casting.
Once the necessary preparations were done, we moved on to the actual casting process. We explored how to enable casting on your Chromebook and select your TV for the screen mirroring. We also discussed how you can control the casting and end the session when you’re done.
In the event of any issues, we provided troubleshooting tips that can help you overcome common casting problems. From ensuring a stable Wi-Fi connection to updating software and checking HDMI connections, these troubleshooting steps will assist you in resolving any obstacles that might arise during the casting process.
Now that you have a clear understanding of how to cast from your Chromebook to your TV and troubleshoot potential issues, you are ready to enjoy a more immersive and enjoyable viewing experience. Whether it’s for entertainment or work purposes, casting provides a simple and effective way to make the most of your Chromebook and TV combination.
So, grab your Chromebook, find your favorite content, and start casting to your TV for a whole new level of entertainment and productivity!


