Introduction
Canceling your QuickBooks Desktop subscription may seem like a daunting task, but with the right guidance, it can be a straightforward process. Whether you’ve found an alternative software solution or simply no longer require the use of QuickBooks Desktop, this article will walk you through the necessary steps to cancel your subscription.
Before diving into the cancellation process, it’s important to note that cancelling your QuickBooks Desktop subscription means you will no longer have access to any of the features and benefits associated with the software. This includes customer support, updates, and access to your company files. Therefore, it’s crucial to evaluate your decision carefully and consider any alternative solutions that may better suit your needs.
In this guide, we will outline the steps required to cancel your QuickBooks Desktop subscription. This includes how to gather the necessary information, how to contact QuickBooks support, how to communicate your cancellation request, how to confirm and verify the cancellation, and any requirements for returning QuickBooks software or hardware.
It’s worth mentioning that the cancellation process may vary depending on your specific subscription plan and billing method. Therefore, it’s advisable to consult the QuickBooks support team if you encounter any difficulties or have any questions as you navigate through the cancellation process.
Now that we’ve covered the basics, let’s delve into the step-by-step instructions for cancelling your QuickBooks Desktop subscription.
Step 1: Gather necessary information
Before initiating the cancellation process, it’s important to gather all the necessary information related to your QuickBooks Desktop subscription. This will ensure a smooth and efficient cancellation experience. Here are some key details to gather:
- Account information: Gather your QuickBooks account details, such as your username and password. This will help streamline the cancellation process and provide the support team with the necessary information to assist you.
- Subscription details: Take note of your subscription type (e.g., annual, monthly), its duration, and when it renews. This information will be useful when communicating your cancellation request.
- Billing information: Collect your billing details, including your credit card information or any other payment method used to make subscription payments. Having this information on hand will enable you to answer any verification questions posed by the QuickBooks support team.
- Reason for cancellation: Determine the primary reason for canceling your QuickBooks Desktop subscription. While providing a reason is not mandatory, it can help QuickBooks improve their services and address any issues you may have encountered.
- Alternative solutions: Research and identify alternative software solutions or services that may fulfill your business needs. This will help you transition smoothly after canceling your QuickBooks subscription.
It’s important to ensure that all the gathered information is accurate and up-to-date. This will prevent any delays or complications during the cancellation process. By being well-prepared with the necessary information, you’ll be ready to proceed with the next steps of canceling your QuickBooks Desktop subscription.
Step 2: Contact QuickBooks support
Once you have gathered all the necessary information, the next step in canceling your QuickBooks Desktop subscription is to contact QuickBooks support. There are several ways to reach out to their support team:
- Phone support: Call the QuickBooks support phone number associated with your region. This will allow you to speak directly with a customer service representative who can assist you with the cancellation process. Keep your account and subscription details handy as they may be required for verification purposes.
- Live chat: If you prefer a more convenient and instant method of communication, you can use the QuickBooks live chat feature on their website. This allows you to chat with a support representative in real time and discuss your cancellation request.
- Email support: If time is not a constraint and you prefer written communication, you can send an email to QuickBooks support explaining your cancellation request. Include all the necessary information and any supporting documents to facilitate the process.
When contacting QuickBooks support, be prepared for potential wait times, especially during peak hours. It’s recommended to choose a communication method that suits you best and allows for a productive conversation with their support team.
Remember to stay calm and polite while addressing your cancellation request. Clearly state your intention to cancel your QuickBooks Desktop subscription and provide all the relevant information when prompted. QuickBooks support representatives are trained to assist with cancellation requests and will guide you through the process.
Once you have made contact with QuickBooks support and expressed your intent to cancel, they will provide you with further instructions on how to proceed. It’s important to follow their guidance carefully to ensure a successful cancellation of your QuickBooks Desktop subscription.
Step 3: Communicate your cancellation request
After contacting QuickBooks support, it’s time to communicate your cancellation request clearly and effectively. This step is crucial to ensure that your request is properly understood and processed. Here are some tips to help you effectively communicate your cancellation request:
- Be concise: Clearly state that you wish to cancel your QuickBooks Desktop subscription. Keep your message concise and to the point, providing all the necessary details without unnecessary elaboration.
- Include account information: Provide your QuickBooks account details, such as your username and any additional information they may require for verification purposes. This will help the support team identify your account and process your cancellation request smoothly.
- Specify cancellation date: Clearly state the date on which you want the cancellation to take effect. This will ensure that you are not billed for any additional subscription periods beyond your intended cancellation date.
- Express reason for cancellation (optional): If you feel comfortable doing so, you can express the reason or reasons behind your decision to cancel. This feedback can be valuable to QuickBooks as they strive to improve their services.
- Ask for confirmation: Request confirmation of the cancellation and any related actions you need to take. This will help you stay informed and ensure proper closure of your subscription.
When communicating your cancellation request, it’s essential to remain polite and professional. Remember that the support team is there to assist you, and a polite approach will likely result in a more positive experience.
Depending on the method of contact you chose in the previous step, you may need to send a written message or have a conversation with a support representative. Follow their instructions and provide the requested information promptly.
By effectively communicating your cancellation request, you will help QuickBooks support process your request efficiently and ensure that your subscription is canceled according to your intended timeline.
Step 4: Confirm and verify cancellation
Once you have communicated your cancellation request to QuickBooks support, it’s important to confirm and verify the cancellation. This step ensures that your subscription is successfully canceled and prevents any future billing or access to your QuickBooks Desktop account. Here’s what you need to do:
- Follow up: If you received a confirmation email or reference number after communicating your cancellation request, keep it safe. This will serve as proof that you initiated the cancellation process.
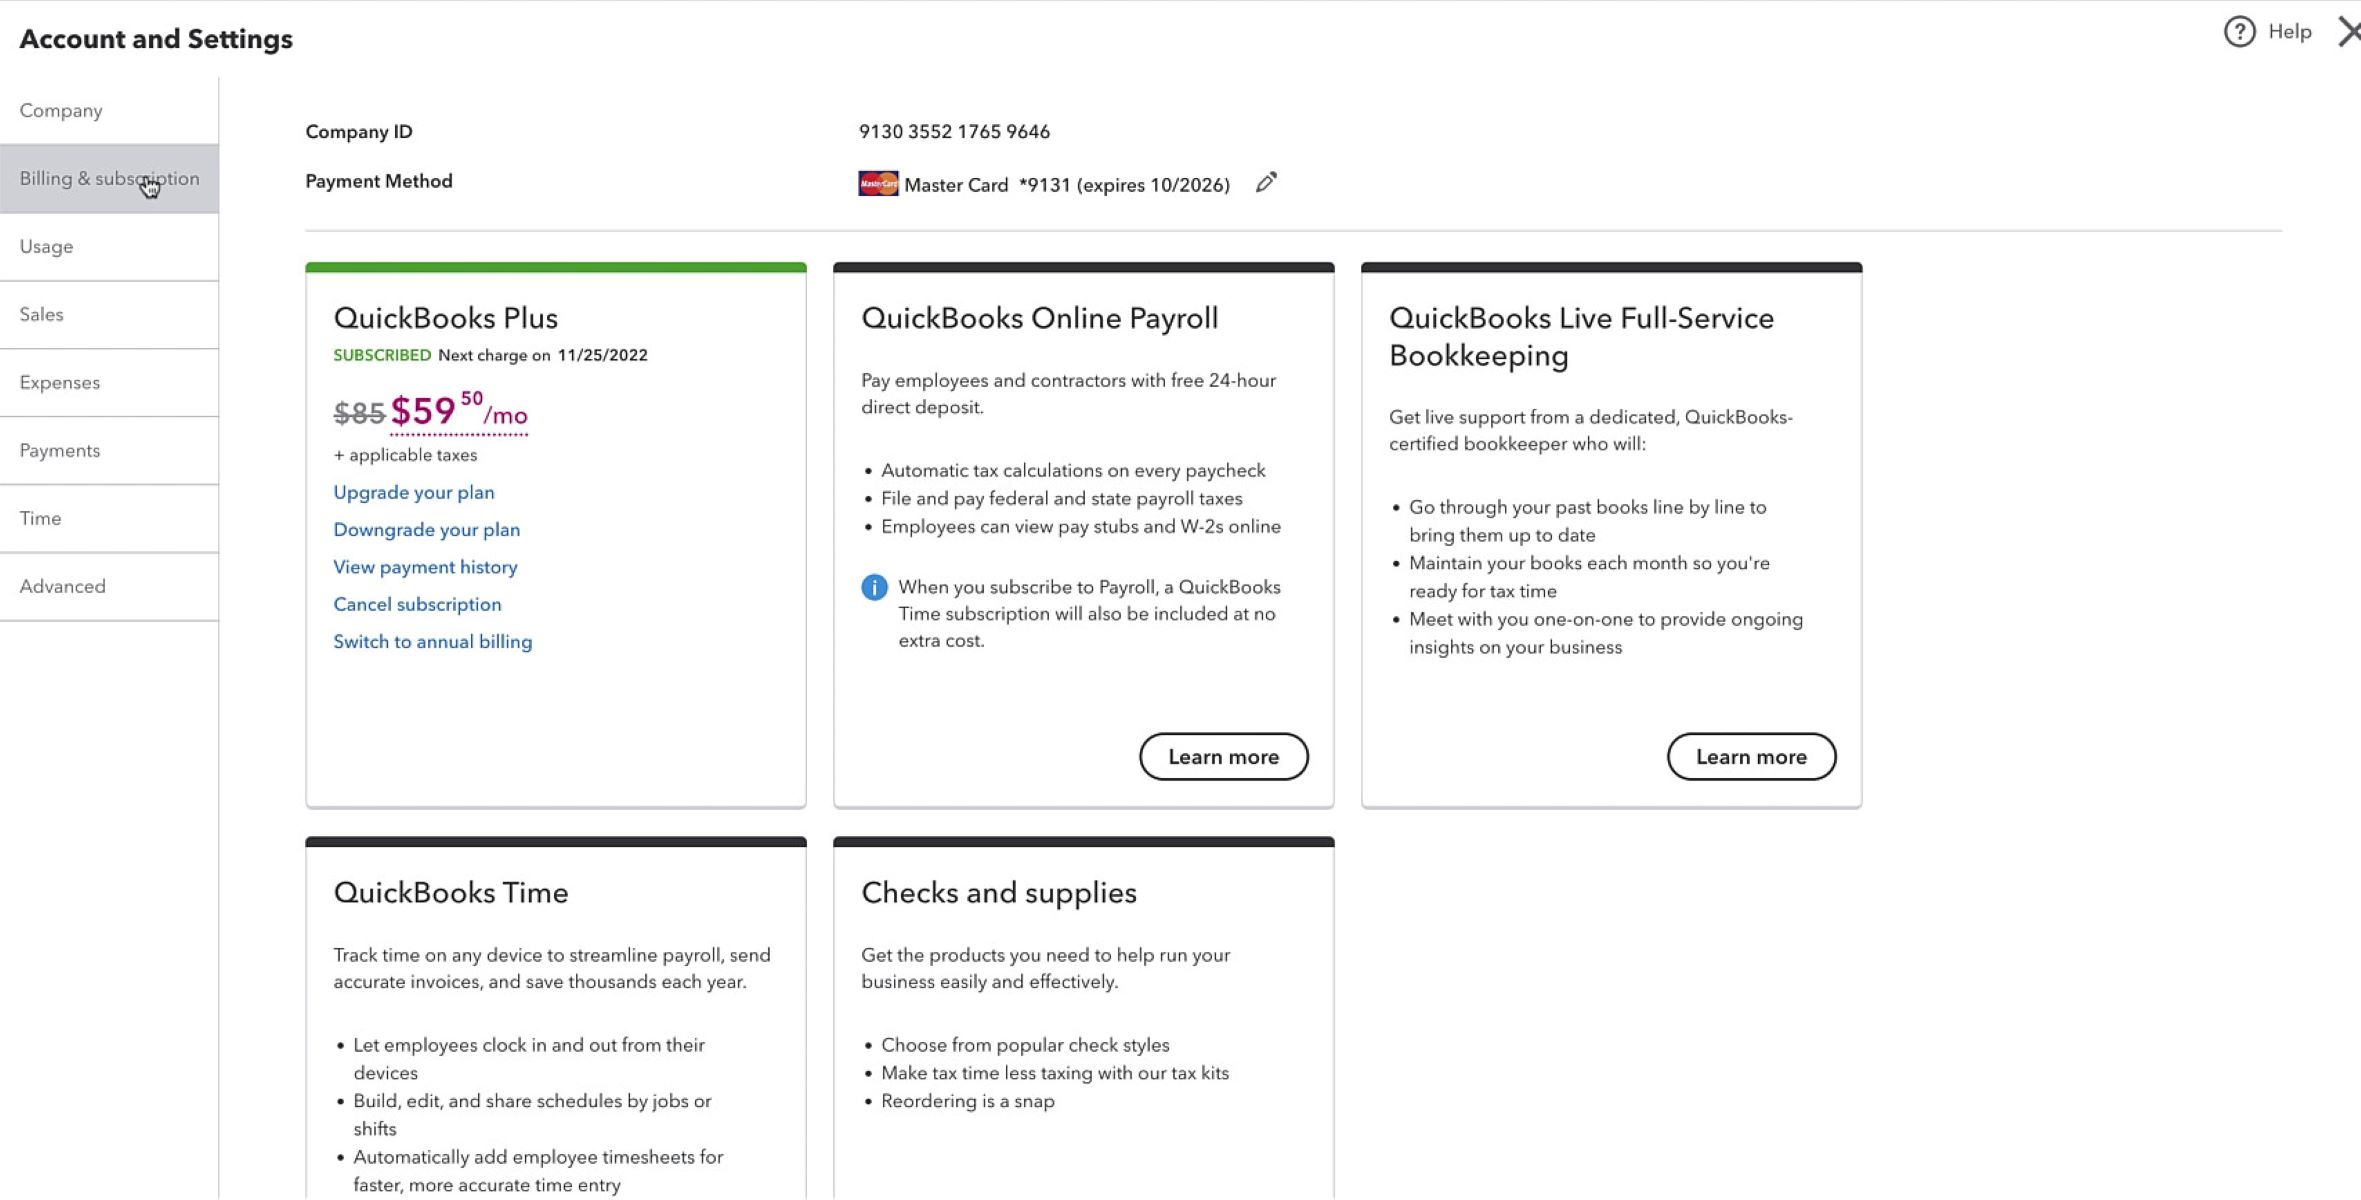
- Double-check your account: Log in to your QuickBooks Desktop account and verify that your subscription is indeed canceled. Check the billing section or subscription details to confirm that the cancellation is reflected accurately.
- Monitor your credit card or billing statements: Keep an eye on your credit card or billing statements in the following months to ensure that you are not charged for any additional subscription periods. If you notice any charges, immediately reach out to QuickBooks support for clarification.
- Contact support if needed: If you have any doubts or concerns regarding the cancellation process or if you did not receive a confirmation email, contact QuickBooks support again. They will assist you in verifying the cancellation and resolving any discrepancies.
It’s crucial to act promptly in confirming and verifying the cancellation to avoid any complications or misunderstandings. By ensuring the cancellation is processed correctly, you can have peace of mind knowing that your QuickBooks Desktop subscription has been officially terminated.
If you encounter any challenges during this step or require additional assistance, do not hesitate to reach out to QuickBooks support. They are there to offer guidance and address any concerns you may have related to your canceled subscription.
Step 5: Return any QuickBooks software or hardware
Depending on your specific QuickBooks Desktop subscription, you may be required to return any software or hardware associated with your account. This step ensures that all QuickBooks resources are properly returned, and you are no longer holding any physical items related to the subscription. Here’s what you need to do:
- Review the terms and conditions: Read through the terms and conditions of your subscription to determine if there are any specific requirements for returning software or hardware. Look for information on returning physical items and any associated costs or procedures.
- Contact QuickBooks support: Reach out to QuickBooks support to inquire about returning software or hardware, if applicable. They will provide you with specific instructions and guidelines based on your subscription plan.
- Follow packaging and shipping instructions: If you need to return any physical items, carefully follow the packaging and shipping instructions provided by QuickBooks support. This will ensure that the items are returned safely and in the required condition.
- Document the return: Keep a record of the return process, including any tracking numbers or receipts from the shipping carrier. This documentation acts as proof of return in case any disputes or issues arise.
- Confirm the return: After returning the software or hardware, reach out to QuickBooks support to confirm the return. Provide them with any required documentation or tracking information to ensure that the return process is completed smoothly.
Returning QuickBooks software or hardware is an essential part of canceling your subscription, especially if you received physical items as part of your plan. Adhering to the return instructions and communicating with QuickBooks support will help maintain a seamless cancellation experience.
It’s important to return any QuickBooks software or hardware within the specified timeframe to avoid any additional charges or penalties. Failure to do so may result in additional fees or complications with completing the cancellation process.
By completing this step, you can be confident that you have fulfilled all the necessary requirements for canceling your QuickBooks Desktop subscription, including the return of any physical items associated with the subscription.
Conclusion
Cancelling your QuickBooks Desktop subscription requires careful consideration and adherence to the necessary steps. By following the process outlined in this guide, you can successfully navigate through the cancellation process with ease. Remember, here are the steps to cancel your QuickBooks Desktop subscription:
- Gather necessary information
- Contact QuickBooks support
- Communicate your cancellation request
- Confirm and verify cancellation
- Return any QuickBooks software or hardware
Throughout the process, it’s important to keep in mind the specific terms and conditions associated with your subscription plan, as they may affect the cancellation requirements. Always reach out to QuickBooks support if you encounter any challenges or have questions during the cancellation process.
After canceling your QuickBooks Desktop subscription, you may want to consider exploring alternative solutions that best suit your business needs. Research and evaluate other software to ensure a smooth transition and continued efficiency in managing your finances.
Remember, the goal of canceling your QuickBooks Desktop subscription is to find a solution that aligns with your current needs and helps you achieve your business objectives more effectively. By following these steps and staying informed, you can confidently navigate the cancellation process and move forward with your financial management needs.


