Introduction
Hello there! Are you looking for ways to block certain websites on your Android device? Whether you want to restrict access to social media, adult content, or any other specific websites, you’re in the right place. In this article, we will explore different methods you can use to block websites on your Android device.
When it comes to Internet safety and maintaining a healthy digital environment, the ability to block websites can be incredibly useful. It can help parents ensure their children are protected from inappropriate content, employees stay focused during work hours, and individuals maintain their productivity by avoiding distractions.
Fortunately, there are several ways you can achieve this on Android. From using third-party apps to modifying the device’s settings, you have options that cater to different needs and comfort levels. Whether you’re a tech-savvy individual or someone who prefers a user-friendly approach, you will find a method that suits you.
Before we dive into the methods, it’s important to note that blocking websites on Android does not require any advanced technical knowledge. You don’t have to be an expert in coding or a software wizard. The steps are relatively simple and can be implemented by anyone who has access to their Android device’s settings.
Additionally, it’s worth mentioning that the methods outlined in this article can be applied to various versions of the Android operating system. Whether you’re using the latest version or an older one, you should be able to follow along and block websites hassle-free.
Method 1: Using a Third-Party App
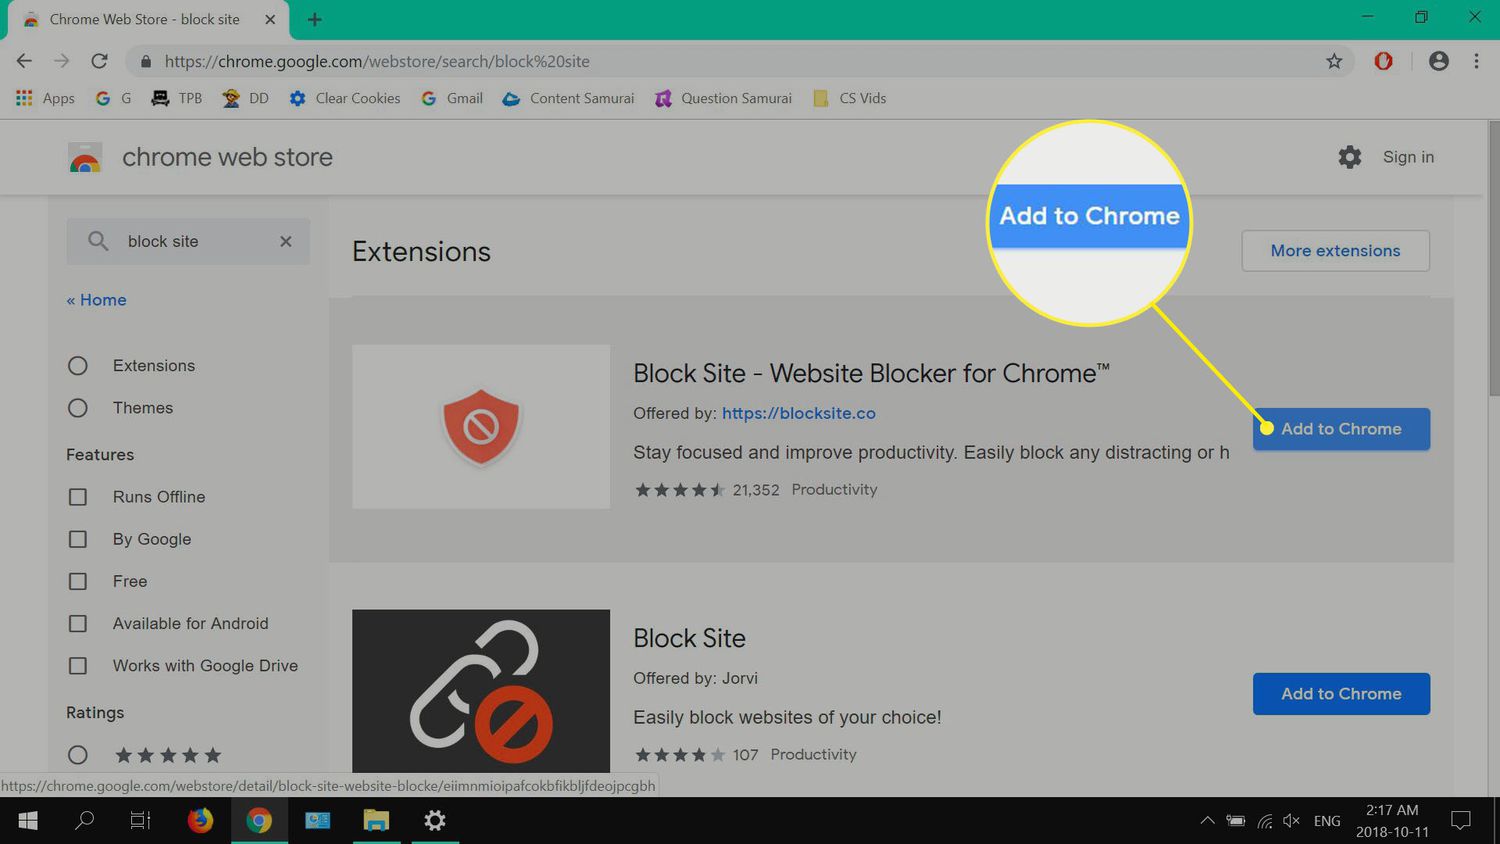
If you’re looking for a simple and effective way to block websites on your Android device, using a third-party app is the way to go. There are numerous apps available on the Google Play Store that offer website blocking functionality with user-friendly interfaces. Let’s take a closer look at how you can use a third-party app to block websites:
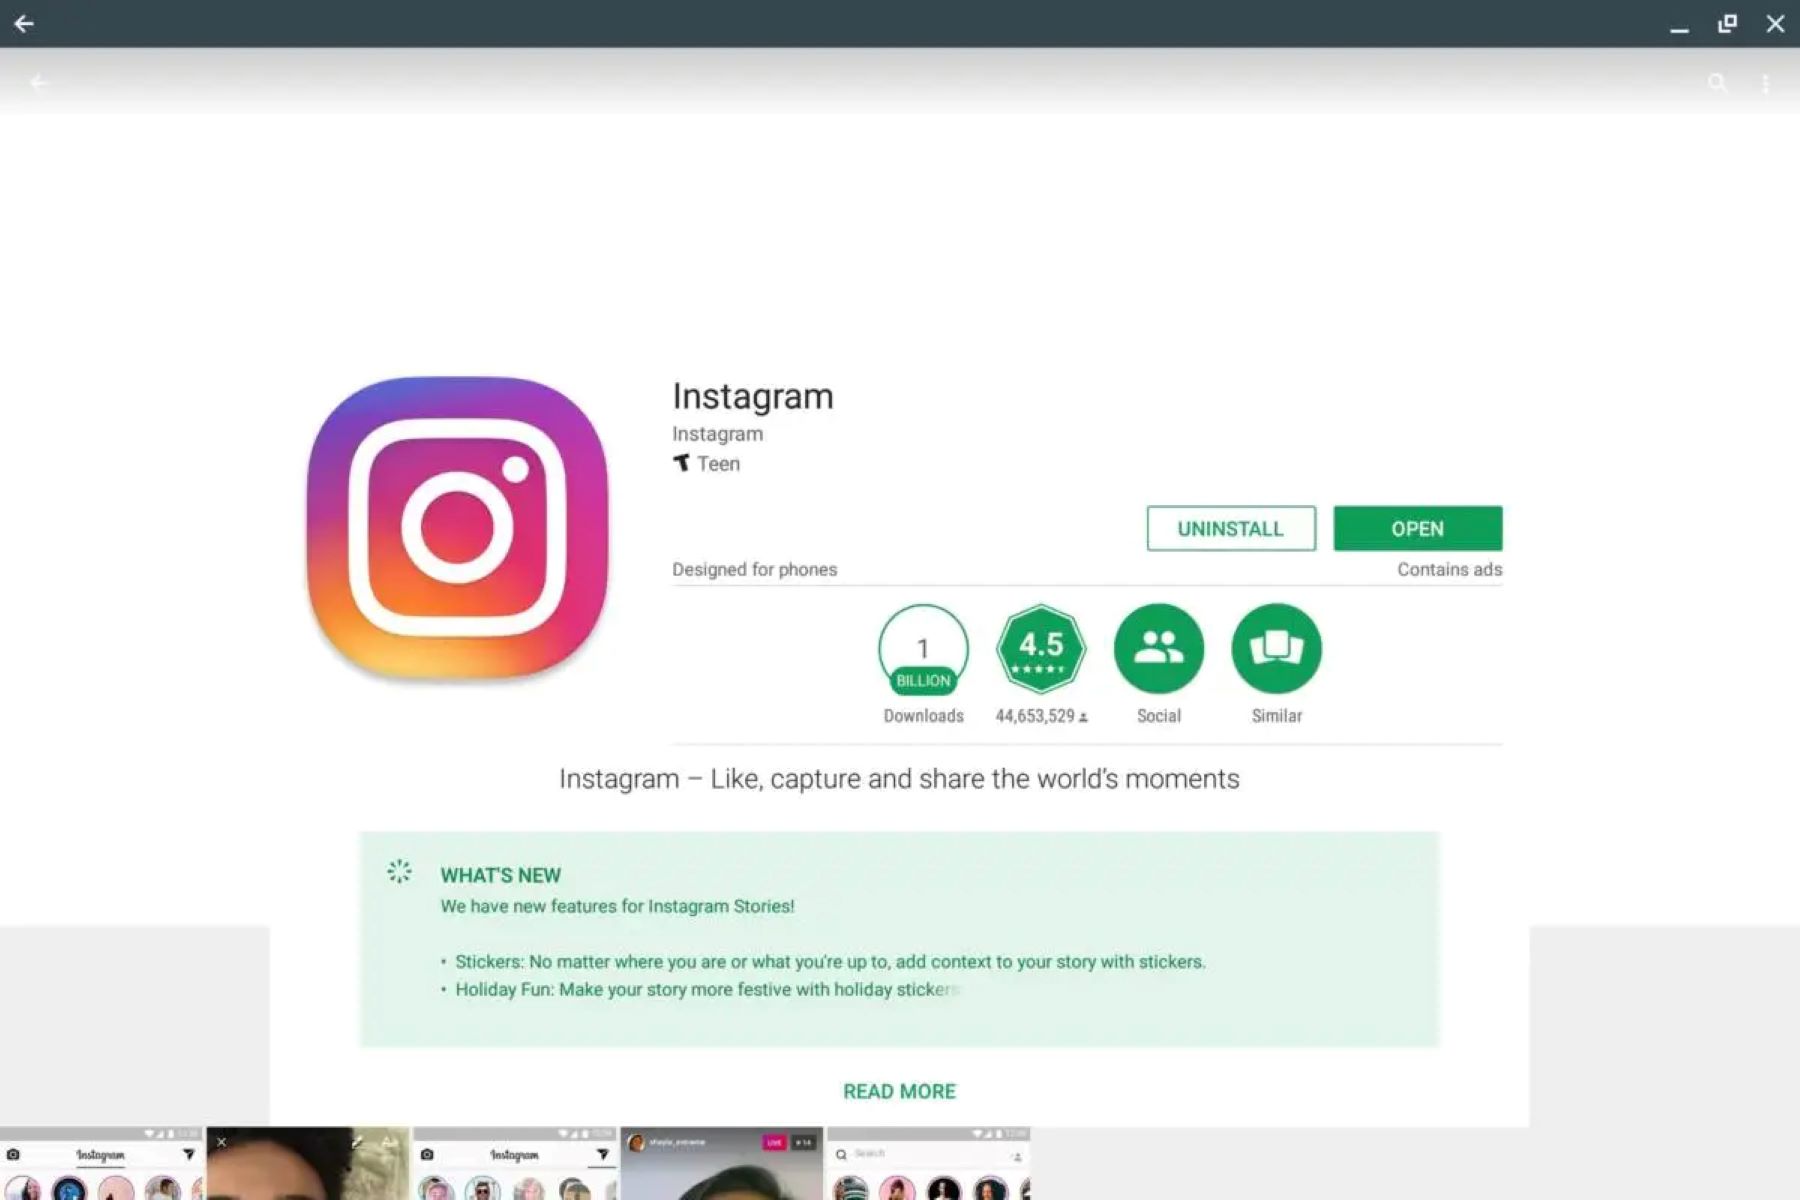
1. Open the Google Play Store on your Android device and search for a website blocking app. Some popular options include “BlockSite,” “AppBlock,” and “Stay Focused.”
2. Once you’ve found the app you want to use, download and install it on your device.
3. Launch the app and you will be guided through the setup process. Typically, you will be asked to grant the app certain permissions to access your device’s settings or usage data.
4. After granting the necessary permissions, you can start adding websites to the block list. This can usually be done by tapping on the “Add” or “+” button within the app.
5. Enter the URL of the website you want to block and save it. Some apps also provide options to set specific time limits or schedule when the website should be blocked.
6. Once you’ve added all the websites you want to block, you can activate the blocking feature within the app. Typically, this involves toggling a switch or activating a “Block” mode.
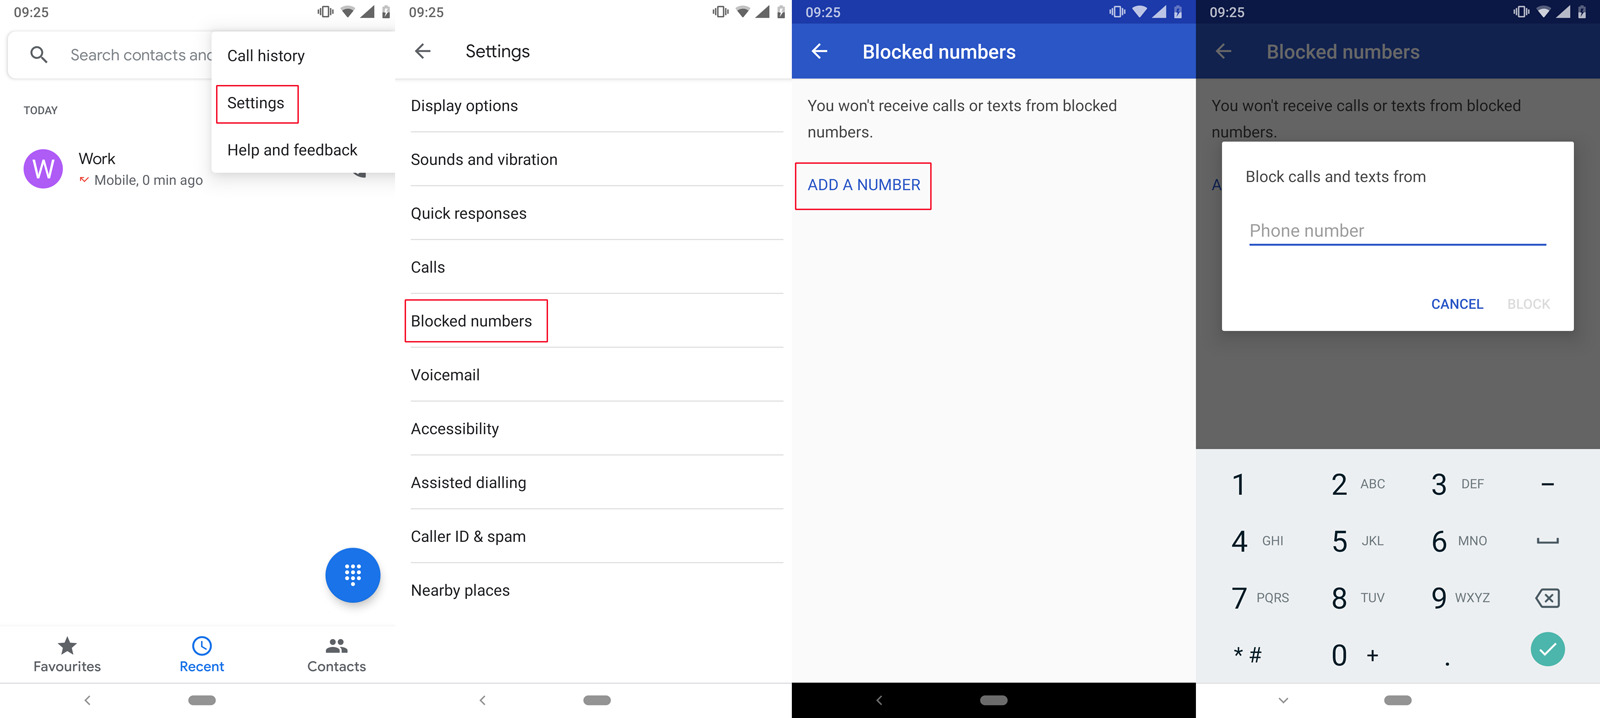
7. Now, whenever you or anyone else tries to access the blocked websites, they will be redirected to a blocked page or shown a warning message.
It’s important to note that some third-party blocking apps may have additional features and settings, such as password protection, usage statistics, and the ability to block specific apps as well. Explore the app’s settings to make the most out of its features and customize the blocking experience according to your preferences.
Using a third-party app to block websites offers flexibility and convenience. You can easily add or remove websites from the block list as needed, and some apps even allow you to sync the blocklist across multiple devices.
However, it’s also essential to choose a reputable app from the Google Play Store to ensure the privacy and security of your device. Reading app reviews and checking the app’s ratings can help you make an informed decision.
Method 2: Using the Built-In Parental Controls
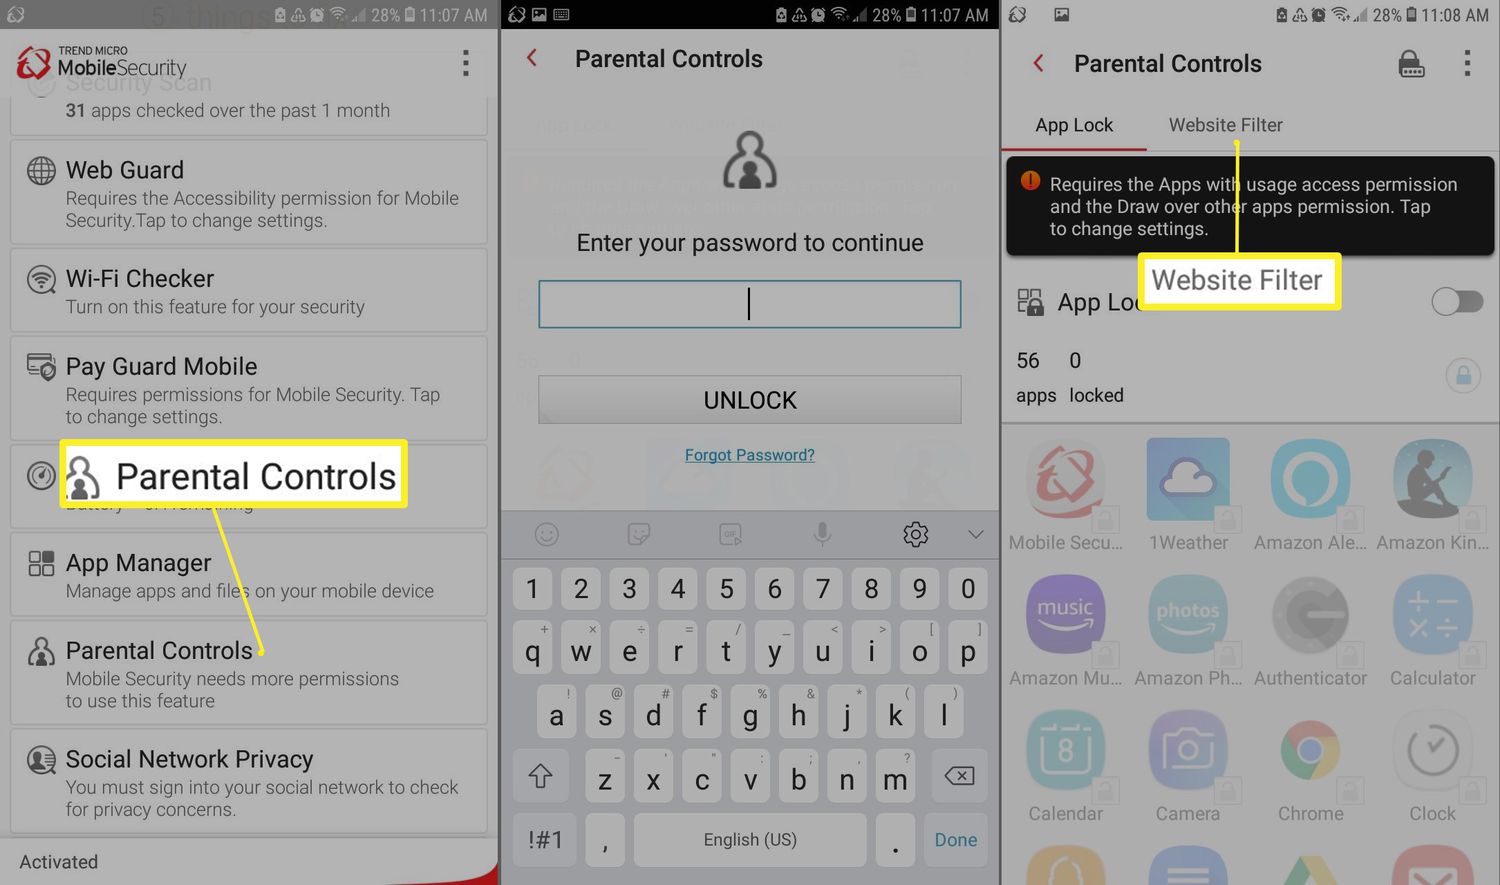
If you’re a parent looking to restrict access to certain websites for your child or simply want to have more control over website filtering on your Android device, utilizing the built-in parental controls is a great option. Android devices come equipped with a powerful set of features that allow you to easily manage and customize website restrictions. Here’s how you can use the built-in parental controls:
1. Open the “Settings” app on your Android device and scroll down to find the “Users & accounts” or “Users” option. Tap on it.
2. Look for the “Parental controls” or “Restricted profile” option and tap on it. If you can’t find it, search for “Parental controls” in the Settings search bar.
3. If you’re setting up parental controls for the first time, you will need to create a new restricted profile. Follow the on-screen instructions to complete the setup.
4. Once you’ve set up the restricted profile, go back to the “Parental controls” or “Restricted profile” settings. You will find various options to customize the restrictions.
5. Tap on “Web content restrictions” or a similar option. Here you can set the type of content you want to block, such as adult content or specific categories like social media or gambling.
6. To block specific websites, you can tap on “Manage blocked sites” or a similar option. Enter the URLs of the websites you want to block and save your changes.
7. Depending on the Android version and device model, there may be additional options available like setting time limits for internet usage or blocking certain apps.
Once you’ve configured the desired restrictions, the restricted profile will be activated, and any user accessing the restricted profile on your Android device will automatically have the website restrictions applied.
You can switch between the restricted and unrestricted profiles by tapping on the user icon in the notification shade or the lock screen. This allows you to easily enable or disable the website restrictions as needed.
Using the built-in parental controls provides a seamless and integrated solution for blocking websites on your Android device. It doesn’t require the installation of any additional apps and gives you granular control over the content that can be accessed.
Keep in mind that the steps and available options may vary slightly depending on your Android device’s make, model, and operating system version. However, most modern Android devices have some form of built-in parental controls that can help you effectively block websites.
Method 3: Modifying the Hosts File
If you prefer a more technical approach to blocking websites on your Android device, modifying the hosts file can provide an effective solution. The hosts file is a simple text file that maps domain names to IP addresses. By adding entries to this file, you can redirect website requests to a specific IP address or block them altogether. Here’s how you can modify the hosts file to block websites:
1. Before you begin, you will need a file manager app with root access. Some popular options include ES File Explorer, Root Explorer, or Solid Explorer. Install one of these apps from the Google Play Store.
2. Launch the file manager app and grant it root access if requested. Root access is necessary to modify system files, including the hosts file.
3. Navigate to the root directory of your Android device, usually represented by a forward slash (“/”). Look for the “system” folder and tap on it.
4. Inside the “system” folder, locate and open the “etc” folder. Here you will find the hosts file named “hosts” with no file extension.
5. Long-press on the hosts file and select the option to open it with a text editor or a built-in file editor within the file manager app.
6. Add a new line at the end of the file, and enter the following code: “127.0.0.1 website-to-block.com” Replace “website-to-block.com” with the URL of the website you want to block. You can add multiple entries by repeating this step.
7. Save the changes to the hosts file and exit the text editor.
8. Clear the cache of your web browser and restart your Android device to ensure the changes take effect.
Now, when you or anyone else tries to access the blocked website, your Android device will redirect the request to the local IP address (127.0.0.1), effectively blocking the website from loading.
It’s important to note that modifying the hosts file requires root access, which means you need to have your Android device rooted. Rooting your device can have certain risks and may void your warranty. Proceed with caution and make sure to research thoroughly before attempting to root your device.
Modifying the hosts file can be a powerful way to block websites directly at the system level, without relying on third-party apps. However, it’s worth mentioning that the effectiveness may vary depending on the website and its underlying structure. Some websites may use multiple domain names or employ other techniques to bypass the hosts file restrictions.
Keep in mind that regularly updating the hosts file and staying vigilant about potential changes from the blocked websites is crucial to ensure continued blocking effectiveness.
Method 4: Using a DNS-based Approach
If you’re looking for a more flexible and customizable method to block websites on your Android device, using a DNS-based approach can be an effective solution. This method involves changing the DNS (Domain Name System) settings on your device to redirect website requests or block them altogether. Let’s explore how you can use a DNS-based approach to block websites:
1. Open the “Settings” app on your Android device and navigate to the “Wi-Fi & Internet” or “Network & Internet” settings.
2. Tap on the Wi-Fi network you’re currently connected to. This will open the network settings for that specific Wi-Fi network.
3. Look for the “Advanced” or “Additional settings” option and tap on it. Then, select the “Private DNS” or “DNS” option.
4. By default, this setting is set to “Automatic.” To use a DNS-based approach, change it to “Manual” or “Custom.”
5. Now, you will need to enter the DNS server address. There are different DNS servers available that offer website blocking features. Some popular options include OpenDNS (208.67.222.222, 208.67.220.220) and Cloudflare DNS (1.1.1.3, 1.0.0.3).
6. Enter the DNS server address you prefer and save the changes. Your Android device will now use the specified DNS server for all website requests.
7. Optionally, you can explore the advanced settings within the DNS settings to further customize the blocking experience. Some DNS servers provide additional options to block specific categories of websites or allow you to create custom blocklists.
Once you’ve configured the DNS settings, any website requests made from your Android device will be filtered or blocked based on the DNS server’s settings. This approach allows you to block websites across various apps and browsers on your device.
While DNS-based blocking offers flexibility and device-wide website blocking capabilities, it’s worth noting that it may not be as granular or specific as other methods. Some websites may find ways to bypass DNS-based blocking by using alternative domain names or IP addresses.
In addition, changing the DNS settings may affect the overall internet speed or introduce compatibility issues with certain apps or services. If you experience any connectivity problems or performance issues, you can revert to the default DNS settings or try a different DNS server.
Remember to periodically review and update your DNS settings to ensure the effectiveness of website blocking and address any changes in the DNS server’s blocking capabilities.
By using a DNS-based approach, you can have more control over website blocking on your Android device and create a safe browsing environment tailored to your needs.
Conclusion
Blocking websites on your Android device can be a valuable tool for maintaining a secure and focused digital environment. Whether you’re a parent wanting to protect your child from inappropriate content or an individual looking to boost productivity, the methods outlined in this article offer effective solutions to block websites on Android.
Using a third-party app provides a user-friendly approach, allowing you to easily add websites to a block list and activate the blocking feature. These apps often come with additional features and settings to enhance the blocking experience.
The built-in parental controls offer a seamless and integrated solution, allowing you to create restricted profiles with customized web content restrictions. This method is especially useful for parents managing their children’s device usage.
For those who prefer a more technical approach, modifying the hosts file can provide a powerful way to block websites at the system level. However, it requires root access and may not be as effective against certain website structures.
A DNS-based approach offers flexibility and device-wide blocking capabilities by changing the DNS settings on your Android device. This method allows you to customize the blocking experience using different DNS servers.
Remember that while blocking websites can enhance online safety and productivity, it’s important to strike a balance and use these methods responsibly. Communication and education are key, especially when implementing website restrictions for children.
Keep in mind that the effectiveness of website blocking methods may vary depending on factors such as website structure, device model, and Android version. Regularly updating the blocklist, staying vigilant about potential bypassing techniques, and exploring additional security measures can help maintain a secure and controlled digital environment.
Choose the method that suits your needs, comfort level, and technical expertise. Whether you opt for a simple third-party app or delve into the technicalities of modifying system files, blocking websites on your Android device is within your reach.
Take control over your online experience and create a safe and focused digital environment by implementing the method that suits you best.