Introduction
Welcome to our guide on how to block text messages on Android. Whether you’re tired of receiving unwanted promotional offers, spam messages, or annoying texts from certain contacts, we’ve got you covered. In this article, we will walk you through various methods and strategies to effectively block text messages on your Android device.
Text message blocking is a useful feature that allows you to take control of your inbox and ensure that only the messages you want to receive make it through. By utilizing the built-in messaging app or third-party applications, you can easily filter out and block unwanted texts.
With the rise of smartphones and the convenience of instant messaging, it’s no surprise that text message spam has become a prevalent issue. Fortunately, Android provides several options for blocking unwanted texts, allowing you to maintain peace of mind and focus on the messages that matter most to you.
Whether you’re using the default messaging app on your Android device or prefer a third-party alternative, we’ll guide you through the steps required to block texts effectively. You can block messages from specific contacts, unknown senders, or even based on specific keywords or short code numbers.
Now, let’s dive into the different methods you can use to block text messages on your Android device. Whether you’re a tech-savvy user or someone who prefers simple solutions, we’ve got a method that’s right for you.
Method 1: Using the Built-in Messaging App
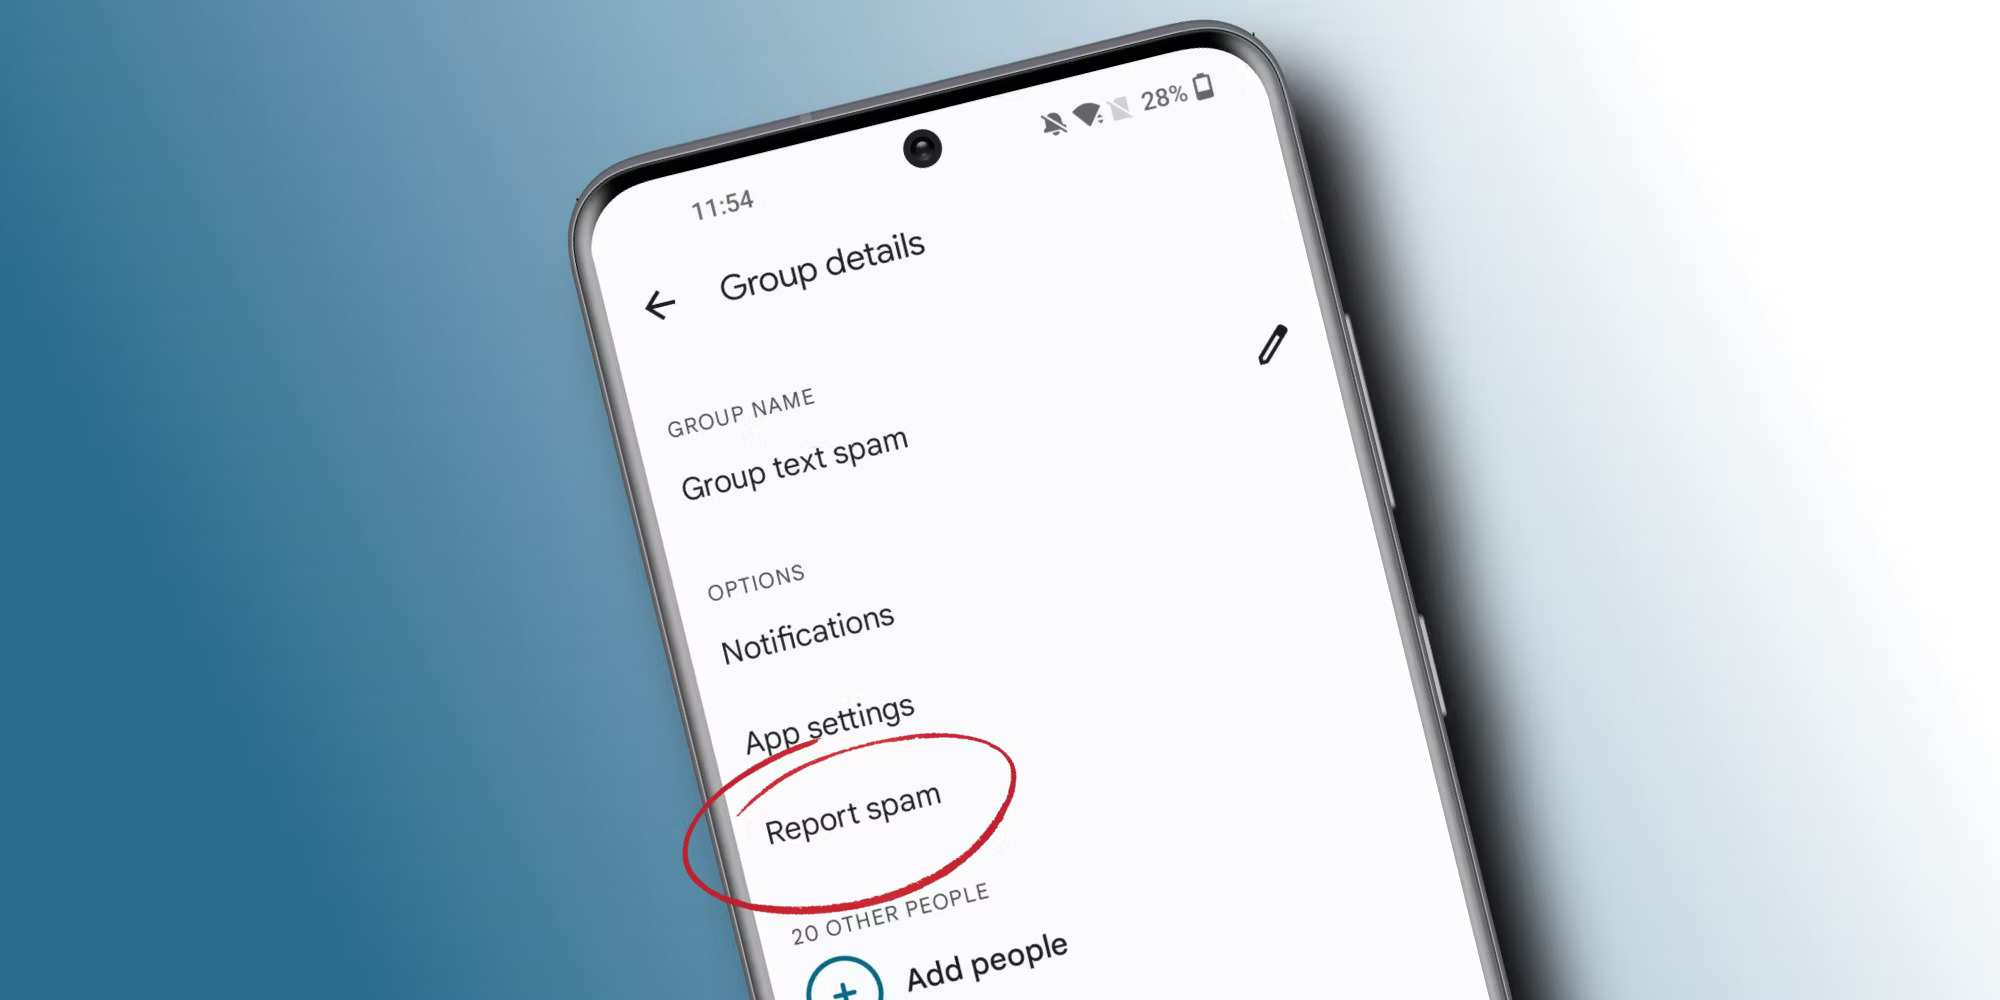
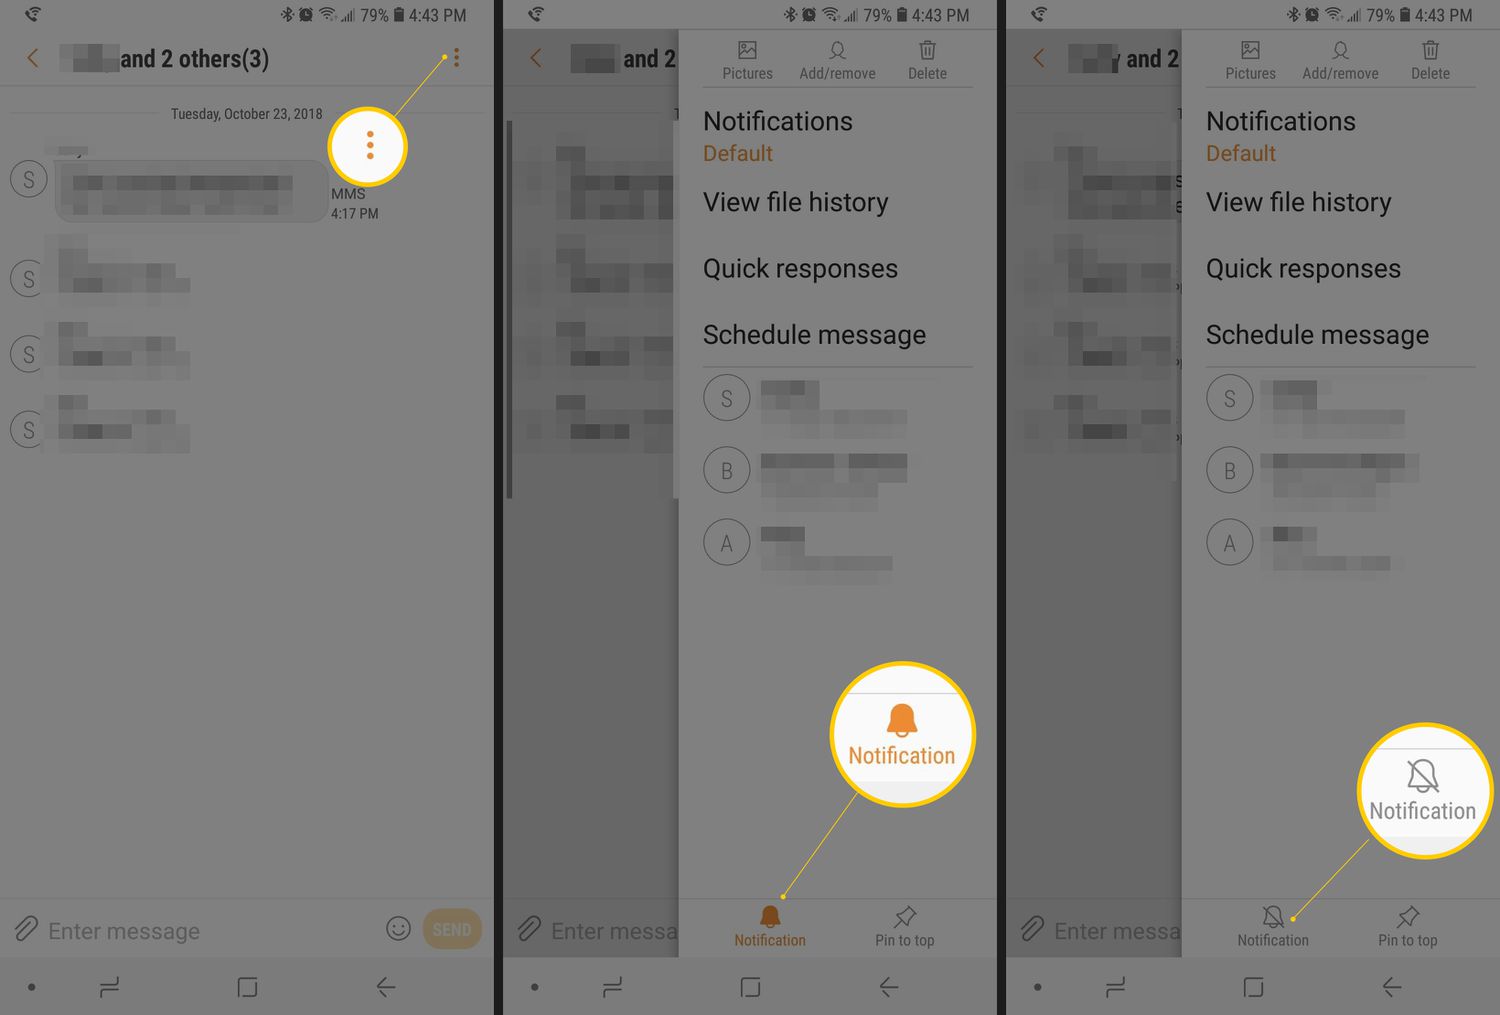
If you prefer to use the default messaging app on your Android device, you’ll be pleased to know that it typically comes with built-in features for blocking text messages. Here’s how you can block texts using the default messaging app:
1. Open the messaging app on your Android device. This is usually labeled as “Messages” or “Messaging” and should be easily accessible from your app drawer or home screen.
2. Locate the conversation thread of the sender you want to block. If you receive unwanted texts from an unknown sender, select any message from that sender.
3. Tap and hold on the conversation or message until a menu appears. Look for options such as “Block” or “Block Messages.” Select the block option.
4. Confirm the action by tapping “OK” or “Block” on the confirmation prompt that appears. This will prevent further messages from the blocked sender from appearing in your inbox.
5. Repeat this process for any additional senders you want to block.
It’s important to note that the steps might vary slightly depending on the make and model of your Android device and the version of the messaging app you’re using. However, the general process should be similar across devices. If you’re unsure about the blocking feature on your specific device, consider referring to the manufacturer’s documentation or support resources.
Using the built-in messaging app is a convenient way to block unwanted texts without the need for additional apps. It puts you in control of your inbox and ensures that you only receive messages from people you want to hear from.
Now that you know how to block texts using the built-in messaging app, let’s explore another method using a third-party app that offers enhanced features and customization options.
Method 2: Using a Third-party App
If you’re looking for more advanced features and customization options to block text messages on your Android device, using a third-party app is a great solution. There are several apps available on the Google Play Store that specialize in blocking unwanted texts. Here’s how you can use a third-party app to block text messages:
1. Open the Google Play Store on your Android device and search for “text message blocker.” You will find various apps that offer text blocking features. Look for reputable apps with good reviews and ratings.
2. Choose the app that best meets your needs and tap on the “Install” button to download and install it on your device.
3. Once the app is installed, open it, and follow the on-screen instructions to set it up. This may include granting necessary permissions and configuring the app’s settings according to your preferences.
4. Once the app is set up, you can usually create a blocklist by manually entering the numbers or contacts you want to block. Some apps may also provide options to block texts based on keywords or other criteria.
5. Customize the blocking settings as per your requirements. You may have options to automatically block texts from certain countries or block specific types of messages such as promotional offers or spam.
Using a third-party app offers additional flexibility and control over your text message blocking options. You can take advantage of advanced features like custom rules, scheduled blocking, and fine-tuned filtering to create a personalized experience.
While third-party apps are convenient, it’s essential to be mindful of the apps you choose to install. Stick to apps that have positive reviews and high ratings to ensure a reliable and secure user experience.
Now that you know how to use a third-party app to block text messages, let’s explore other methods to block texts from specific contacts, unknown senders, and even based on certain keywords or short code numbers.
Method 3: Blocking Texts from Specific Contacts
If you’re receiving unwanted text messages from specific contacts and want to block them individually, Android offers a simple and straightforward way to do this. Follow these steps to block texts from specific contacts:
1. Open the built-in messaging app on your Android device.
2. Locate the conversation thread of the contact you want to block. If the contact is not in your recent conversations, you can use the search feature within the messaging app to find their name or number.
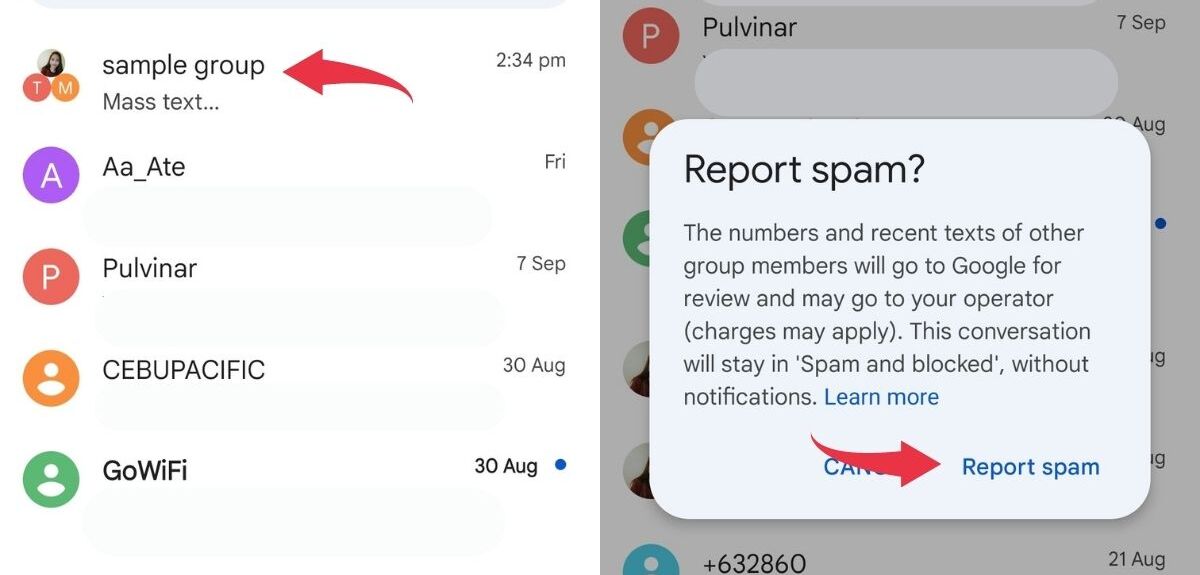
3. Tap and hold on the conversation or message from the contact you want to block until a menu appears.
4. Look for options such as “Block” or “Block contact.” Select the appropriate option to block the contact.
5. Confirm the action by tapping “OK” or “Block” on the confirmation prompt that appears.
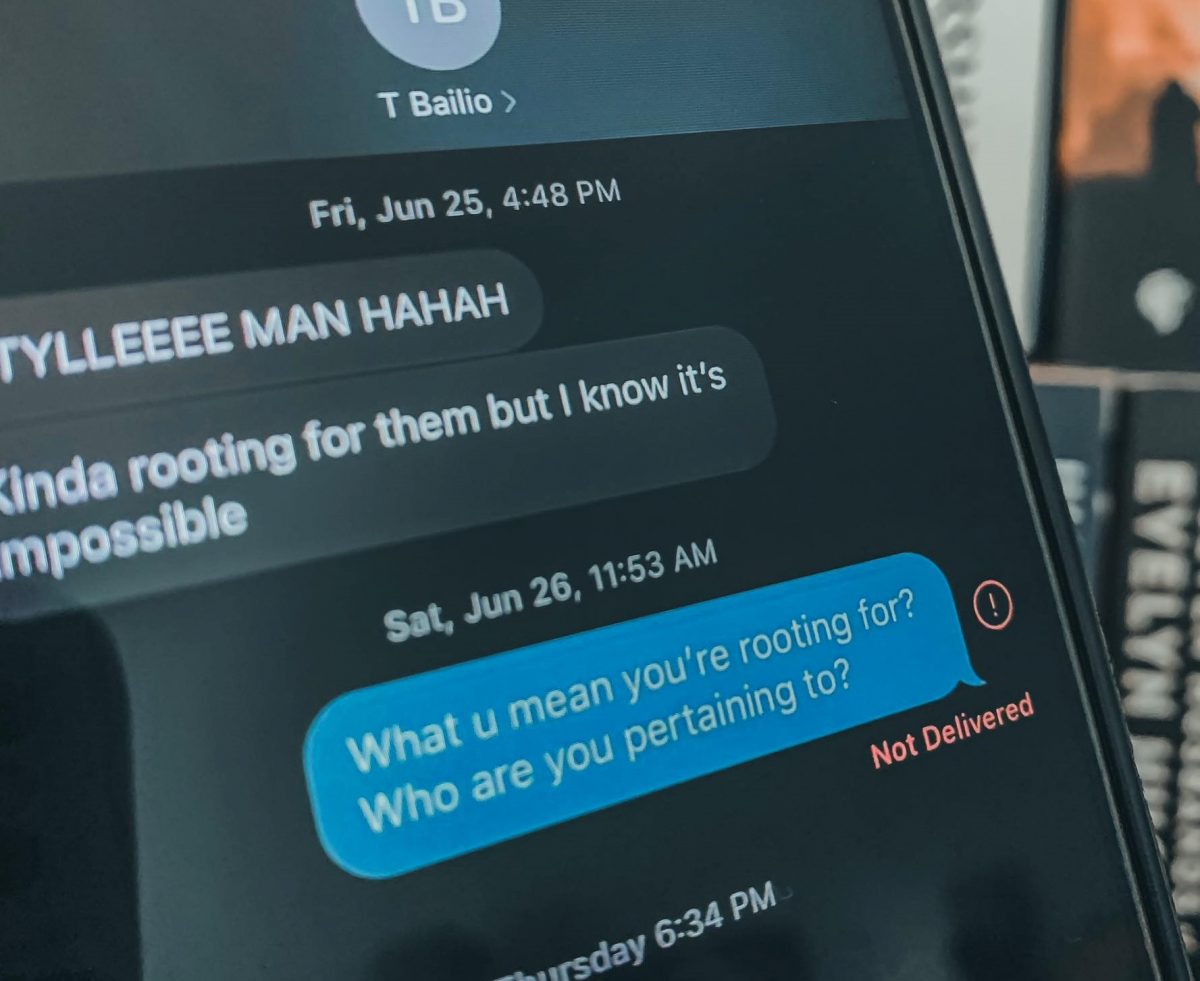
Once you’ve completed these steps, you won’t receive any further text messages from the blocked contact. They’ll be unable to send you any messages, and their previous messages won’t be accessible in your inbox.
Blocking texts from specific contacts is an effective way to eliminate unwanted communication from individuals who consistently send you messages that you’d rather not receive.
It’s worth noting that blocked contacts will not be notified that they’ve been blocked, but they may eventually realize it if their messages continue to go unanswered. If you ever change your mind and want to unblock a contact, you can do so by following similar steps within the messaging app’s settings.
Now that you know how to block texts from specific contacts, let’s proceed to the next method: blocking texts from unknown senders.
Method 4: Blocking Texts from Unknown Senders
Receiving text messages from unknown senders can be frustrating and potentially risky. Fortunately, Android provides options to block texts from these unidentified sources. Follow these steps to block texts from unknown senders:
1. Open the messaging app on your Android device.
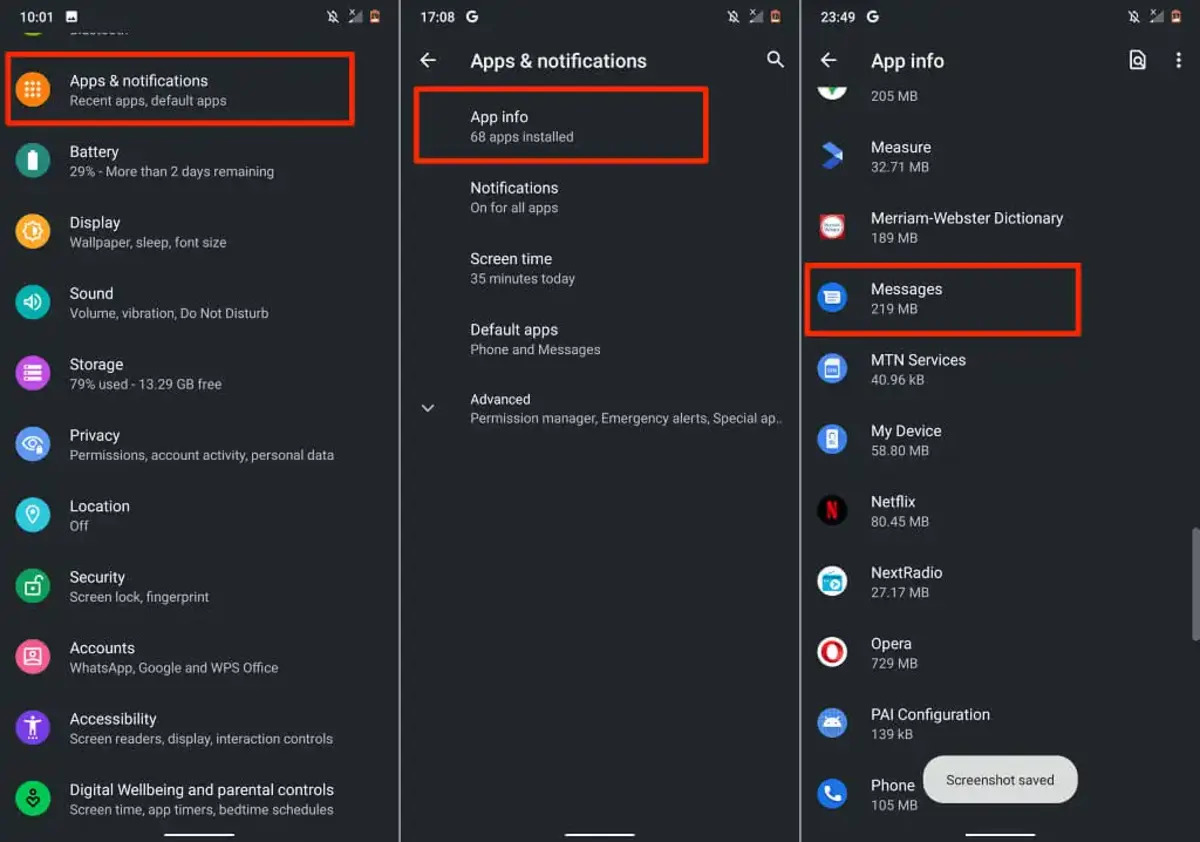
2. Tap on the menu icon or three dots located at the top-right corner of the app.
3. From the menu that appears, select “Settings” or “Options,” then navigate to the “Blocked Contacts” or “Blocked Numbers” section.
4. Look for an option that allows you to block text messages from unknown senders. The label for this option may vary depending on your device and messaging app. It might be named “Block Unknown Senders,” “Filter Unknown Messages,” or something similar.
5. Enable the option to block texts from unknown senders by toggling the switch or checkbox next to it.
Once activated, your messaging app will automatically filter out and block text messages from numbers that are not saved in your contacts. This feature helps you avoid the hassle of receiving unwanted texts from unknown or suspicious sources.
Blocking texts from unknown senders is particularly useful in preventing spam messages, phishing attempts, and other potentially harmful communications. It adds an extra layer of security to keep your inbox free from unwanted distractions.
If you come across any legitimate messages from unknown senders that you want to receive, you can temporarily disable this feature and re-enable it later. This allows you to retain control over the messages you receive while blocking potentially unwanted texts.
Now that you know how to block texts from unknown senders, let’s move on to method 5: blocking texts based on specific keywords.
Method 5: Blocking Texts from Certain Keywords
If you want to block text messages containing specific keywords or phrases, Android offers the ability to set up keyword filtering. Here’s how you can block texts based on certain keywords:
1. Open the messaging app on your Android device.
2. Tap on the menu icon or three dots located at the top-right corner of the app.
3. From the menu that appears, select “Settings” or “Options.”
4. Look for an option related to “Message Filtering,” “Spam Filter,” or “Blocked Keywords.” The label may vary depending on your device and messaging app.
5. Access the keyword filtering settings and enter the specific keywords or phrases that you want to block. You can add multiple keywords or phrases to ensure comprehensive filtering.
6. Save the settings or toggle the switch to enable the keyword filtering feature.
Once the keyword filtering is enabled, any incoming text message that contains the specified keywords will be automatically blocked and won’t appear in your inbox. This method is particularly useful for blocking spam messages that commonly contain specific keywords or phrases.
It’s important to note that while keyword filtering can be effective, it may also unintentionally block legitimate messages that contain the targeted keywords. Therefore, it’s recommended to choose your keywords carefully and keep an eye on your blocked messages regularly to ensure no important texts are missed.
With the ability to block texts based on specific keywords, you can have better control over the content you receive and avoid the inconvenience of dealing with unwanted messages.
Now that you know how to block texts based on certain keywords, let’s explore method 6: blocking texts from short code numbers.
Method 6: Blocking Texts from Short Code Numbers
Short code numbers are shortened phone numbers typically used by businesses and organizations to send promotional messages, alerts, or notifications. If you receive unwanted texts from these short code numbers and want to block them, Android allows you to do so. Follow these steps to block texts from short code numbers:
1. Open the messaging app on your Android device.
2. Tap on the menu icon or three dots located at the top-right corner of the app.
3. From the menu that appears, select “Settings” or “Options.”
4. Look for an option related to “Blocked Numbers” or “Blocked Contacts.”
5. Within the blocked numbers settings, you should find an option to block texts from short code numbers.
6. Enable the feature by toggling the switch or checkbox next to “Block Short Code Numbers.”
By activating this feature, your messaging app will automatically block any incoming texts from short code numbers, preventing them from cluttering your inbox. This is especially useful if you frequently receive promotional messages or alerts from various short code numbers that you have no interest in receiving.
If you ever need to unblock a specific short code number, you can access the blocked numbers settings and remove it from the list.
It’s important to note that blocking texts from short code numbers may also prevent you from receiving important notifications or alerts from services or organizations that you are interested in. Therefore, it is recommended to exercise caution and regularly review the blocked numbers list to ensure that no important messages are unintentionally blocked.
Now that you know how to block texts from short code numbers, you have a comprehensive set of methods to block unwanted text messages on your Android device.
Conclusion
Blocking unwanted text messages on your Android device is an essential step towards maintaining control over your inbox and ensuring that you only receive messages from people and sources that you want to hear from. In this guide, we explored various methods to block text messages, ranging from the built-in messaging app to third-party apps that offer enhanced customization options.
By using the built-in messaging app, you can easily block texts from specific contacts and unknown senders. This provides a straightforward way to filter out unwanted messages and maintain a clutter-free inbox. Additionally, utilizing third-party apps allows for advanced features like creating custom blocklists, keyword filtering, and additional security options.
We also covered how to block texts based on specific keywords, allowing you to eliminate messages that contain certain words or phrases. This can be particularly helpful in blocking spam or unwanted promotional messages. Lastly, we explored how to block texts from short code numbers, which are often used by businesses for marketing or alerts.
When utilizing these methods, it’s crucial to strike a balance between blocking unwanted texts and ensuring important messages are not accidentally blocked. Regularly reviewing your blocklist and monitoring any blocked messages can help you avoid missing out on important information.
Remember, the specific steps outlined in this guide may vary slightly depending on the make and model of your Android device and the version of the messaging app you’re using. It’s always a good idea to refer to your device’s documentation or support resources if you encounter any inconsistencies or have specific questions.
By implementing the techniques outlined in this guide, you can take control of your text message inbox, reduce distractions, and enjoy a more streamlined communication experience on your Android device.