Introduction
Whether you’re bombarded with unwanted promotional emails or harassed by persistent spam, finding a way to block email on your iPhone can be a real lifesaver. Fortunately, Apple offers several features and settings that allow you to regain control over your inbox and prevent unwanted messages from cluttering your digital space. In this article, we will explore various methods you can use to block email contacts, filter incoming emails, unsubscribe from email lists, and even utilize third-party apps or services to tackle this issue.
Sifting through a mountain of irrelevant or spammy emails can be time-consuming and frustrating. It can affect your productivity, make it harder to find important messages, and even compromise the security of your device. By taking advantage of the built-in capabilities of your iPhone or using additional tools, you can regain peace of mind and ensure that your inbox is filled only with relevant and meaningful messages. So, let’s dive into the different methods available to help you block unwanted email on your iPhone.
Method 1: Block Email Contacts
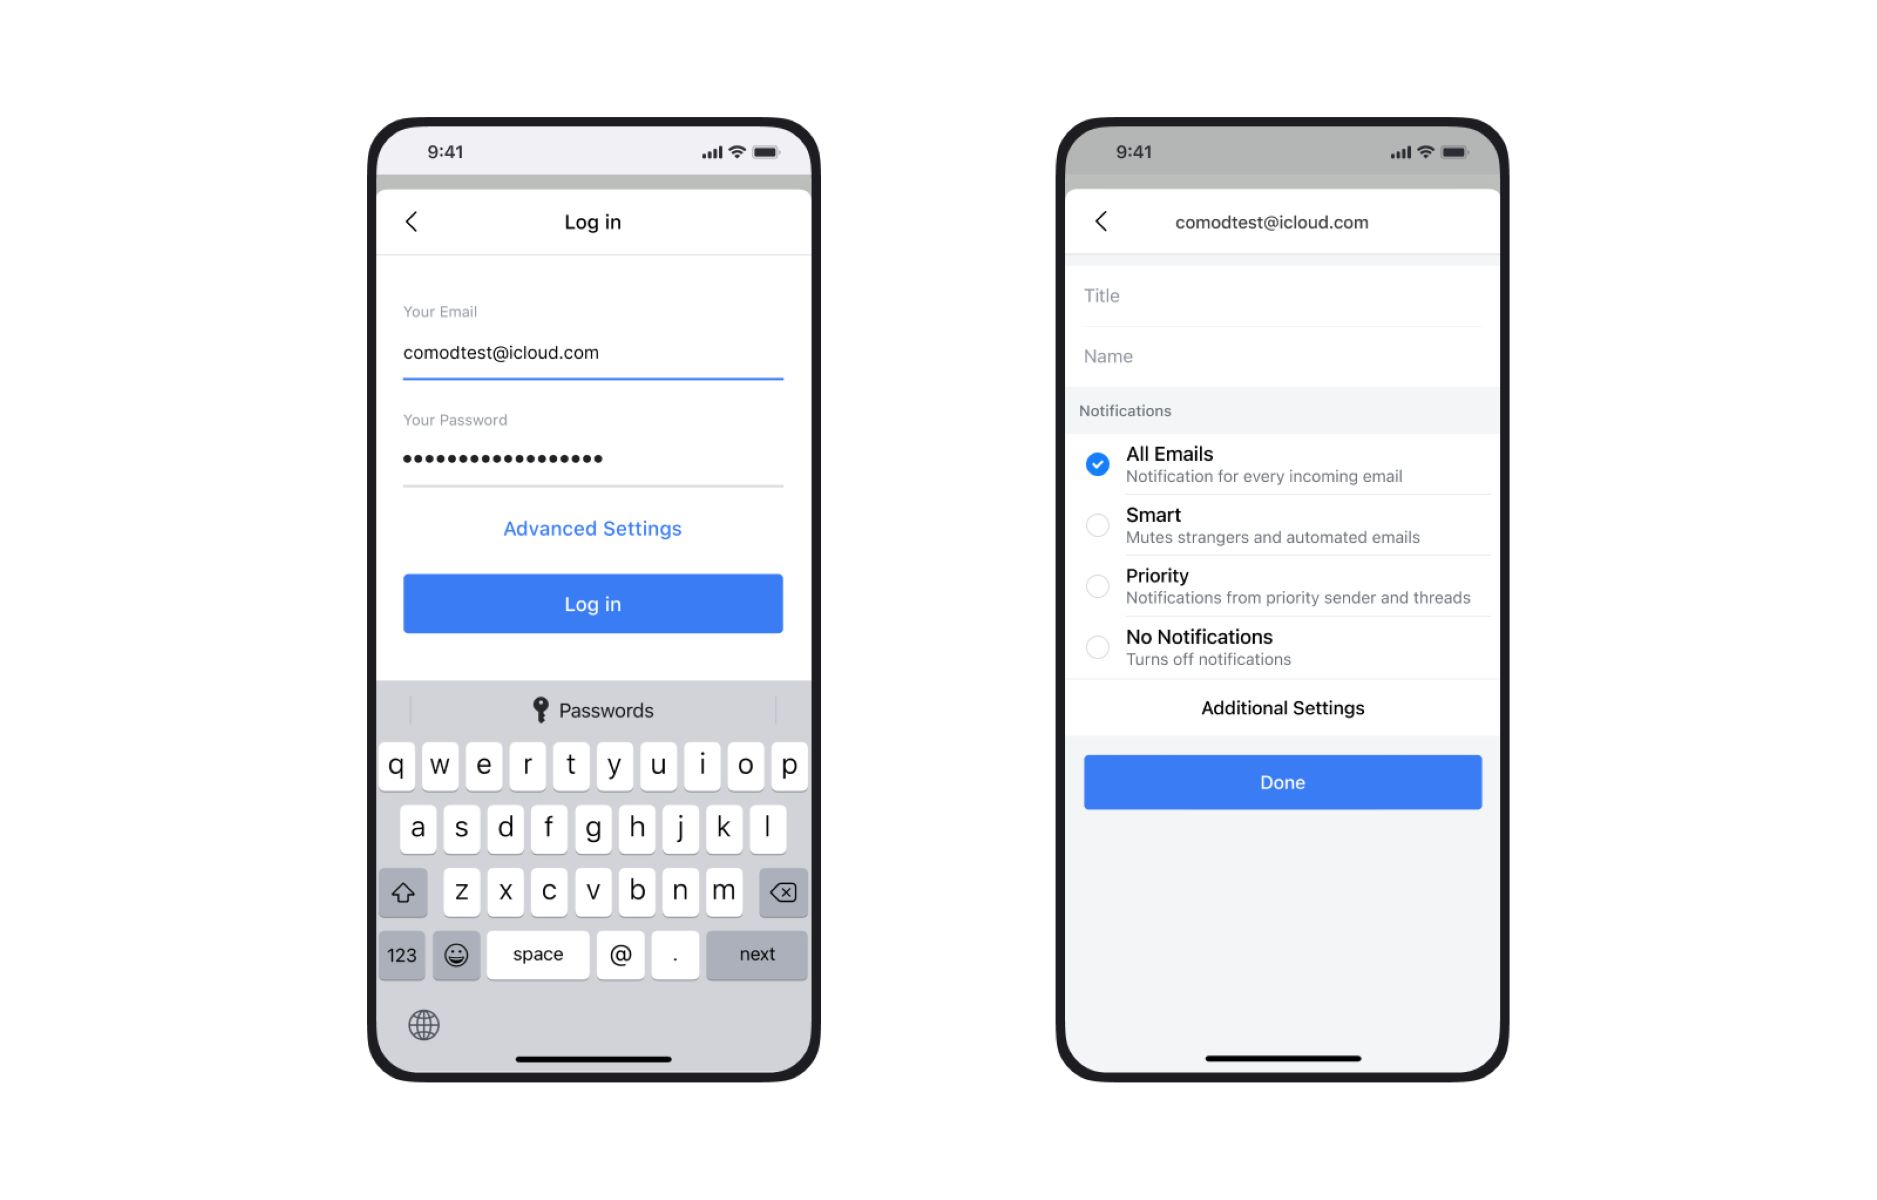
If you are receiving unwanted emails from specific contacts, you can easily block them using the Mail app on your iPhone. Blocking a contact will prevent their emails from appearing in your inbox and automatically redirect them to the “Blocked” folder. Here’s how you can do it:
- Open the Mail app on your iPhone and navigate to the email from the contact you want to block.
- Tap on the email to open it and then tap on the sender’s name or email address at the top of the email.
- A pop-up menu will appear with options. Scroll down and select “Block this Contact”.
- Confirm your decision by tapping on “Block Contact” in the alert that appears.
Once you block a contact, their future emails will be automatically sent to the “Blocked” folder, where you can review and delete them if necessary. To unblock a contact, follow the same steps and select “Unblock this Contact” instead.
This method is particularly useful for dealing with persistent senders who continue to send unwanted or inappropriate emails. By blocking their contact, you can effectively put an end to their messages infiltrating your inbox and causing unnecessary disruptions.
Method 2: Filter Incoming Emails
If you want more granular control over the emails you receive, you can utilize the filtering capabilities of the Mail app to automatically sort incoming emails into specific folders or mark them as read. This can help you prioritize and organize your inbox more efficiently. Follow these steps to set up email filters:
- Open the Settings app on your iPhone and scroll down to find and tap on “Mail”.
- Select “Rules” or “Filters” (depending on your iOS version) and then tap on “Add Rule” or “Add Filter”.
- Specify the filtering criteria, such as sender, subject, or keywords, by selecting the relevant options.
- Choose the action you want to apply to the filtered emails, such as moving them to a specific folder, marking them as read, or even sending them directly to the trash.
- Tap on “Done” to save the rule/filter once you have configured all the desired settings.
With email filtering, you can customize how the Mail app handles incoming emails based on your preferences. For example, you can create filters to automatically move emails from certain senders or with specific keywords to designated folders, ensuring important emails land in your primary inbox and less relevant ones are neatly organized elsewhere.
This method is especially helpful if your issue is not with specific contacts but rather with certain types of emails, such as newsletters, promotions, or notifications. By setting up appropriate filters, you can streamline your inbox, reduce clutter, and focus on the emails that matter most to you.
Method 3: Unsubscribe from Email Lists
If your inbox is inundated with promotional emails and newsletters that you no longer wish to receive, one of the most effective ways to reduce this influx is by unsubscribing from email lists. Most legitimate email senders include an unsubscribe link at the bottom of their emails, allowing you to easily opt out of their mailing list. Here’s how you can do it:
- Open the Mail app on your iPhone and locate one of the emails from a sender you want to unsubscribe from.
- Scroll down to the bottom of the email and look for the “Unsubscribe” or “Manage Preferences” link.
- Tap on the link, which will typically take you to a webpage where you can confirm your unsubscribe request.
- Follow the instructions on the webpage to complete the unsubscribe process.
By unsubscribing from email lists, you can reduce the number of unwanted emails you receive on your iPhone. However, it’s important to note that this method only applies to legitimate senders who adhere to email marketing best practices. Some spam emails may not include an unsubscribe link, in which case you should simply mark them as spam and move on.
Regularly reviewing and unsubscribing from irrelevant or unwanted email lists is a proactive approach to keep your inbox clutter-free and ensure that you only receive emails that are of interest and importance to you.
Method 4: Use a Third-Party App or Service
If the built-in features of the Mail app on your iPhone don’t provide sufficient control over blocking unwanted emails, you can explore third-party apps or services that offer advanced spam filtering and blocking capabilities. These apps often use sophisticated algorithms to identify and automatically filter out spam, phishing attempts, and other unwanted emails. Here’s how you can benefit from using a third-party app:
- Research and choose a reputable third-party app or service that specializes in email filtering and blocking. Some popular options include SpamSieve, SpamTitan, and MailWasher.
- Visit the App Store or the official website of the chosen app/service and download/install it on your iPhone.
- Follow the instructions provided by the app/service to set up and configure the spam settings according to your preferences.
- Grant the necessary permissions for the app/service to access your emails and integrate with the Mail app or other email clients on your device.
Using a third-party app or service can provide you with advanced spam protection, more customization options, and additional security features. These apps often employ sophisticated algorithms and databases to analyze email patterns, sender reputations, and content to identify and block spam effectively.
It’s essential to choose a reputable app or service and read user reviews before installing and using it on your iPhone. This will ensure that you are getting a reliable and effective solution to protect your inbox from unwanted emails.
Conclusion
Dealing with unwanted emails on your iPhone can be a frustrating experience, but with the right methods and tools, you can take control of your inbox and reduce the clutter. In this article, we explored four effective methods for blocking email on your iPhone.
Firstly, you can block email contacts directly from the Mail app, preventing their messages from appearing in your inbox. This method is perfect for dealing with persistent senders.
Secondly, you can use the built-in filtering capabilities of the Mail app to automatically sort incoming emails into specific folders or mark them as read. This allows you to prioritize and organize your inbox more efficiently.
Another approach is to unsubscribe from email lists. By opting out of promotional emails and newsletters, you can significantly reduce the number of unwanted emails you receive.
Lastly, utilizing a third-party app or service can provide advanced spam filtering and blocking features, offering even more control and customization options. These apps use sophisticated algorithms to identify and filter out unwanted emails.
By implementing these methods, you can regain control over your inbox, reduce clutter, and ensure that your iPhone is a hub of important and relevant emails. It’s important to find the approach that works best for you and adapt it to your specific needs. Remember to regularly review and adjust your email settings as your needs change over time.
With these techniques at your disposal, you can effectively block unwanted email on your iPhone and enjoy a more streamlined and organized email experience.