Why You Need to Backup Your Computer
In today’s digital age, our computers hold a wealth of valuable and irreplaceable data. From treasured family photos and important documents to personal videos and business files, the loss of such data can be devastating. That’s why it is crucial to have a reliable backup solution in place.
Accidents happen, and computer hardware is not invulnerable. Whether it’s a hard drive failure, a malware attack, or a stolen laptop, the risk of losing your data is ever-present. Think of all the hours spent creating and accumulating files, not to mention the sentimental value attached to certain items. Losing it all in an instant is something no one wants to experience.
Moreover, even if you are diligent about maintaining your computer, there is always a chance that something could go wrong during routine maintenance or software upgrades. Unexpected glitches and errors can occur, resulting in data loss or corruption. By having a backup, you can rest assured knowing that your valuable files can be easily restored.
Another important reason to backup your computer is the threat of cyber attacks. With the increasing prevalence of malware and ransomware, your data is constantly at risk of being hijacked or encrypted. Having a backup means you can avoid the frustration and potential financial loss associated with dealing with such attacks.
Furthermore, a backup can provide you with peace of mind. Knowing that your important files and memories are safely stored in a secondary location can alleviate the stress of potential data loss. It allows you to freely use and experiment with your computer, knowing that you have a safety net in place.
It is important to remember that accidents and data loss can happen to anyone, regardless of their level of expertise or caution. Don’t wait until it’s too late. Take the necessary steps to backup your computer and protect your precious data. In the following sections, we will guide you through the process of setting up a backup using a portable SSD.
What You Will Need
Before you proceed with backing up your computer on a portable SSD, make sure you have the following items:
- A computer: This may seem obvious, but you will need a functioning computer to initiate and manage the backup process.
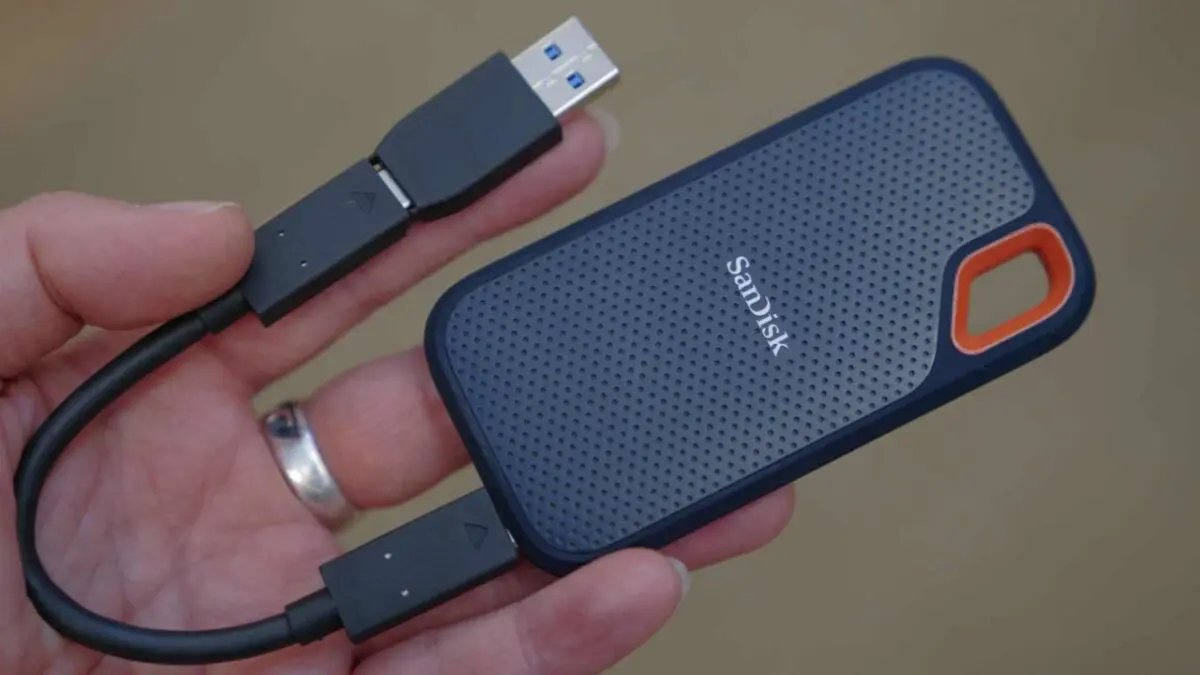
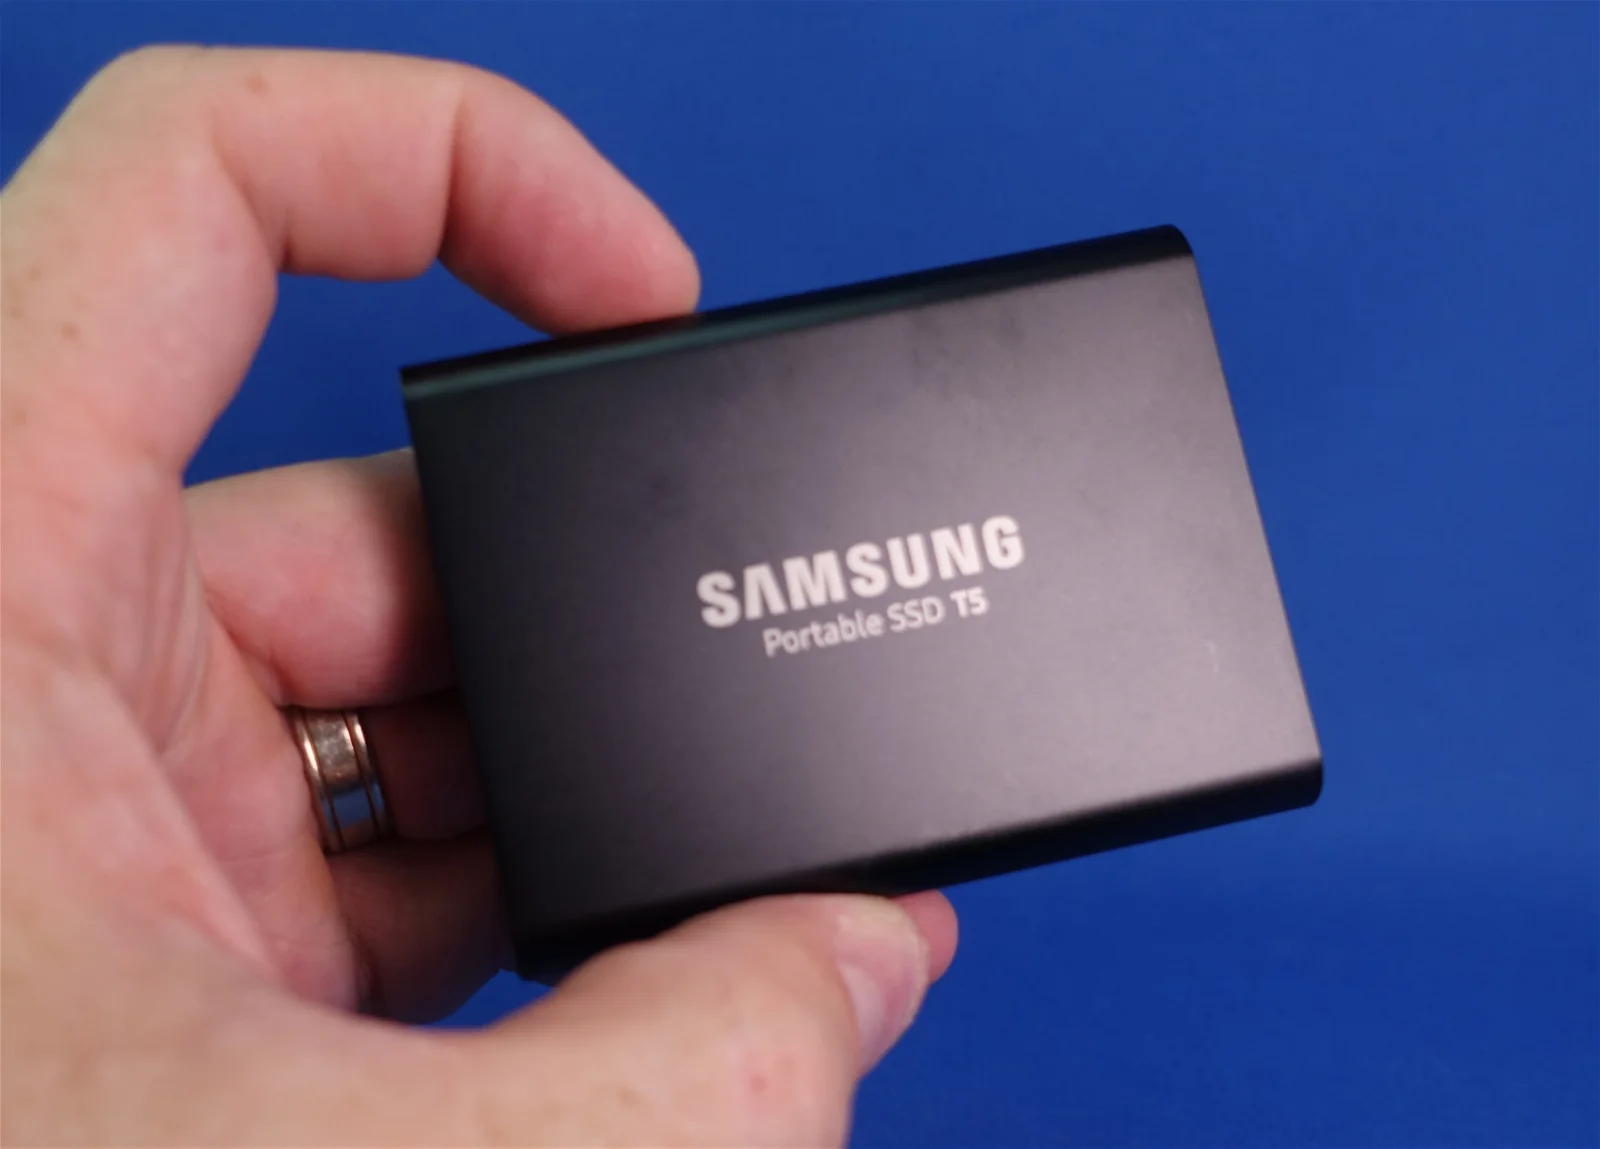
- A portable SSD: Look for a portable solid-state drive (SSD) that offers ample storage capacity to accommodate all your data. It’s recommended to choose an SSD over a traditional hard drive (HDD) due to its faster data transfer speeds and durability.
- USB cable or adapter: Ensure that you have a compatible USB cable or adapter to connect the portable SSD to your computer. Check the specifications of both your SSD and computer to determine the appropriate cable or adapter needed.
- Backup software: You will need backup software that allows you to easily manage and schedule your backups. There are several reliable options available, both free and paid, that offer features such as automatic backups, incremental backups, and encryption.
- External power source (optional): Depending on the power requirements of your portable SSD, you may need an external power source if your computer’s USB ports do not provide enough power. This is particularly important if you plan to use the portable SSD for extended backup sessions.
Once you have gathered these essential items, you will be well-prepared to proceed with the backup process. It’s crucial to ensure that all the hardware and software components are compatible and in working order to avoid any complications during the backup process.
In the next sections, we will guide you through the step-by-step process of backing up your computer on a portable SSD using the selected backup software.
Step 1: Selecting a Portable SSD
Choosing the right portable solid-state drive (SSD) is essential for a successful backup process. Here are some factors to consider when selecting a portable SSD:
Storage Capacity: Determine how much storage capacity you require for your backup. Consider the size of your current data and the potential growth in the future. It’s advisable to choose an SSD with more capacity than you currently need to accommodate any future data expansion.
Data Transfer Speed: Look for an SSD with fast data transfer speeds to ensure quick and efficient backups. This will minimize the time it takes to transfer large amounts of data to the SSD.
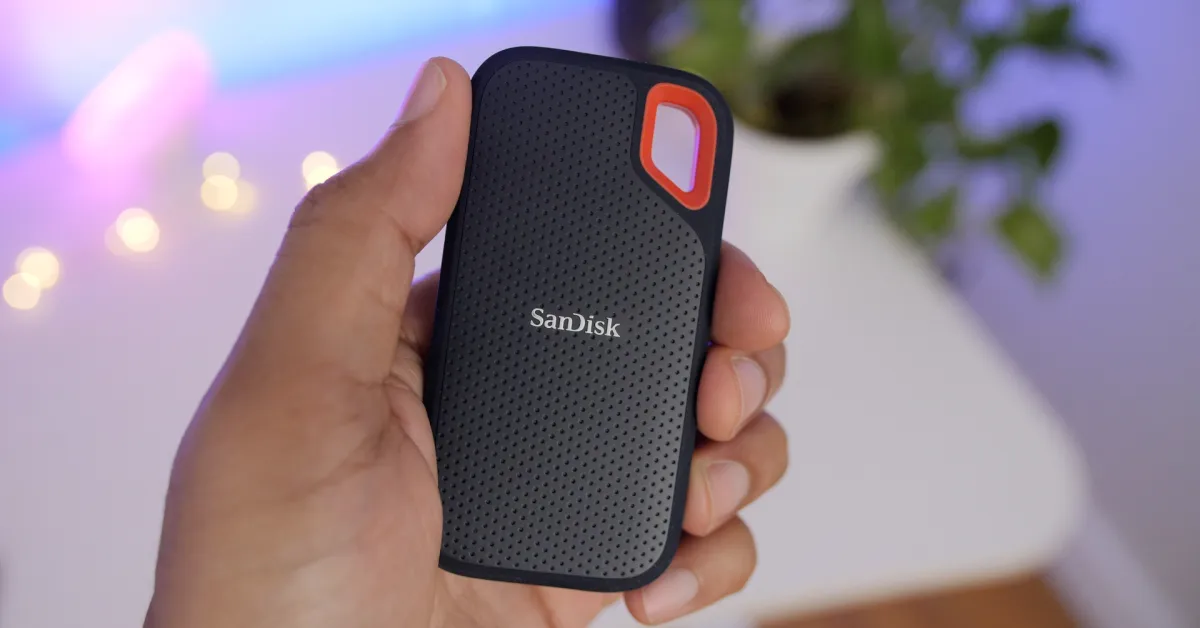
Portability: As the name suggests, a portable SSD should be lightweight and compact, making it easy to carry around. Consider the physical dimensions and weight of the SSD to ensure it fits your needs, especially if you plan to use it for on-the-go backups.
Compatibility: Verify that the portable SSD is compatible with your computer’s operating system and ports. Most portable SSDs support both Windows and Mac systems, but it’s always best to double-check to avoid any compatibility issues.
Reliability and Durability: Choose an SSD from a reputable brand known for its reliability and durability. Read customer reviews and check product specifications to ensure that the SSD can withstand the rigors of regular use and provide long-term data protection.
Price: Set a budget for your portable SSD. While it’s essential to invest in a reliable and high-performance SSD, consider your financial limitations and find a balance between quality and cost.
By considering these factors, you can select a portable SSD that meets your requirements and provides a reliable backup solution. Once you have chosen the ideal portable SSD, you are ready to move on to the next step: formatting the portable SSD for use.
Step 2: Formatting the Portable SSD
Once you have selected a suitable portable solid-state drive (SSD) for your backup needs, the next step is to format the SSD so that it can be properly recognized and used by your computer. Follow these steps to format your portable SSD:
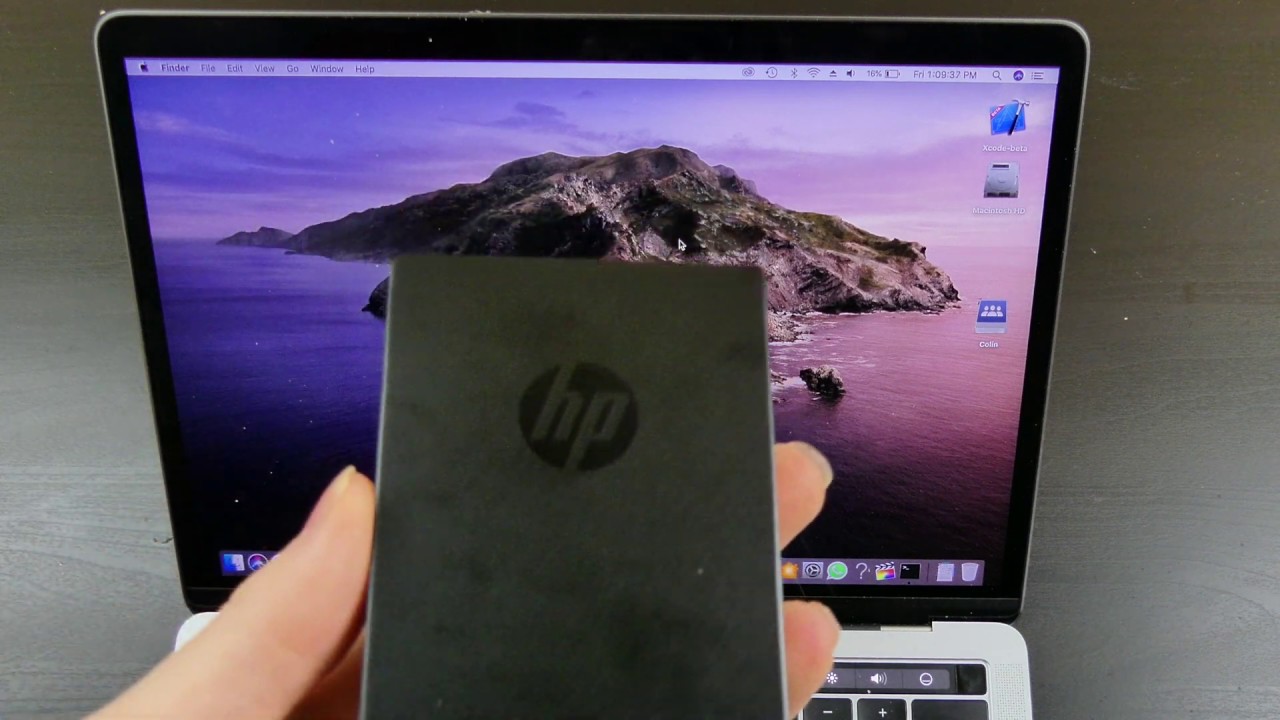
- Connect the SSD: Use the provided USB cable or adapter to connect the portable SSD to an available USB port on your computer.
- Open Disk Management: On Windows, you can access Disk Management by right-clicking on the Start button and selecting “Disk Management” from the menu. On Mac, go to “Applications” > “Utilities” > “Disk Utility.”
- Locate the SSD: In the Disk Management or Disk Utility window, look for the connected SSD. It should be listed as a new, unallocated drive.
- Initialize the SSD: Right-click on the SSD (Windows) or click on the SSD and select “Initialize” (Mac). Choose the appropriate options for initialization, such as MBR (Master Boot Record) for Windows or GUID (GUID Partition Map) for Mac.
- Create a Partition: After initializing the SSD, right-click on the unallocated space and select “New Simple Volume” (Windows) or click on the “+” button and specify the partition size (Mac).
- Format the Partition: Choose the desired file system format for the partition. For Windows, NTFS is recommended, while macOS typically uses APFS or HFS+. Give the partition a name and click “Finish” (Windows) or “Apply” (Mac).
- Verify the Formatting: Once the formatting process is complete, verify that the SSD is now listed as a formatted drive with the assigned drive letter (Windows) or volume name (Mac).
It’s important to note that formatting the portable SSD will erase any existing data on it. Make sure you have backed up any important files before proceeding.
By formatting the portable SSD, you have prepared it for use as a dedicated backup drive. The next step is to choose a reliable backup software that suits your needs and install it on your computer.
Step 3: Choosing a Backup Software
When it comes to backing up your computer, having the right backup software is crucial. With a wide range of options available, it’s important to choose software that meets your specific requirements. Consider the following factors when selecting backup software:
Features: Look for backup software that offers essential features such as automatic backups on a schedule, incremental backups (only backing up changed files), encryption for data security, and the ability to restore individual files or entire system backups.
User-Friendliness: Choose software with an intuitive interface and user-friendly controls. It should have clear instructions and options that are easy to understand, even for those with minimal technical expertise.
Compatibility: Ensure that the backup software is compatible with your operating system (Windows, Mac, or Linux). Additionally, check if it supports the file systems used on your computer’s hard drive and the portable SSD.
Storage Options: Consider the different storage options supported by the backup software. For instance, some software allows you to store backups on external drives, cloud storage services, or network-attached storage (NAS) devices.
Reliability and Reputation: Research and read reviews about the backup software to assess its performance and reliability. Look for software that is well-established and trusted in the industry.
Customer Support: Check if the backup software offers reliable customer support in case you encounter any issues or have questions. Look for options like phone support, live chat, email support, or an active community forum.
Cost: Consider your budget and the pricing structure of the backup software. Determine if it offers a free trial or a money-back guarantee. Compare the cost with the features and benefits provided to make an informed decision.
By carefully evaluating these factors, you can choose backup software that fits your needs and preferences. Once you have selected the backup software, proceed to the next step: installing it on your computer.
Step 4: Installing the Backup Software
After choosing the backup software that suits your needs, it’s time to install it on your computer. Follow these steps to install the backup software:
- Download the software: Visit the official website of the backup software provider and locate the download section. Look for the appropriate version of the software that matches your operating system.
- Run the installer: Once the software is downloaded, locate the installer file and double-click on it to start the installation process.
- Follow the installation wizard: The installation wizard will guide you through the setup process. Read and accept the license agreement if prompted.
- Choose the installation location: Select the destination folder where you want the backup software to be installed. The default location is usually fine, but you can choose a different location if desired.
- Select additional options: Some backup software may offer additional features or options during the installation process. Consider these options and make selections based on your preferences.
- Wait for the installation to complete: The software will proceed with the installation process, copying the necessary files to your computer. This may take a few moments.
- Launch the backup software: Once the installation is complete, the backup software may automatically launch. If not, find the software in your applications or programs list and open it.
- Register or activate the software: Some backup software may require you to register or activate it to unlock all features. Follow the provided instructions to complete this process.
After successfully installing the backup software, you are ready to configure it for use with your portable SSD. In the next step, we will guide you through the process of configuring the backup software to perform the desired backups.
Step 5: Configuring the Backup Software
With the backup software installed on your computer, it’s time to configure it to perform the desired backups to your portable SSD. Follow these steps to configure the backup software:
- Open the backup software: Launch the backup software by clicking on its icon or accessing it from your programs list.
- Connect the portable SSD: Ensure that the portable SSD is connected to your computer via the appropriate USB cable or adapter.
- Locate the backup settings: Look for the backup settings or preferences section within the backup software. This may be labeled as “Settings,” “Options,” or “Preferences.”
- Choose the backup source: In the backup settings, select the files, folders, or drives that you want to include in the backup. You may have the option to choose specific files or select entire drives.
- Select the destination: Specify the portable SSD as the destination for the backups. In some cases, you may need to browse and select the portable SSD within the backup software.
- Configure backup options: Explore the backup settings to customize the backup process according to your preferences. This may include options such as compression, encryption, and scheduling.
- Set up backup schedules (optional): If you want the backup software to automatically perform backups at specified times, configure the backup schedule. You can choose daily, weekly, or monthly backups, as well as the time and frequency.
- Enable notifications (optional): Some backup software allows you to receive notifications or alerts about the backup process. Enable notifications if you want to stay informed about the status of your backups.
- Review and save the settings: Double-check all the configured settings to ensure they are accurate. Once confirmed, save the settings within the backup software.
By following these steps, you have successfully configured the backup software to perform backups to your portable SSD. In the next step, we will guide you through the process of creating a backup schedule to automate the backup process and ensure regular data backups.
Step 6: Creating a Backup Schedule
Creating a backup schedule is a crucial step in ensuring regular and automated backups of your computer’s data to the portable SSD. Follow these steps to create a backup schedule using your chosen backup software:
- Open the backup software: Launch the backup software on your computer by clicking on its icon or accessing it from your programs list.
- Access the backup settings: Navigate to the backup settings or preferences section within the software. This may be labeled as “Settings,” “Options,” or “Preferences.”
- Find the scheduling options: Locate the scheduling options within the backup settings. This section may be labeled as “Scheduling,” “Backup Schedule,” or similar.
- Choose the backup frequency: Select the frequency at which you want the backups to occur. Common options include daily, weekly, or monthly backups. Choose the frequency that suits your needs.
- Select the backup time: Specify the specific time at which you want the backups to be initiated. This could be during a time when your computer is typically idle or during non-working hours.
- Decide on backup type: Some backup software offers different types of backups, such as full backups or incremental backups. Choose the backup type that aligns with your preferences and requirements.
- Select backup destinations: If you have multiple backup destinations, such as the portable SSD and an external hard drive, specify the desired backup destinations for the scheduled backups.
- Save the backup schedule: Review the configured backup schedule and ensure that all settings are accurate. Save the schedule within the backup software.
- Enable backup schedule: Activate the backup schedule option within the backup software to ensure that the backups are initiated automatically based on the specified schedule.
Creating a backup schedule will ensure that your computer’s data is regularly backed up without requiring manual intervention. This way, you can have peace of mind knowing that your important files are safe and secure on the portable SSD. In the next step, we will guide you through the process of initiating the initial backup to the portable SSD.
Step 7: Initiating the Initial Backup
After setting up the backup schedule, it’s time to initiate the initial backup from your computer to the portable SSD. Follow these steps to start the initial backup:
- Ensure the portable SSD is connected: Verify that the portable SSD is properly connected to your computer via the USB cable or adapter.
- Open the backup software: Launch the backup software on your computer by clicking on its icon or accessing it from your programs list.
- Navigate to the backup settings: Locate the backup settings section within the software. This may be labeled as “Settings,” “Options,” or “Preferences.”
- Choose the backup source: Select the files, folders, or drives that you want to include in the initial backup. Ensure you include all the important data that you want to protect.
- Specify the portable SSD as the backup destination: Set the portable SSD as the destination for the initial backup within the backup software. Verify that the software recognizes the portable SSD and assigns it as the target location.
- Start the initial backup: Initiate the backup process by clicking on the “Start Backup” or similar button within the backup software. The backup software will begin copying your selected data to the portable SSD.
- Monitor the backup progress: Keep an eye on the backup progress, as the initial backup may take some time depending on the amount of data being transferred. Ensure that the backup process completes successfully.
- Verify the backup: Once the initial backup is done, verify that the data has been successfully copied to the portable SSD. Check the backup software or manually browse the portable SSD to ensure that all the important files have been backed up.
By following these steps, you have successfully initiated the initial backup process to transfer your computer’s data to the portable SSD. This initial backup sets the foundation for future backups, ensuring that your important files are securely stored. In the next step, we will guide you through the process of verifying the backup to ensure its integrity and completeness.
Step 8: Verifying the Backup
After performing the initial backup of your computer’s data to the portable SSD, it is crucial to verify the backup to ensure its integrity and completeness. Follow these steps to verify the backup:
- Disconnect and reconnect the portable SSD: Safely disconnect the portable SSD from your computer and then reconnect it to ensure a fresh connection.
- Open the backup software: Launch the backup software on your computer and navigate to the backup settings or management section.
- Access the backup status: Look for an option or section that shows the status of your backups. You may find an indication of whether the backup was successful or any errors encountered.
- Verify file and folder structure: Manually browse the portable SSD and check the file and folder structure to ensure that your important data is organized correctly and matches your original files.
- Spot-check individual files: Select a few random files from different folders on the portable SSD and open them to confirm that they are accessible and intact. Look for any signs of corruption or errors.
- Check backup logs or reports: Some backup software provides detailed logs or reports of the backup process. Review these logs to identify any errors or warnings that may require attention.
- Perform a test restore (optional): If your backup software allows it, consider performing a test restore of a few selected files or folders to ensure that the restoration process works as expected.
- Compare file sizes and checksums: Compare the file sizes and checksums (if available) of a few select files on your computer with those on the portable SSD. Ensure that they match to confirm data integrity.
By following these steps, you can verify the backup and ensure that your important data has been successfully copied to the portable SSD without any errors or corruption. Regularly performing these verification checks will provide you with peace of mind, knowing that your backup is reliable and readily available in case of any data loss. In the next step, we will guide you through the process of configuring incremental backups to keep your backup up to date with the latest changes.
Step 9: Configuring Incremental Backups
Configuring incremental backups is an essential step to ensure that your backup remains up to date with the latest changes on your computer. Unlike full backups, incremental backups only save the changes that have been made since the last backup, reducing storage requirements and backup time. Follow these steps to configure incremental backups using your chosen backup software:
- Open the backup software: Launch the backup software on your computer and navigate to the backup settings or preferences.
- Locate the backup type options: Find the backup type options within the backup settings. Look for terms like “Backup Type,” “Backup Method,” or similar.
- Select incremental backup: Choose the option for incremental backups as the preferred backup type. This tells the backup software to only back up files that have changed since the last backup.
- Configure the backup frequency: Set the frequency at which you want the incremental backups to occur. Depending on your needs, you may choose daily, weekly, or even hourly backups.
- Specify retention policies: Determine how long you want to keep the incremental backups. You can set rules for retaining backups based on time, storage capacity, or the number of backups.
- Manage space usage: If storage capacity is a concern, customize the settings to manage space usage by compressing the backups or removing older backups according to your retention policies.
- Schedule the incremental backups: Set the schedule for the incremental backups to occur automatically. Ensure that the schedule allows sufficient time for backups to complete without interrupting your computer usage.
- Save the settings: Review the configured settings for incremental backups and ensure that they align with your preferences. Save the settings within the backup software.
- Enable the incremental backup feature: Activate the incremental backup feature within the backup software to start performing incremental backups based on the configured settings.
By configuring incremental backups, you can ensure that your backup remains up to date with the latest changes on your computer while minimizing storage requirements. This way, you can have peace of mind knowing that your data is continuously protected by regular backups. In the final step, we will provide guidance on safely storing your portable SSD to ensure the longevity and security of your backed-up data.
Step 10: Safely Storing Your Portable SSD
Once you have successfully backed up your computer’s data to the portable SSD, it is essential to store the SSD safely to ensure the longevity and security of your backed-up data. Follow these steps to safely store your portable SSD:
- Choose a suitable storage location: Select a cool, dry, and secure location to store your portable SSD. Avoid areas with excessive heat, humidity, or direct sunlight, as these factors can potentially damage the device or degrade the data stored on it.
- Use a protective case or sleeve: Invest in a protective case or sleeve for your portable SSD to shield it from accidental drops, impacts, and scratches. This extra layer of protection will help preserve the physical integrity of the device.
- Label the portable SSD: Consider labeling the portable SSD with a clear and identifiable sticker or tag. This will help you quickly locate the correct SSD if you have multiple storage devices or during future retrieval.
- Store it in an elevated position: To protect the device from potential water damage, store the portable SSD in an elevated position to prevent any accidental spills or water exposure.
- Keep it away from magnets and strong magnetic fields: Avoid placing the portable SSD near magnets or strong magnetic fields. These can disrupt the internal components and potentially corrupt the data stored on the device.
- Regularly back up the portable SSD: As a best practice, periodically back up the contents of your portable SSD to an additional storage location. This will serve as an extra layer of protection in case the portable SSD gets damaged, lost, or stolen.
- Perform periodic health checks: Use the software provided by the SSD manufacturer to perform periodic health checks on the portable SSD. This can help detect any potential issues and ensure the optimal performance of the device.
- Keep a record of the backup details: Maintain a record of the backup details, including the backup software used, the backup schedule, and any additional notes. This will assist you in managing and retrieving your backups in the future, if needed.
By following these steps, you can ensure the safety of your portable SSD and the backed-up data stored within it. Remember to periodically check on the stored SSD and perform necessary backups and health checks to maintain the integrity of your data. With these precautions, you can have peace of mind knowing that your valuable data is securely stored and readily available when needed.
Conclusion
Backing up your computer on a portable SSD is a crucial step in protecting your valuable data from potential loss or damage. By following the steps outlined in this guide, you can create a reliable and automated backup system that ensures your important files are securely stored and readily available when needed.
We started by emphasizing the importance of backing up your computer and the potential risks of data loss. We then discussed the key items you will need for the backup process, including a computer, a portable SSD, a USB cable or adapter, backup software, and an optional external power source.
We guided you through selecting a suitable portable SSD, formatting it, and choosing the right backup software. With the software installed, we provided instructions on configuring the backup settings, scheduling regular backups, and verifying the integrity of the backup.
Lastly, we stressed the significance of safely storing your portable SSD to protect it from physical damage and potential data loss, as well as performing periodic checks and maintaining records of your backup details for future reference.
Remember, accidents can happen at any time, and having a reliable backup solution in place is essential. By incorporating these steps into your backup routine, you can safeguard your important files, memories, and business data, giving you peace of mind and the ability to quickly restore your computer in case of any unforeseen events.
Start implementing these steps today, and ensure that your valuable data is protected and accessible whenever you need it. Don’t delay – take control of your data backup and enjoy the peace of mind that comes with knowing your files are safe and secure.