Introduction
Welcome to the world of Kahoot! If you’re a teacher or a trainer looking for an interactive and engaging way to assess your students or participants, then Kahoot is the perfect tool for you. Kahoot is an online platform that allows you to create fun and educational quizzes, surveys, and discussions. It’s a great way to make learning and training more interactive, enjoyable, and effective.
In this article, we’ll guide you through the process of assigning a Kahoot to your students or participants. Whether you want to assess their knowledge, test their understanding, or facilitate a discussion, Kahoot provides you with the tools to create exciting and interactive learning experiences.
Assigning a Kahoot is a straightforward process that involves creating a Kahoot, customizing it according to your needs, adding questions, and ultimately launching it for your students or participants to access. Throughout the process, you’ll have the ability to monitor their progress, gather insights, and provide real-time feedback.
So, let’s dive in and uncover the step-by-step process of assigning a Kahoot!
Step 1: Sign in to Kahoot
The first step to assigning a Kahoot is signing in to your Kahoot account. If you don’t have an account yet, you can easily create one by visiting the Kahoot website and clicking on the “Sign up” button. Once you have your account ready, follow these simple steps:
- Open your preferred web browser and go to the Kahoot website.
- Click on the “Log in” button located at the top right corner of the page.
- Enter your login credentials, including your username or email address and password.
- Click on the “Log in” button to access your Kahoot account.
After successfully logging in, you will be redirected to your Kahoot dashboard, where you can manage your existing Kahoots, create new ones, and access various features and settings.
Signing in to your Kahoot account ensures that you have full control and access to all the features and functionalities the platform has to offer. It also allows you to save and manage the Kahoots you create, track student progress, and provide valuable feedback.
Now that you are logged in, let’s move on to the next step of creating a new Kahoot!
Step 2: Create a new Kahoot
Once you’ve signed in to your Kahoot account, it’s time to create a new Kahoot. Creating a Kahoot is a simple and intuitive process that allows you to customize your quiz or survey according to your desired learning objectives. Follow these steps to get started:
- From your Kahoot dashboard, click on the “Create” button located at the top right corner of the page.
- Select the type of Kahoot you want to create. You can choose from a quiz, survey, or discussion.
- Give your Kahoot a catchy and descriptive title that reflects its content and purpose.
- Choose a cover image for your Kahoot, or upload your own. This helps in visually representing the topic or theme of your Kahoot.
- Set a timer for each question if you want to add a bit of urgency or challenge to your Kahoot. You can also choose to disable the timer if you prefer a more relaxed pace.
- Decide whether you want the questions to be displayed in random order or follow a specific sequence.
- Click on the “Continue” button to proceed to the next step of customizing your Kahoot.
During the creation process, take your time to think about the learning outcomes you want to achieve and the specific topics or concepts you want to assess. This will help you structure your Kahoot effectively, ensuring that it aligns with your teaching or training goals.
Now that you have created a new Kahoot, let’s move on to the next step of customizing it to suit your needs.
Step 3: Customize your Kahoot
Now that you have created a new Kahoot, it’s time to customize it and make it engaging and interactive for your students or participants. Customizing your Kahoot allows you to add a personal touch, align it with your teaching or training objectives, and create a unique learning experience. Here’s how you can customize your Kahoot:
- Choose a theme for your Kahoot. Select from a variety of pre-designed themes that Kahoot offers, or create your own custom theme by adding colors, images, and backgrounds.
- Add an introductory slide to provide context and instructions to your students or participants. This slide can include a brief overview of the Kahoot, rules, or any other information you want to convey.
- Include media elements in your Kahoot such as images, videos, or audio files. These visual and auditory components can enhance engagement and help illustrate concepts or provide additional information.
- Personalize the look and feel of your questions by customizing the font, size, and formatting. This allows you to create a visually appealing and cohesive experience.
- Consider adding question hints to assist students or participants in answering questions. Hints can provide additional clues or prompt critical thinking.
- Enable the “Automatic Evaluation” feature if you want Kahoot to automatically score the answers and provide immediate feedback. You can also choose to review the answers manually if you prefer.
- Review and preview your Kahoot to ensure that everything looks and functions as intended.
By customizing your Kahoot, you can create a tailored learning experience for your students or participants, making it more engaging and relevant to their needs. Don’t be afraid to experiment with different customization options and unleash your creativity!
Now that you have customized your Kahoot, let’s move on to the next step of adding questions to it.
Step 4: Add questions to your Kahoot
Now that you have customized the appearance of your Kahoot, it’s time to add questions to make it informative and engaging. The questions you create will test the knowledge, understanding, and critical thinking of your students or participants. Follow these steps to add questions to your Kahoot:
- Click on the “Add question” button located within your Kahoot editor.
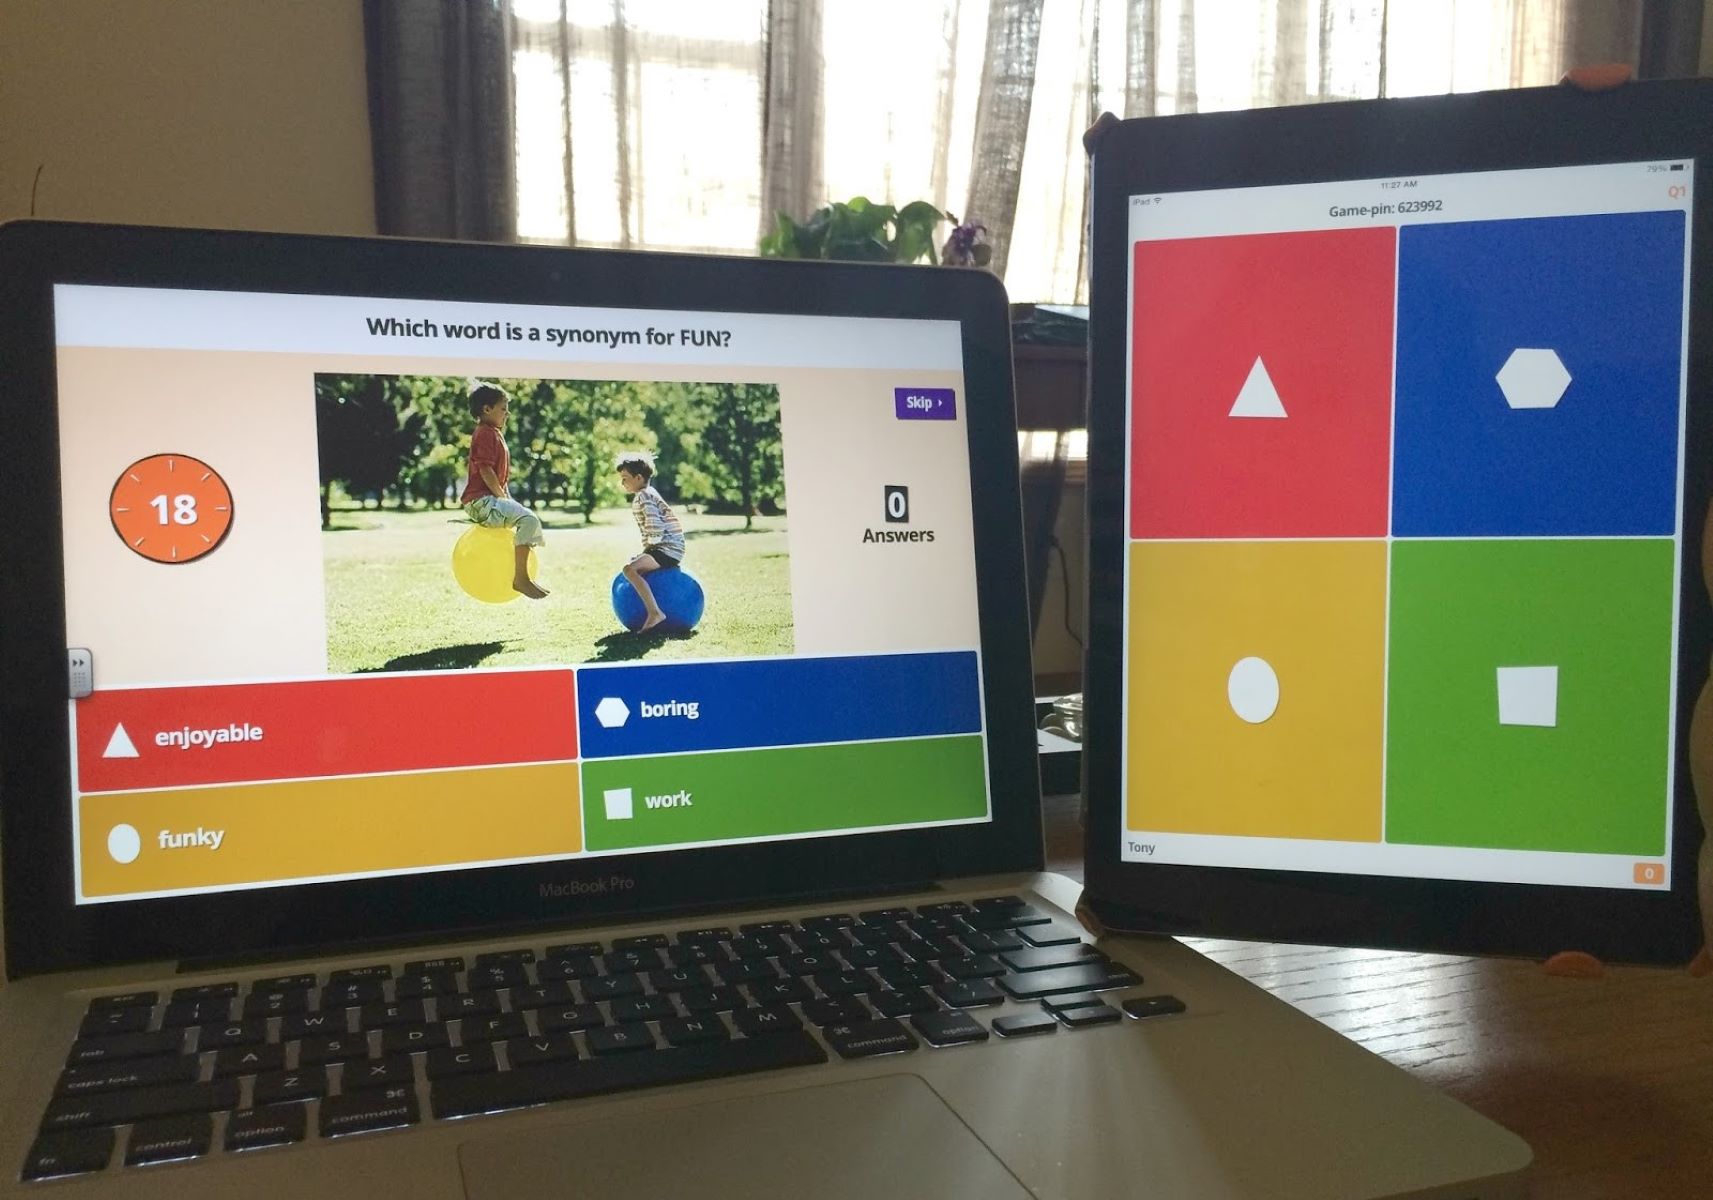
- Select the type of question you want to add. Kahoot offers multiple question types, including multiple-choice, true/false, image-based, and more.
- Compose your question by entering the text in the provided field.
- Add answer options for your question. Depending on the question type, you may have multiple correct answers or just one.
- Assign point values to each answer option if you want to differentiate between correct and incorrect choices.
- Consider adding additional information or explanations to the question or answer options if needed.
- Repeat the process to add more questions to your Kahoot. You can create as many questions as you want.
When adding questions, keep in mind the difficulty level, relevance to the topic, and the learning outcomes you want to achieve. Mix up the question types to provide variety and cater to different learning styles.
Don’t forget to review and proofread your questions to ensure clarity and accuracy. This will help in providing a seamless and error-free learning experience for your students or participants.
Now that you have added questions to your Kahoot, let’s proceed to the next step of assigning it to your students.
Step 5: Assign your Kahoot to students
Now that you have created and customized your Kahoot, it’s time to assign it to your students or participants so they can start engaging with it. Assigning your Kahoot ensures that it reaches the intended audience and allows for seamless participation. Follow these steps to assign your Kahoot:
- From your Kahoot editor, click on the “Assign” button located at the top right corner of the page.
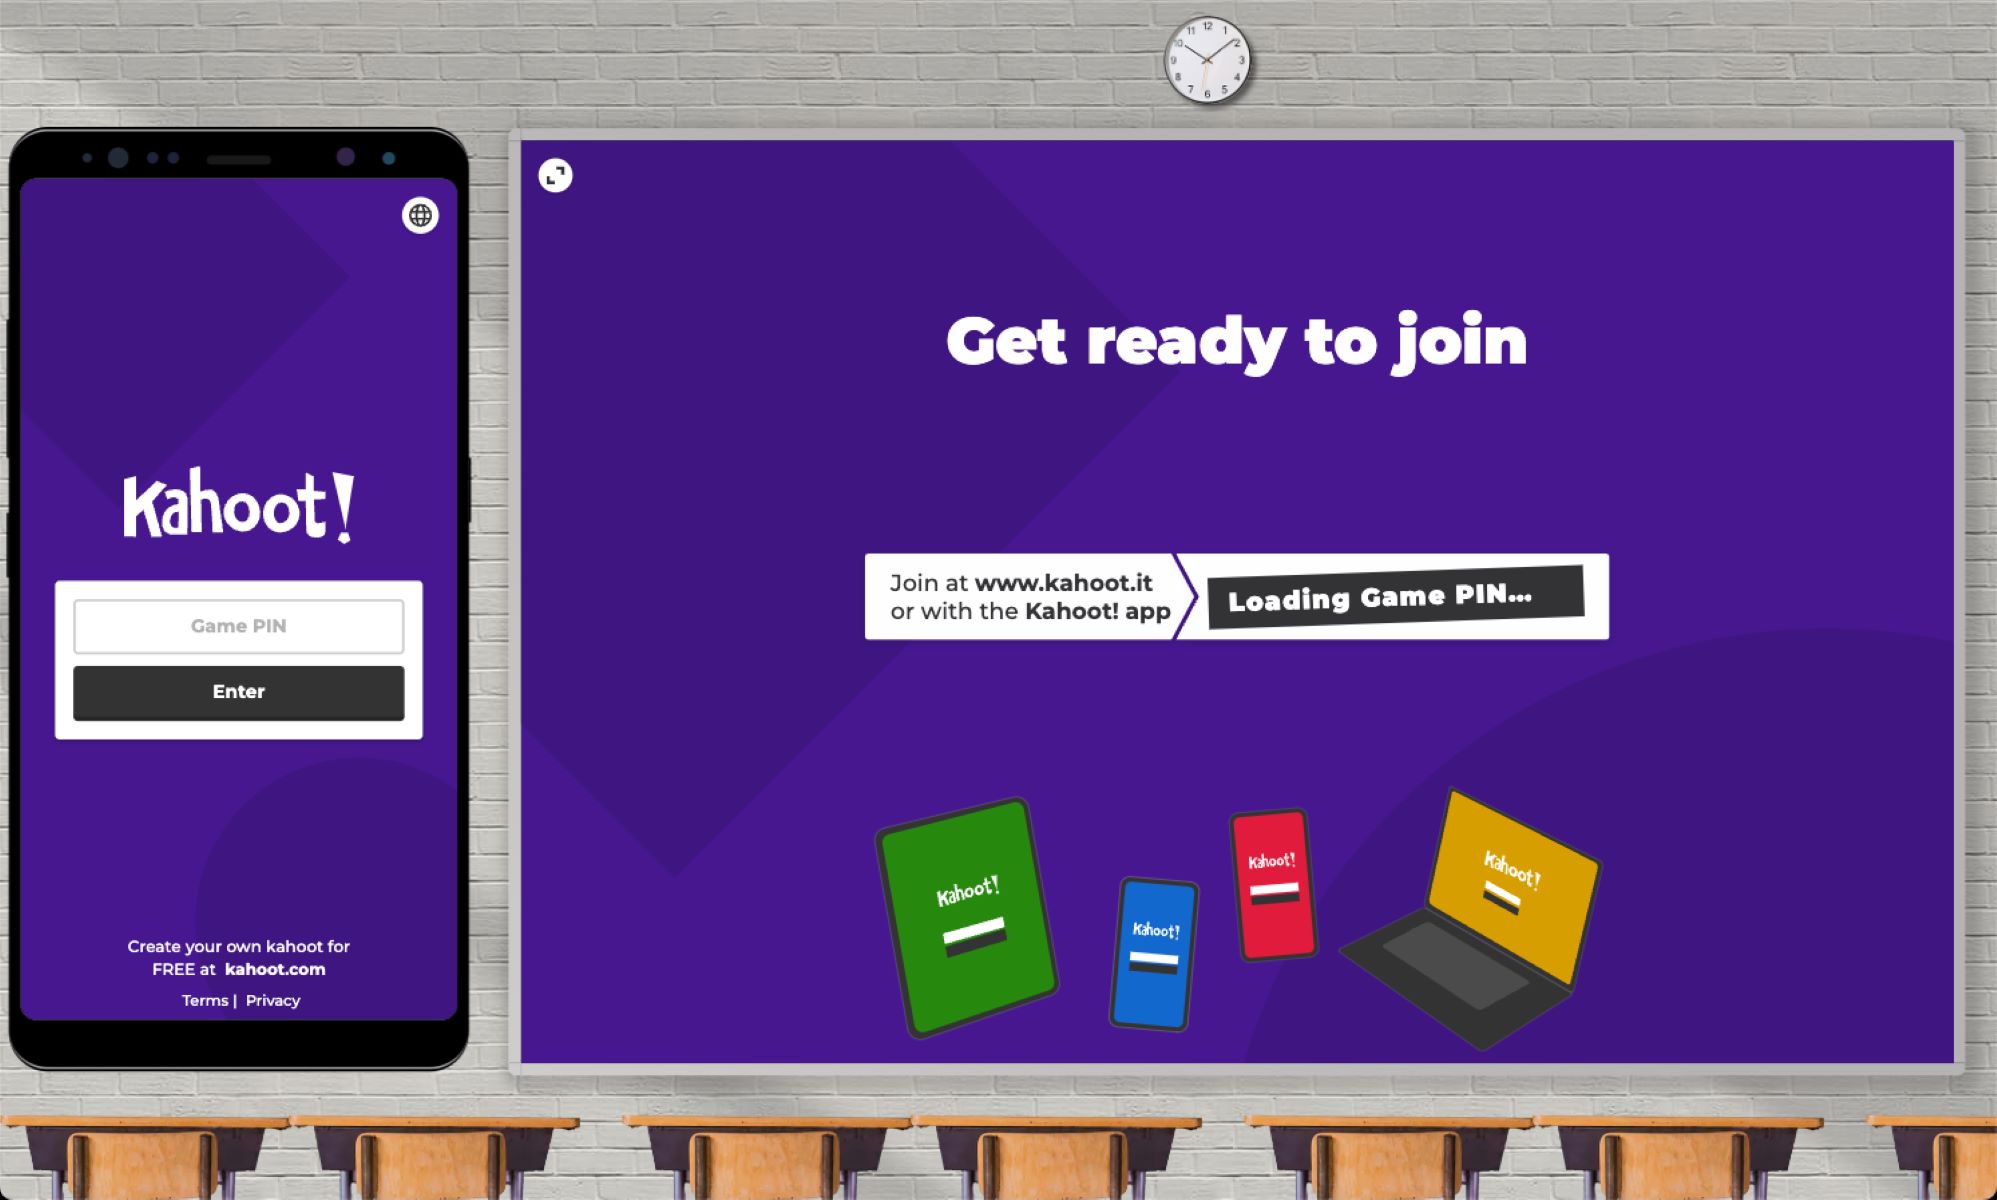
- Choose the method of assigning your Kahoot. You can either share it via a unique game pin or by sending a direct link to your students or participants.
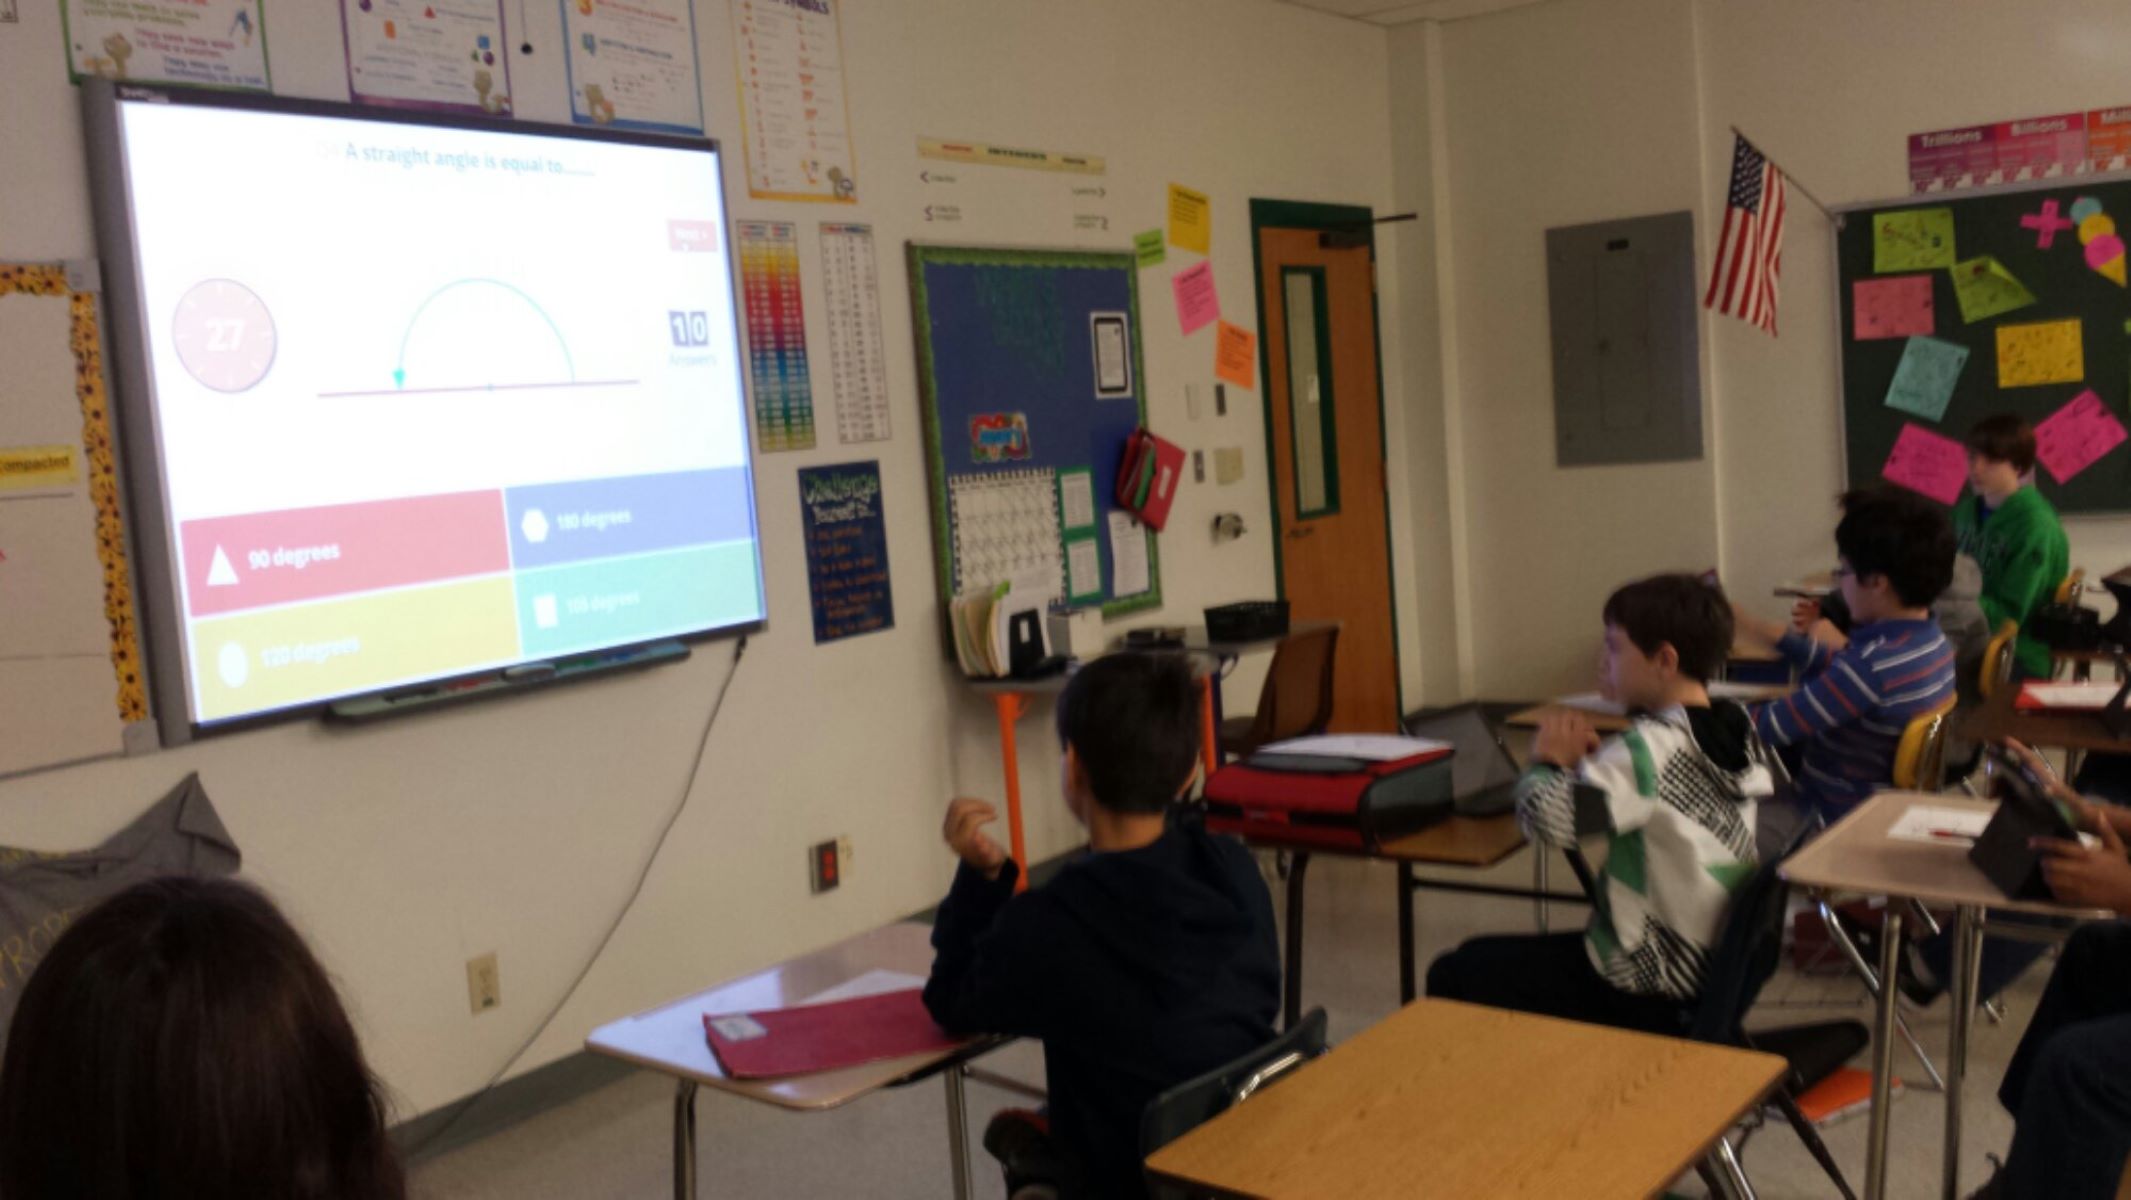
- If you choose to share a game pin, instruct your students or participants to open the Kahoot app or go to the Kahoot website and enter the game pin to access the Kahoot. This method allows for synchronous participation.
- If you prefer to send a direct link, simply copy the link provided and share it through your preferred communication channels such as email, messaging apps, or learning management systems. This method allows for asynchronous participation.
- Communicate any additional instructions or guidelines to your students or participants regarding the assigned Kahoot, such as time limits or deadlines.
- Encourage your students or participants to join the Kahoot and start answering the questions to gauge their knowledge and understanding.
When assigning your Kahoot, consider the best method based on your preferred teaching or training approach, as well as the technological capabilities and resources available to your students or participants.
Now that you have successfully assigned your Kahoot, let’s move on to the next step of monitoring student progress.
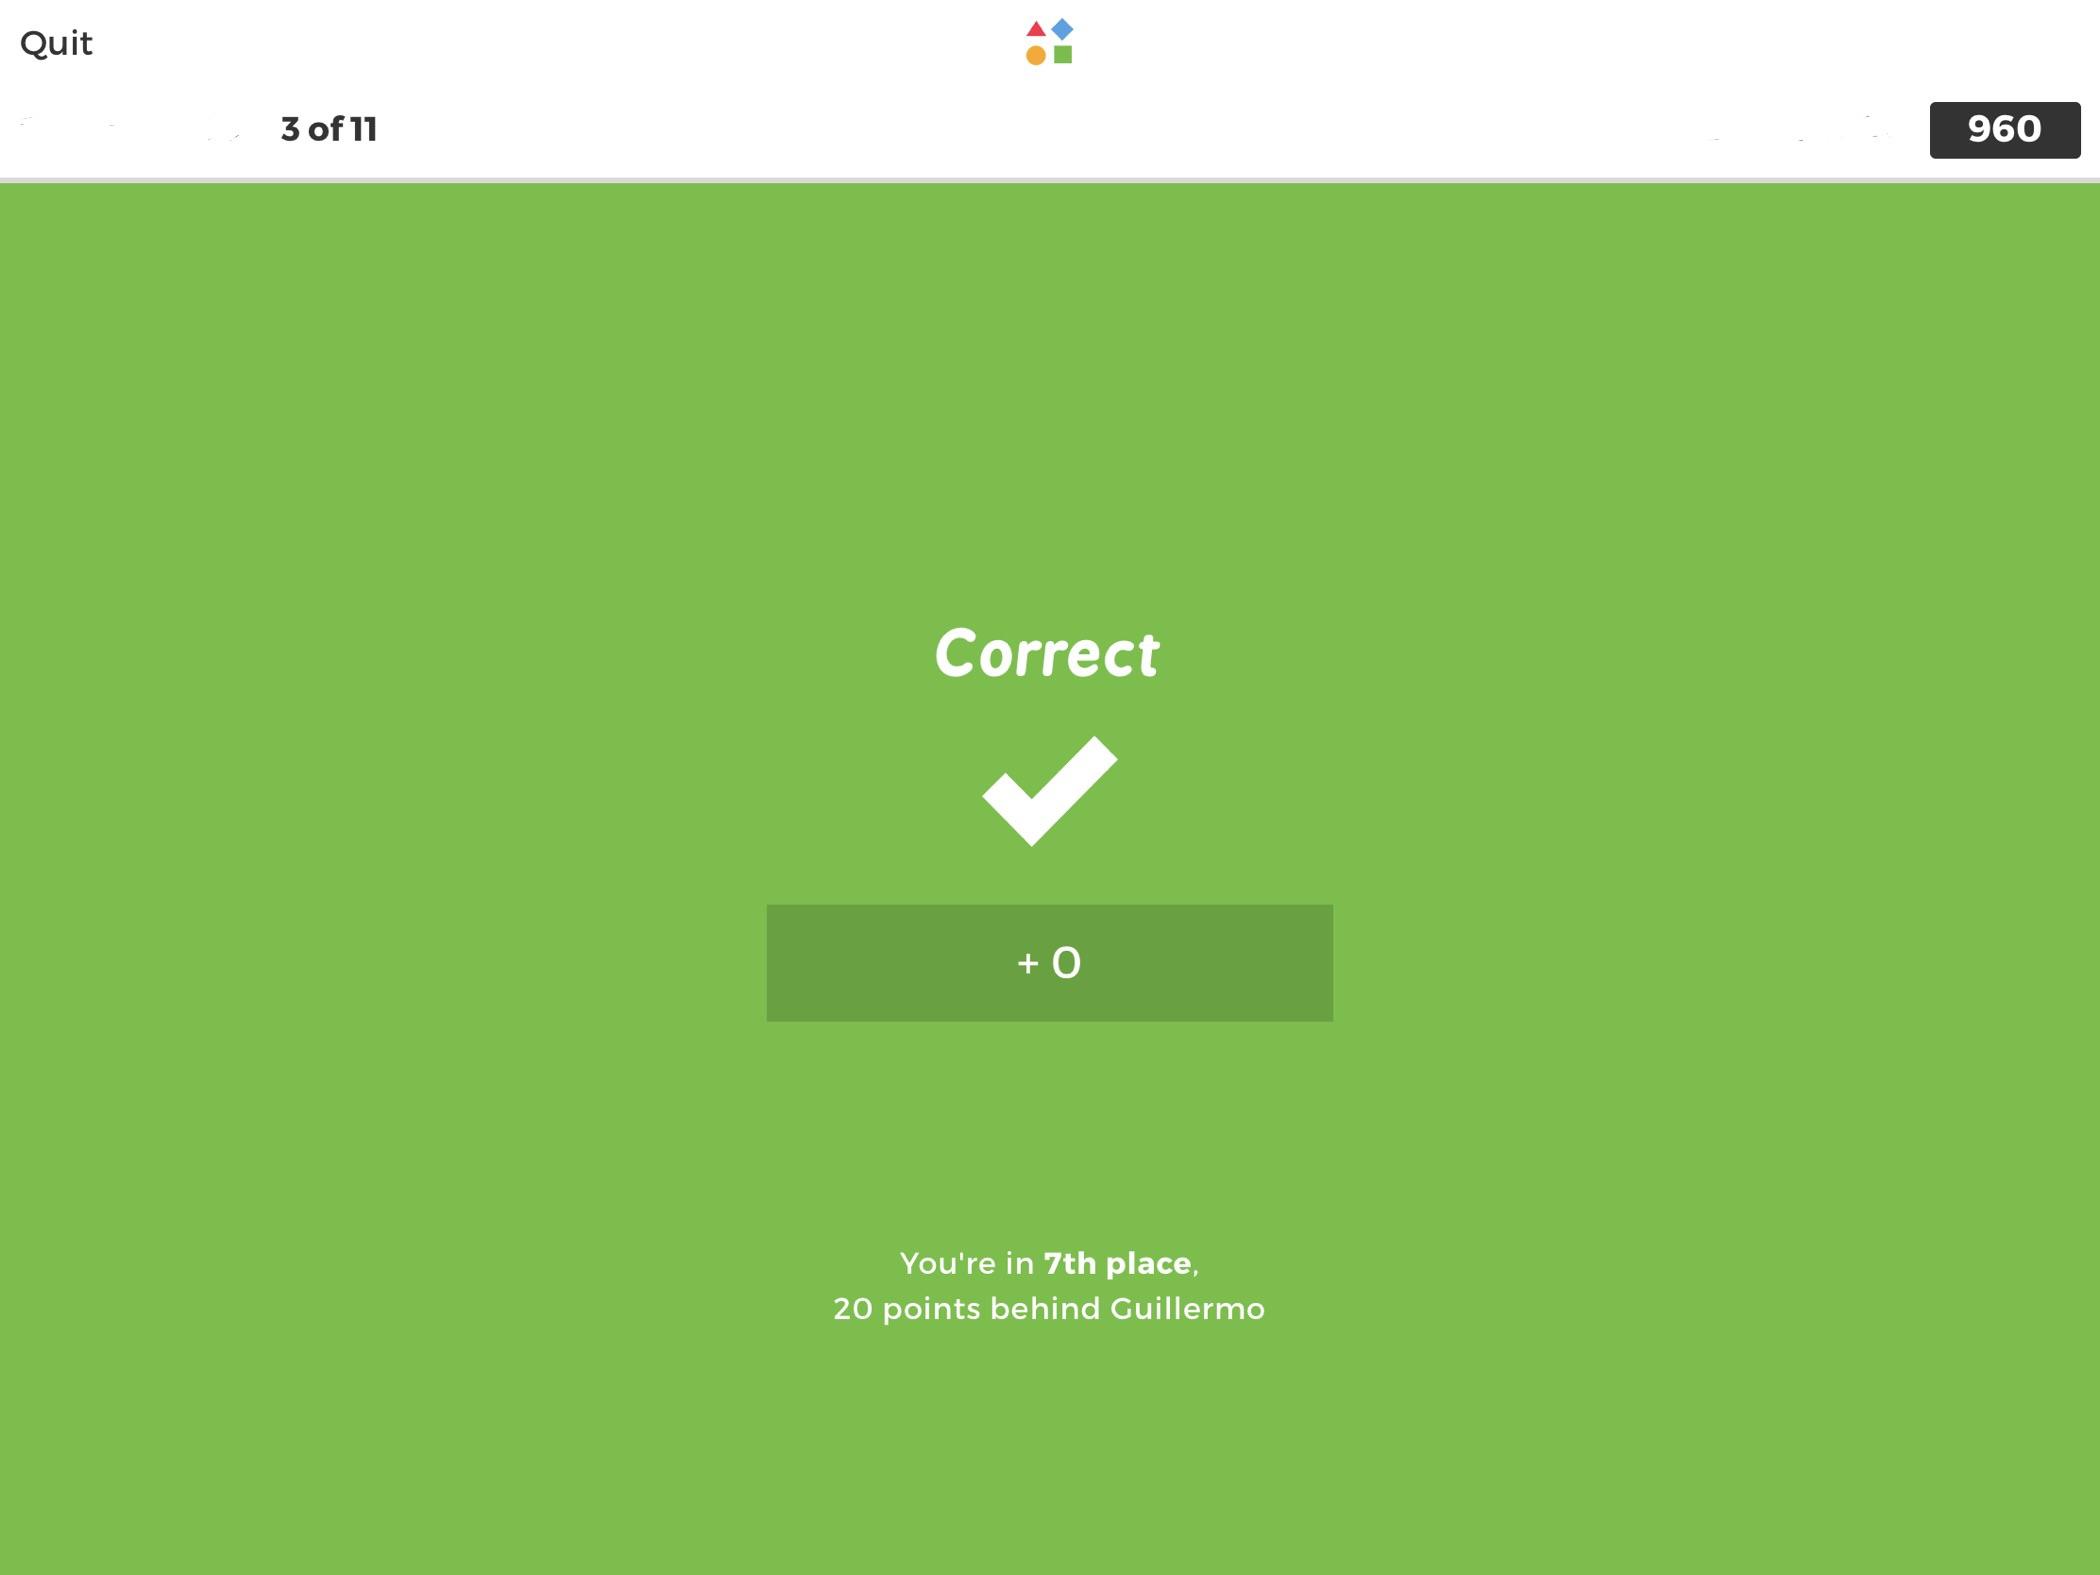
Step 6: Monitor student progress
One of the great features of Kahoot is the ability to monitor and track the progress of your students or participants. Monitoring their progress allows you to gain insights into their performance, identify areas where they may need additional support, and provide real-time feedback. Follow these steps to effectively monitor student progress:
- Access the Reports section in your Kahoot dashboard. Here, you will find detailed information about the performance of your students or participants.
- Review the summary report, which provides an overview of the overall performance, including the average score, completion rate, and total time taken.
- Explore the individual reports to get a more detailed analysis of each student’s or participant’s performance. These reports include the questions answered, correct and incorrect answers, response times, and more.
- Identify any patterns or trends in the data to gain insights into the strengths and weaknesses of your students or participants.
- Provide feedback and reinforcement based on the performance data. You can offer personalized feedback to individual students or participants or provide general feedback to the entire group.
- Use the insights gathered from monitoring to tailor future lessons or activities to address any gaps or misconceptions identified.
Monitoring student progress not only helps you understand their learning outcomes but also allows you to celebrate their achievements and provide support when needed. It creates an ongoing feedback loop that enhances the learning experience and promotes continuous improvement.
Now that you are equipped with the knowledge to monitor student progress, you have completed the final step of assigning a Kahoot!
Conclusion
Assigning a Kahoot to your students or participants is a fantastic way to engage and assess their knowledge in a fun and interactive manner. Throughout this article, we have walked through the step-by-step process of assigning a Kahoot, from signing in to Kahoot, creating a new Kahoot, customizing it to your liking, adding questions, and finally, assigning it to your students.
Kahoot provides an excellent platform for creating exciting and engaging quizzes, surveys, and discussions. By customizing your Kahoot with themes, media elements, and personalized questions, you can create a unique learning experience that caters to your teaching or training objectives.
Once you have assigned your Kahoot, the monitoring feature allows you to track the progress of your students or participants. This valuable feedback enables you to identify areas where additional support may be needed and provide timely feedback to enhance their learning outcomes.
So, why wait? Start using Kahoot to breathe life into your teaching or training sessions and create an interactive and engaging learning environment. Dive in, explore the countless possibilities, and witness the transformative power of Kahoot!