Overview
Are you a developer looking to approve your apps on the Fire Tablet? Look no further! In this guide, we will walk you through the step-by-step process of getting your app approved for the Amazon Appstore.
The Amazon Appstore offers a vast market for Android apps, with millions of active users worldwide. Getting your app approved and listed on the Amazon Appstore can significantly increase your app’s visibility and potential for downloads. However, the approval process does require some preparation and attention to detail. This guide will provide you with all the information you need to successfully navigate through the approval process.
We will cover the entire procedure, from creating a developer account to submitting your app for review and ultimately publishing it on the Amazon Appstore. By following the steps outlined in this guide, you’ll be well-equipped to ensure that your app meets all the necessary requirements and guidelines set by Amazon.
The process can initially seem daunting, especially if you’re new to app development or have never submitted an app to a major app store before. But don’t worry—we will break it down into manageable steps and provide you with useful tips along the way.
To simplify the process, we will focus on the key areas that play a crucial role in getting your app approved. These include creating a developer account, preparing your app for submission, generating an APK file, submitting your app for review, testing it on a Fire Tablet, and responding to review feedback. Each step is essential for a successful approval, and we will guide you through them in a clear and concise manner.
So, whether you’re a seasoned developer or a novice to the app development world, this guide will equip you with the knowledge and resources to seamlessly approve your apps for the Amazon Appstore. Let’s get started on this exciting journey!
Step 1: Create a Developer Account
Before you can start the app approval process on the Amazon Appstore, you need to create a developer account. Having a developer account is essential as it allows you to manage and submit your apps to the store.
To create a developer account, follow these steps:
- Visit the Amazon Developer Portal website.
- If you already have an Amazon account, sign in. If not, create a new account.
- Once you’re signed in, navigate to the “Apps & Services” tab and select “Developer Console.”
- Click on the “Get Started” button to begin the developer account registration process.
- Read and accept the developer agreement.
- Fill in the required information, including your developer name, contact details, and payment information.
- Click “Submit” to complete the registration process.
After completing these steps, you will have successfully created a developer account on the Amazon Appstore. This account will serve as your gateway to managing and submitting your apps for approval.
It’s important to note that creating a developer account incurs a one-time registration fee. The fee may vary depending on your location and the type of account you choose.
Once your account is active, you can proceed to the next step of preparing your app for submission.
Step 2: Prepare Your App for Submission
Now that you have a developer account, it’s time to prepare your app for submission to the Amazon Appstore. This step is crucial as it ensures that your app meets all the necessary requirements and guidelines set by Amazon.
Here are some key points to consider while preparing your app:
- App Quality: Make sure your app is stable, functional, and free from any major bugs or crashes. Conduct thorough testing on multiple devices to ensure a smooth user experience.
- App Content: Ensure that your app’s content adheres to Amazon’s content guidelines. Avoid any explicit or offensive material that may violate their policies.
- App Permissions: Review and set appropriate permissions for your app. Only request permissions that are necessary for the app’s core functionality.
- App Metadata: Provide accurate and compelling metadata for your app, including a clear and concise app description, relevant keywords, and high-quality screenshots or promotional images.
- App Icon: Design an attractive and recognizable app icon that reflects your app’s brand and purpose.
- App Versioning: Ensure that your app follows a proper versioning system. Use incremental version numbers to indicate updates and improvements.
- App Compliance: Familiarize yourself with Amazon’s Appstore policies and guidelines. Ensure that your app complies with these rules to avoid any rejections or delays during the review process.
In addition to these key points, it’s recommended to thoroughly test your app on a Fire Tablet to ensure compatibility and optimal performance. This will help identify any device-specific issues that may arise.
By carefully preparing your app for submission, you increase your chances of a smooth approval process. Amazon’s review team will evaluate your app based on these criteria, so it’s important to pay attention to every detail.
Once you have completed this step, you are ready to generate an APK file for your app, which will be covered in the next section.
Step 3: Generate an APK File
After preparing your app for submission, the next step is to generate an APK (Android Package) file. This file contains all the necessary components and resources required to install and run your app on Android devices, including Fire Tablets.
Here’s how you can generate an APK file:
- Build your App: Use your preferred integrated development environment (IDE) or build system to compile and build your app. Ensure that you have selected the appropriate build variant for release.
- Sign your App: Sign your app with a digital certificate to verify its authenticity and integrity. This ensures that users can trust the app’s source and that it hasn’t been tampered with.
- Optimize your App: Optimize your app’s size and performance by removing any unused resources or code. Utilize techniques such as code shrinking and resource optimization to reduce the overall APK file size.
- Generate the APK: Once you have finished signing and optimizing your app, generate the APK file. Most IDEs provide an option to generate a signed APK for release.
It’s essential to generate an APK file specifically for the Fire Tablet. This ensures that your app can take full advantage of Fire Tablet features and optimizations.
Before proceeding, make sure your APK adheres to Amazon’s specific requirements and guidelines. These include, but are not limited to, APK file size limits, supported Fire OS versions, and the inclusion of necessary libraries or assets.
Once you have successfully generated the APK file, you are ready to submit your app for review. The next section will explain the submission process and what to expect during the review phase.
Step 4: Submit Your App for Review
With your APK file generated, it’s time to submit your app for review on the Amazon Appstore. The review process ensures that your app meets Amazon’s quality standards and guidelines before it becomes available for download by users.
Follow these steps to submit your app for review:
- Access the Developer Console: Log in to your Amazon Developer Console using your developer account credentials.
- Create a New App Submission: Navigate to the “Apps & Services” tab and select “My Apps.” Choose the app you want to submit, or create a new app entry if it’s your first submission.
- Provide Mandatory Information: Fill in all the mandatory information, including the app’s name, category, pricing, distribution options, and content rating. Make sure to provide accurate and relevant information.
- Upload Your APK File: Upload the APK file you generated in the previous step. Amazon will analyze your app’s functionality and conduct tests to ensure it meets all the necessary requirements.
- Provide Additional Information: Answer any additional questions or requests for clarification from Amazon regarding your app. This may include details about any in-app purchases, advertisements, or special features.
- Submit Your App: Once you have completed all the necessary information, review it carefully and click “Submit” to initiate the review process.
After submission, Amazon’s review team will carefully evaluate your app based on their guidelines and policies. This process typically takes several business days, so be patient and avoid making any drastic changes during this time.
During the review phase, Amazon may reach out to you for clarifications or additional information. Respond promptly and provide any requested details to expedite the approval process.
Once your app has been reviewed and approved, you will be notified via email. At this point, you can proceed to the next step of testing your app on a Fire Tablet.
It’s important to note that there is a possibility of your app being rejected during the review process. If this happens, carefully review the feedback provided by Amazon and make the necessary improvements before resubmitting your app for review.
Now that you have submitted your app for review, let’s explore how to test it on a Fire Tablet in the next step.
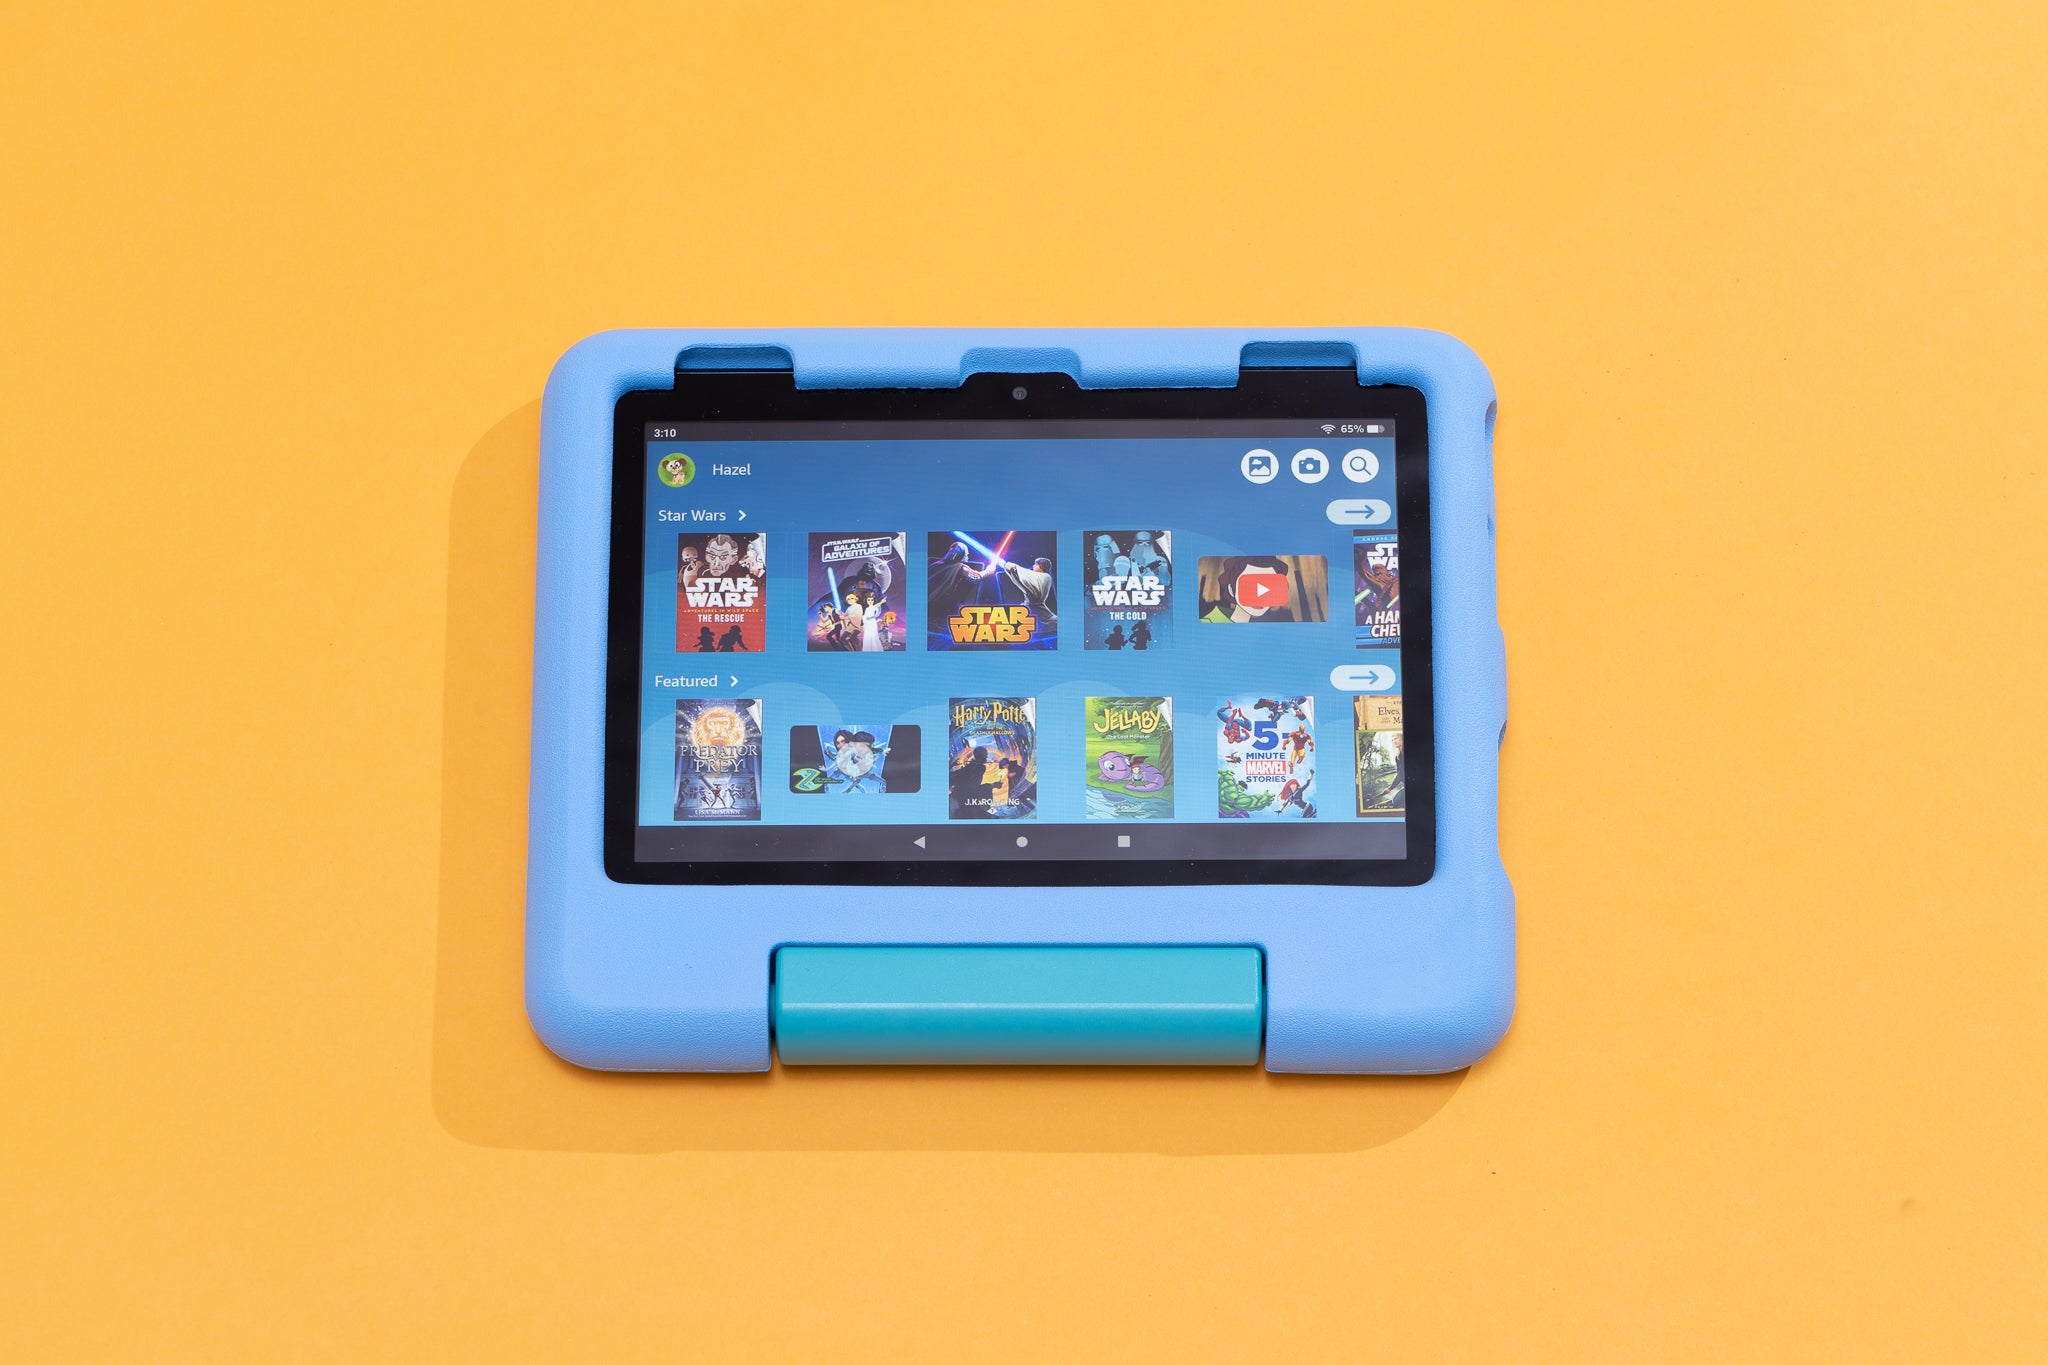
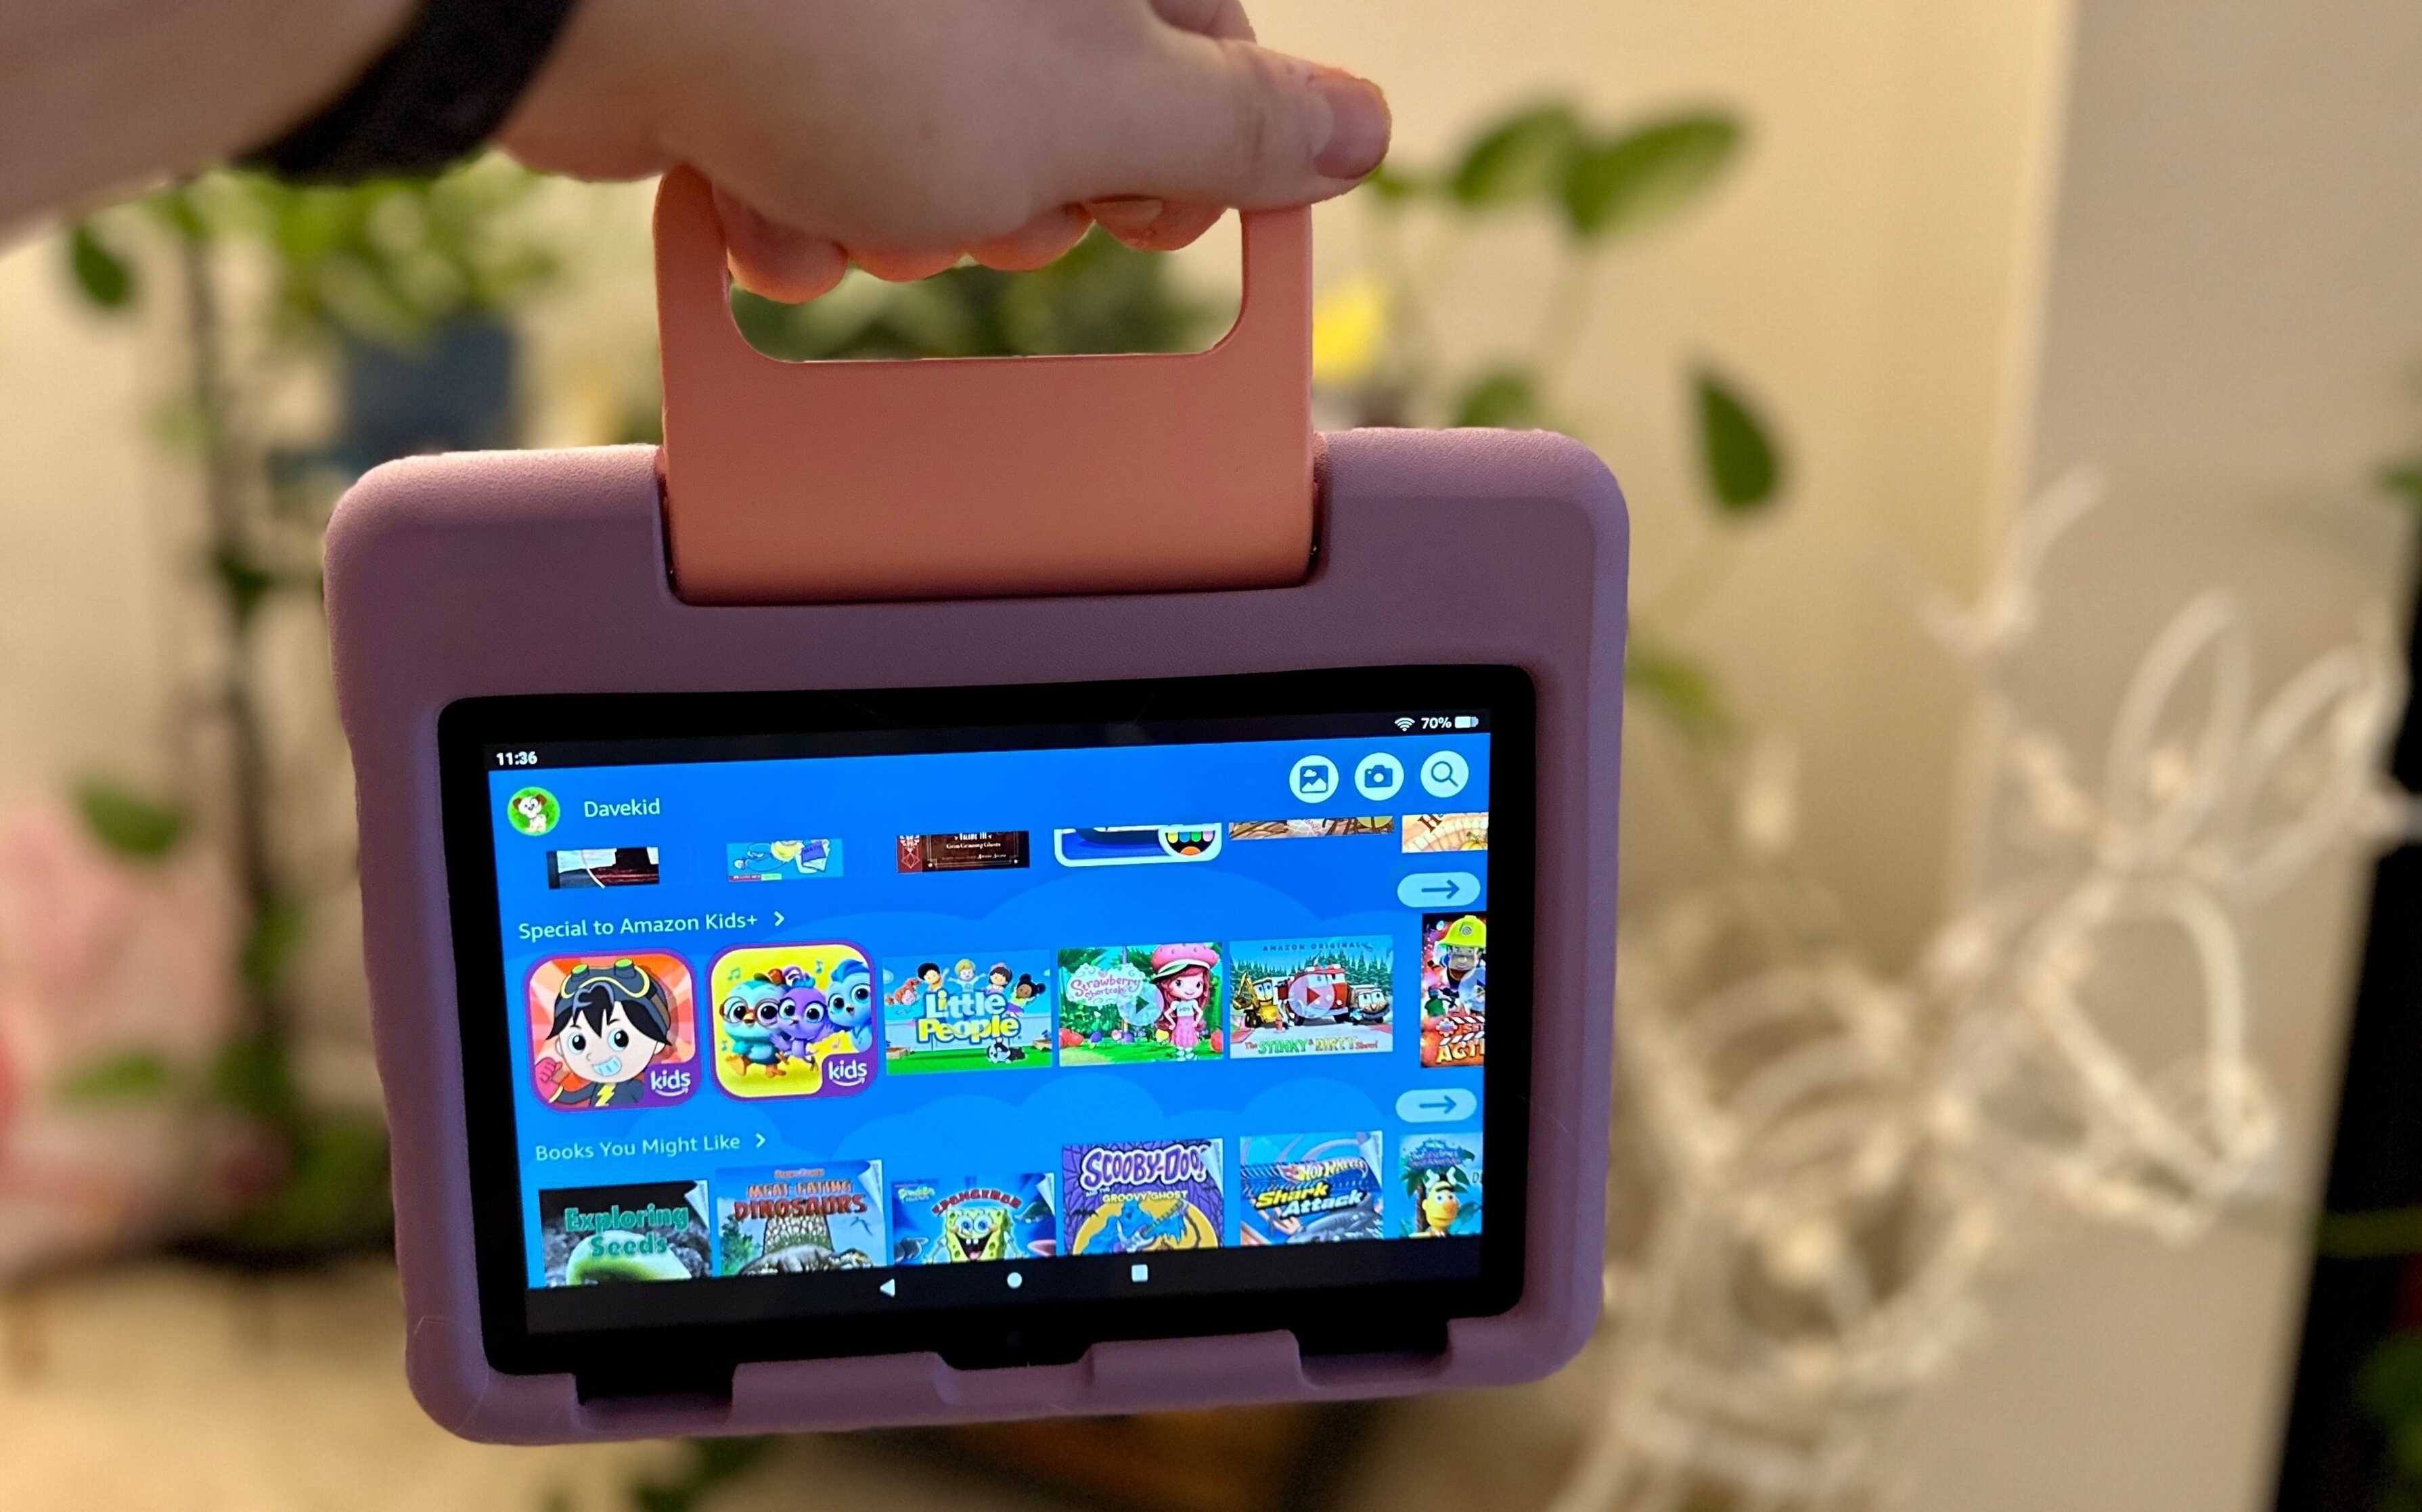
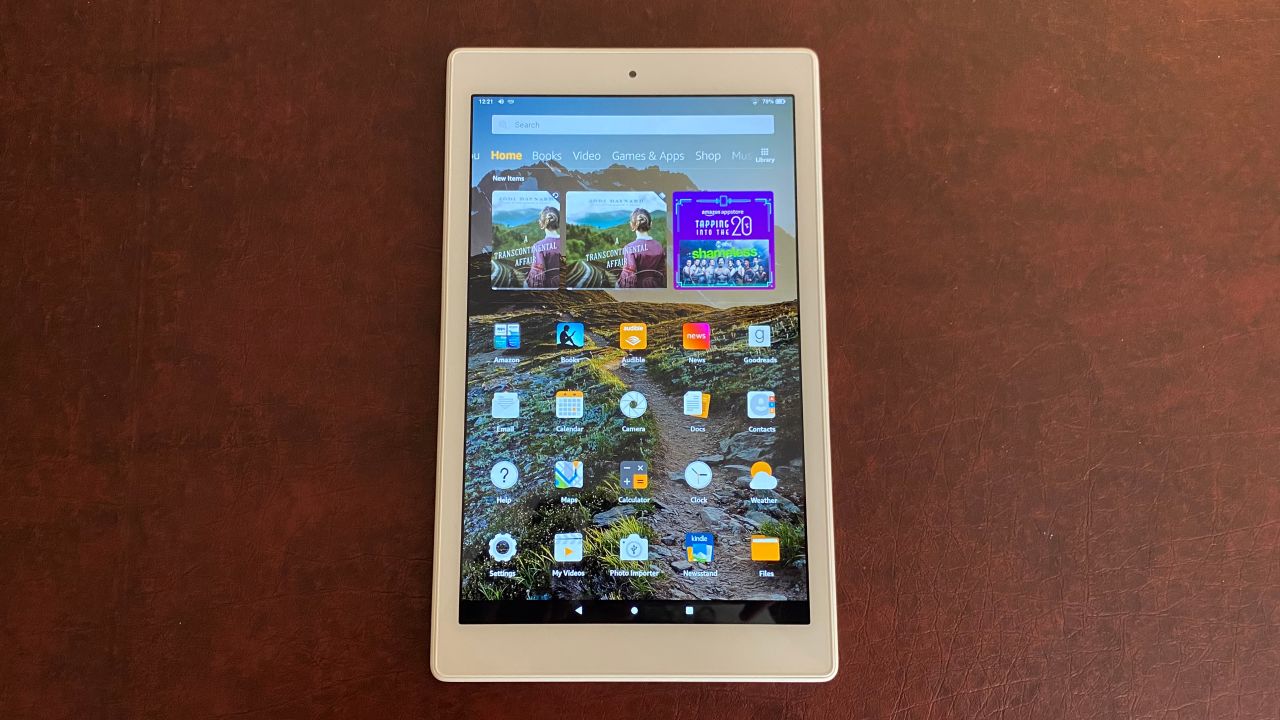
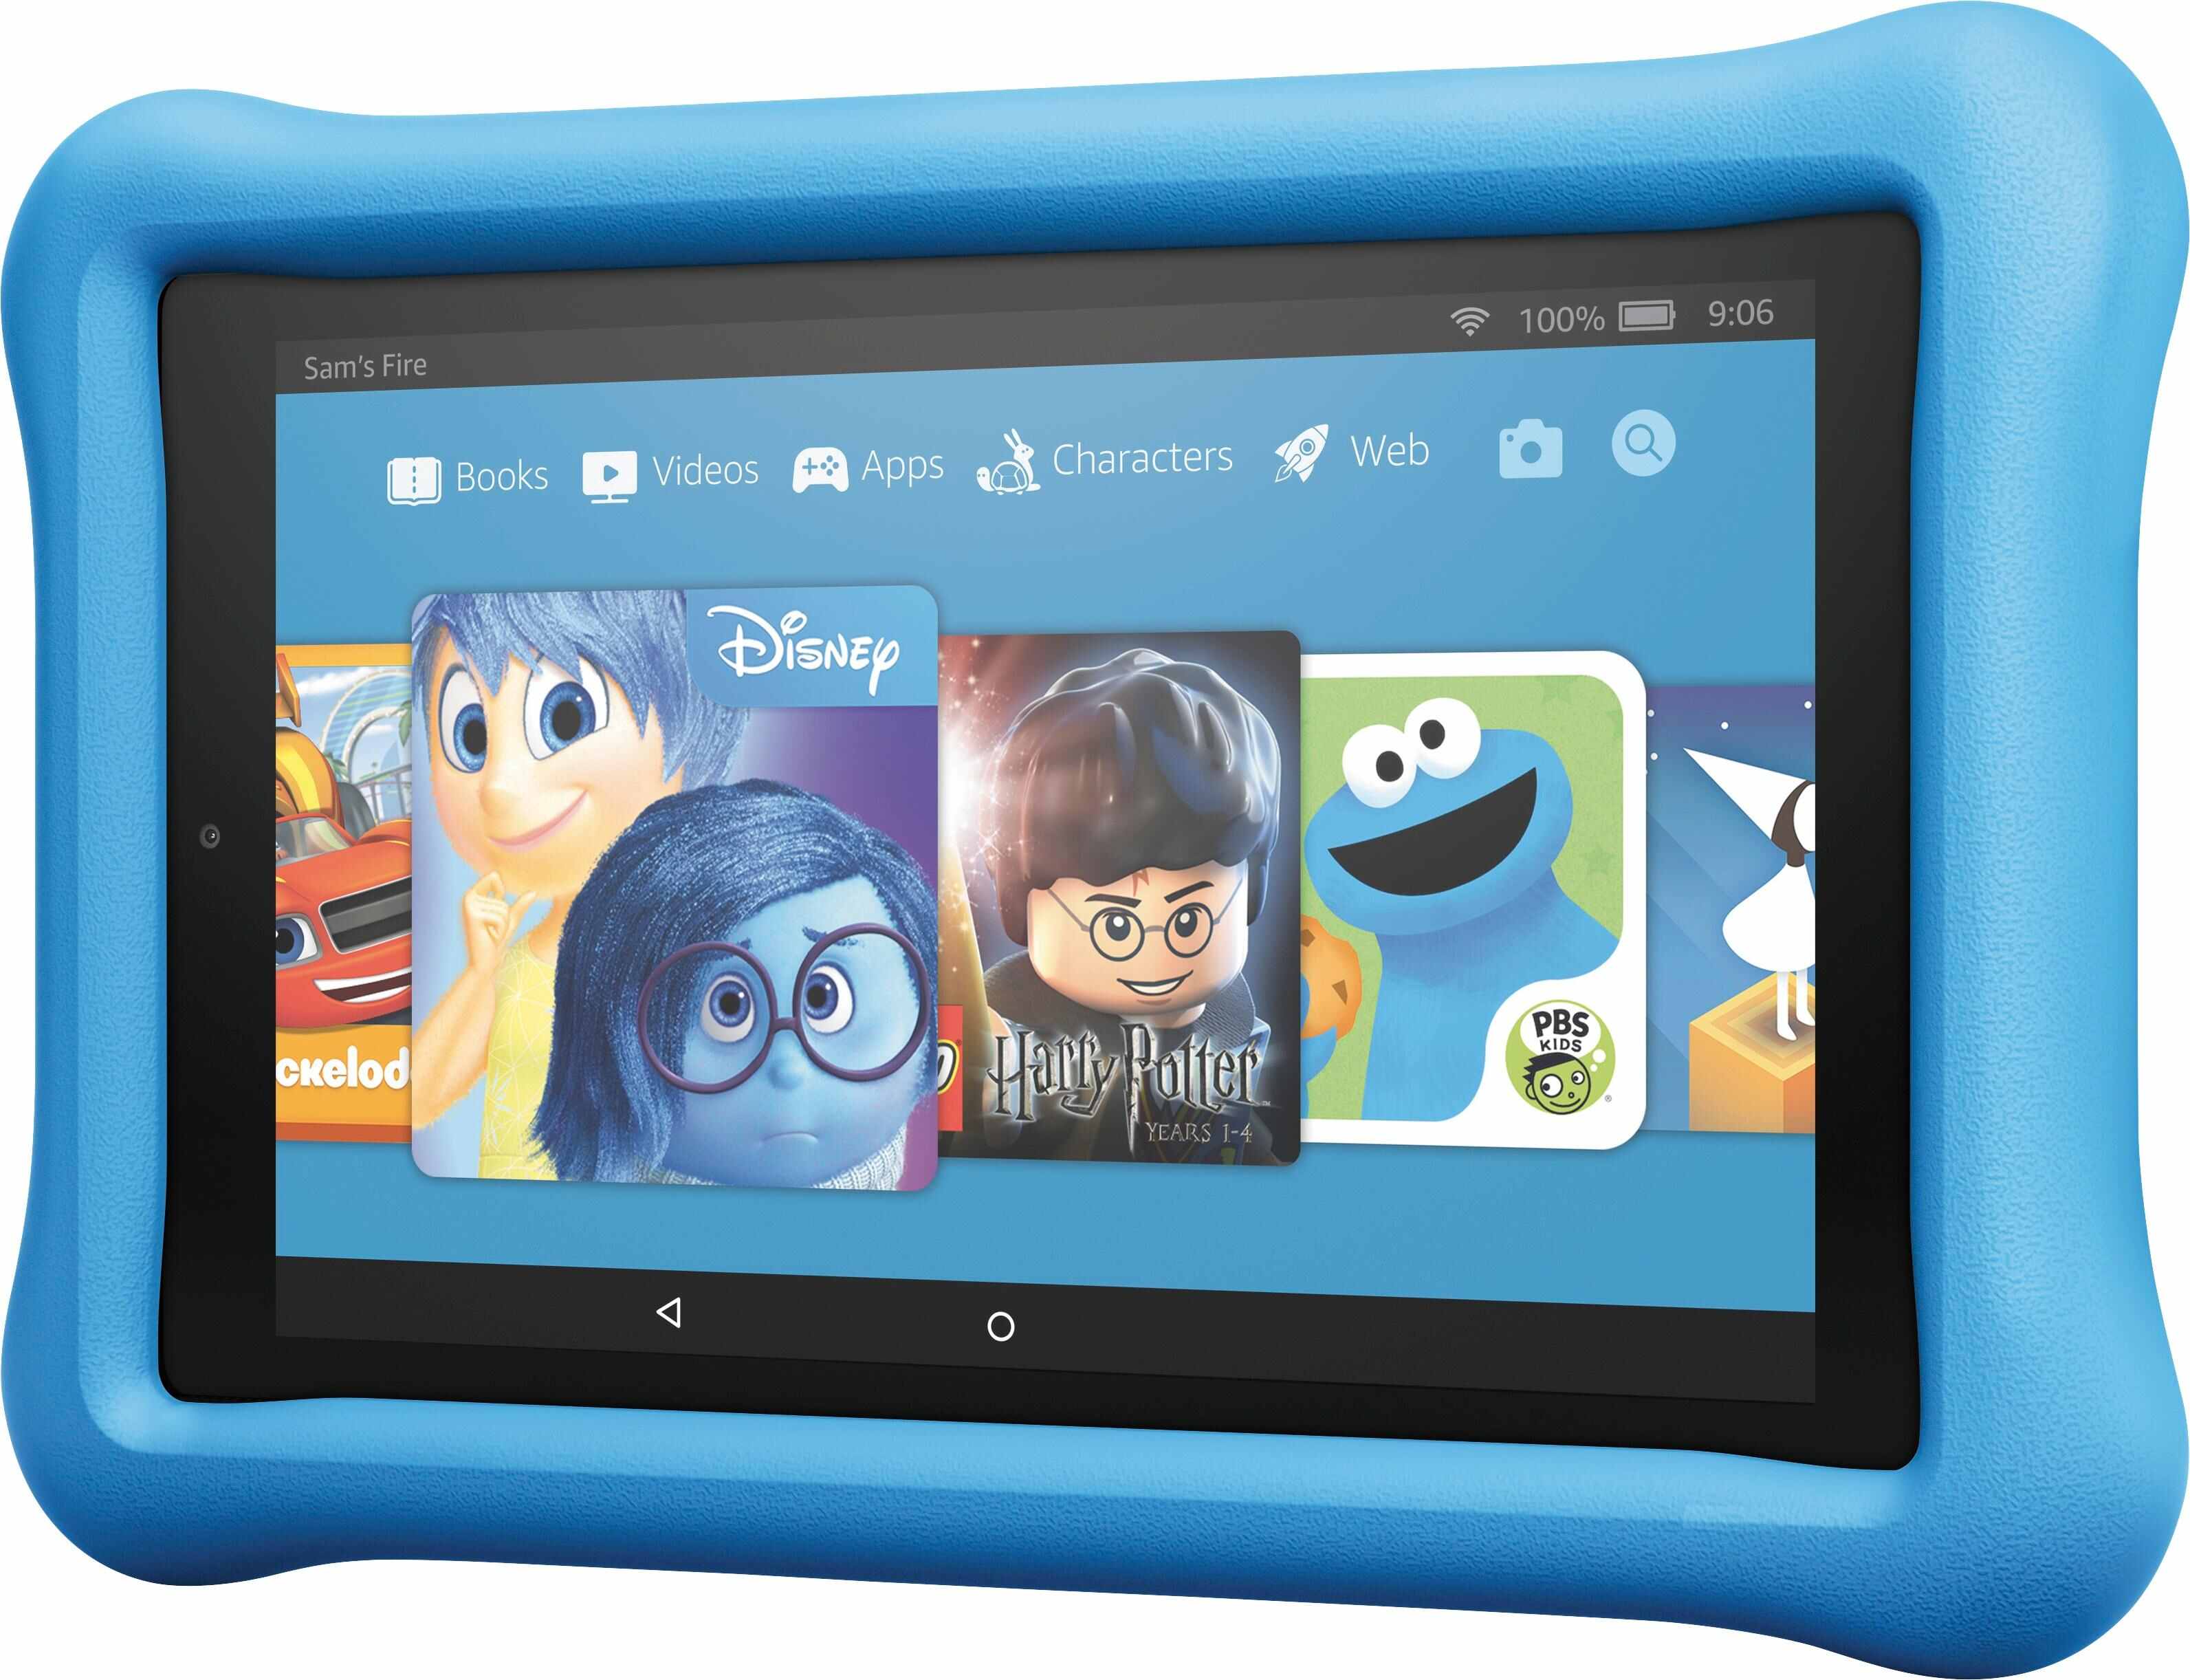
Step 5: Test Your App on a Fire Tablet
Testing your app on a Fire Tablet is a crucial step in ensuring a smooth user experience and compatibility with Amazon’s devices. It allows you to identify any issues or bugs that may arise specifically on Fire Tablets.
Here’s how you can test your app on a Fire Tablet:
- Set Up a Fire Tablet: If you don’t already have a Fire Tablet, you will need to acquire one for testing purposes. Set up the tablet and ensure it is connected to the internet.
- Enable Developer Options: On the Fire Tablet, go to “Settings” and tap on “Device Options” or “Device”. Scroll down and tap on “Serial Number” seven times to enable Developer Options.
- Enable ADB Debugging: In Developer Options, enable “ADB debugging” to allow your computer to communicate with the Fire Tablet via the Android Debug Bridge (ADB).
- Connect to Your Computer: Connect the Fire Tablet to your computer using a USB cable. Make sure you have the necessary drivers installed.
- Install your App: Use the ADB command-line tool or a development environment like Android Studio to install your app on the Fire Tablet. This will allow you to directly test it on the device.
- Perform Comprehensive Testing: Test all the features and functionalities of your app on the Fire Tablet. Pay special attention to any device-specific issues, such as layout or compatibility problems.
- Debug and Resolve Issues: If you encounter any issues during testing, utilize debugging tools and techniques to identify and resolve them. This may include analyzing log files or using debugging tools provided by your development environment.
- Repeat Testing if Needed: If you make any changes or updates to your app based on the initial testing, repeat the testing process to ensure that the changes have been implemented correctly.
By thoroughly testing your app on a Fire Tablet, you can ensure that it performs optimally and provides a seamless user experience. Addressing any issues or bugs before publishing will contribute to positive user reviews and ratings.
Once you are satisfied with the performance of your app on the Fire Tablet, you can proceed to the next step of responding to review feedback.
Step 6: Respond to Review Feedback
Receiving feedback from users is an essential part of app development and improvement. Once your app is published on the Amazon Appstore, users can leave reviews and ratings based on their experience with your app. It’s important to actively monitor these reviews and respond to them in a timely and professional manner.
Here’s how you can effectively respond to review feedback:
- Read and Analyze Reviews: Regularly review the feedback left by users. Take note of any common issues or suggestions mentioned in the reviews.
- Respond with Gratitude: Reply to positive reviews with appreciation and gratitude for the user’s support and feedback. Thank them for taking the time to leave a review.
- Address Negative Reviews Professionally: Respond to negative reviews with professionalism and empathy. Acknowledge the user’s concerns, offer solutions or explanations, and assure them that their feedback is valuable for future improvements.
- Take Action and Implement Fixes: Be proactive in addressing the issues raised in the reviews. If multiple users report the same problem, prioritize fixing it to enhance the overall user experience.
- Communicate Updates: If you release updates or bug fixes based on user feedback, mention it in your responses to show that you value their input and actively work on making improvements.
- Maintain a Positive Tone: Keep your responses positive and professional, even in the face of harsh criticism. Responding gracefully to feedback can help build a positive image for your app and demonstrate excellent customer service.
Responding to review feedback shows that you are actively engaged with users and committed to enhancing their app experience. It also fosters trust and loyalty among your user base.
Remember to regularly check and respond to new reviews as they come in. By addressing user concerns, you can build a loyal user base and continuously improve your app.
Now that you know how to respond to review feedback, let’s move on to the final step of publishing your app on the Amazon Appstore.
Step 7: Publish Your App on the Amazon Appstore
Congratulations! You have successfully completed all the necessary steps to get your app approved and ready for publication on the Amazon Appstore. Now it’s time to bring your app to a wider audience by publishing it.
Here’s how you can publish your app on the Amazon Appstore:
- Finalize App Details: Review all the information you provided during the app submission. Ensure that the app name, description, screenshots, and other details are accurate and present your app in the best possible way.
- Set Pricing and Distribution: Determine the pricing model for your app, whether it’s free or paid. You can also consider offering in-app purchases or subscriptions. Additionally, specify the target regions where your app will be available.
- Review Publishing Checklist: Go through the publishing checklist provided by Amazon. Ensure that you have completed all the necessary steps and requirements before proceeding.
- Submit for Publication: Click on the “Submit for Publication” button to initiate the publishing process. Double-check that you have reviewed and accepted the terms and conditions.
- Wait for Approval: Once your app is submitted, it will undergo a final review by the Amazon review team. This process may take a few business days. During this time, avoid making any changes to your app’s description or metadata.
- Receive Publication Notification: Once your app is approved for publication, you will receive a notification via email. Congratulations! Your app is now live on the Amazon Appstore.
After your app is published, continue to monitor user feedback and reviews to further improve and refine your app over time. Consider implementing user suggestions, addressing issues, and releasing updates regularly to maintain a positive app experience for your users.
Additionally, invest time in marketing and promoting your app to increase visibility and attract more users. Leverage the Amazon Appstore’s promotional tools and advertising options to reach a wider audience.
Remember to continuously monitor and track your app’s performance on the Amazon Appstore. Utilize the analytics and insights provided by Amazon to gain valuable data about your users and make data-driven decisions to optimize your app’s performance and user engagement.
Publishing your app on the Amazon Appstore opens up a vast marketplace for your app to thrive. With dedication, frequent updates, and responsive user support, your app has the potential to gain popularity and success among Amazon users.
Now that you have successfully published your app, continue to nurture and enhance it based on user feedback and market trends. Congratulations on reaching this milestone in your app development journey!
Conclusion
Congratulations on successfully navigating the app approval process on the Amazon Appstore! By following these seven steps, you have gained valuable insights into creating a developer account, preparing your app for submission, generating an APK file, submitting your app for review, testing it on a Fire Tablet, responding to user feedback, and finally, publishing your app on the Amazon Appstore.
Creating a developer account and preparing your app for submission are crucial steps that lay the foundation for a successful app launch. Generating an APK file specific to the Fire Tablet ensures optimal performance and compatibility with Amazon’s devices. Submitting your app for review involves careful attention to details and adherence to the guidelines set by Amazon.
Testing your app on a Fire Tablet is essential to providing a seamless user experience and addressing any device-specific issues. Responding to user feedback with gratitude and professionalism allows you to build a loyal user base and continuously improve your app.
Finally, publishing your app on the Amazon Appstore opens up new opportunities for exposure and growth. Regularly monitor your app’s performance, consider marketing and promotional strategies, and stay proactive in addressing user concerns and releasing updates.
Remember, the journey of app development doesn’t end with the publication of your app. Keep listening to your users, embracing feedback, and striving for continuous improvement. With dedication and persistence, your app has the potential to achieve great success on the Amazon Appstore.
Best of luck on your app development journey!