Introduction
Welcome to the world of gaming, where immersive graphics, intense gameplay, and vast virtual worlds await. As a gamer, you may already be familiar with the popular digital gaming platform called Steam. Steam allows you to explore a plethora of games, from action-packed shooters to immersive role-playing adventures. However, as you dive deeper into the world of gaming, you may begin to notice that some games require more resources to run smoothly.
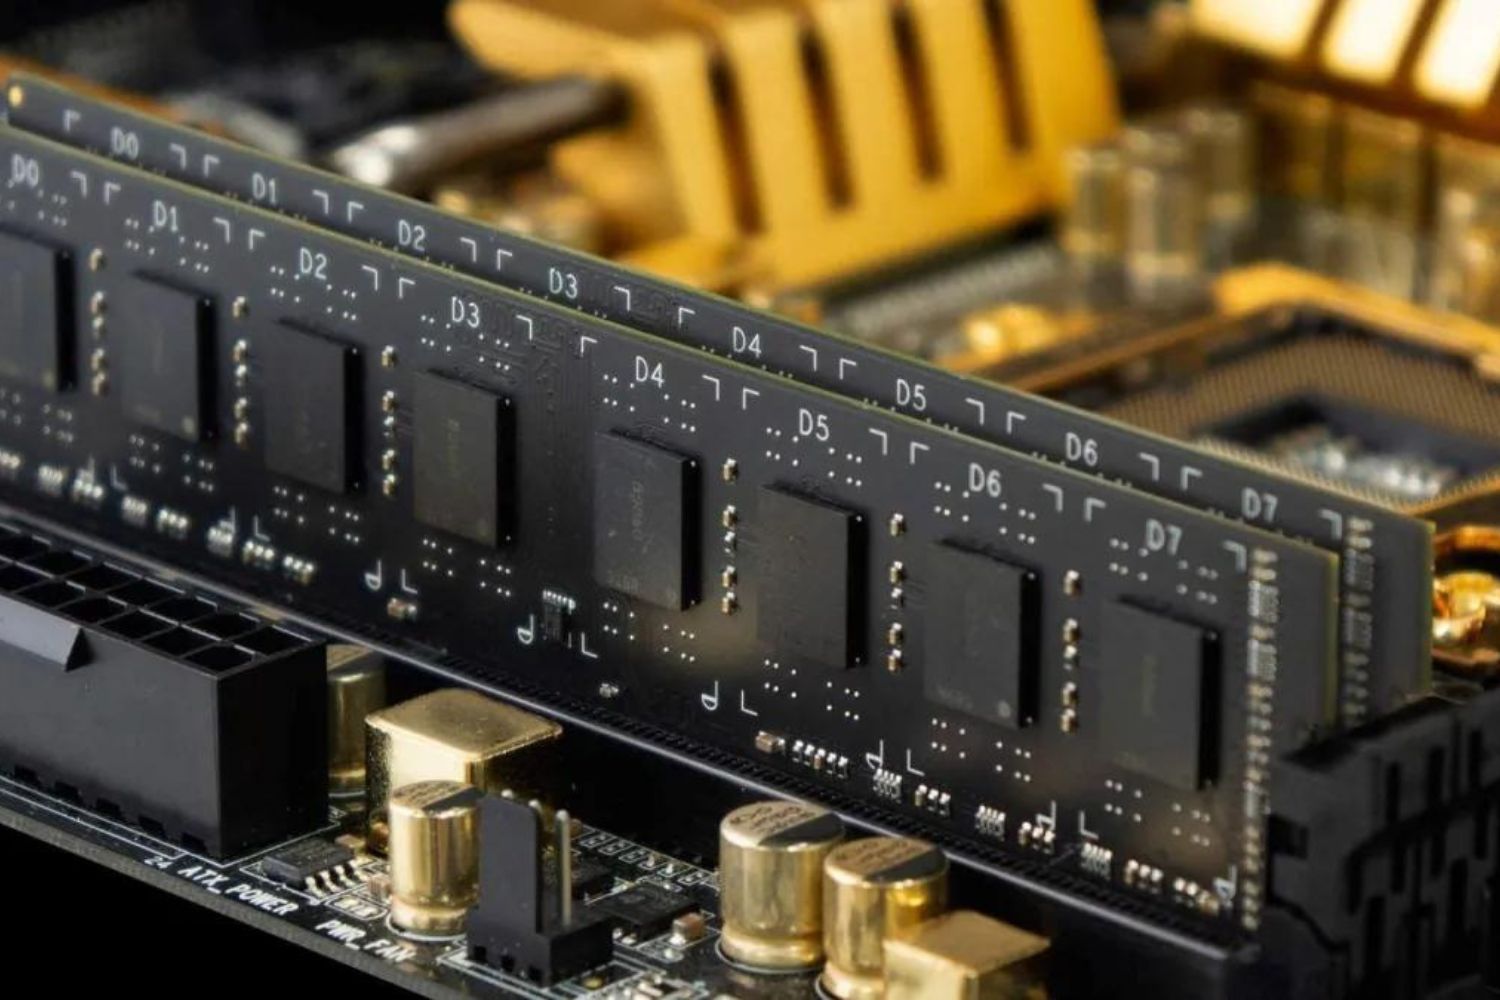
One crucial resource that can greatly impact your gaming experience is RAM, short for Random Access Memory. RAM is a type of computer memory that stores data temporarily to ensure quick access for running applications. When it comes to gaming, having sufficient RAM is essential for seamless gameplay, preventing lags, and allowing your games to run at their full potential.
In this article, we will explore various methods to allow Steam games to utilize more of your computer’s RAM. Whether you are experiencing performance issues, frequent crashes, or simply want to optimize your gaming experience, these strategies will help you get the most out of your system.
Before delving into the specific techniques, it is important to understand how RAM affects gaming performance. With limited RAM, your computer may struggle to allocate enough memory for multitasking, resulting in sluggish performance and decreased frame rates. By increasing the amount of RAM allocated to your Steam games, you can reduce loading times, eliminate stuttering, and enhance overall gameplay.
Let’s begin by examining how to check your current RAM usage to determine whether it is impacting your gaming experience.
Understanding the Importance of RAM for Steam Games
When it comes to playing demanding and graphics-intensive games on Steam, having enough RAM is crucial. RAM acts as a temporary storage space for the game files and data that your computer needs to access quickly. It allows your system to hold information in real-time, giving games the fast access they require to run smoothly.
One of the key advantages of having sufficient RAM for Steam games is the reduction of loading times. Games with large and detailed environments can take a considerable amount of time to load when the system has limited RAM. Insufficient RAM may result in extended loading screens and delays in accessing new areas or levels in the game. By increasing the allocation of RAM for Steam games, you can significantly reduce these loading times and jump right into the action.
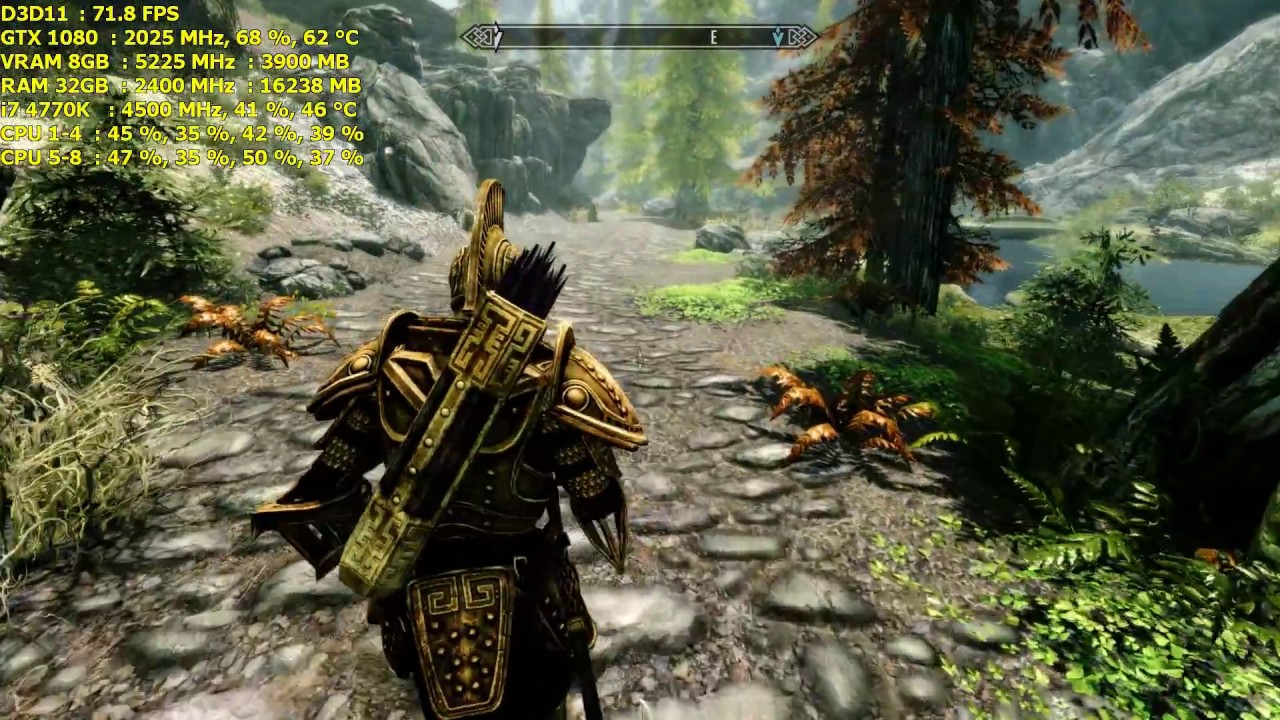
In addition to faster loading times, having more RAM can also eliminate stuttering or frame rate drops during gameplay. When the system’s RAM is overwhelmed, it may struggle to keep up with the demands of the game, causing momentary freezes or pauses. This can be especially noticeable in games that require quick reflexes or rely on smooth animations. By allocating more RAM to Steam games, you can ensure a consistent and seamless gameplay experience without any interruptions.
Another important benefit of sufficient RAM for Steam games is improved multitasking capability. While gaming, you may want to have other applications running simultaneously, such as streaming software, voice chat programs, or web browsers. These additional applications require their own share of RAM to function smoothly. Insufficient RAM can lead to a higher chance of crashes, decreased performance, or even system instability when running multiple applications simultaneously. By allowing Steam games more RAM, you can provide enough resources to handle both the game and any additional tasks you want to run alongside it.
It’s important to note that the specific amount of RAM required may vary depending on the game you are playing and its system requirements. Some games may be more demanding and require a larger chunk of RAM to run optimally. Checking the recommended system requirements for each game on Steam can give you an idea of how much RAM is recommended for optimal performance.
Now that we understand the importance of RAM for Steam games, let’s move on to the next section, where we will explore how to check your current RAM usage before making any adjustments.
Checking Your Current RAM Usage
Before making any adjustments to allocate more RAM to your Steam games, it’s essential to check your current RAM usage to determine if it is affecting your gaming performance. Fortunately, Windows provides a built-in tool that allows you to monitor your system’s resource usage, including RAM.
To check your current RAM usage, follow these simple steps:
- Press the Ctrl + Shift + Esc keys together to open the Task Manager. Alternatively, you can right-click on the taskbar and select Task Manager from the menu.
- In the Task Manager, click on the Performance tab.
- Under the Performance tab, you will see a section labeled Memory. This section displays information about your current RAM usage.
- Observe the values under the Memory section, including In Use, Available, and Committed. These values indicate how much of your available RAM is currently being used by the system and applications.
By checking your current RAM usage, you can get a clear picture of how much RAM is being utilized and how much is available for allocation to your Steam games. If you notice that your available RAM is consistently low or your in-use RAM is approaching the maximum capacity, it may be a sign that your system is struggling to handle the demands of both the operating system and your games.
Now that you are aware of your current RAM usage, the next step is to explore various techniques to adjust the RAM allocation to improve your gaming performance. In the following sections, we will discuss methods such as adjusting Windows virtual memory settings, optimizing Steam settings, closing unnecessary programs, and even upgrading your system’s RAM if needed.
Adjusting Windows Virtual Memory Settings
Windows virtual memory allows your computer to use part of your hard drive as temporary storage when it runs out of available RAM. By adjusting these virtual memory settings, you can allocate more virtual memory to your Steam games, providing an additional buffer for data and potentially improving performance.
To adjust the virtual memory settings in Windows, follow these steps:
- Open the Control Panel by searching for it in the Windows search bar.
- Click on System and Security and then select System.
- Click on the Advanced system settings link on the left-hand side of the window. This will open the System Properties dialog box.
- In the System Properties dialog box, under the Advanced tab, click on the Settings button in the Performance section.
- In the Performance Options dialog box, navigate to the Advanced tab.
- Under the Virtual memory section, click on the Change button.
- In the Virtual Memory dialog box, uncheck the box that says “Automatically manage paging file size for all drives.”
- Select the Custom size option.
- Set the Initial size and Maximum size values according to your needs. It is recommended to set both values to the same size since having a fixed size can prevent fragmentation.
- Click OK to save the changes.
- Restart your computer to apply the new virtual memory settings.
By adjusting the virtual memory settings, you are essentially providing additional virtual memory space for your system and games to utilize when the available RAM is running low. This can help prevent slowdowns and improve overall performance by reducing the reliance on slower storage devices.
It’s important to note that modifying the virtual memory settings won’t directly increase your physical RAM. However, it can help optimize how your system uses available resources and may provide a performance boost in scenarios where RAM usage is exceeding the physical capacity.
Now that we have explored adjusting the virtual memory settings in Windows, let’s move on to the next section, where we will discuss how to allocate more RAM specifically to your Steam games.
Allocating More RAM to Steam Games
If you want to ensure that your Steam games have access to a significant amount of RAM for optimal performance, you can allocate more RAM specifically to the Steam application. By adjusting a few settings, you can dedicate a larger portion of your available RAM to running Steam games.
Follow these steps to allocate more RAM to Steam games:
- Launch the Steam client on your computer.
- Click on the Steam menu in the top-left corner of the client.
- Select Settings from the drop-down menu.
- In the Settings window, click on the In-Game tab.
- Under the In-Game tab, you will find the option “In-Game Server Browser: Max Pings/Minute.” This option is used to control the amount of RAM allocated to the Steam client.
- Adjust the value of the “In-Game Server Browser: Max Pings/Minute” option to a higher value, such as 500 or 1000. This will allocate more RAM to Steam, allowing it to run more efficiently.
- Click OK to save the changes.
- Restart the Steam client for the changes to take effect.
By allocating more RAM to the Steam application, you are giving it a larger pool of memory to work with when running games. This can result in improved loading times, reduced stuttering, and overall smoother gameplay.
It’s worth noting that allocating more RAM to Steam does not guarantee a drastic performance improvement, as the impact may vary depending on your system specs and the individual requirements of the games you are playing. However, it is a simple and effective method to ensure that Steam has access to the necessary resources it needs to deliver an optimal gaming experience.
Now that you have successfully allocated more RAM to Steam games, let’s explore further optimizations you can make within the Steam settings to improve RAM usage.
Optimizing Steam Settings for Better RAM Usage
Aside from allocating more RAM to Steam games, you can further optimize the Steam client itself to improve RAM usage and overall performance. By adjusting certain settings within Steam, you can ensure that it operates efficiently and minimizes its impact on your system’s resources.
Here are some recommended optimizations to consider:
- Launch the Steam client on your computer.
- Click on the Steam menu in the top-left corner of the client.
- Select Settings from the drop-down menu.
- In the Settings window, click on the In-Game tab.
- Under the In-Game tab, consider adjusting the following settings:
- In-Game FPS Counter: Disable this option to reduce the strain on your system’s resources.
- In-Game Overlay: If you do not use the Steam overlay features, consider disabling this option to conserve RAM.
- In-Game Screenshot: Adjust the key bindings or disable this feature if you rarely take screenshots during gameplay.
- Next, navigate to the Downloads tab in the left-hand menu.
- Under the Downloads tab, consider adjusting the following settings:
- Download Restrictions: Set download restrictions to limit the number of concurrent downloads and conserve bandwidth.
- Throttle downloads while streaming: Enable this option if you frequently stream content while downloading games to prevent excessive RAM usage.
- Click OK to save the changes and apply the optimizations.
By optimizing these Steam settings, you can reduce the overall RAM usage of the Steam client and allocate more resources to your games. Disabling unnecessary features and adjusting download settings can minimize the strain on your system and improve the performance of both Steam and your games.
Remember to periodically review and adjust these settings based on your preferences and gaming habits, as optimization methods may vary depending on individual needs and hardware specifications.
Now that you have optimized Steam settings to better manage RAM usage, let’s explore additional methods to free up RAM resources on your system by closing unnecessary programs and processes.
Closing Unnecessary Programs and Processes
When it comes to maximizing your system’s available RAM for Steam games, it’s crucial to ensure that unnecessary programs and processes are not consuming valuable resources. By closing unnecessary applications and background processes, you can free up additional RAM for your games, leading to improved performance and smoother gameplay.
Here are some steps to follow in order to close unnecessary programs and processes:
- Press Ctrl + Shift + Esc to open the Task Manager.
- In the Task Manager, navigate to the Processes tab.
- Sort the processes by Memory usage to identify the programs and processes that are consuming the most RAM.
- Right-click on the unnecessary programs and processes that you want to close and select End Task or End Process.
- Exercise caution when closing processes, as terminating essential system or security processes can cause system instability. Focus on closing non-essential applications and processes that you are familiar with.
- Alternatively, you can reduce the number of programs running at startup to prevent them from consuming RAM unnecessarily. Open the Task Manager, go to the Startup tab, and disable any programs that you don’t need to start automatically.
By closing unnecessary programs and processes, you are freeing up RAM resources for your Steam games to utilize. This can significantly improve the performance and reduce the likelihood of experiencing lag or disconnection issues during gameplay.
Remember to close any resource-intensive applications, such as web browsers with multiple tabs, video editing software, or antivirus scans, to give your games maximum access to available RAM. Keep in mind that some applications may automatically restart or relaunch after closing, so it may be necessary to disable them from running in the background or configure their settings to avoid unnecessary RAM usage.
Now that you have closed unnecessary programs and processes, let’s discuss an alternative solution if you find that your system’s RAM capacity is consistently reaching its limit – upgrading your system’s RAM.
Upgrading Your System’s RAM
If you find that your computer’s current RAM capacity is consistently reaching its limit and affecting your gaming experience, it may be time to consider upgrading your system’s RAM. Increasing the amount of RAM in your system can provide a significant performance boost and allow your computer to handle more demanding games without running out of memory.
Here are the steps to follow when upgrading your system’s RAM:
- Identify the type and specifications of your current RAM modules. This information can usually be found in your computer’s documentation or by checking the specifications provided by the manufacturer.
- Determine the maximum RAM capacity supported by your system. Again, this information can be found in the user manual or specifications provided by the manufacturer. Alternatively, you can use online tools or consult with a computer specialist to determine the maximum limit.
- Purchase compatible RAM modules that meet your system’s specifications and maximum capacity. It’s advisable to buy RAM modules from reputable manufacturers to ensure their reliability and compatibility.
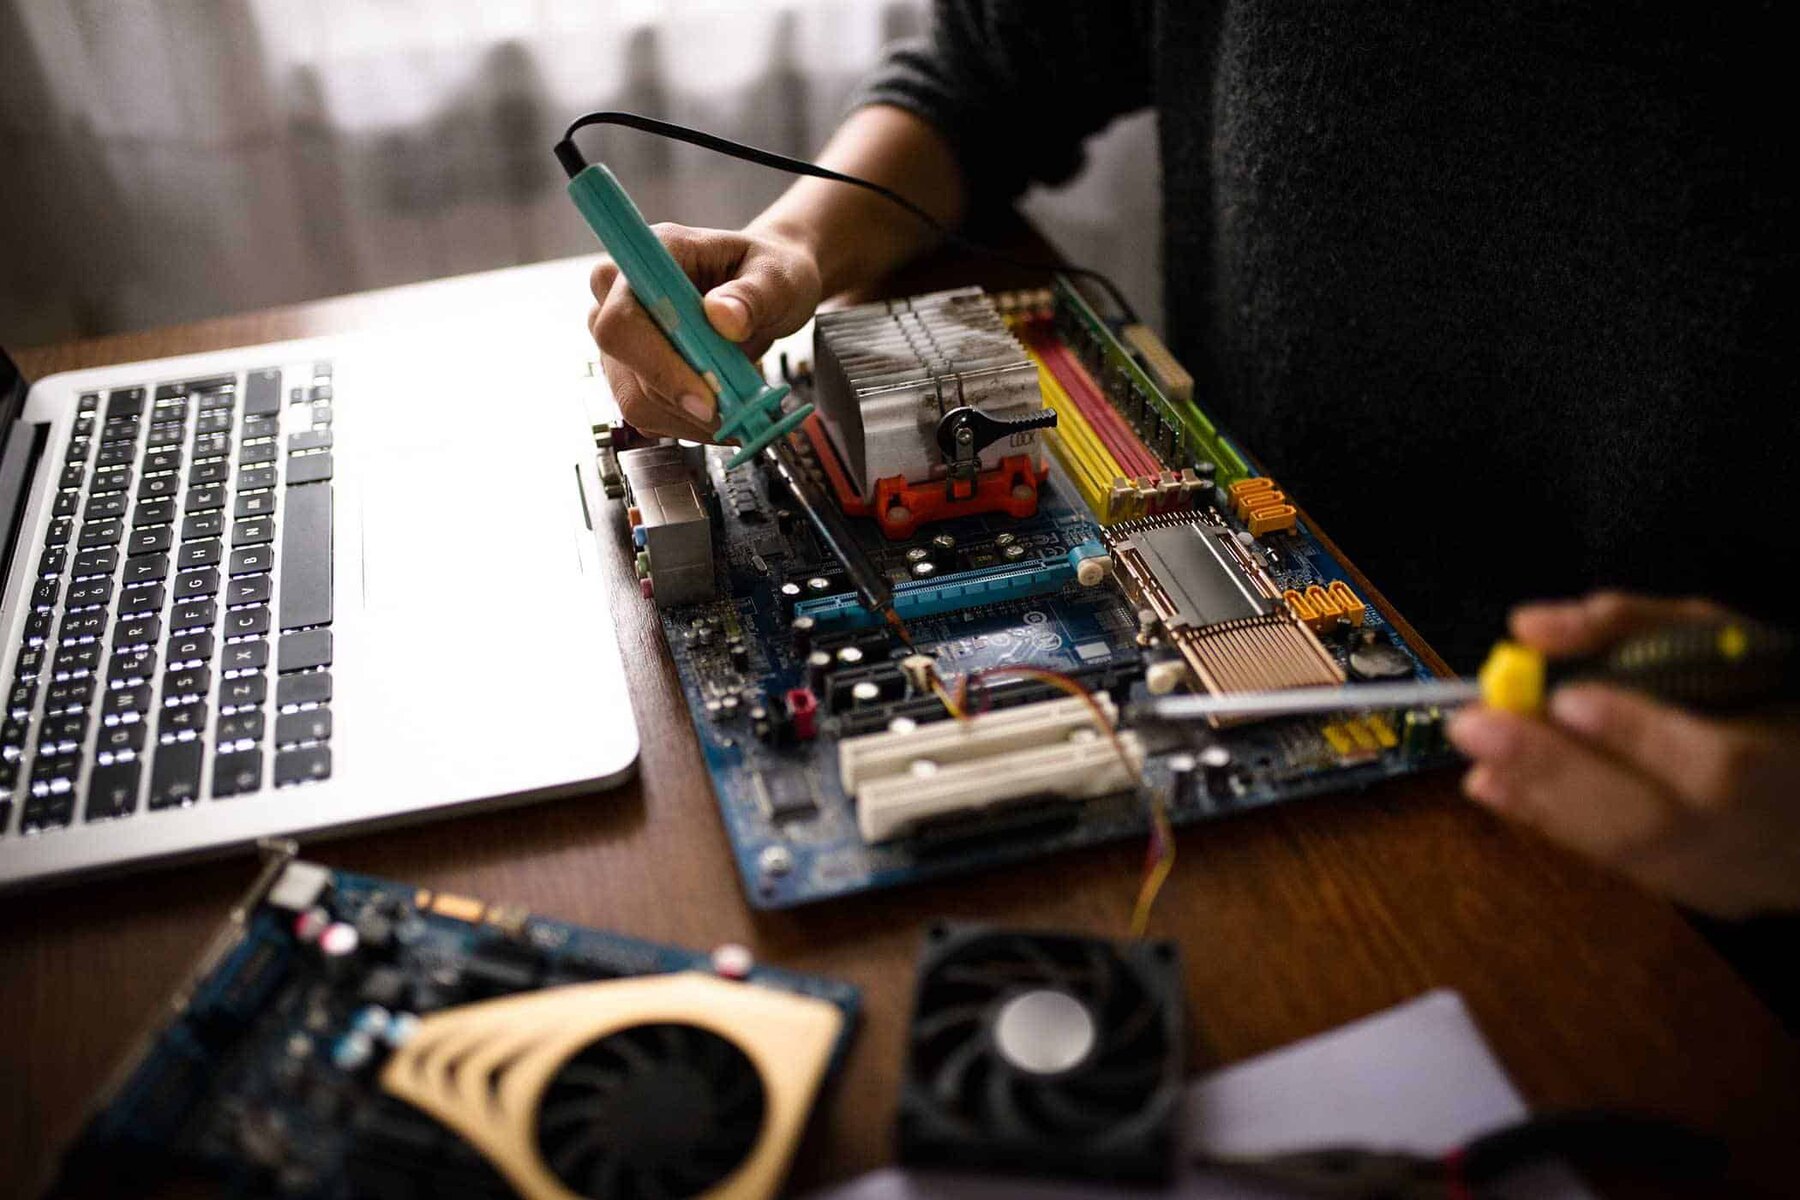
- Power off your computer and disconnect the power cord. Make sure to ground yourself properly to prevent any static discharge that may damage the components.
- Open the computer case and locate the existing RAM modules. They are usually installed in slots on the motherboard.
- Carefully remove the existing RAM modules by pushing the clips on the sides of the slots. Insert the new RAM modules by aligning the notch on the module with the notch on the slot, then press down firmly until the clips lock the modules in place.
- Power on your computer and check the BIOS or system settings to ensure that the new RAM modules are recognized.
Upgrading your system’s RAM can significantly improve its performance, allowing for smoother multitasking and enhanced gaming experiences. With more RAM, your computer can handle resource-intensive games and applications more efficiently, reducing the likelihood of bottlenecks and slowdowns.
Before purchasing new RAM modules, it’s recommended to research and compare prices, read reviews, and consider your specific needs and budget. Additionally, it’s always a good idea to consult with an expert or refer to the manufacturer’s documentation for accurate information about compatibility and installation.
Now that you have explored the option of upgrading your system’s RAM, it’s time to wrap up these strategies for allowing Steam games to utilize more RAM and optimize your gaming experience.
Conclusion
Optimizing your system’s RAM usage is vital for ensuring a smooth and immersive gaming experience on Steam. By understanding the importance of RAM for Steam games and implementing the strategies outlined in this article, you can enhance your gaming performance and maximize your available resources.
We began by recognizing the significance of RAM for running demanding games and how it impacts loading times, gameplay smoothness, and multitasking capabilities. Checking your current RAM usage provided valuable insights into whether your system is struggling to handle the demands of both the operating system and your games.
We explored techniques such as adjusting Windows virtual memory settings and allocating more RAM to Steam games. These strategies enable you to provide additional memory resources, leading to improved performance, reduced stuttering, and faster loading times.
Optimizing Steam settings, such as disabling unnecessary features and adjusting download restrictions, can further enhance RAM usage efficiency and free up resources for your games. Similarly, closing unnecessary programs and processes prevents them from consuming valuable RAM and ensures that your system is focused on delivering the best gaming experience possible.
If you find yourself consistently encountering RAM limitations and experiencing performance issues, upgrading your system’s RAM can be a viable solution. Increasing the amount of RAM allows your computer to handle more resource-intensive games without running out of memory, ultimately providing a significant performance boost.
By implementing these strategies and exploring the option of upgrading your RAM, you can optimize your system’s resources to deliver an optimal gaming experience on Steam.
Remember, each computer setup is unique, and the impact of these strategies may vary. It’s important to experiment, monitor your system’s performance, and make adjustments accordingly to find the optimal balance for your specific needs.
Now that you are armed with these valuable insights and optimization techniques, go ahead and enhance your gaming experience on Steam by allowing your games to make the most of your system’s RAM resources. Happy gaming!