Introduction
Adjusting the brightness on your Dell monitor is essential for a comfortable and optimal viewing experience. Whether you’re working on a document, watching a movie, or playing a game, having the right brightness level can make a significant difference in visual clarity and eye strain. In this article, we will explore various methods to adjust the brightness on your Dell monitor, ranging from using the on-screen menu to utilizing keyboard shortcuts and Dell’s Display Manager software.
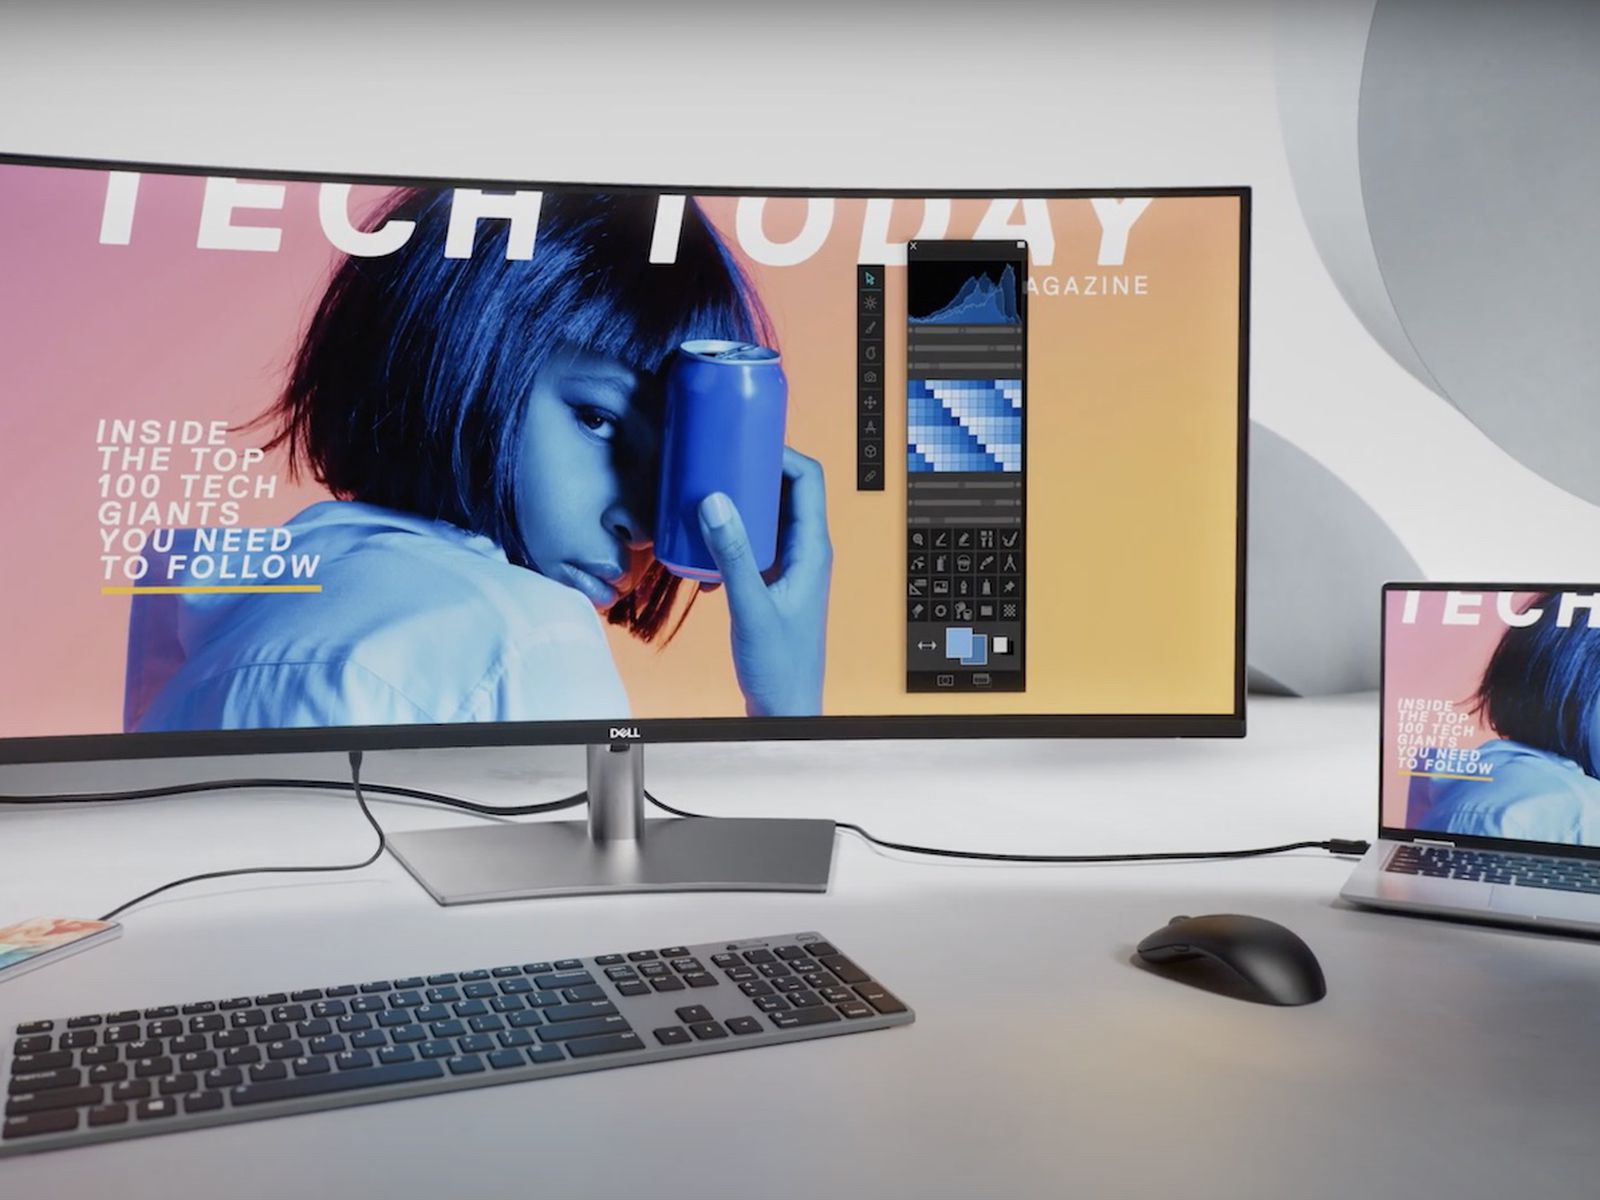
Before we dive into the specifics, it’s important to understand the controls and features available on your Dell monitor. Most Dell monitors have built-in buttons or touch-sensitive controls located at the bottom or side of the display. These controls allow you to navigate through the on-screen menu and make adjustments to various settings, including brightness, contrast, color, and more.
Additionally, some Dell monitors come with keyboard shortcut keys or specialized software like Dell Display Manager, which provide convenient ways to control and customize your monitor settings without having to access the on-screen menu.
Now that we have a basic understanding of what we’ll be exploring, let’s delve deeper into the different methods you can use to adjust the brightness on your Dell monitor.
Understanding the Dell Monitor Controls
Before you can adjust the brightness on your Dell monitor, it’s important to familiarize yourself with the various controls available. Most Dell monitors come with a set of physical buttons or touch-sensitive controls located on the front, underside, or side of the display. These controls allow you to navigate the on-screen display (OSD) menu and make adjustments to various settings, including brightness.
The exact configuration and placement of these controls may vary depending on the model of your Dell monitor. However, they typically include buttons for power on/off, navigation (up, down, left, right), and brightness/contrast adjustment.
To access the OSD menu, you’ll typically need to press the menu button, which is usually labeled with an icon or the word “Menu.” Once you’re in the menu, you can navigate through the options using the arrow keys. Look for the settings related to brightness, which may be listed under “display settings,” “picture,” or a similar category.
Once you’ve located the brightness setting, you can use the navigation keys to increase or decrease the brightness level to your desired preference. As you make adjustments, the changes should be reflected on the screen, allowing you to fine-tune the brightness to your liking.
Some Dell monitors also feature additional controls, such as preset modes for different viewing scenarios (e.g., gaming, movies, reading, etc.). These preset modes optimize the monitor’s settings, including brightness, to enhance the visual experience based on the selected mode.
In addition to physical buttons, some Dell monitors also provide touch-sensitive controls. These controls function in a similar way to physical buttons but respond to touch gestures instead of physical pressure. Simply swipe or tap on the touch-sensitive area corresponding to the desired function to make adjustments.
Understanding the Dell monitor controls is the first step toward adjusting the brightness and other display settings. In the next section, we will explore how to adjust the brightness using the on-screen menu.
Adjusting Brightness Using the On-Screen Menu
If you prefer to adjust the brightness on your Dell monitor using the on-screen menu, follow these steps:
- First, locate the menu button on your monitor. It is usually labeled with an icon or the word “Menu.”
- Press the menu button to open the on-screen display (OSD) menu.
- Use the navigation buttons on your monitor (typically located near the menu button) to navigate through the menu options. Look for settings related to display or picture adjustments.
- Within the display or picture settings, you should find a brightness control option.
- Using the navigation buttons, select the brightness control option, and then use the arrow keys or toggle buttons to increase or decrease the brightness level.
- As you make adjustments, the changes should be visible on the screen in real-time, allowing you to find the optimal brightness level.
- Once you’re satisfied with the brightness level, exit the on-screen menu by pressing the menu button again or a designated exit button.
It’s important to note that the exact steps may vary slightly depending on your Dell monitor model. Some monitors may have different menu layouts or variations in button functions. Therefore, refer to your monitor’s user manual or documentation for specific instructions if needed.
Adjusting the brightness using the on-screen menu gives you direct control over the display settings and allows you to fine-tune the brightness level to your preference. However, if you prefer a quicker method for adjusting the brightness, you may consider using keyboard shortcut keys, as discussed in the next section.
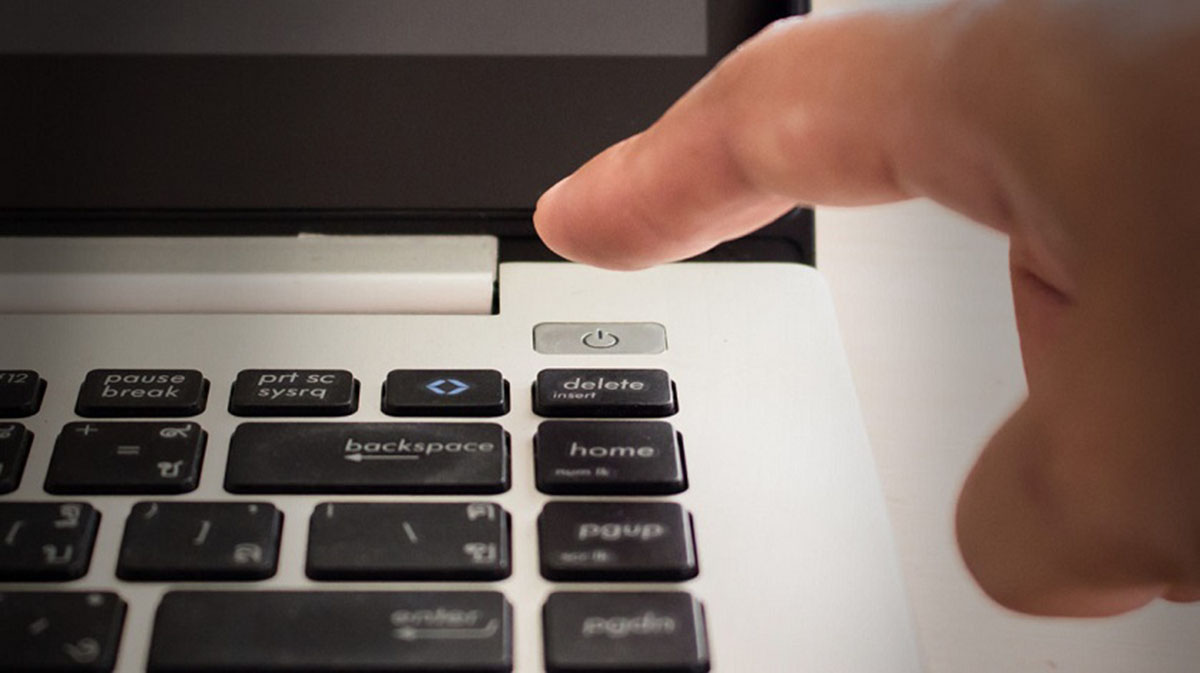
Adjusting Brightness Using Keyboard Shortcut Keys
Dell monitors often come equipped with keyboard shortcut keys that provide a convenient way to adjust the brightness without accessing the on-screen menu. These shortcut keys are typically located on the top row of the keyboard, labeled with symbols or icons that represent different functions.
Here’s how you can adjust the brightness using keyboard shortcut keys:
- Identify the brightness control keys on your keyboard. On many Dell laptops, these keys are usually represented by a sun-like icon, often found on the function (F) keys.
- Locate the “Fn” (Function) key on your keyboard, usually located near the bottom left corner.
- Press and hold the “Fn” key while simultaneously pressing the brightness control key that corresponds to increasing or decreasing the brightness.
- As you press the brightness control keys, you should see an on-screen display visualizing the changes in brightness.
- Keep adjusting the brightness using the shortcut keys until you achieve your preferred level.
Note that the specific keys and functions may differ slightly based on your laptop model and configuration. Some Dell keyboards may require you to press the “Fn” key in combination with the “Up” and “Down” arrow keys to adjust the brightness.
If using the keyboard shortcut keys does not yield the desired results, make sure that keyboard backlighting settings are not interfering with the display brightness adjustments. Some Dell laptops utilize the same shortcut keys for both display brightness and keyboard backlighting, so you may need to adjust the appropriate settings in the system’s keyboard settings menu.
Using keyboard shortcut keys provides a quick and accessible method for adjusting the brightness on your Dell monitor. However, if you prefer more advanced control over your monitor settings, you can explore the Dell Display Manager software, as discussed in the next section.
Using Dell Display Manager to Adjust Brightness
Dell Display Manager is a software application provided by Dell that allows you to manage and optimize your monitor settings, including brightness, contrast, color, and more. By using Dell Display Manager, you can have more advanced control over your monitor’s brightness and tailor it to your preferences.
Here’s how you can use Dell Display Manager to adjust the brightness on your Dell monitor:
- Ensure that Dell Display Manager is installed on your computer. If it’s not already installed, you can download it from the Dell support website specific to your monitor’s model.
- Launch the Dell Display Manager software from your computer’s desktop or start menu.
- Once the application is open, you will have access to various settings and controls for your Dell monitor.
- Navigate to the brightness settings or controls within Dell Display Manager.
- Depending on the version of Dell Display Manager you are using, you may have different options for adjusting the brightness. Some versions provide a slider or numerical scale, while others may have preset levels or a custom adjustment option.
- Experiment with the different brightness settings available in Dell Display Manager to find the one that suits your needs. You can increase or decrease the brightness level and observe the changes in real-time on your monitor.
- Once you’ve found the desired brightness level, save the changes within Dell Display Manager.
Using Dell Display Manager gives you more flexibility and control over the brightness settings of your Dell monitor. It allows for precise adjustments to ensure optimal viewing conditions for different scenarios, whether you’re working, watching movies, or gaming.
If you encounter any issues or difficulty with Dell Display Manager, refer to the software’s user guide or the Dell support website for troubleshooting tips specific to your monitor model.
Now that you’re familiar with using Dell Display Manager, let’s move on to the next section where we explore how to calibrate brightness for an optimal viewing experience.
Calibrating Brightness for an Optimal Viewing Experience
Calibrating the brightness of your Dell monitor is crucial to achieving an optimal viewing experience. Proper calibration ensures that colors are accurate, details are visible, and eye strain is minimized. Here are some tips to help you calibrate the brightness of your Dell monitor:
- Assess the ambient lighting in your viewing environment. The brightness of your monitor should be adjusted to match the lighting conditions in the room. Dimly lit rooms may require lower brightness levels, while brighter rooms may necessitate higher levels to compensate.
- Consider using calibration tools or software. Professional calibration tools or software can help you achieve accurate and consistent brightness settings. These tools often have built-in colorimeter devices or utilize special calibration patterns to guide you through the process.
- Use reference images or test patterns. To ensure accurate calibration, use reference images or test patterns that display a range of colors and gradients. This allows you to adjust the brightness settings until you can distinguish the subtle differences in shades and details.
- Avoid excessive brightness levels. While it may be tempting to maximize the brightness for a brighter image, excessively high brightness can lead to eye fatigue and strain. Find a balance where you can comfortably view the screen without causing discomfort.
- Consider using a hardware calibration device. If you require precise and professional-grade calibration, investing in a hardware calibration device can provide accurate results. These devices measure and calibrate various aspects of your monitor’s display, including brightness, color accuracy, gamma, and more.
Remember that calibration is a highly subjective process, influenced by personal preferences and specific tasks. It may take some time and experimentation to find the brightness level that suits your needs best.
By calibrating the brightness of your Dell monitor, you can enhance the visual experience, ensure color accuracy, and reduce eye strain. Now that you have an understanding of calibration, let’s explore some additional tips and troubleshooting in the next section.
Additional Tips and Troubleshooting
When adjusting the brightness on your Dell monitor, it’s helpful to keep these additional tips and troubleshooting steps in mind:
- Regularly clean your monitor screen. Dust and smudges on the screen can impact the perceived brightness and image quality. Use a microfiber cloth or screen cleaning solution specifically designed for monitors to keep the screen clean.
- Adjust the contrast settings along with brightness. The contrast ratio affects the luminance difference between the brightest and darkest areas on the screen. Finding the right balance between brightness and contrast can improve the overall visual experience.
- Take breaks and adjust brightness for different lighting conditions. If you spend extended periods in front of your monitor, it’s essential to take regular breaks to rest your eyes. Additionally, consider adjusting the brightness based on changes in ambient lighting throughout the day.
- If you encounter difficulties adjusting the brightness or other settings, consult the user manual or documentation specific to your Dell monitor model. These resources often provide detailed instructions on how to navigate the OSD menu and troubleshoot common issues.
- Update your graphics card drivers. Outdated or incompatible graphics card drivers can sometimes interfere with monitor settings or limit the available options. Visit the official website of your graphics card manufacturer to download and install the latest drivers.
- Try resetting the monitor settings to default. If you’ve made multiple adjustments and are unsure of the optimal settings, performing a factory reset can restore the original configuration. Look for the factory reset option in the OSD menu or consult the user manual for instructions.
Remember that personal preferences and the specific requirements of your tasks may influence the ideal brightness settings. Experiment, adjust, and fine-tune the brightness until you find what works best for your individual needs.
By following these additional tips and troubleshooting steps, you can optimize your Dell monitor’s brightness and ensure an enjoyable viewing experience.
Now that we’ve covered various methods of adjusting brightness, calibrating, and troubleshooting, you’re equipped with the knowledge to optimize your Dell monitor’s brightness settings. Enjoy a comfortable, vibrant, and visually appealing display!