Introduction
Do you want to add your RFID card to your iPhone for easy access and convenience? With the advancements in technology, you can now integrate your RFID card with your iPhone using NFC (Near Field Communication) technology. This allows you to use your iPhone as a virtual substitute for your RFID card, eliminating the need to carry multiple cards.
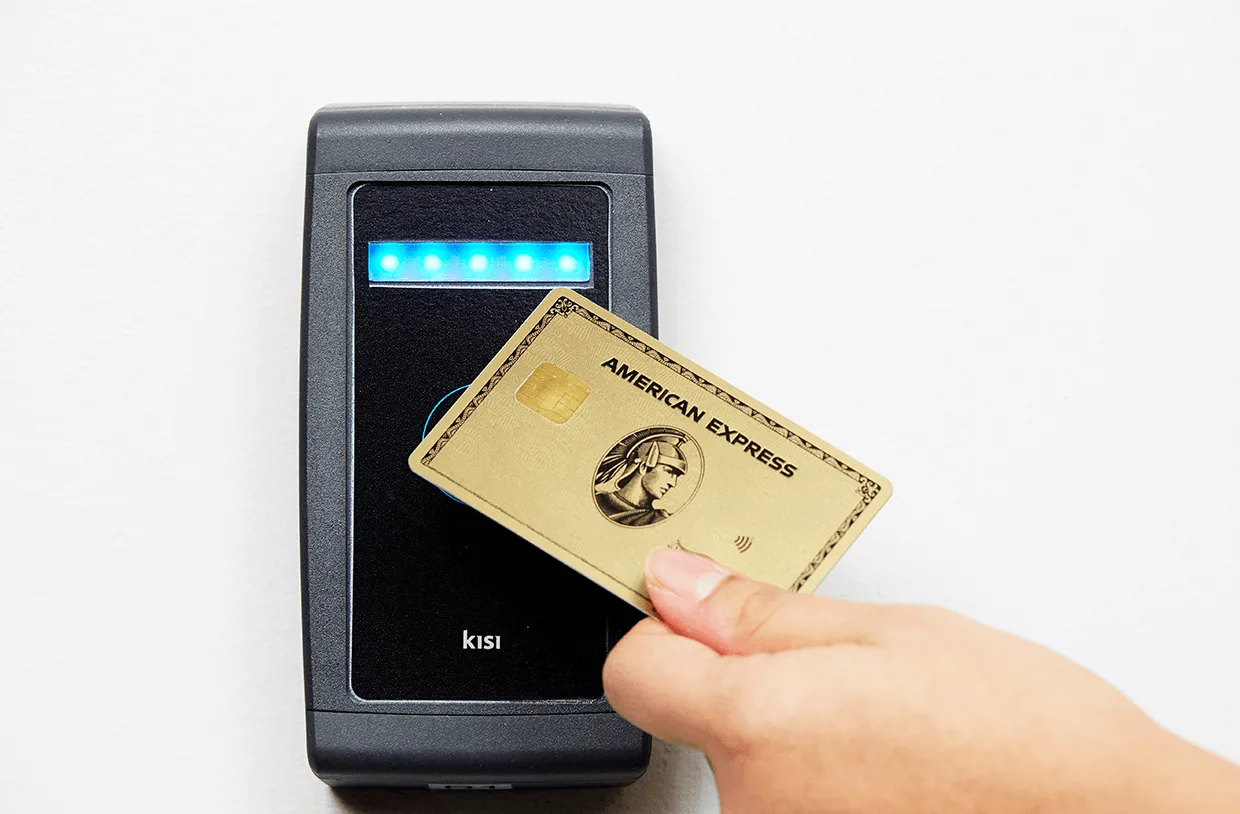
NFC technology allows devices to establish communication by simply bringing them close together or by tapping them. Many modern smartphones, including iPhones, are equipped with NFC, making it possible to interact with RFID cards. By adding your RFID card to your iPhone, you can conveniently access places like your office building, public transportation, or even make contactless payments.
In this article, we will guide you through the step-by-step process of adding your RFID card to your iPhone. You will need an NFC reader/writer and an NFC writer app, both of which can be easily acquired. Whether you are a tech enthusiast or simply looking for a more efficient way to manage your cards, this guide will help you get started.
Before we dive into the steps, it’s important to note that not all iPhones support NFC. You need to ensure that your iPhone is NFC-enabled to successfully complete the process. Additionally, make sure your RFID card is compatible with NFC technology. Once you have confirmed these requirements, you can proceed with the following steps to add your RFID card to your iPhone.
Step 1: Check if your iPhone supports NFC
Before you start the process of adding your RFID card to your iPhone, you need to ensure that your iPhone supports NFC (Near Field Communication) technology. Not all iPhone models have this capability, so it’s important to confirm compatibility.
To check if your iPhone supports NFC, follow these steps:
- Open the Settings app on your iPhone.
- Scroll down and tap on “Touch ID & Passcode” or “Face ID & Passcode”, depending on your iPhone model.
- Enter your passcode to access the settings.
- Scroll down and look for the “Allow Access When Locked” section.
- If you see an option for “USB Accessories” or “USB Restricted Mode”, it indicates that your iPhone supports NFC.
If you cannot find the “Allow Access When Locked” section or there is no mention of “USB Accessories” or “USB Restricted Mode”, it means that your iPhone model does not support NFC.
It’s worth noting that iPhones from the iPhone 7 onwards typically have NFC capabilities. However, it’s always a good idea to double-check to avoid any disappointments or complications during the process.
Once you have confirmed that your iPhone supports NFC, you can proceed to the next step of adding your RFID card.
Step 2: Purchase an NFC reader/writer
To add your RFID card to your iPhone, you will need an NFC reader/writer. This device allows you to interact with RFID cards and transfer their data to your iPhone. NFC reader/writers can be easily purchased online or from tech retailers.
When buying an NFC reader/writer, there are a few key factors to consider:
- Compatibility: Ensure that the NFC reader/writer you choose is compatible with your iPhone model and operating system. Some readers may have specific requirements or limitations, so it’s important to check the product specifications.
- Features: Look for an NFC reader/writer that offers the necessary features for your requirements. For example, if you plan to use it for a specific purpose like contactless payments, make sure the reader supports that functionality.
- Ease of use: Opt for a user-friendly NFC reader/writer that doesn’t require complex setup or technical expertise. Look for devices with intuitive interfaces and clear instructions.
- Reviews and ratings: Before making a purchase, read customer reviews and ratings of the NFC reader/writer you are considering. This can give you insights into the device’s performance, durability, and user experience.
Once you have chosen the right NFC reader/writer for your needs, proceed with the purchase. Make sure to follow the instructions provided by the manufacturer for setting up and using the device.
With a reliable NFC reader/writer in hand, you are now ready to move on to the next step of the process—installing the NFC writer app on your iPhone.
Step 3: Install the NFC writer app
To utilize the NFC reader/writer and add your RFID card to your iPhone, you will need to install an NFC writer app. This app will allow you to read and write data to your RFID card using the NFC reader/writer device.
Here’s how you can install the NFC writer app on your iPhone:
- Open the App Store on your iPhone.
- In the search bar, type in “NFC writer” or a similar keyword.
- Browse through the search results and read the app descriptions and reviews to find a suitable NFC writer app.
- Tap on the app that matches your requirements.
- Tap on the “Get” or “Download” button to install the app on your iPhone.
- Wait for the app to download and install. You will see its icon on your iPhone’s home screen.
It’s important to note that there are several NFC writer apps available, each with its own user interface and features. Take some time to research and choose an app that is well-reviewed, offers the necessary functionality, and has a user-friendly interface.
After installing the NFC writer app, you may need to grant certain permissions, such as access to your iPhone’s NFC capabilities or storage. Follow the on-screen prompts and allow the app the necessary permissions to proceed.
Once you have successfully installed and set up the NFC writer app, you are now ready to prepare your RFID card for the next step of the process.
Step 4: Prepare your RFID card
Before you can add your RFID card to your iPhone, you need to ensure that it is ready for the process. Here are the steps to prepare your RFID card:
- Locate your RFID card: Find the RFID card that you want to add to your iPhone. It’s important to have physical access to the card during this process.
- Check compatibility: Make sure that your RFID card is compatible with NFC technology. Most RFID cards used for access control, transportation, or payments are NFC-compatible, but it’s always a good idea to verify this information.
- Clean the card: Ensure that your RFID card is clean and free from dirt or debris. Use a soft cloth or cleaning wipe to gently clean the card’s surface. This will ensure optimal contact between the NFC reader and the card.
- Remove any protective coverings: If your RFID card has any protective coverings or stickers, peel them off before proceeding.
- Keep the card accessible: Make sure you have easy access to the RFID card during the next steps of the process. You will need to place it in proximity to the NFC reader.
By preparing your RFID card beforehand, you can ensure a smooth and hassle-free experience when adding it to your iPhone. Now that your card is ready, you can move on to the next step of the process: connecting the NFC reader to your iPhone.
Step 5: Connect the NFC reader to your iPhone
Now that you have prepared your RFID card, it’s time to connect the NFC reader to your iPhone. By establishing this connection, you will be able to read and write data between your RFID card and your iPhone.
Follow these steps to connect the NFC reader to your iPhone:
- Ensure that both your NFC reader/writer and your iPhone are powered on.
- Plug the NFC reader into the Lightning port or connect it wirelessly, depending on the model you have.
- If required, install any necessary drivers or software provided by the manufacturer of the NFC reader.
- Once connected, your iPhone should recognize the NFC reader. You may see a prompt asking for permission to access the NFC device. Allow the necessary permissions to proceed.
- Ensure that the NFC reader is securely connected to your iPhone and positioned close to the RFID card.
- You are now ready to proceed to the next step: opening the NFC writer app on your iPhone.
It’s important to note that the specific steps for connecting the NFC reader to your iPhone may vary depending on the model and brand of the reader, as well as your iPhone’s operating system. Carefully follow the instructions provided by the manufacturer to ensure a successful connection.
With the NFC reader connected to your iPhone, you are one step closer to adding your RFID card. In the next section, we will cover how to open the NFC writer app on your iPhone.
Step 6: Open the NFC writer app
After connecting the NFC reader to your iPhone, it’s time to open the NFC writer app. This app will serve as the bridge between your iPhone and the NFC reader, allowing you to interact with your RFID card.
Here’s how you can open the NFC writer app on your iPhone:
- Locate the NFC writer app icon on your iPhone’s home screen. It usually has a distinct icon and name related to NFC or RFID.
- Tap on the NFC writer app icon to launch the application.
- Allow any necessary permissions the app requests, such as access to the NFC capabilities of your iPhone.
- You should now see the NFC writer app interface on your iPhone’s screen.
The NFC writer app interface may vary depending on the specific app you have installed. It typically provides options for reading and writing data to NFC cards, along with additional features and settings. Take some time to explore the app and familiarize yourself with its functionalities.
Make sure to follow any on-screen instructions or prompts provided by the NFC writer app. These instructions will guide you through the process of reading the data from your RFID card and writing it to your iPhone.
With the NFC writer app opened on your iPhone, you are now ready to proceed to the next step: reading the RFID card.
Step 7: Read the RFID card
Now that you have the NFC writer app open on your iPhone, it’s time to read the data from your RFID card. This step will allow you to retrieve the information stored on the card and prepare it for transfer to your iPhone.
Follow these steps to read the RFID card using the NFC writer app:
- Ensure that the NFC reader is connected to your iPhone and positioned near the RFID card.
- In the NFC writer app, look for a “Read” or “Scan” option. This will activate the NFC reader and initiate the process of reading the RFID card.
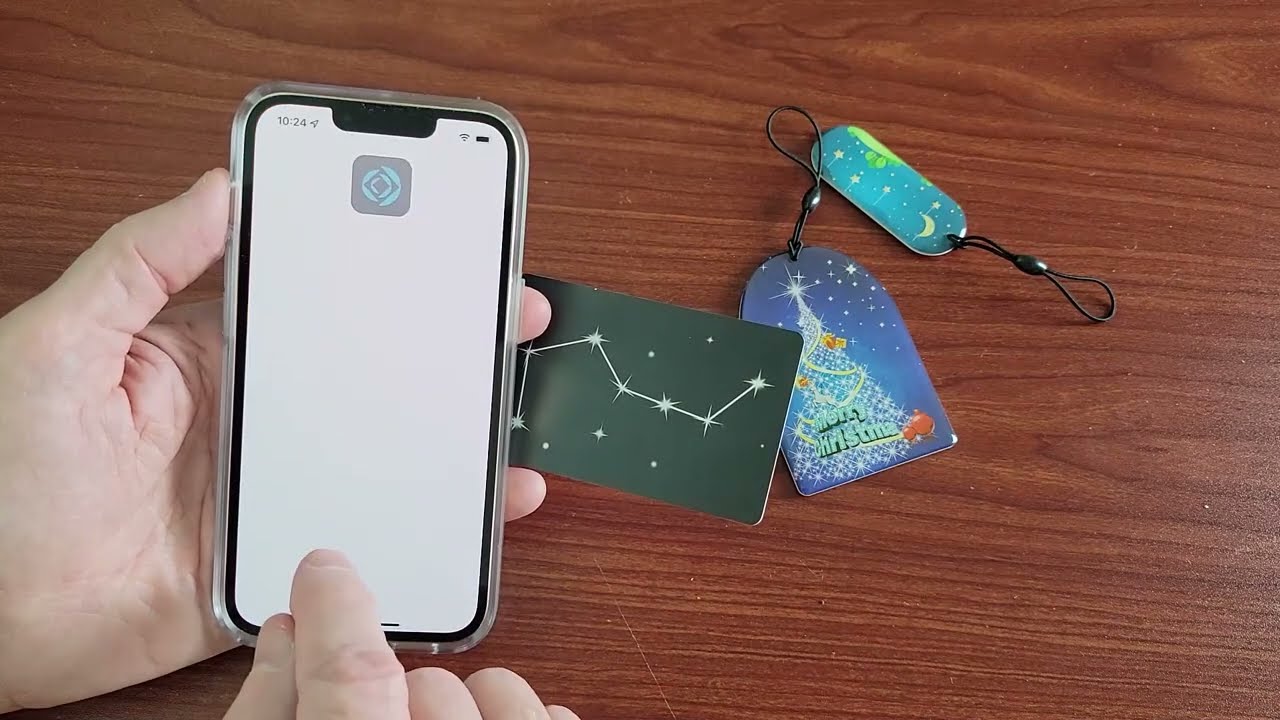
- Hold the RFID card close to the NFC reader, ensuring that it is within the detection range.
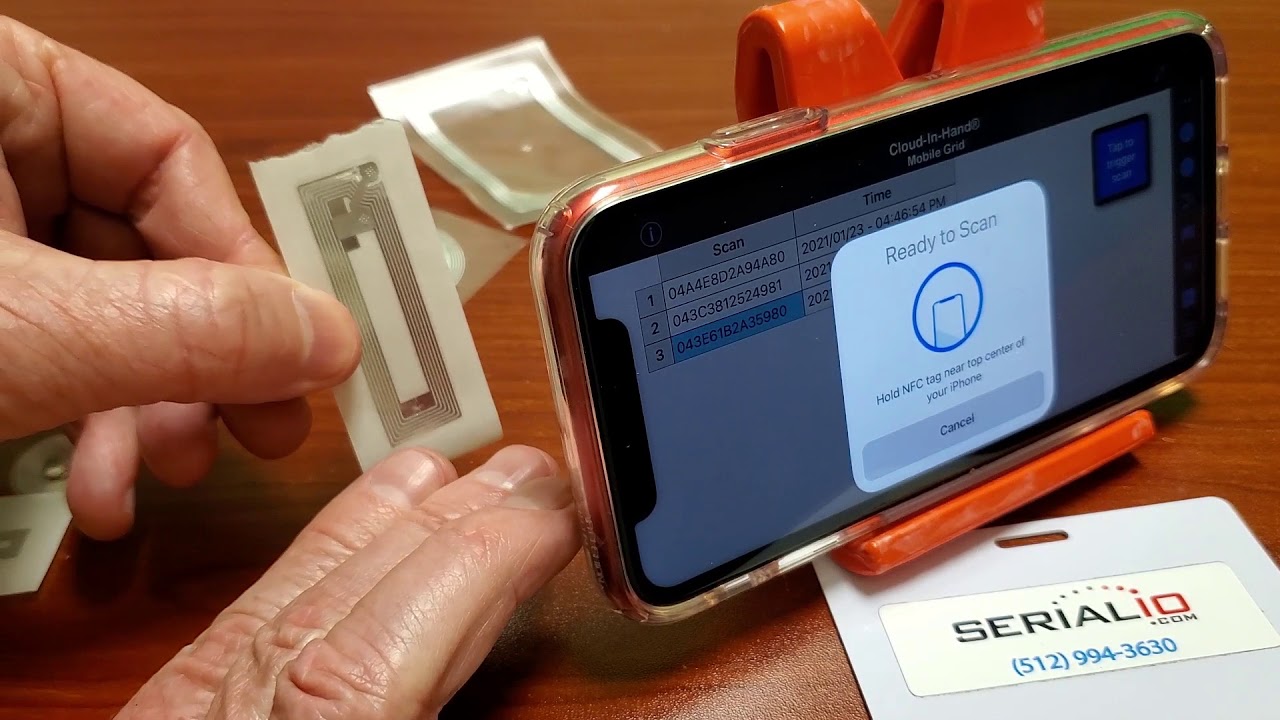
- The NFC reader will recognize the RFID card and retrieve the data stored on it.
- Wait for the data to be displayed on your iPhone’s screen within the NFC writer app.
The data retrieved from the RFID card may include information such as card number, access permissions, or any other relevant data stored on the card. This data will be used in the next step to write it to your iPhone and enable it to function as a virtual RFID card.
It’s important to ensure proper alignment and close proximity between the NFC reader and the RFID card during the reading process. This will ensure accurate and reliable data retrieval.
Once the NFC writer app successfully reads the data from your RFID card, you are now ready to proceed to the next step: writing the RFID card data to your iPhone.
Step 8: Write the RFID card data to your iPhone
After successfully reading the data from your RFID card, the next step is to write that data to your iPhone. This process will transfer the information from the card to your device, enabling your iPhone to function as a virtual RFID card.
Follow these steps to write the RFID card data to your iPhone:
- Within the NFC writer app on your iPhone, locate the “Write” or “Save” option. This will initiate the process of transferring the data from the RFID card to your iPhone.
- Ensure that the NFC reader is still connected to your iPhone and positioned near the device.
- Place your iPhone within close proximity to the NFC reader, ensuring that the two devices are aligned.
- Tap the “Write” or “Save” option within the NFC writer app to start the data transfer process.
- Wait for the data transfer to complete. The NFC writer app will provide visual cues or notifications to indicate that the process is successful.
During the writing process, the NFC reader will transmit the data from the RFID card to your iPhone using NFC technology. Once the transfer is complete, your iPhone will now have the necessary information to emulate the RFID card’s functionality.
It’s important to ensure that your iPhone remains within proximity to the NFC reader until the transfer is finished. Any disruption in the connection between the two devices may result in incomplete or unsuccessful data transfer.
With the RFID card data successfully written to your iPhone, you are now ready to proceed to the final step: testing the RFID card on your iPhone.
Step 9: Test the RFID card on your iPhone
After writing the RFID card data to your iPhone, it’s important to test whether your iPhone can successfully emulate the functionality of the RFID card. This step ensures that the transfer was successful and that your iPhone can now be used as a virtual RFID card.
Follow these steps to test the RFID card on your iPhone:
- Exit the NFC writer app and return to your iPhone’s home screen.
- Ensure that your iPhone is unlocked and awake.
- Hold the iPhone near the RFID card reader or the access point that the RFID card is typically used with.
- Wait for a moment and observe if the access is granted or if any other expected action takes place.
If your iPhone successfully emulates the functionality of the RFID card, you should be able to gain access, make contactless payments, or perform any other action associated with the RFID card. This indicates that the process of adding the RFID card to your iPhone was successful.
However, if your iPhone does not respond or is unable to emulate the RFID card’s functionality, you may need to repeat the process or troubleshoot any potential issues. Ensure that the NFC reader is properly connected and aligned with your iPhone, and that the data transfer was completed successfully.
It’s worth noting that the compatibility and functionality of your iPhone as an RFID card may vary depending on the specific NFC reader, the RFID card’s technology, and the infrastructure or systems used with the card.
With the RFID card successfully tested on your iPhone, you have now completed the process of adding and using the RFID card on your iPhone.
Conclusion
Adding your RFID card to your iPhone can greatly enhance your convenience and access to various places and services. By leveraging NFC technology and the appropriate NFC reader/writer, you can transform your iPhone into a virtual RFID card. Throughout this step-by-step guide, we have detailed the process of adding your RFID card to your iPhone.
We began by checking if your iPhone supports NFC and ensuring that your RFID card is compatible. Then, we guided you through the steps of purchasing an NFC reader/writer and installing the NFC writer app on your iPhone. After preparing your RFID card, we proceeded to connect the NFC reader to your iPhone and open the NFC writer app.
From there, we read the data from your RFID card and proceeded to write that data to your iPhone, allowing it to emulate the RFID card’s functionality. Finally, we concluded by testing the RFID card on your iPhone to ensure that the transfer was successful.
It’s important to note that the process may vary slightly based on the specific NFC reader/writer, the RFID card’s technology, and the NFC writer app you use. It’s always recommended to carefully follow the instructions provided by the manufacturer of the NFC reader/writer and the NFC writer app.
Now that you have successfully added your RFID card to your iPhone, you can enjoy the convenience of using your iPhone as a virtual RFID card. Whether it’s accessing buildings, using public transportation, or making contactless payments, your iPhone can streamline your daily activities.
Always remember to keep your iPhone charged and secure, as it now serves as an important access and payment method. If you encounter any difficulties during the process, consult the user manuals or seek assistance from the customer support channels of the respective products.
With this guide, you are now equipped to integrate your RFID card with your iPhone and enjoy the benefits of seamless access and convenience.