Introduction
Welcome to our guide on how to add a wireless router to an existing network. As technology continues to advance, having a reliable and high-performing wireless network in your home or office has become essential. Whether you are expanding your network coverage or simply looking to upgrade your existing equipment, adding a wireless router can provide you with the convenience of wireless connectivity for all your devices.
In this article, we will walk you through the step-by-step process of adding a wireless router to your existing network. We will cover everything from determining the type of router you need to connecting and configuring it to work seamlessly with your current network.
Before we dive into the technical aspects, it’s important to note that adding a wireless router requires some basic networking knowledge. However, even if you’re not a tech expert, don’t worry – we’ll break down the process in a beginner-friendly way so that you can follow along and set up your wireless network without any hassle.
By the end of this guide, you will have a solid understanding of how to integrate a wireless router into your existing network, allowing you to enjoy the benefits of wireless connectivity throughout your space.
So, let’s get started with step one: determining the type of wireless router you need.
Step 1: Determine the type of wireless router you need
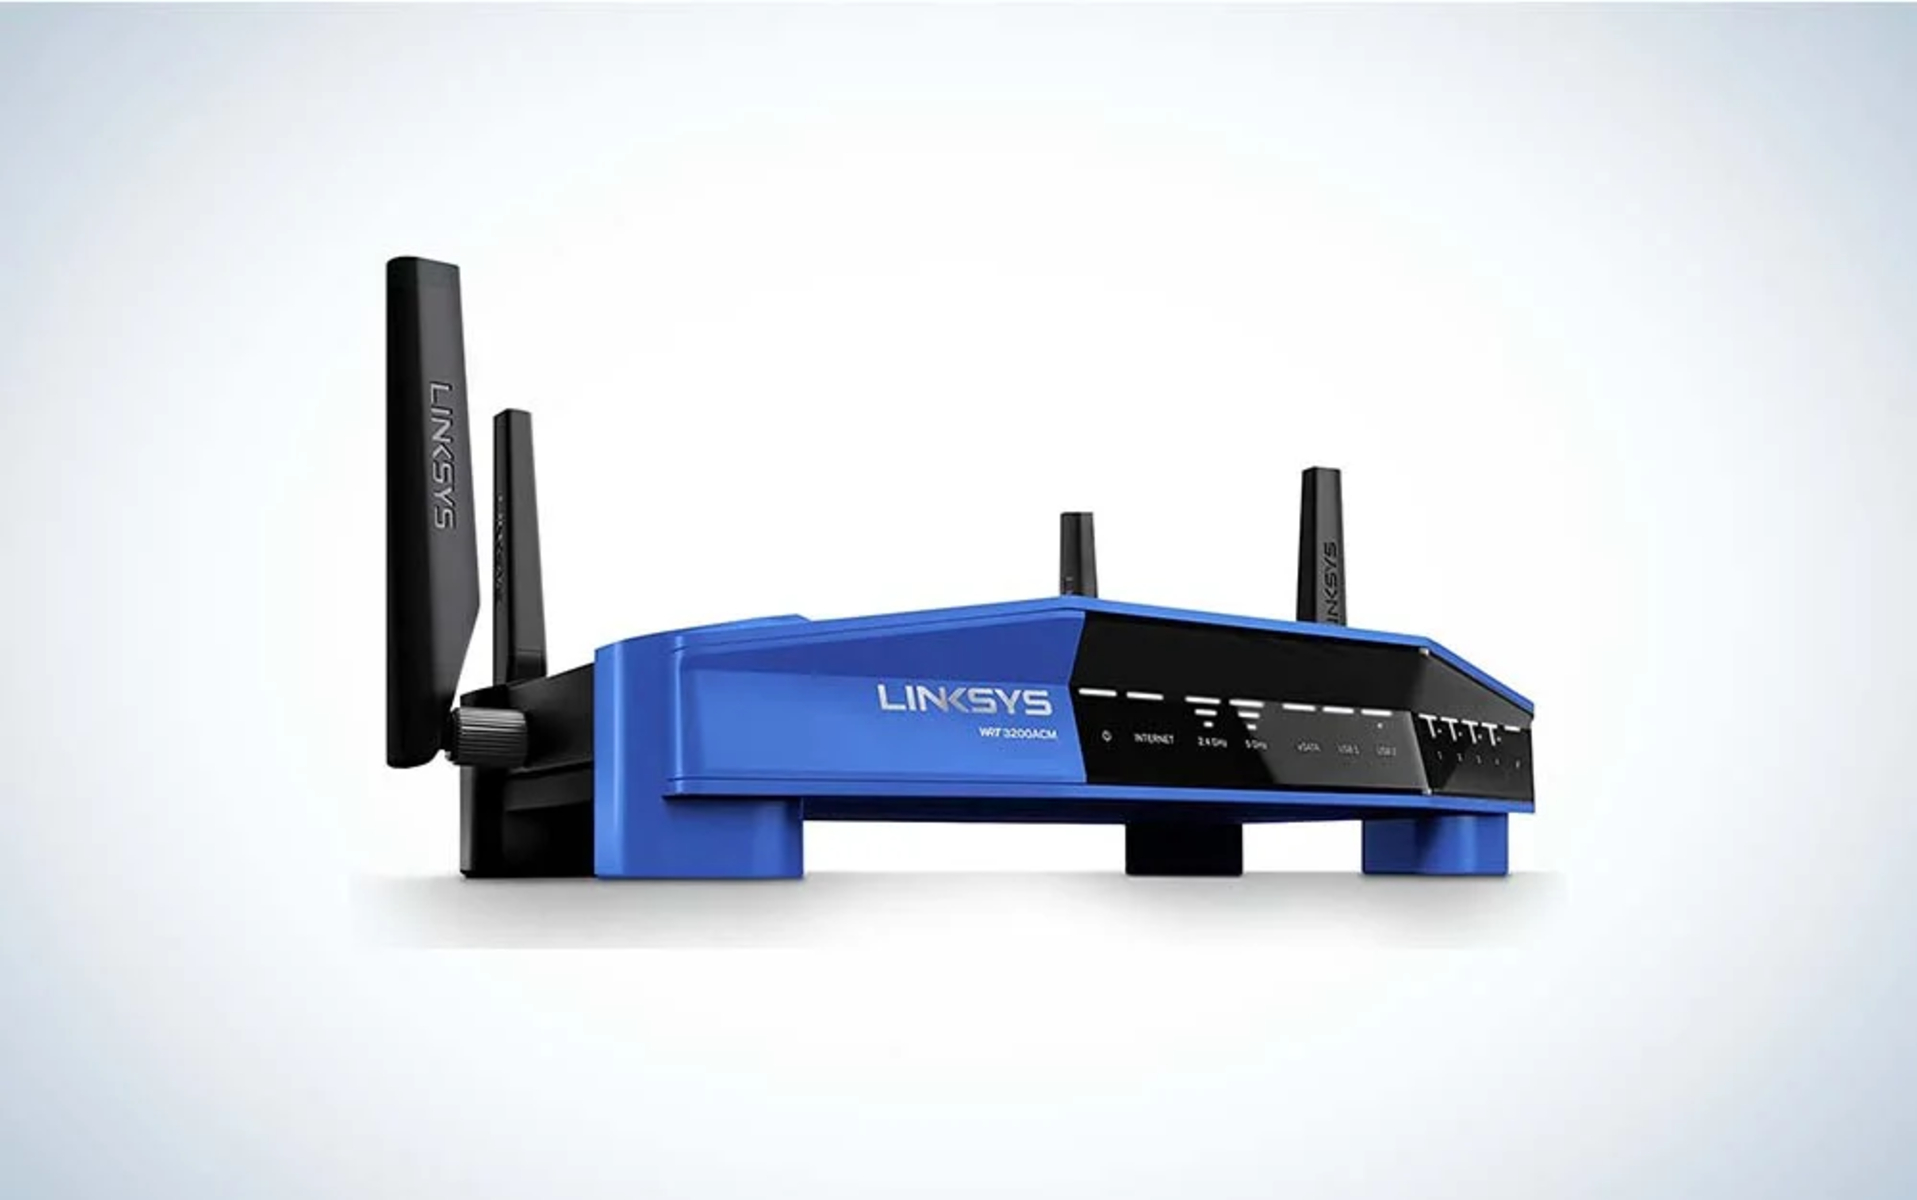
The first step in adding a wireless router to an existing network is determining the type of router that best suits your needs. Wireless routers come in various types and offer different features, so it’s important to choose one that aligns with your network requirements.
Here are a few factors to consider when determining the type of wireless router you need:
- Speed and coverage: Consider the speed and coverage area that you require for your network. If you have a large home or office space, you might need a router with advanced technologies like dual-band or mesh networking to ensure reliable coverage throughout.
- Number of devices: Take into account the number of devices that will be connected to the network. If you have multiple devices simultaneously streaming, gaming, or downloading, you’ll need a router that can handle the bandwidth demands without sacrificing performance.
- Security features: Security is crucial for any network, especially when dealing with wireless connections. Look for routers that offer robust security features like WPA2 encryption, firewall protection, and guest network support.
- Additional features: Some routers offer additional features like USB ports for connecting printers or storage devices, parental controls for managing internet access, and Quality of Service (QoS) settings for prioritizing certain types of traffic.
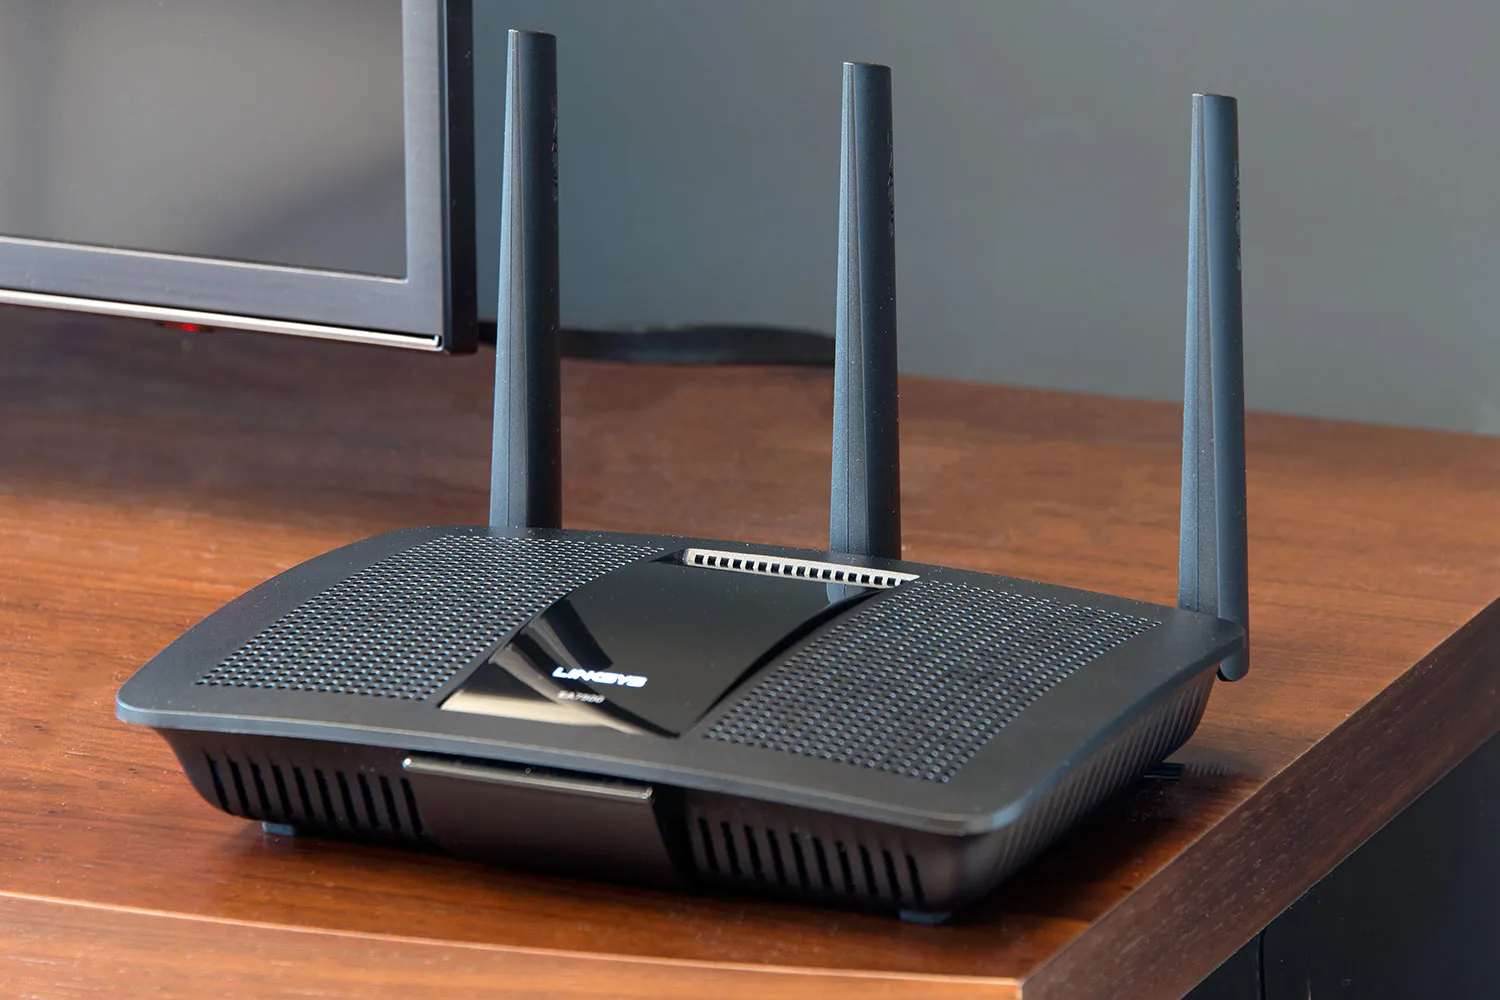
Once you have a clear understanding of your specific requirements, you can start browsing through the available wireless router options. Research different models, read customer reviews, and compare the features and specifications to find the router that fits your needs and budget.
It’s worth mentioning that technology is constantly evolving, and new router models are released regularly. It’s a good idea to choose a router that is compatible with the latest wireless standards, such as Wi-Fi 6, to future-proof your network and ensure optimal performance.
With the type of wireless router identified, you can now move on to the next step: gathering the necessary equipment.
Step 2: Gather necessary equipment
Now that you have determined the type of wireless router you need, it’s time to gather the necessary equipment before proceeding with the installation process. Having everything you need on hand will make the setup process smoother and more efficient.
Here are the essential items you’ll need:
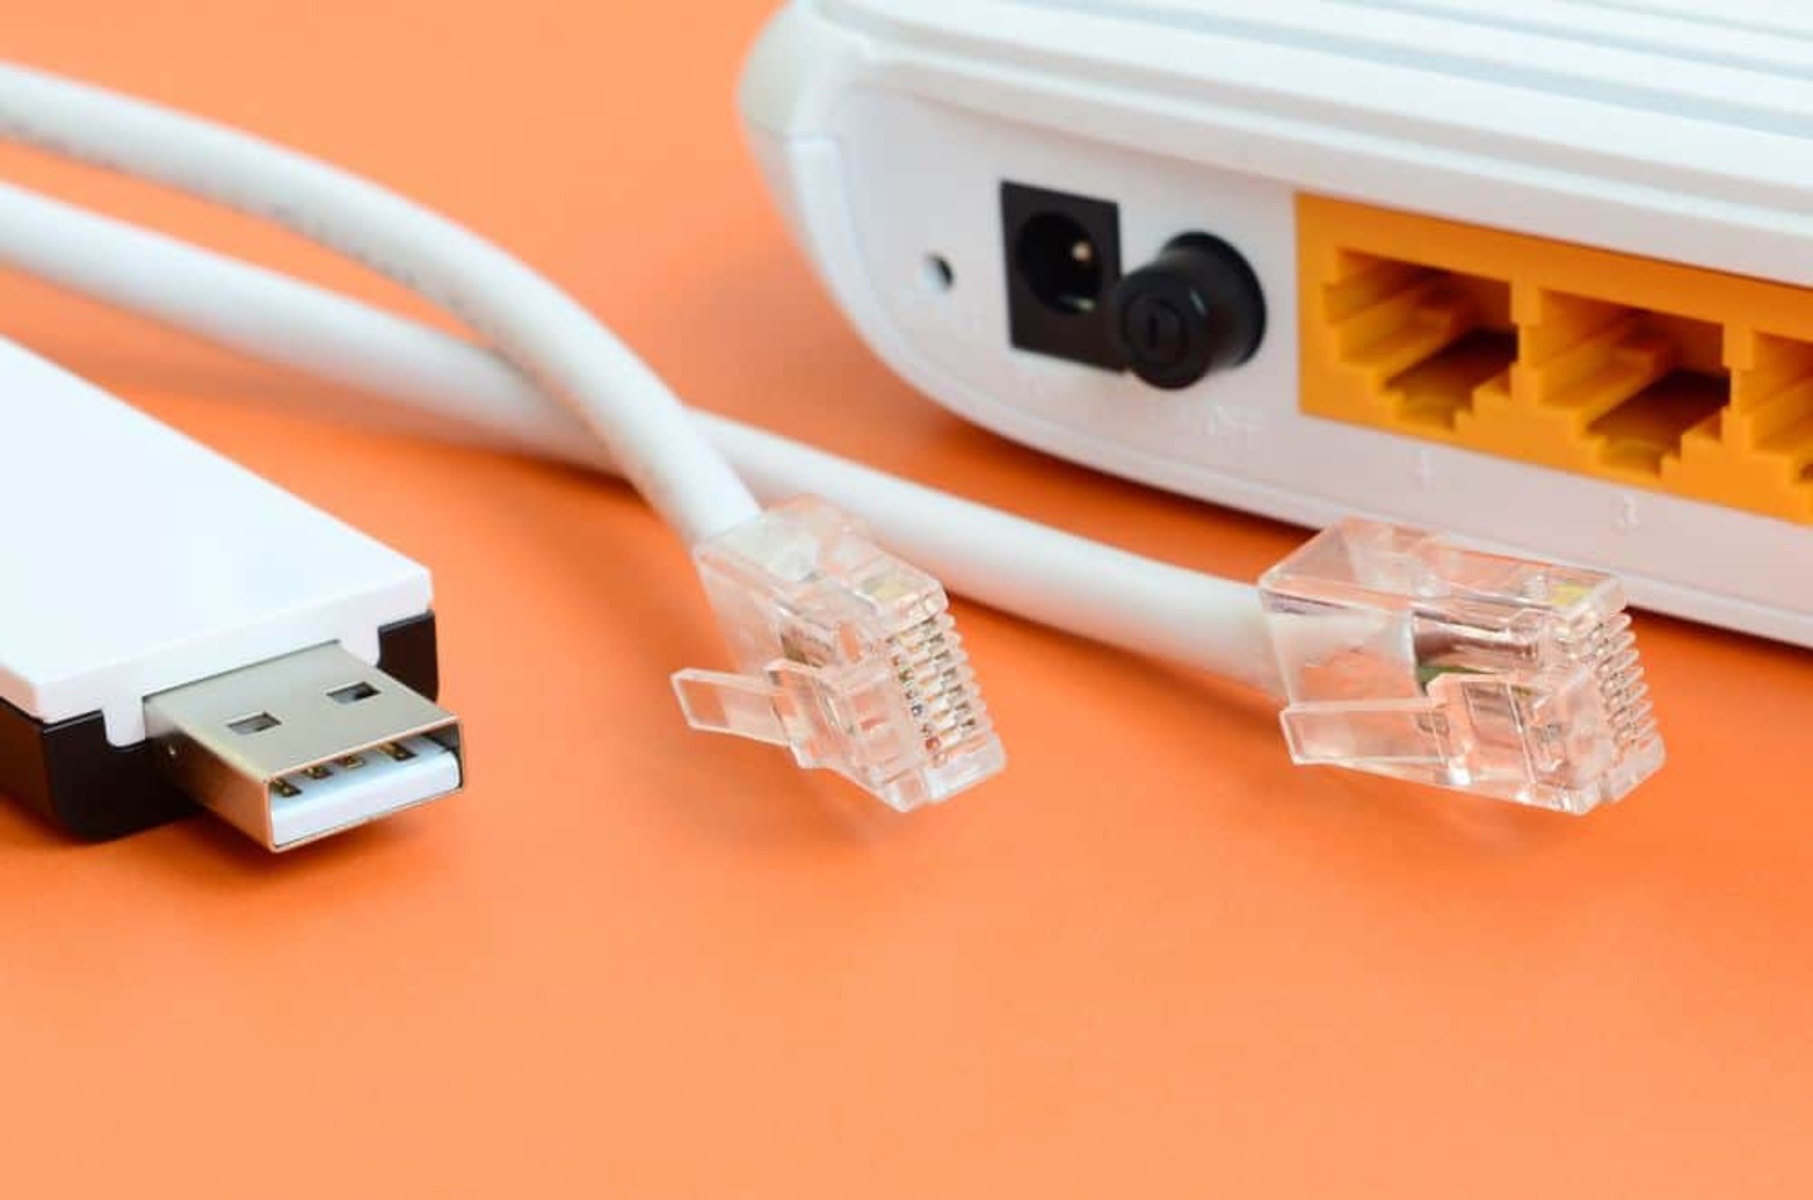
- Wireless router: Make sure you have the wireless router that you selected in the previous step. Ensure it comes with all the accessories, including the power adapter and Ethernet cable.
- Modem: You’ll need a modem that is compatible with your internet service provider (ISP) and capable of establishing a connection between your network and the internet. If you already have a modem, confirm its compatibility. Otherwise, you may need to purchase or rent a new one.
- Ethernet cables: Depending on the setup, you may require Ethernet cables to connect the router to the modem and a computer. It’s advisable to have at least two Ethernet cables of appropriate length on hand.
- A computer or mobile device: You’ll need a computer or mobile device with a web browser to access the router’s configuration page and make any necessary adjustments. Ensure it is connected to the network or has a wireless connection capability.
It’s always a good idea to read the manufacturer’s instructions and check their website for any additional equipment or specific requirements. This will ensure you have all the necessary items before diving into the installation process.
Once you have gathered all the required equipment, you are ready to proceed to the next step: connecting the router to power and the modem.
Step 3: Connect the router to power and the modem
Now that you have all the necessary equipment gathered, it’s time to connect the wireless router to power and the modem. This step will establish the initial physical connection required for your router to function properly.
Follow these steps to connect the router to power and the modem:
- Locate the power adapter that came with your router. Plug one end into the power port on the router and the other end into a power outlet.
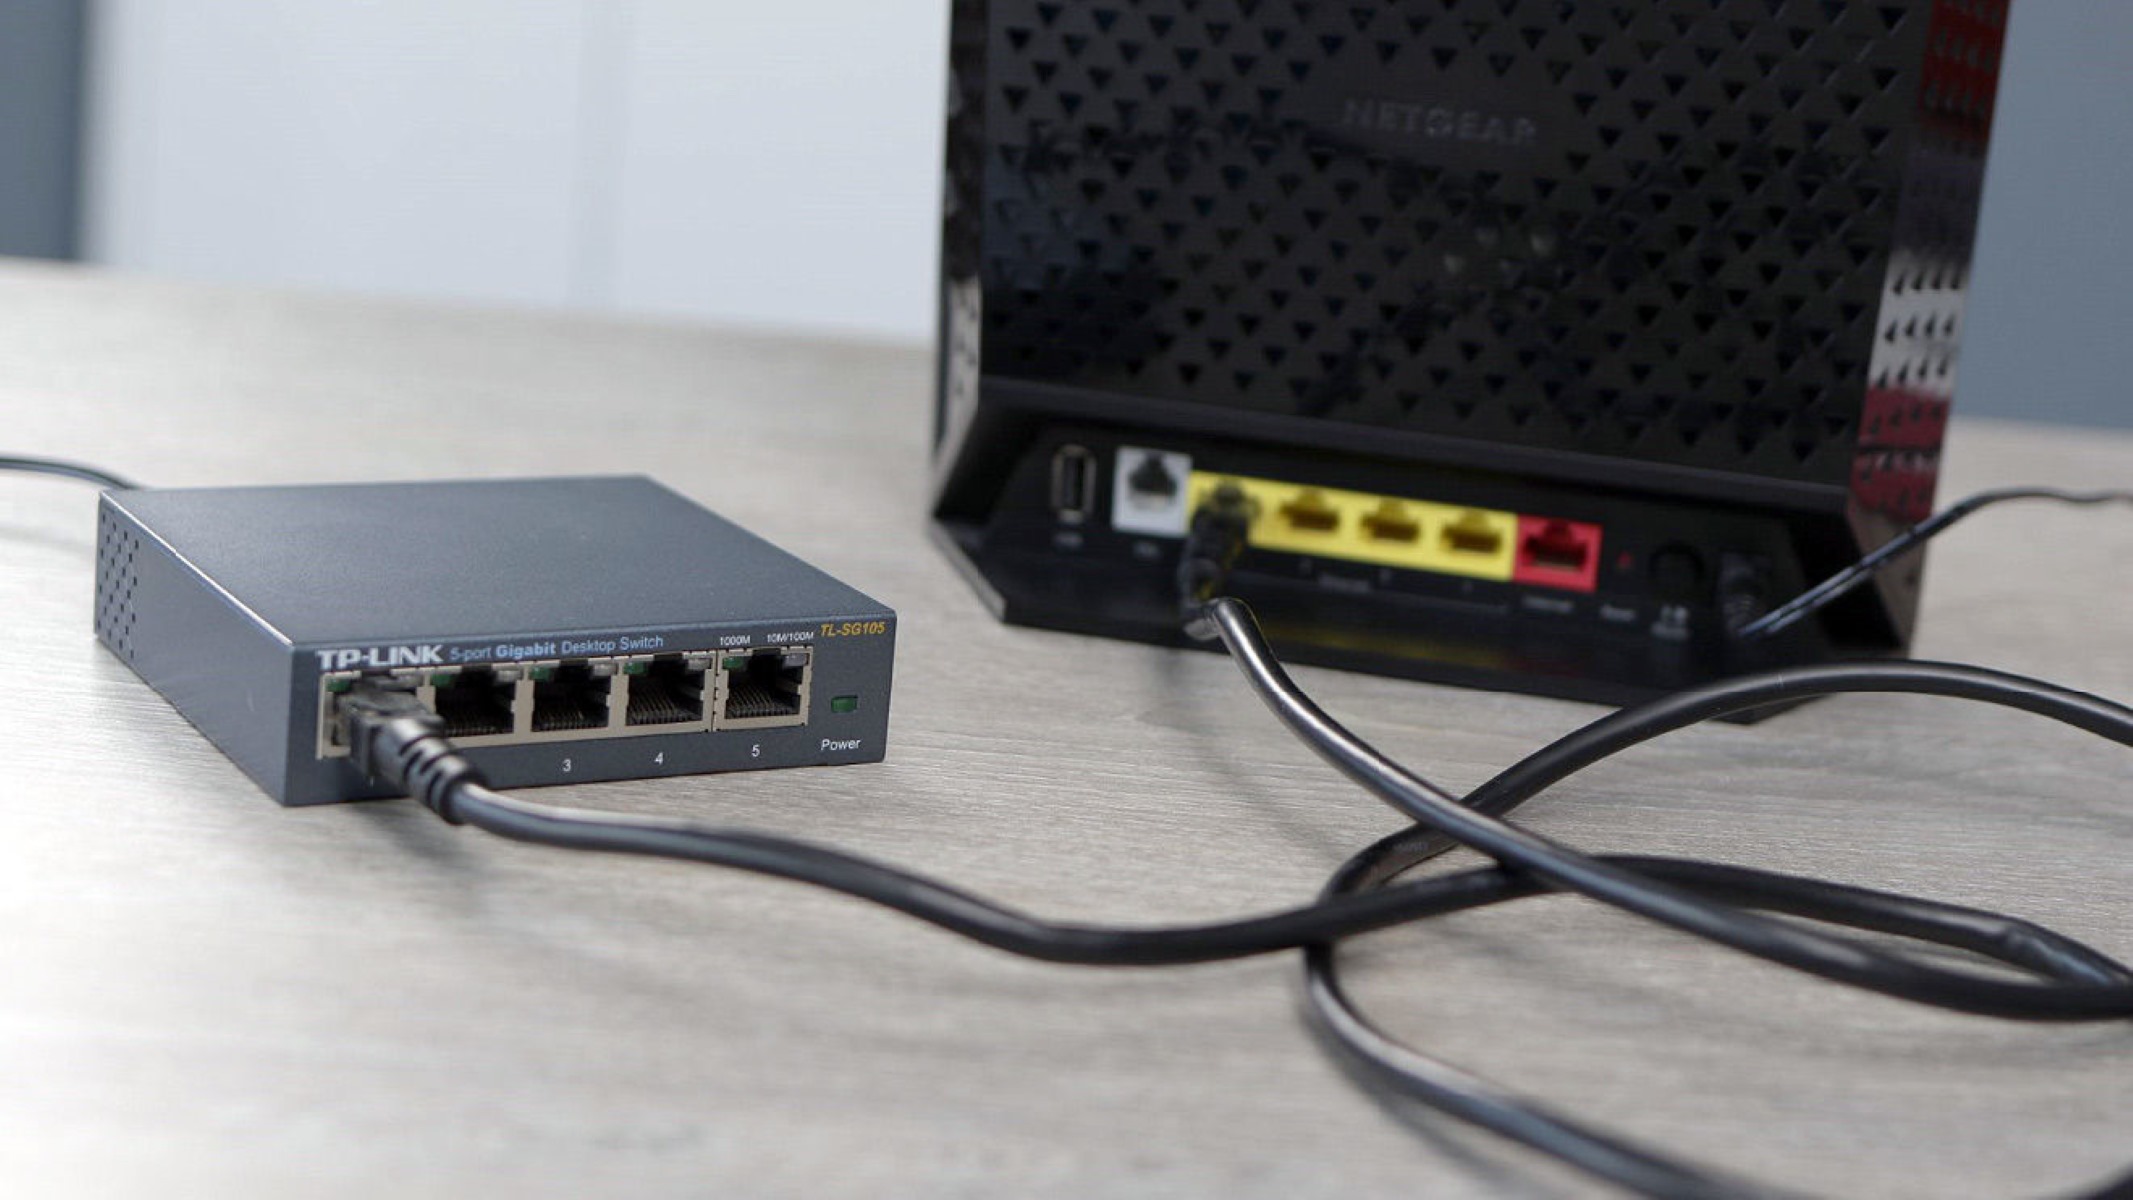
- Ensure that the modem is turned off if it’s already connected to the power source. Connect one end of an Ethernet cable to the Ethernet port on the modem.
- Connect the other end of the Ethernet cable to the WAN or Internet port on the back of the router.
- Turn on the modem and wait for it to establish a stable internet connection. This process may take a few minutes as the modem syncs with your ISP.
- Once the modem is online, turn on the wireless router and wait for it to power up. This may also take a few minutes as the router initializes its settings.
After completing these steps, the wireless router should be connected to both power and the modem. The power LED on the router should be lit and stable, indicating that it is receiving power. Additionally, the WAN or Internet LED should also be lit, indicating that the router is connected to the modem and receiving an internet signal.
Make sure that the physical connections are secure and properly plugged in to avoid any potential issues later on. With the router and modem connected, you are now ready to move on to the next step: connecting a computer to the router.
Step 4: Connect a computer to the router
After establishing the physical connections between the router, modem, and power source, the next step is to connect a computer to the router. This will allow you to access the router’s configuration page and make necessary adjustments to set up your wireless network.
Follow these steps to connect a computer to the router:
- Locate an available Ethernet port on the back of the wireless router.
- Connect one end of an Ethernet cable to the Ethernet port on the computer.
- Connect the other end of the Ethernet cable to one of the available Ethernet ports on the router.
- Ensure that the physical connection is secure on both ends.
- If your computer has a wireless connection capability, you can opt for a wireless connection instead. Simply locate the wireless network name (SSID) on the router and select it from the list of available networks on your computer.
By connecting your computer to the wireless router, you establish a direct wired connection that allows you to access the router’s configuration page and make necessary adjustments. Alternatively, if you choose a wireless connection, make sure to input the network’s password when prompted to establish a secure connection.
Once the computer is connected to the router, you are ready to move on to the next step: accessing the router’s configuration page.
Step 5: Access the router’s configuration page
Now that your computer is connected to the wireless router, it’s time to access the router’s configuration page. This page allows you to customize various settings and set up your wireless network according to your preferences.
Follow these steps to access the router’s configuration page:
- Open a web browser on your computer.
- In the address bar, type the default IP address of your router. This information is usually printed on a label on the back or bottom of the router. If you’re unsure, you can search online for the default IP address of your router model.
- Press Enter to navigate to the router’s login page.
- Enter the router’s username and password. Again, this information is typically provided on the router’s label. If you have changed the login credentials in the past and cannot remember them, you may need to perform a factory reset on the router.
- Once logged in, you will have access to the router’s configuration page. Here, you can adjust various settings such as the wireless network name (SSID), security settings, and more.
It’s important to note that the layout and options on the configuration page may vary depending on the router’s brand and model. Refer to the router’s user manual or online documentation for specific instructions on navigating and configuring the settings.
Take your time to explore the different options available on the configuration page. Customizing the settings to fit your needs will ensure a reliable and secure wireless network. Once you have made the necessary adjustments, you can proceed to the next step: configuring the wireless settings.
Step 6: Configure the wireless settings
Now that you have accessed the router’s configuration page, it’s time to configure the wireless settings. This step involves setting up the network name (SSID), security settings, and other parameters to ensure a secure and efficient wireless network.
Follow these steps to configure the wireless settings:
- Locate the wireless settings or wireless setup section on the router’s configuration page.
- Enter a unique and memorable name for your wireless network in the SSID field. This name will be visible to devices when searching for available networks.
- Select the appropriate security mode. It is highly recommended to use WPA2 or WPA3 encryption for enhanced security. Set a strong password for your wireless network to prevent unauthorized access.
- Adjust other wireless settings as desired, such as the channel and transmission power. In most cases, the default settings should work fine, but you can consult the router’s documentation for more information on advanced settings.
- Save the changes to apply the new wireless settings.
Configuring the wireless settings ensures that your wireless network is protected and unique to your specific needs. It helps prevent unauthorized access and interference from neighboring networks.
Before moving on to the next step, it’s a good idea to test the wireless network by connecting a device and ensuring a stable internet connection. If everything is working as expected, you can proceed to the next step: configuring the LAN settings.
Step 7: Configure the LAN settings
After configuring the wireless settings, the next step is to configure the LAN (Local Area Network) settings on your wireless router. The LAN settings determine how devices on your network communicate with each other and access the internet.
Follow these steps to configure the LAN settings:
- Access the router’s configuration page as you did in the previous step.
- Locate the LAN settings section, which can typically be found under the network settings or advanced settings.
- Set the IP address for your router’s LAN interface. It is recommended to use a private IP address within the range of 192.168.0.1 to 192.168.255.254 for home networks.
- Configure the DHCP (Dynamic Host Configuration Protocol) settings. DHCP is responsible for assigning IP addresses to devices connecting to your network. You can choose to enable or disable DHCP, adjust the lease time, and set the range of IP addresses to be assigned.
- Save the changes to apply the new LAN settings.
Configuring the LAN settings allows your devices to communicate with each other and access the internet seamlessly. The DHCP settings ensure that devices are assigned unique IP addresses and can connect to the network without conflicts.
Once you have completed configuring the LAN settings, you can proceed to the final step: connecting the router to the existing network.
Step 8: Connect the router to the existing network
The final step in adding a wireless router to an existing network is to connect the router to the existing network. This step allows the newly added router to work in conjunction with your existing network infrastructure.
Follow these steps to connect the router to the existing network:
- Access the router’s configuration page.
- Locate the Network or WAN settings section.
- Select the option to set the router as an Access Point or Bridge Mode. This mode allows the router to act as an extension of your existing network rather than creating a new network.
- Make sure to disable DHCP on the wireless router. This is necessary to prevent IP conflicts within the network.
- Configure the wireless router’s IP address to match the subnet of your existing network. This ensures that devices connected to the wireless router can communicate with devices on the existing network.
- Save the changes to apply the configuration.
By connecting the router to the existing network, you extend the network coverage and allow devices to seamlessly connect to either the main router or the newly added wireless router, depending on signal strength and proximity.
After completing this step, give the router a few moments to apply the changes and establish a connection with the existing network. Once connected, you should be able to access the internet and share files between devices across the network.
Congratulations! You have successfully added a wireless router to your existing network. Enjoy the benefits of a reliable and expanded wireless network coverage throughout your space.
Conclusion
Adding a wireless router to an existing network can enhance your connectivity and provide the convenience of wireless access for all your devices. By following the step-by-step process outlined in this guide, you can successfully integrate a wireless router into your network infrastructure.
Throughout this guide, we discussed the importance of determining the type of wireless router you need based on factors such as speed, coverage, and security features. We also emphasized the need to gather all the necessary equipment, including the router itself, a modem, Ethernet cables, and a computer or mobile device.
We then walked you through the process of connecting the router to power and the modem, establishing the initial physical connection. We also explained how to connect a computer to the router, allowing access to the router’s configuration page.
On the configuration page, we covered the steps necessary to configure the wireless settings, including the network name (SSID) and security mode. We then moved on to configuring the LAN settings, which determine how devices communicate within the network.
Finally, we discussed the importance of connecting the router to the existing network, allowing it to work as an extension of your network infrastructure. This step ensures seamless connectivity and expands the coverage of your wireless network.
By following these steps, you can successfully add a wireless router to your existing network, enabling you to enjoy the benefits of wireless connectivity throughout your space. Remember to consult the specific instructions provided by your router’s manufacturer and refer to their documentation for any additional information or troubleshooting guidance.
We hope this guide has been helpful in assisting you with adding a wireless router to your existing network. Enjoy your enhanced network coverage and wireless connectivity!