Introduction
Welcome to the world of digital TV! If you’re the proud owner of a Samsung QLED TV, you have access to a wide range of entertainment options, including local digital TV channels. These channels provide a wealth of content, from news and sports to movies and documentaries, and they are easily accessible on your Samsung QLED TV.
In this guide, we’ll walk you through the steps to access local digital TV channels on your Samsung QLED TV. Whether you’re a cord-cutter looking to enjoy free over-the-air channels or simply want to explore the local programming in your area, our easy-to-follow instructions will help you make the most of your TV’s capabilities.
Before we dive into the process, it’s important to note that to access local digital TV channels, you’ll need to connect an antenna to your Samsung QLED TV. This will allow your TV to receive the over-the-air signals broadcasted by local TV stations. Once you have your antenna connected, you can follow the steps outlined in this guide to begin enjoying your local channels.
Now, let’s get started on the journey of accessing local digital TV channels on your Samsung QLED TV! By the end of this guide, you’ll be able to enjoy a range of local content, stay updated on the latest news, catch your favorite sports games, and discover exciting programs in your area.
Step 1: Connect an Antenna to Your Samsung QLED TV
Before you can access local digital TV channels on your Samsung QLED TV, you’ll need to connect an antenna to your TV. The antenna will receive over-the-air signals from local TV stations, allowing you to enjoy free broadcasted channels. Here’s how you can do it:
- Locate the antenna input on your Samsung QLED TV. It is usually labeled as “Antenna” or “RF In”.
- Take the coaxial cable (included with your antenna) and connect one end to the antenna input on your TV.
- Connect the other end of the coaxial cable to the antenna output or port on your antenna.
- Ensure that the antenna is properly positioned. For optimal signal reception, place it near a window or high up on a wall.
- Power on your TV and access the settings menu.
- Navigate to the “Channels” or “Input” section in the TV menu. This may vary depending on the model of your Samsung QLED TV.
- Select the option to set up or scan for channels.
- Choose the option for the antenna as the signal source.
- Initiate the channel scan by following the on-screen instructions. Your Samsung QLED TV will now scan for available channels in your area.
Once the scan is complete, your Samsung QLED TV will display a list of detected channels. Congratulations! You have successfully connected an antenna to your TV and completed the first step in accessing local digital TV channels.
Remember to perform a channel scan periodically to keep your channel list up to date. If you move your TV to a new location, it’s also advisable to rescan for channels to ensure you receive the strongest signal from the local TV stations.
Step 2: Accessing the TV Menu
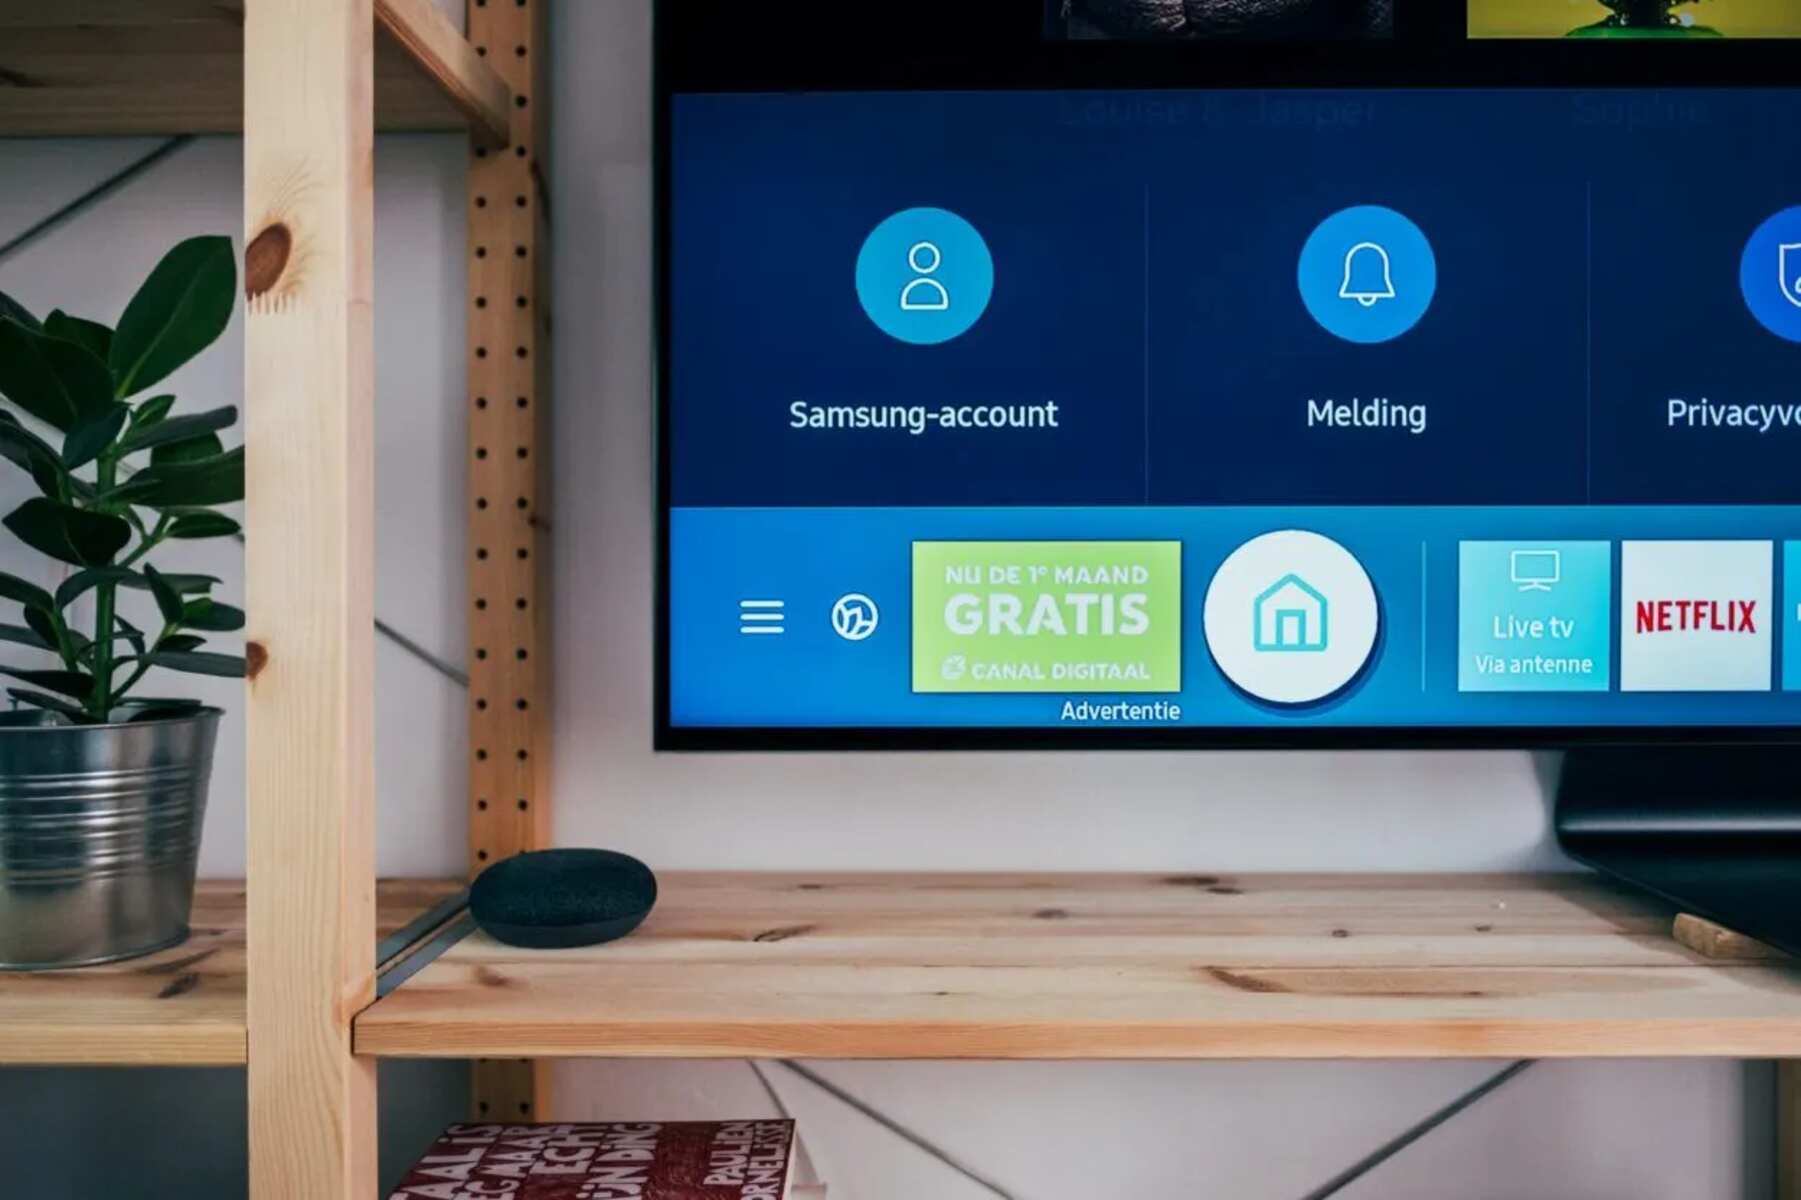
Now that you have connected your antenna to your Samsung QLED TV, it’s time to access the TV menu. The TV menu is where you can navigate through various settings and options, including those related to channel setup and management. Here’s how to access the TV menu:
- Power on your Samsung QLED TV using the remote control.
- Look for the “Menu” or “Settings” button on the remote. It may be represented by an icon of a gear or have the word “Menu” printed on it.
- Press the “Menu” or “Settings” button to open the TV menu on your screen.
- Use the arrow keys on the remote control to navigate through the menu options. The arrow keys are usually located in the center or bottom section of the remote.
- Look for the “Channels” or “Input” section in the TV menu. This is where you can access the channel setup and management options.
Depending on the model of your Samsung QLED TV, the menu layout and organization may vary. However, most Samsung QLED TVs have a user-friendly interface that allows for easy navigation and access to different settings.
Once you have accessed the TV menu, you are now ready to proceed to the next step: scanning for local channels. Keep in mind that if your TV is connected to an external device, such as a cable or satellite box, you may need to switch the input source to the TV tuner to access the channel setup options.
With the TV menu at your fingertips, you have the control to explore and customize various features of your Samsung QLED TV. Take your time to familiarize yourself with the menu options, as they can enhance your overall viewing experience.
Step 3: Scanning for Local Channels
After connecting your antenna and accessing the TV menu on your Samsung QLED TV, it’s time to scan for local channels. Scanning for channels allows your TV to detect and store all available digital TV channels in your area. Follow these steps to initiate the channel scan:
- In the TV menu, navigate to the “Channels” or “Input” section. This is where you’ll find the channel setup options.
- Select the option to set up or scan for channels. The specific wording may vary depending on your Samsung QLED TV model.
- Choose the signal source as the antenna. If you have multiple options, such as cable or satellite, make sure to select the antenna as the source for the channel scan.
- Initiate the channel scan by selecting the “Start” or “Scan” option. Your Samsung QLED TV will start scanning for available channels.
- Wait for the channel scan to complete. This process may take a few minutes, as your TV is searching for all available digital channels in your area.
- Once the scan is complete, your Samsung QLED TV will display a list of detected channels.
It’s important to note that the number of channels found during the scan may vary depending on your location and the strength of the signals received by your antenna. In some cases, you may receive additional subchannels or multicasting channels alongside the main channels.
After the initial scan, you can manually add or remove channels from the list if needed. This allows you to customize your channel lineup based on your preferences. Refer to your TV’s user manual or the on-screen instructions for detailed steps on editing and organizing channels.
By scanning for local channels, you are now one step closer to enjoying a variety of free high-definition digital TV channels on your Samsung QLED TV. Next, let’s explore how you can organize and edit your channel list to make your viewing experience even more seamless and convenient.
Step 4: Organizing and Editing Channels
Once you have completed the channel scan on your Samsung QLED TV and have a list of detected channels, it’s time to organize and edit your channel lineup to suit your preferences. Here’s how you can do it:
- In the TV menu, navigate to the “Channels” or “Input” section as you did in the previous steps.
- Look for the option to manage channels or edit channel list. This may be labeled as “Channel List,” “Edit Channels,” or something similar.
- Select the option to enter the channel list or edit mode.
- Use the arrow keys on your remote control to navigate through the channels in the list.
- To remove a channel from the list, select the channel and choose the option to delete or remove it. This can be useful if you want to exclude certain channels from your lineup.
- If desired, you can also manually add channels that may not have been detected during the initial scan. Look for the option to add channels or manually tune a channel and follow the on-screen instructions.
- Some Samsung QLED TVs allow you to rearrange the channel order. If this feature is available on your TV model, select a channel and choose the option to move it up or down in the list. This allows you to prioritize your favorite channels.
- Once you have organized and edited your channel lineup to your satisfaction, save the changes and exit the channel management menu.
By organizing and editing your channels, you can have a streamlined and personalized set of channels that cater to your preferences. Whether you want to remove unwanted channels, manually add additional channels, or rearrange the order for convenience, this step allows you to take full control of your viewing experience.
Remember, you can always revisit the channel management menu to make further adjustments in the future. Feel free to experiment with different channel arrangements and explore the variety of content available on your local digital TV channels.
Now that you have successfully organized and edited your channel list, let’s move on to the next step and explore some additional features that can enhance your TV viewing experience on your Samsung QLED TV.
Step 5: Utilizing Additional Features
Now that you have accessed and organized your local digital TV channels on your Samsung QLED TV, it’s time to explore some additional features that can enhance your TV viewing experience. These features can provide you with more control and convenience while enjoying your favorite content. Here are a few key features to consider:
1. Electronic Program Guide (EPG): Many Samsung QLED TVs provide an EPG feature, which displays a detailed guide of upcoming programs on different channels. You can access this guide by pressing the “Guide” or “EPG” button on your remote control. The EPG allows you to see program schedules, read descriptions, and even set reminders for shows you don’t want to miss.
2. Channel Labeling: You can assign custom labels to your channels to make them easier to identify. For example, you can rename a channel from “Channel 2” to “Local News” or “Sports Channel.” This feature allows you to personalize your channel lineup and quickly navigate to your favorite content.
3. Parental Controls: Samsung QLED TVs often provide parental control settings, allowing you to restrict access to certain channels or content based on age appropriateness. This feature ensures a safe viewing experience, especially if you have young children at home.
4. Picture and Sound Settings: Take advantage of the picture and sound settings on your Samsung QLED TV to customize your viewing experience. Adjust the brightness, contrast, color settings, and sound preferences to suit your preferences and optimize your enjoyment.
5. Smart TV Features: Many Samsung QLED TVs come with smart TV capabilities, allowing you to access streaming services, browse the internet, and download apps. Explore the range of apps available and make the most of your TV’s smart functions to expand your entertainment options.
Utilizing these additional features can elevate your TV watching experience on your Samsung QLED TV. Take the time to explore and experiment with these features to find the settings and options that suit your preferences and make your TV experience even more enjoyable.
With these steps and features, you’re well on your way to accessing and enjoying local digital TV channels on your Samsung QLED TV. Whether you’re catching up on the latest news, watching your favorite shows, or discovering new programs in your area, your TV will provide you with a world of entertainment right at your fingertips.
Conclusion
Congratulations! You have successfully learned how to access local digital TV channels on your Samsung QLED TV. By following the steps outlined in this guide, you have connected an antenna, accessed the TV menu, scanned for local channels, organized and edited your channel lineup, and explored additional features to enhance your TV viewing experience. Now, you can enjoy a wide range of free over-the-air channels and immerse yourself in the wonderful world of digital entertainment.
Remember, connecting an antenna to your Samsung QLED TV is the first step in accessing local digital TV channels. By utilizing the TV menu, you can easily navigate through settings and options to set up and manage your channels. Scanning for channels allows your TV to detect available broadcasts in your area, while organizing and editing your channel lineup lets you customize your viewing experience by adding or removing channels and rearranging the order.
Don’t forget to explore the additional features offered by your Samsung QLED TV. With features like the Electronic Program Guide, channel labeling, parental controls, picture and sound settings, and smart TV capabilities, you can further enhance your TV watching experience and make it personalized and enjoyable.
Now it’s time to sit back, grab your remote control, and start exploring the local digital TV channels available on your Samsung QLED TV. Keep in mind that you may discover new shows, sports events, news updates, and other exciting content that you didn’t have access to before.
We hope this guide has been helpful and that you’re now ready to make the most of your Samsung QLED TV. Enjoy your newfound access to local digital TV channels and happy viewing!