Introduction
Welcome to the delicious world of homemade ice cream! If you’ve recently invested in an ice cream maker, you may find yourself wondering how long you should mix your ice cream mixture for the best results. Mixing time plays a crucial role in achieving the perfect texture and consistency of your frozen treat.
While there’s no one-size-fits-all answer to this question, as it can vary depending on the type of ice cream you’re making and the specific recipe you’re using, there are some general guidelines you can follow to help you determine the ideal mixing time for your ice cream mixture.
In this article, we will dive into the factors that affect mixing time, provide recommended mixing times for different types of ice cream, give tips on monitoring the mixing process, and discuss the consequences of undermixing or overmixing your ice cream. By the end, you’ll have a better understanding of how to tell when your ice cream is ready and achieve ice cream perfection with your ice cream maker.
So, grab your favorite ice cream recipe and let’s get started on the journey to creating delectable frozen delights!
Understanding the Ice Cream Maker
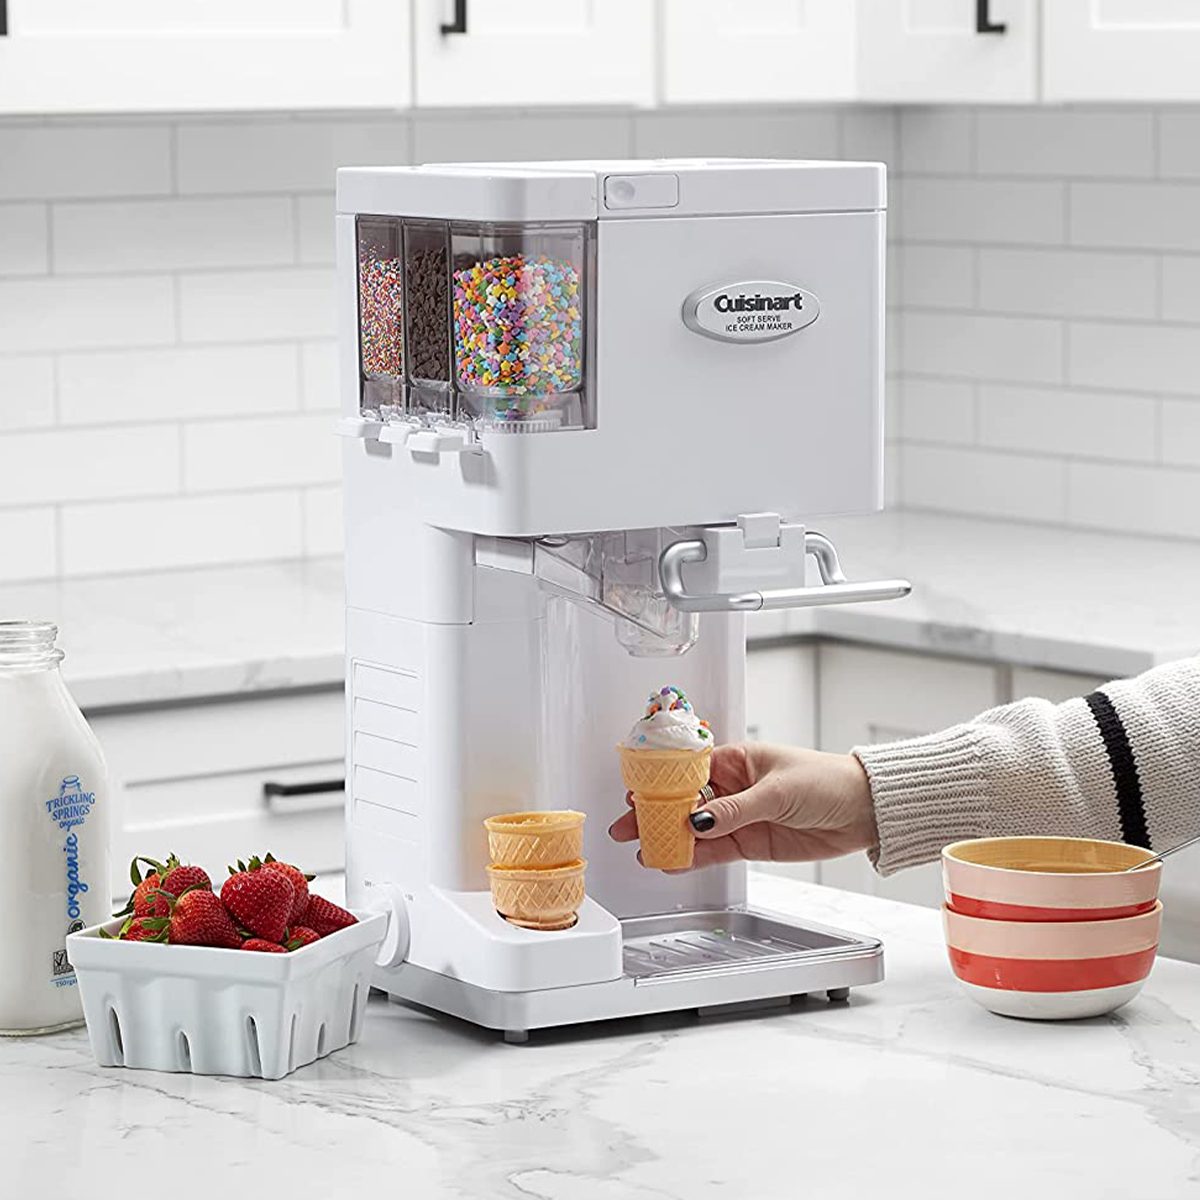
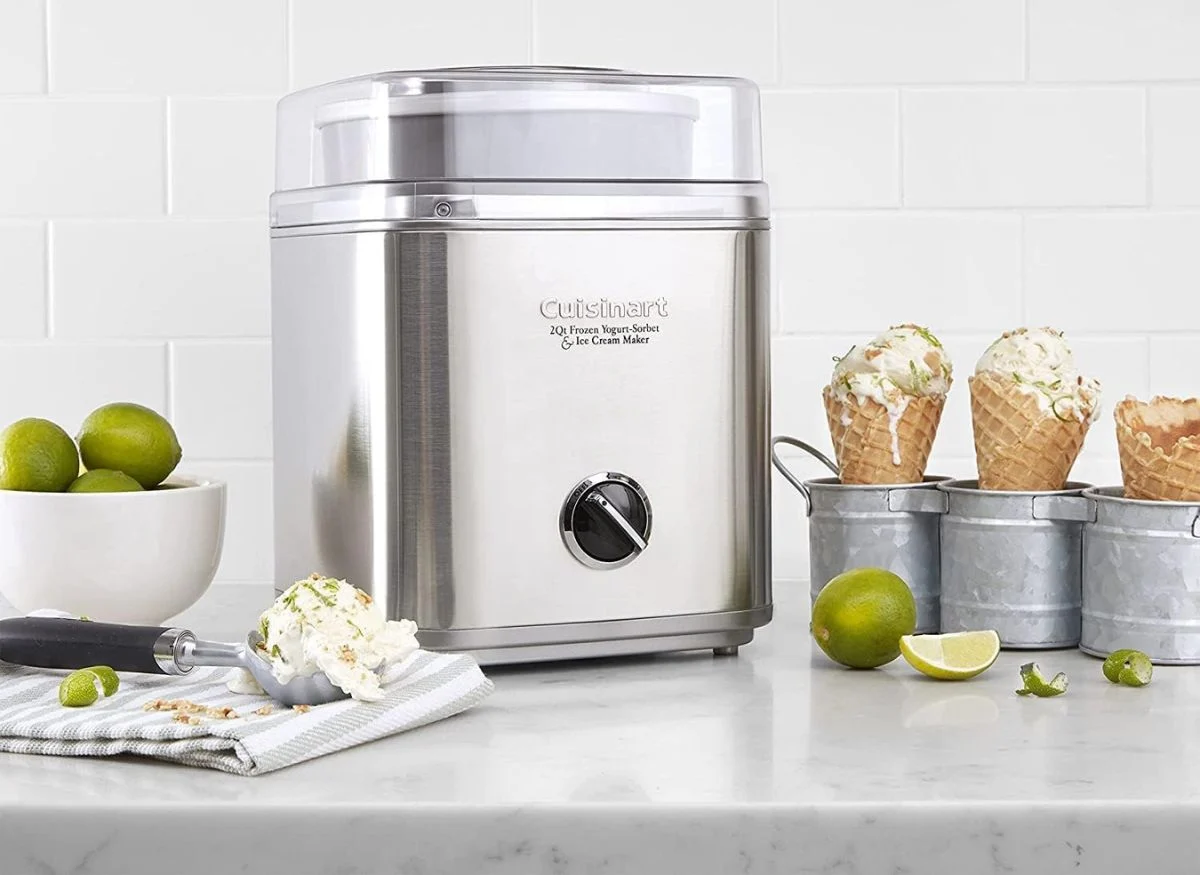
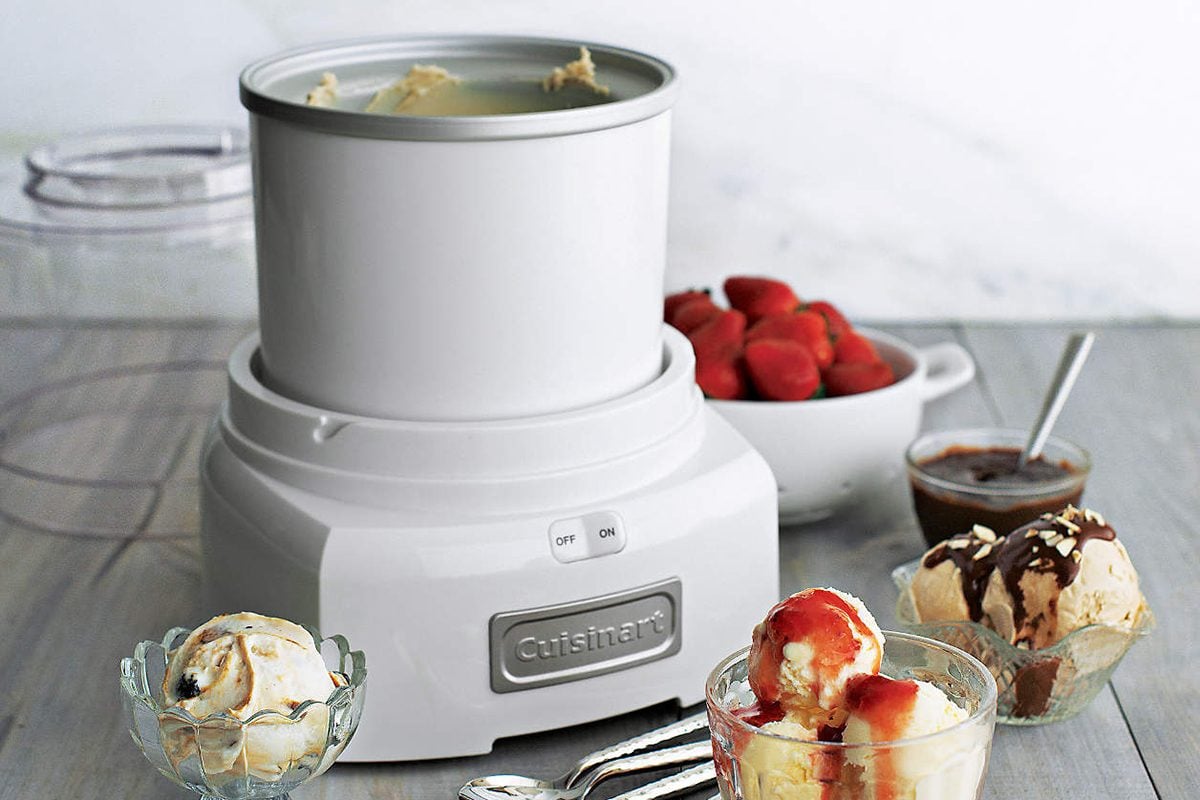
Before delving into the specifics of mixing time, it’s important to have a basic understanding of how an ice cream maker works. Most ice cream makers consist of a freezer bowl, a paddle or dasher, and a motorized base.
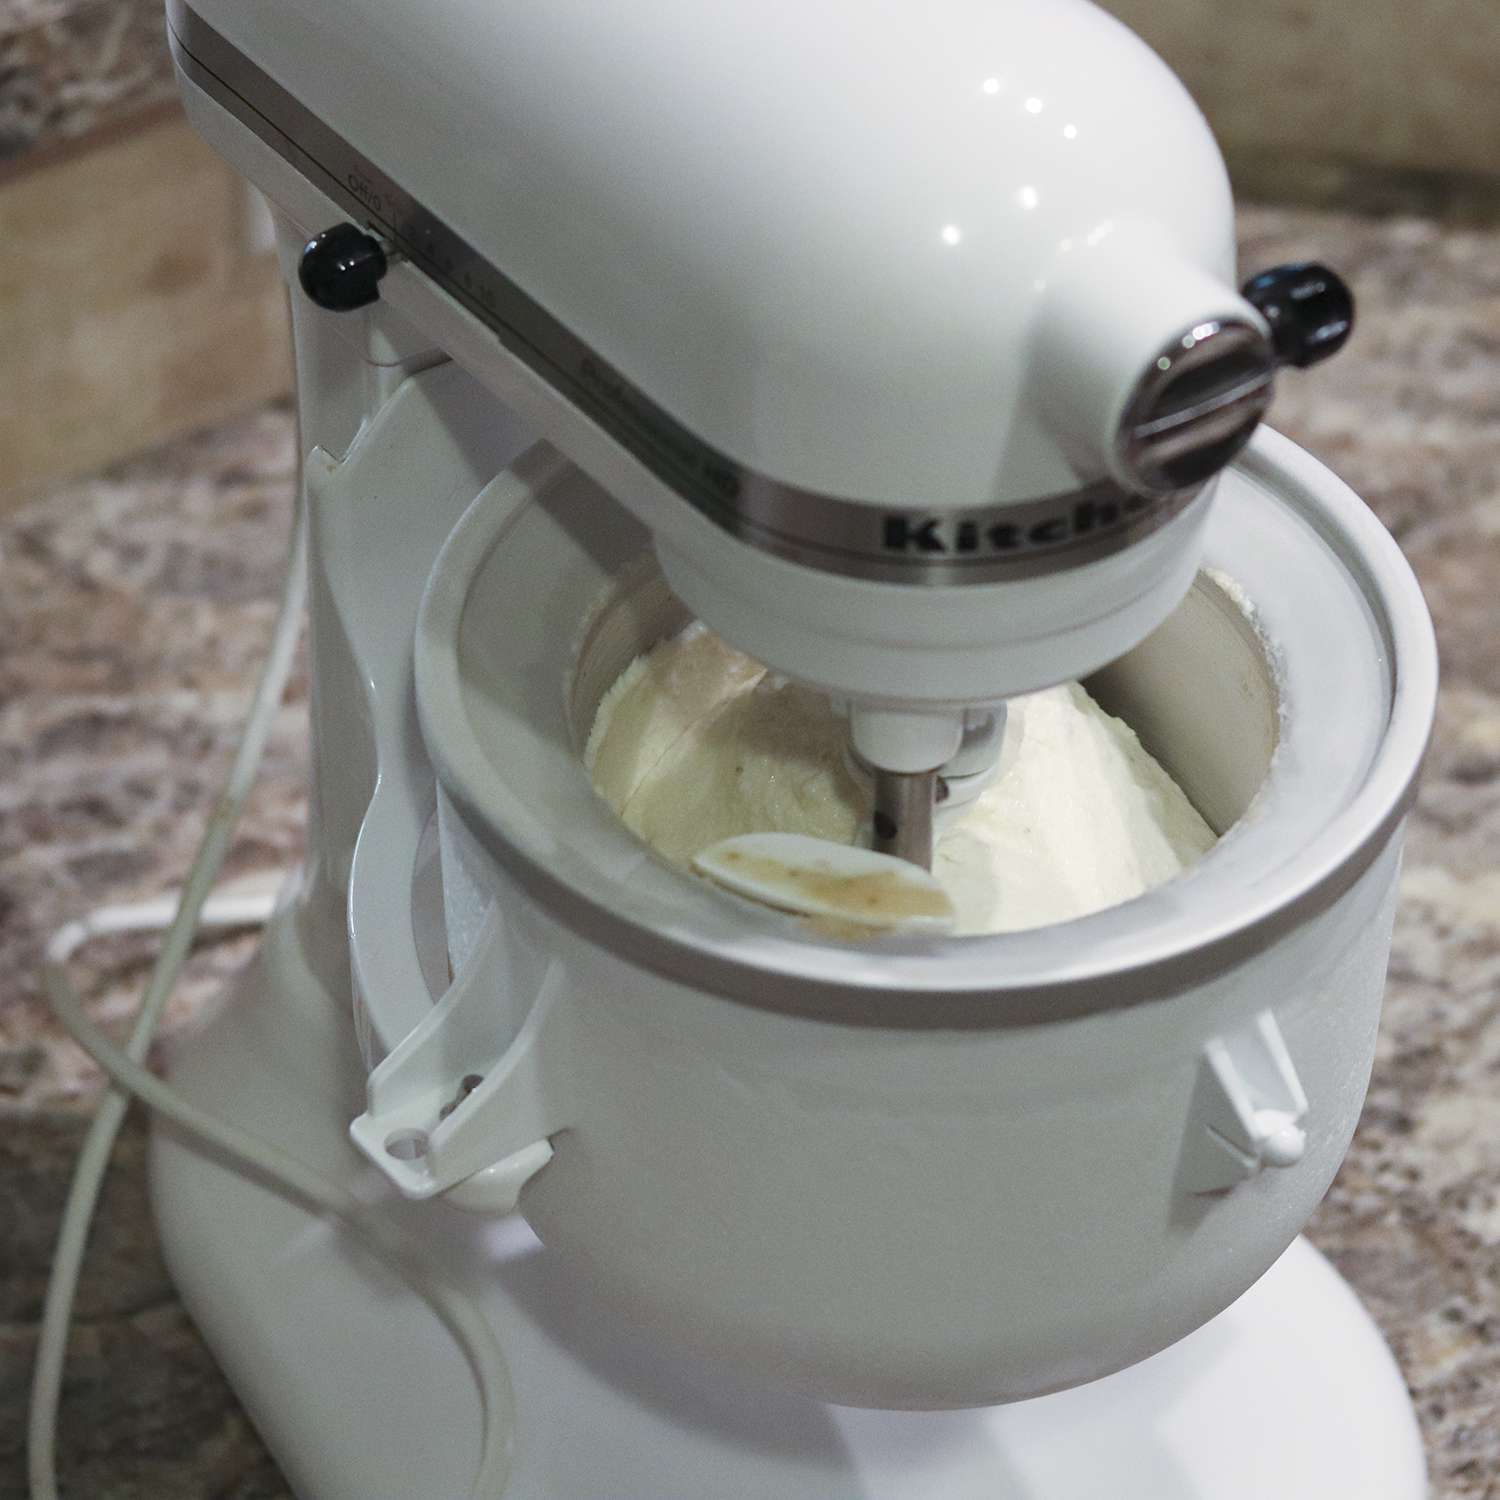
The freezer bowl is the key component that needs to be pre-frozen before use. It is typically filled with a coolant or liquid gel that freezes and maintains a low temperature. This frozen bowl helps to quickly freeze the ice cream mixture as it churns, resulting in a smooth and creamy texture.
The paddle or dasher is an agitator that rotates inside the freezer bowl. Its role is to continuously agitate the ice cream mixture, ensuring that it freezes evenly and prevents the formation of large ice crystals.
The motorized base powers the rotation of the paddle or dasher. It provides consistent and controlled movement, allowing the ice cream mixture to be mixed and frozen at the same time.
Now that we’ve covered the basic components, let’s move on to the factors that can affect mixing time.
Factors Affecting Mixing Time
Several factors can influence the optimal mixing time for your ice cream. Understanding these factors will help you adjust your mixing time accordingly and achieve the perfect consistency.
- Recipe Ingredients: The ingredients used in your ice cream recipe can impact the mixing time. Ingredients such as heavy cream, whole milk, or sweetened condensed milk have different fat and sugar content, which affects freezing time. Additionally, ingredients that bring extra moisture, like fruits or syrups, can increase the mixing time as they take longer to freeze.
- Batch Size: The amount of ice cream mixture you’re making at once can impact the mixing time. Larger batches may require slightly longer mixing times, as there is more volume for the freezer bowl to freeze and the paddle to incorporate air evenly.
- Freezer Bowl Temperature: The temperature of your freezer bowl plays a crucial role in freezing the ice cream mixture. Ensure that the freezer bowl is properly pre-frozen according to the manufacturer’s instructions. If the bowl is not adequately frozen, it may lead to longer mixing times or unsatisfactory results.
- Room Temperature: The ambient temperature of your kitchen can affect the freezing process. Warmer room temperatures may require longer mixing times, as the ice cream mixture takes longer to freeze. Ensure that your kitchen is at a comfortable temperature to achieve optimal results.
- Ice Cream Maker Model: Different ice cream maker models may have variations in motor power, paddle design, and freezing capabilities. These differences can affect the time it takes to freeze and mix the ice cream. It’s advisable to consult the manual of your specific ice cream maker for recommendations on mixing times.
By considering these factors while preparing your ice cream mixture, you can make adjustments and determine the appropriate mixing time for the best outcome.
Recommended Mixing Times by Type of Ice Cream
While the optimal mixing time can vary depending on various factors, including the recipe and the specific ice cream maker used, here are some general guidelines for recommended mixing times based on the type of ice cream you’re making:
- Vanilla Ice Cream: Vanilla ice cream is a classic favorite, and it usually requires a mixing time of approximately 20 to 25 minutes. This allows for the flavors to meld together and for a smooth, creamy texture to develop.
- Chocolate Ice Cream: Chocolate ice cream typically requires a similar mixing time as vanilla, around 20 to 25 minutes. The cocoa solids and other ingredients need enough time to blend and freeze properly to create a rich and chocolatey treat.
- Fruit-Based Ice Cream: If you’re making ice cream with fruits such as strawberries, peaches, or mangoes, the mixing time may vary slightly. To ensure that the fruit flavors are well-incorporated and the ice cream has a nice fruity consistency, a recommended mixing time is 25 to 30 minutes.
- Nut-Based Ice Cream: For ice cream flavors that include nuts like almonds, pistachios, or walnuts, it’s best to mix for approximately 30 to 35 minutes. This allows the nuts to release their flavors and become evenly distributed throughout the ice cream.
- Sorbet or Sherbet: Sorbets and sherbets, which are fruit-based frozen treats, often have a shorter mixing time compared to ice cream. Mixing for around 15 to 20 minutes can help achieve a smooth texture while preserving the fruity freshness.
Remember that these recommended mixing times are just guidelines and may vary based on your specific recipe and ice cream maker. It’s always important to monitor the mixing process and adjust the time as needed to achieve the desired consistency and texture for your ice cream.
Tips for Monitoring the Mixing Process
Monitoring the mixing process is essential to ensure that your ice cream reaches the perfect consistency. Here are some helpful tips to help you keep an eye on the progress:
- Check the Texture: Take occasional peeks at the texture of the ice cream mixture as it churns. Is it starting to thicken? Does it look smooth and creamy? Keep in mind that the texture should become thicker and creamier over time.
- Test with a Spoon: Use a spoon to scoop a small amount of the mixture during the mixing process. Observe the consistency. Is it too runny and lacking structure, or is it starting to hold its shape? This will give you an idea of how the ice cream is progressing.
- Use the Timer: Set a timer based on the recommended mixing time for the type of ice cream you’re making. This will serve as a reminder to check the progress at regular intervals and prevent overmixing.
- Feel for Chilling: Gently touch the side of the ice cream maker’s freezer bowl during the mixing process. Is it starting to feel cold? If the freezer bowl is not noticeably chilled, it may indicate that the mixture needs more time to freeze properly.
- Avoid Opening the Lid Too Often: While it’s tempting to peek inside the ice cream maker frequently, it’s best to avoid opening the lid too often. Opening the lid can cause a loss of cold air, which can slow down the freezing process and increase mixing time.
- Refer to the Recipe: Your ice cream recipe may provide specific cues or instructions to help you monitor the mixing process. Follow these guidelines to ensure you’re on the right track.
By employing these monitoring tips, you’ll be able to keep a close eye on the mixing process and make adjustments as needed to achieve the perfect consistency and texture for your homemade ice cream.
What Happens if You Overmix?
Overmixing your ice cream mixture can have negative effects on the final product. It’s important to understand the consequences of overmixing and how to avoid it.
When you overmix the ice cream mixture, it incorporates too much air into the mixture, resulting in a light and airy texture. While this may sound appealing, it can actually lead to a loss of creaminess and a lack of richness in the ice cream. Overmixed ice cream can also become icy and grainy, as excessive air can cause larger ice crystals to form.
Overmixing can also lead to a faster melting rate of your ice cream. The excess air trapped in the mixture can cause the ice cream to melt more quickly once it’s served, resulting in a less enjoyable eating experience.
To avoid overmixing, it’s crucial to keep an eye on the mixing process and adhere to the recommended mixing times. Once the ice cream has reached a smooth and creamy consistency, it’s best to stop the mixing process promptly.
Remember, achieving the perfect texture and consistency of ice cream requires a delicate balance of mixing. It’s essential to strike that balance to ensure a creamy, luscious, and enjoyable homemade treat.
What Happens if You Undermix?
Undermixing your ice cream mixture can also have an impact on the final product. It’s important to understand the consequences of undermixing and how to prevent it.
When you undermix the ice cream mixture, it can result in a dense and overly compact texture. The mixture may not freeze evenly, leading to an uneven distribution of flavors and a lack of incorporation of air. As a result, the ice cream may have a less creamy and smooth consistency.
In addition, undermixed ice cream can have an icy and grainy texture. Without sufficient mixing, larger ice crystals can form, resulting in a less desirable mouthfeel and a less enjoyable eating experience.
To avoid undermixing, it’s important to follow the recommended mixing times and techniques provided in your recipe. Be sure to give the mixture enough time to churn and incorporate air properly. This will help to create a lighter, creamier, and more satisfying ice cream.
It’s worth noting that different ice cream makers may have different mixing times, so always refer to the specific instructions for your machine. Additionally, by checking the texture and consistency of the mixture throughout the process, you can ensure that it reaches the right level of creaminess before stopping the mixing process.
Remember, achieving the perfect texture and consistency of ice cream requires proper mixing. Striking the right balance ensures a delightful treat with a creamy, smooth, and enjoyable mouthfeel.
How to Tell When Your Ice Cream is Ready
Determining when your ice cream is ready involves a combination of visual cues and testing for the desired consistency. Here are some ways to tell if your ice cream is ready to be enjoyed:
- Texture: As the ice cream mixes, it will begin to thicken and develop a creamy texture. You can check this by observing the consistency of the mixture. It should be smooth, velvety, and free from any visible ice crystals.
- Color: The color of the ice cream should become pale and vibrant, indicating that the flavors have melded together. Keep in mind that the color can vary depending on the type of ice cream you’re making.
- Viscosity: A good way to test the readiness of your ice cream is by dipping a spoon into the mixture and lifting it. If the mixture falls off the spoon in a thick and flowing ribbon-like manner, it’s a sign that the ice cream is properly churned and has achieved the desired viscosity.
- Taste: Take a small spoonful of the ice cream and taste it. The flavors should be well-developed, balanced, and pronounced. Adjust the taste if needed by adding additional ingredients like sweeteners or flavorings.
- Temperature: The ice cream should be sufficiently frozen and solid. It should not be too soft or runny. If the ice cream mixture feels firm and holds its shape when scooped or molded, it indicates that it has reached the desired consistency.
Remember, the specific indicators of readiness can vary based on the type of ice cream you’re making and personal preference. It’s important to trust your instincts and experience to determine when your ice cream is perfectly churned and ready to enjoy.
Conclusion
Mixing time is a crucial factor in achieving the perfect texture and consistency of your homemade ice cream. By understanding the factors that can affect mixing time, monitoring the process closely, and following the recommended mixing times for different types of ice cream, you can create delectable frozen treats that will delight your taste buds.
Whether you’re making classic vanilla, rich chocolate, or fruity sorbets, it’s important to strike a balance between achieving a creamy texture and avoiding overmixing or undermixing. Take into account the recipe ingredients, batch size, freezer bowl temperature, room temperature, and the unique characteristics of your ice cream maker.
Monitoring the mixing process by checking the texture, testing with a spoon, using a timer, feeling for chilling, and referring to the recipe guidelines will help you achieve the best results. Avoid opening the lid too often to maintain the desired cold temperature and minimize the risk of melting.
Overmixing can lead to a loss of creaminess and an overly light texture, while undermixing can result in a dense and grainy consistency. By finding the right balance and achieving the desired texture, you’ll ensure a delightful ice cream experience.
Knowing how to tell when your ice cream is ready through visual cues, testing for viscosity, and the taste will help you achieve the perfect outcome. The ice cream should have a smooth and velvety texture, vibrant color, and a taste that satisfies your cravings.
So, put your newfound knowledge into practice, experiment with different recipes, and enjoy the satisfaction of creating your own delicious homemade ice cream. With the right mixing time and a touch of creativity, you’ll be serving up frozen delights that will leave everyone wanting more.