Introduction
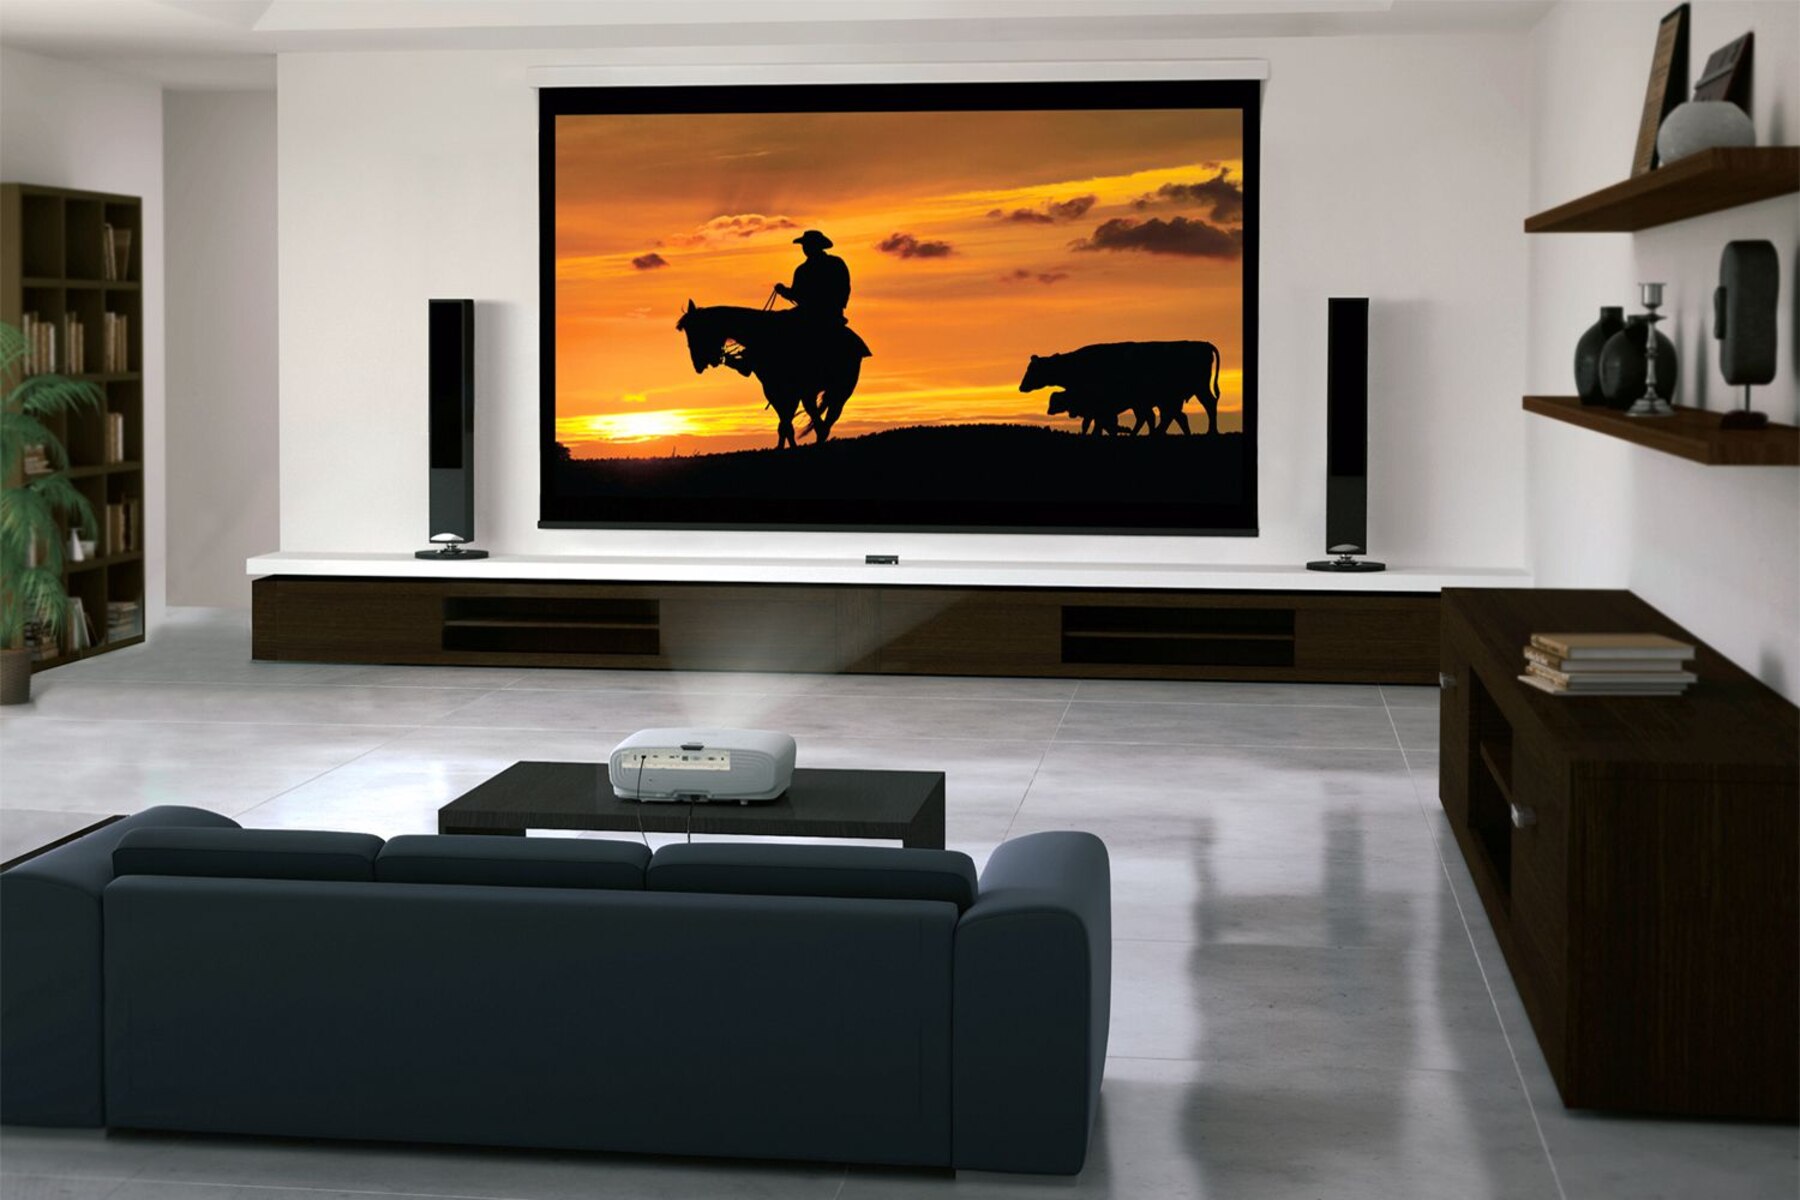
A projector screen is an essential component in a home theater or conference room setup. It allows the projection of images and videos to be displayed onto a large, flat surface, enhancing the viewing experience for the audience. But have you ever wondered how a projector screen actually works?
At its core, a projector screen is designed to ensure optimal visibility and image quality by reflecting or transmitting light from the projector. It serves as a blank canvas for the projected content to come to life, providing a clear and vibrant display.
Understanding the basics of how a projector screen works can help you make informed decisions when selecting the right screen for your setup. In this article, we will delve into the mechanics of projector screens, explore the different types available, and discuss the key factors to consider.
Whether you are a home theater enthusiast looking to create a cinematic experience or a business professional needing a reliable presentation solution, this guide will equip you with the knowledge to make the best choice for your viewing needs.
The Basics of Projector Screens
Projector screens come in various shapes, sizes, and materials, but they all function based on the same fundamental principle. The primary purpose of a projector screen is to ensure that the projected image appears sharp, bright, and true to color. This involves two key processes: reflection and transmission.
Reflection screens, as the name suggests, reflect the projected light back towards the audience. These screens are typically made of highly reflective materials with specialized coatings to maximize the light reflection. The advantage of reflection screens is their ability to produce bright and vibrant images, making them ideal for environments with controlled lighting.
On the other hand, transmission screens work by allowing the projected light to pass through the screen and reach the audience. These screens are typically semi-transparent or perforated, allowing light to pass through while diffusing it evenly. Transmission screens are commonly used in venues where there are space constraints or where ambient light cannot be completely controlled.
Another important aspect to consider is the material used in constructing the screen. Many screens are made of vinyl or fabric materials, such as vinyl-backed fabric or woven materials. These materials are chosen for their ability to resist wrinkles and their durability over time. Additionally, some screens may feature special coatings and treatments to enhance image quality, such as reducing hotspots or improving color reproduction.
The size and aspect ratio of the screen are also key considerations. The size of the screen should be appropriate for the viewing distance and the dimensions of the room. It’s essential to strike a balance between having a screen that is large enough for optimal viewing but not so large that it overwhelms the space or strains the viewer’s eyes.
The aspect ratio refers to the proportional relationship between the screen’s width and height. The two most common aspect ratios for home theater applications are 16:9 (widescreen) and 4:3 (standard). The choice of aspect ratio depends on the type of content being displayed, with widescreen being more suitable for movies and gaming, while standard is often used for older video formats and business presentations.
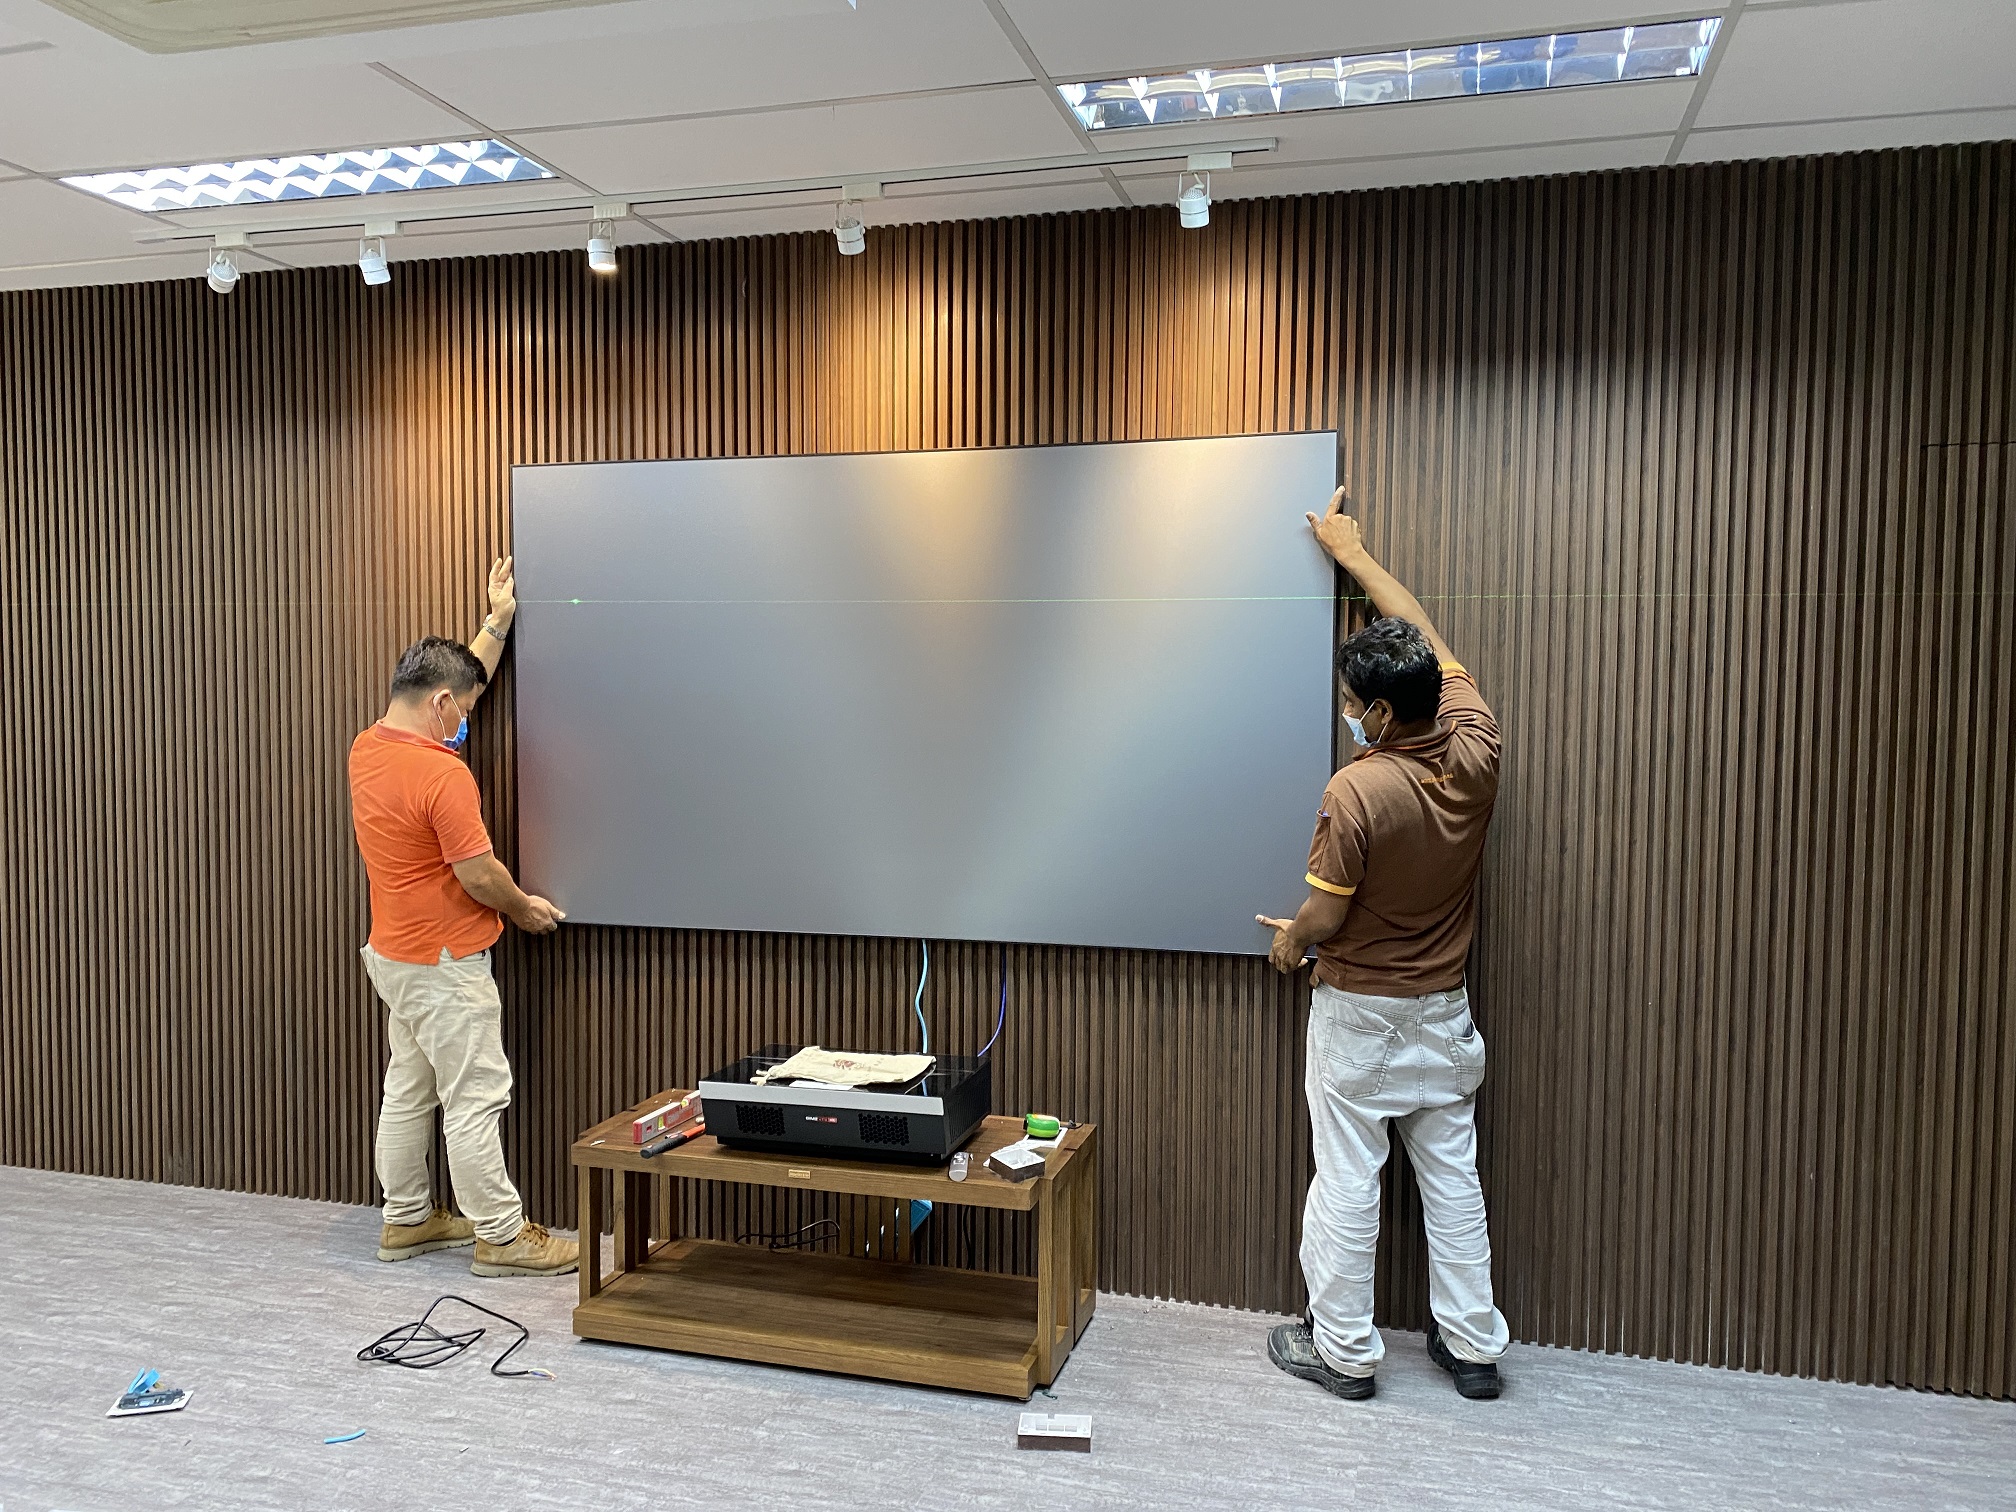
Installing and setting up a projector screen may involve mounting it on a wall or ceiling, using a tripod or portable stand, or even opting for motorized or retractable screens. Consider the space available, the desired screen placement, and the convenience of use when selecting the installation method.
Maintaining and cleaning the projector screen is crucial to ensure longevity and optimal performance. Regularly removing dust and debris, avoiding harsh cleaning chemicals, and gently wiping the surface with a clean, soft cloth are recommended. Following the manufacturer’s guidelines and instructions specific to the screen material will help prolong its lifespan.
Understanding and appreciating the basics of projector screens can enhance your overall viewing experience and help you choose the right screen for your specific needs. In the following sections, we will explore different types of projector screens and delve deeper into the technical aspects that impact screen selection.
Types of Projector Screens
When it comes to projector screens, there is no one-size-fits-all solution. Different types of screens cater to various viewing environments and specific requirements. Let’s take a closer look at the most commonly used projector screen types:
- Fixed Frame Screens: These screens consist of a rigid frame to which the screen material is stretched and fixed in place. Fixed frame screens provide a flat and smooth surface for optimal image projection. They are ideal for dedicated home theaters or conference rooms where a permanent installation is desired.
- Motorized Screens: Motorized screens offer the convenience of automated operation, allowing users to retract or lower the screen with the push of a button or remote control. This type of screen is commonly used in multipurpose spaces or installations where the screen needs to be hidden when not in use.
- Portable Screens: As the name suggests, portable screens are lightweight and designed for easy transport and setup. They typically feature a tripod stand or a self-contained casing that can be quickly assembled and disassembled. Portable screens are a practical choice for mobile presentations or temporary setups.
- Manual Pull-Down Screens: Manual pull-down screens are similar to motorized screens but rely on manual operation. The screen is pulled down from a roller and locked into place when needed. These screens are cost-effective and straightforward to use, making them a popular choice for budget-friendly installations.
- Ambient Light Rejecting (ALR) Screens: ALR screens are specifically designed to combat ambient light in the viewing environment. They feature a specialized coating or optical filters that help preserve image contrast and reduce the washout effect caused by ambient light. ALR screens are popular for use in rooms with large windows or spaces where controlling ambient light is challenging.
- Rear Projection Screens: Instead of projecting the image from the front, rear projection screens reflect the image from the backside, allowing the projector to be placed behind the screen. This setup is useful when space or aesthetics are a concern, as the projector can be hidden from view. Rear projection screens are commonly used in theater setups or large-scale presentations.
Each type of projector screen offers its own set of advantages and considerations. By understanding the features and applications of different screens, you can make an informed decision based on your specific needs and viewing environment.
Reflection vs. Transmission Screens
When choosing a projector screen, one of the key factors to consider is whether you need a reflection screen or a transmission screen. Understanding the difference between these two types will help you determine which is more suitable for your viewing environment and preferences.
Reflection Screens: Reflection screens work by bouncing the projected light back towards the audience. These screens are typically made of materials with high reflectivity, such as vinyl or specialized coatings, to maximize light reflection. Reflection screens are ideal for spaces with controlled lighting conditions, such as dedicated home theaters or darkened conference rooms.
One of the primary advantages of reflection screens is their ability to produce bright and vibrant images. Since the light is reflected back towards the viewer, the image retains its brightness and color accuracy. This makes reflection screens an excellent choice for environments where image quality is paramount.
However, reflection screens may not perform as well in spaces with excessive ambient light. The reflective surface can cause the light to bounce off in different directions, resulting in a washed-out image with reduced contrast. For areas where ambient light cannot be completely controlled, a transmission screen may be a more suitable option.
Transmission Screens: Transmission screens, as the name suggests, allow the projected light to pass through the screen and reach the audience. These screens are typically semi-transparent or perforated, allowing the light to be diffused evenly. This makes transmission screens a practical choice for spaces where ambient light cannot be fully controlled or where space constraints limit the installation options.
Transmission screens work by scattering the incoming light, which helps reduce the impact of ambient light and maintains image quality. They can be an excellent choice for multipurpose rooms, classrooms, or outdoor setups where controlling lighting conditions may be challenging.
It’s important to note that transmission screens may require a higher projector brightness to compensate for the light loss. However, advancements in screen technology have led to the development of high-gain transmission screens that can help mitigate this issue and improve image brightness.
Ultimately, the choice between reflection and transmission screens depends on your specific viewing environment and requirements. If you have a dedicated space with controlled lighting, a reflection screen can provide exceptional image quality. If you need to accommodate varying lighting conditions or have limited installation options, a transmission screen may be more suitable.
Consider factors such as the level of ambient light, intended use of the space, and the desired image quality when making your projector screen selection.
Material and Coating Technologies
The choice of screen material and the presence of specialized coatings can significantly impact the performance and image quality of a projector screen. Different materials and coatings have unique properties that affect factors such as light reflection, color reproduction, and overall durability.
One common material used in projector screens is vinyl. Vinyl screens are durable, affordable, and resistant to wrinkles, making them a popular choice for both fixed frame and portable screens. Vinyl-backed fabric screens offer improved rigidity and stability, ensuring a flat viewing surface.
Another type of material used in projector screens is woven fabric. This material provides a smoother and more uniform surface, resulting in enhanced picture quality. Woven screens are designed to minimize light dispersion and hotspots, providing a more even and consistent image across the entire screen.
In addition to material, projector screens often have specialized coatings and technologies to improve performance. One common coating is a matte finish, which minimizes the reflection of ambient light and reduces hotspotting. Matte finishes ensure that the projected image remains clear and bright, regardless of the ambient lighting conditions.
Some screens feature microstructures or optical filters to enhance image definition and maximize viewing angles. These technologies help improve image contrast, color reproduction, and overall picture quality. Anti-glare coatings can also be applied to reduce the appearance of glare and reflections, ideal for environments where lighting control may be limited.
Furthermore, certain screens incorporate gain technologies to increase the brightness of the projected image. Gain refers to the screen’s ability to reflect and focus the light from the projector. High-gain screens can enhance the brightness and overall image quality, making them suitable for spaces with high levels of ambient light.
It is important to note that the selection of screen material and coatings should align with your specific requirements and viewing environment. Factors such as room lighting, projector brightness, and desired image quality will influence the choice of materials and coatings.
By understanding the different material and coating technologies available, you can make an informed decision that ensures optimal display performance for your projector screen.
Gain and Viewing Angle
When selecting a projector screen, two important factors to consider are gain and viewing angle. Understanding these concepts will help you determine the screen’s ability to enhance image brightness and ensure optimal viewing for your audience.
Gain: Gain refers to a screen’s ability to reflect and focus the light from the projector. It is measured as a ratio compared to a standard reference surface. A higher gain value indicates a brighter image, while a lower gain value suggests a more diffused and wider dispersion of light.
High-gain screens are particularly useful in environments with high ambient light, as they can help project a brighter image. These screens reflect more light back towards the viewers, enhancing image brightness and detail. However, high-gain screens often come with a narrower viewing angle, meaning that viewers need to be positioned closer to the center of the screen to experience optimal image quality. If viewers are seated at extreme angles, the image may appear dimmer or have a color shift.
On the other hand, low-gain screens are designed to disperse the light more evenly, resulting in a wider viewing angle. This makes them ideal for larger rooms or setups where multiple viewers need a consistent viewing experience from different positions. Low-gain screens ensure that the brightness and image quality remains relatively consistent, regardless of the seating arrangement.
The choice between high-gain or low-gain screens depends on the specific requirements of your viewing environment. If you have control over the ambient light and want to maximize brightness, a high-gain screen may be the preferred option. But if maintaining a wider viewing angle and consistent image quality are more important, a low-gain screen would be a better choice.
Viewing Angle: The viewing angle of a projector screen refers to the range within which the projected image can be viewed with optimal brightness and color accuracy. It is influenced by the screen’s coating, material, and gain.
Most screens have a specific viewing cone or angle where the image appears best. This cone usually extends horizontally from the center of the screen, with narrower angles resulting in reduced image quality at the outer edges. It is important to consider the viewing angle when determining the screen placement and seating arrangement in your viewing space.
Wide viewing angles are desirable in environments where viewers may be seated at varying angles or distances from the screen. This ensures that everyone in the room can enjoy a clear and vibrant image. However, wider viewing angles may come at the cost of reduced screen gain, leading to a slightly dimmer image.
When choosing a projector screen, strike a balance between the desired screen gain and the achievable viewing angle. Consider the seating arrangements, the room size, and the specific needs of your audience to select a screen that provides an optimal viewing experience.
Screen Size and Aspect Ratio
Choosing the right screen size and aspect ratio is crucial for creating an immersive viewing experience with your projector. The screen size determines the overall display area, while the aspect ratio defines the proportional relationship between the screen’s width and height. Understanding these factors will help you optimize your content and ensure a visually pleasing presentation.
Screen Size: The screen size is measured diagonally and represents the length of the diagonal line from one corner to another. The size of the screen depends on the viewing distance and the dimensions of the room.
When selecting a screen size, it’s important to strike a balance between having a screen that is large enough for optimal viewing and one that doesn’t overwhelm the space or strain the viewer’s eyes. An excessively large screen in a small room may result in viewers having to move their heads to take in the entire image, causing discomfort and fatigue.
On the other hand, a screen that is too small for a large space may lead to reduced visibility and impact the overall viewing experience. It’s recommended to use online calculators or consult professionals to determine the ideal screen size based on the viewing distance and room dimensions.
Aspect Ratio: The aspect ratio refers to the proportional relationship between the width and height of the screen. The two most common aspect ratios are 16:9 (widescreen) and 4:3 (standard).
A widescreen aspect ratio of 16:9 is commonly used for home theaters and is ideal for displaying movies and gaming content. Widescreen formats provide a more immersive experience and better mimic the aspect ratios of modern media. This aspect ratio is also well-suited for high-definition and ultra-high-definition content.
On the other hand, a standard aspect ratio of 4:3 was more prevalent in older video formats and is often used for business presentations and older multimedia content. While some projectors and screens still support this aspect ratio, it is less commonly used for home theater setups.
When selecting an aspect ratio, consider the type of content you will be displaying most frequently. If you primarily watch movies or play games, a widescreen aspect ratio is recommended. If your usage revolves around business presentations or older video formats, a standard aspect ratio may be more suitable.
Ultimately, the choice of screen size and aspect ratio should align with your specific needs and the limitations of your viewing environment. By considering factors such as room dimensions, viewing distance, and the type of content you will be displaying, you can select a screen that provides an immersive and visually captivating experience.
Installation and Setup
Proper installation and setup of your projector screen are essential to ensure optimal performance and a seamless viewing experience. Consider the following factors when setting up your projector screen:
Mounting Options: Depending on your space and preferences, you can choose from various mounting options for your projector screen. Fixed frame screens are typically mounted on walls or ceilings, providing a permanent and stable installation. Motorized screens offer the convenience of automated operation, with options for wall or ceiling mounting. Portable screens often come with tripod stands or self-contained casings, allowing for easy setup and mobility.
Projection Distance: The projection distance refers to the distance between the projector and the screen. It is crucial to position the projector at the optimal distance to ensure proper focus, image size, and clarity. Refer to the projector’s manual for specific guidelines on the ideal projection distance for your model.
Screen Height and Viewing Angle: The height at which the screen is mounted should be determined by the average eye level of the viewers. Mounting the screen too high or too low can result in uncomfortable viewing angles and strain on the neck. It’s important to choose a height that allows for easy and natural viewing.
Screen Tension and Alignment: For fixed frame screens, ensuring proper tension in the screen material is important to maintain a flat and smooth surface. Check the manufacturer’s instructions for guidelines on tensioning the screen. Additionally, make sure the screen is aligned correctly, with no distortions or wrinkles that could affect the projected image.
Screen Positioning: The position and orientation of the screen can impact the viewing experience. Consider the room layout and the seating arrangement to determine the ideal screen placement. The screen should be easily visible from all seats, with minimal obstruction or glare.
Calibration: Once the screen is installed, it’s recommended to calibrate the projector settings to ensure accurate colors, brightness, and contrast. Use a calibration disc or professional calibration tools to achieve optimal image quality.
Cable Management: To create a neat and organized setup, consider cable management options to hide and secure the projector cables. This not only enhances the aesthetics but also minimizes the risk of tripping hazards.
Following these installation and setup guidelines will help you achieve the best possible performance from your projector screen. Take the time to carefully plan and execute the installation to create an immersive and enjoyable viewing environment.
Maintenance and Cleaning
To ensure the longevity and optimal performance of your projector screen, regular maintenance and cleaning are essential. Here are some tips to keep your screen in excellent condition:
Dust and Debris Removal: Over time, dust and debris can accumulate on the surface of the screen, affecting picture quality. Use a soft, lint-free cloth or a microfiber cloth to gently wipe the screen surface, removing any dust particles. Avoid using abrasive materials or excessive pressure that could damage the screen.
Spot Cleaning: If you notice any spots or smudges on the screen, use a mild cleaning solution specifically designed for projector screens. Follow the manufacturer’s instructions for dilution and application. Apply the solution to a clean cloth and gently wipe the affected area, taking care not to saturate the screen with excessive moisture.
Avoid Harsh Cleaning Chemicals: It is important to avoid using harsh cleaning chemicals such as ammonia-based cleaners or alcohol-based solutions on your projector screen. These chemicals can damage the screen material or remove the special coatings that enhance image quality. Stick to mild and screen-safe cleaning solutions to protect the integrity of the screen surface.
Handle with Care: When cleaning or handling the screen, be mindful of the screen’s fragility. Avoid applying excessive pressure or pulling on the screen material. If your screen is retractable or motorized, follow the manufacturer’s instructions for proper operation and handling.
Follow Manufacturer’s Guidelines: Each projector screen may have specific maintenance guidelines provided by the manufacturer. It’s important to familiarize yourself with these instructions to ensure you are properly caring for your specific screen model. This may include recommendations on cleaning frequency, usage guidelines, and any specific precautions to take.
Protective Measures: Consider taking preventive measures to protect your screen when not in use. If possible, cover the screen with a dust cover or store it in a protective case to shield it from dust, moisture, or accidental damage. This can help prolong the lifespan of your projector screen.
By following these maintenance and cleaning practices, you can keep your projector screen in optimal condition for years to come. Regular cleaning and proper care will help maintain image quality, extend the screen’s lifespan, and ensure a consistently enjoyable viewing experience.
Conclusion
Choosing the right projector screen and understanding how it works is vital to creating an immersive and enjoyable viewing experience. Whether you’re setting up a home theater or a professional presentation space, considering factors such as the type of screen, gain, viewing angle, material, and screen size will help you make an informed decision.
Reflection screens offer vibrant image reproduction in controlled lighting conditions, while transmission screens are a practical choice for spaces with variable lighting or limited installation options. Understanding the advantages and limitations of each type will ensure that you select the most suitable screen for your specific needs.
Consider the material and coating technologies used in the screen construction to ensure optimal image quality, color reproduction, and durability. Different materials and coatings can have a significant impact on the overall performance of the screen.
Additionally, pay attention to factors like gain and viewing angle, which influence the brightness, clarity, and wide-angle visibility of the projected image. Balancing these factors with your viewing environment will result in an enhanced viewing experience for all viewers.
Proper installation and setup, along with routine maintenance and cleaning, will help prolong the life of your projector screen. Following manufacturer guidelines for screen tension, alignment, projection distance, and cable management will optimize performance and create a tidy and organized setup.
In conclusion, understanding the basics of projector screens and considering various factors such as screen types, aspect ratios, gain, viewing angle, and maintenance guidelines will enable you to select and maintain the ideal projector screen for your specific needs. By taking the time to research and make informed decisions, you can create an immersive visual experience that brings your movies, presentations, and entertainment to life. Enjoy the stunning images and captivating moments that a well-chosen projector screen can provide.