Introduction
Making homemade ice cream is a delightful and rewarding experience. While the process of creating this chilly treat may seem simple, there is one crucial question that often arises: How do you know when the ice cream maker is done? It’s important to determine the optimal time to ensure that your ice cream is perfectly churned and has the desired consistency.
Knowing when your ice cream maker is done can be a game-changer in creating delectable frozen desserts. Over-churning can lead to a grainy texture, while under-churning may result in a softer, less desirable consistency. By understanding the signs that indicate your ice cream is ready, you can achieve that delectable, creamy texture that will leave your taste buds longing for more.
In this article, we will explore the various factors that can help you determine when your ice cream maker is done. From the consistency of the mixture to the sound of the ice cream maker, we will cover all the clues you need to create a perfect batch of homemade ice cream. So, let’s dive in and explore the indicators that will make you an ice cream expert in no time!
The Importance of Knowing When the Ice Cream Maker is Done
Knowing when your ice cream maker is done is crucial in creating a high-quality frozen dessert. The right timing ensures that the mixture is properly churned, resulting in a smooth and creamy texture. If the ice cream is under-churned, it may be too soft and lack the desired consistency. On the other hand, over-churned ice cream can become grainy and lose its velvety texture. By understanding the importance of this timing, you can elevate your ice cream-making game to the next level.
Timing plays a vital role in achieving the perfect balance of flavors in ice cream. When the ice cream is churned for the right amount of time, it allows the ingredients to meld together, enhancing the taste and creating a harmonious blend. This is particularly crucial when incorporating additional flavors or mix-ins, such as fruit purees, chocolate chunks, or cookie dough. By ensuring the ice cream maker is done at the right moment, you can ensure that these elements are evenly distributed, maximizing the overall flavor of your homemade treat.
In addition to the texture and flavor, the timing of when the ice cream maker is done also affects the overall presentation of the final product. When the ice cream is properly churned, it develops a creamy and luscious appearance that is visually appealing. On the other hand, under-churned ice cream may seem too loose and lacks the desired structure. By understanding when your ice cream maker is done, you can achieve that picture-perfect scoop that looks as good as it tastes.
Another reason why knowing when the ice cream maker is done is essential is to prevent any potential damage to the machine. Over-churning can put excessive strain on the motor, potentially leading to overheating or even burning out the motor. By ensuring that the ice cream maker stops at the right time, you can prevent any unnecessary wear and tear on the machine, prolonging its lifespan and saving you from expensive repairs or replacements.
In summary, understanding when the ice cream maker is done is vital for creating a high-quality frozen dessert. It ensures a smooth and creamy texture, enhances the flavor profile, improves the overall presentation, and protects the machine from potential damage. By paying attention to the signs that indicate when your ice cream is ready, you can elevate your homemade ice cream to a whole new level of deliciousness.
Signs That Your Ice Cream Maker is Done
Determining when your ice cream maker is done requires careful observation of various signs that indicate the optimal churn time. By paying attention to these indicators, you can achieve a perfectly churned batch of homemade ice cream every time. Here are some key signs to look out for:
- Consistency of the Mixture: One of the primary signs that your ice cream maker is done is the consistency of the mixture. As the mixture churns, it gradually thickens and transforms from a liquid to a creamy texture. Keep an eye on the gradual change in consistency and look for a dense, smooth appearance. You want the ice cream mixture to have a soft but firm consistency, similar to that of soft serve ice cream.
- Sound of the Ice Cream Maker: Another clue that your ice cream maker is done is the sound it produces. At the beginning of the churning process, the machine may produce a sloshing or splashing sound as it incorporates air into the mixture. However, as the ice cream thickens and nears its completion, the sound will become quieter and more uniform. Listen for a low hum or gentle whirring noise, indicating that the ice cream has reached the desired consistency.
- Time Indicated in the Recipe: Following the recommended time stated in the ice cream recipe can serve as a helpful guideline for determining when your ice cream maker is done. Recipes often provide an estimated time range for churning, which can vary depending on the specific ingredients and machine used. Start checking the ice cream at the lower end of the suggested range and continue until it reaches the desired consistency. However, keep in mind that the recommended time is just a starting point, and actual churn times can vary.
- Chilled and Thickened Mixture: Before transferring the mixture into the ice cream maker, it’s important to chill it properly. The mixture should be cold and slightly thickened before pouring it into the machine. This helps the ice cream maker to effectively freeze and churn the mixture. If the mixture is still too runny or warm, it may take longer for the ice cream to reach the desired consistency.
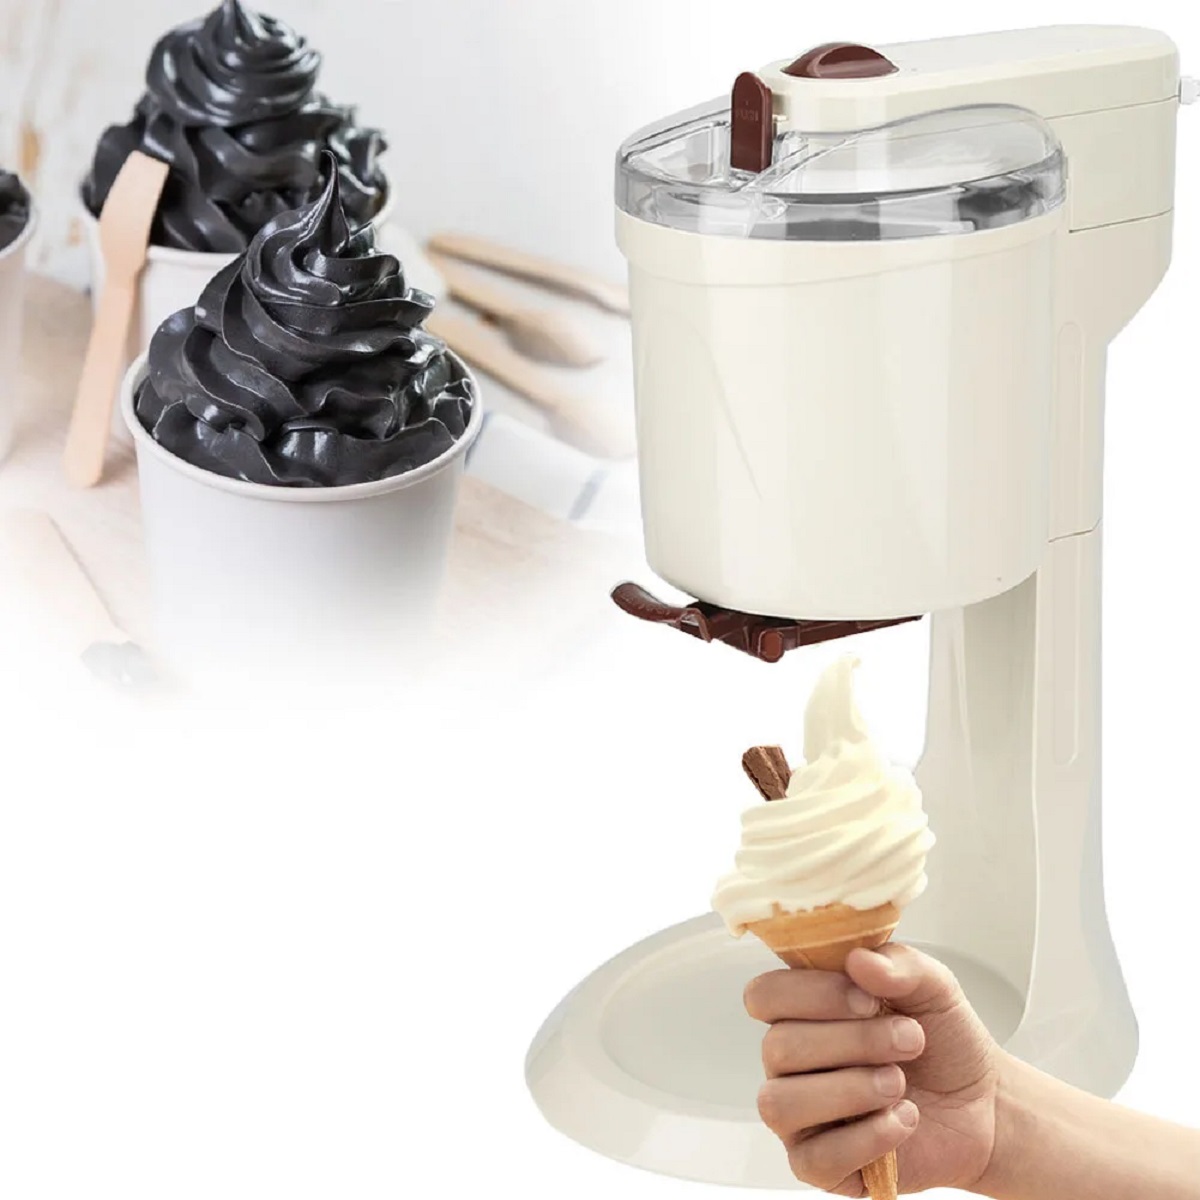
- Formation of Soft Peaks: While not applicable to all ice cream makers, some models have a transparent lid or opening that allows you to visually observe the churning process. As the ice cream churns, you may notice the formation of soft peaks on the surface. Soft peaks indicate that the ice cream is beginning to thicken and that it may be close to the desired consistency. Keep a close eye on the peaks and stop the churning process when they hold their shape but still look soft and creamy.
By paying attention to these signs, you can confidently determine when your ice cream maker is done and achieve perfectly churned, delicious homemade ice cream. Experimentation and practice will help you become more attuned to these indicators, allowing you to optimize your ice cream-making skills and create frozen delights that will impress family and friends alike.
Consistency of the Mixture
One of the key signs that your ice cream maker is done is observing the consistency of the mixture. As the ice cream churns, it undergoes a transformation from a liquid to a creamy, thickened texture. Monitoring this change in consistency is crucial in achieving the perfect batch of homemade ice cream.
During the early stages of churning, the mixture will be quite liquid and may resemble a thin milkshake. As the churning process continues, you’ll notice the mixture gradually thickening. This is due to the incorporation of air and the freezing of the liquid base, creating a smoother texture.
To determine if the ice cream maker is done, look for a dense and smooth appearance in the mixture. You want the ice cream mixture to have a soft but firm consistency, similar to that of soft-serve ice cream. Use a spoon or silicone spatula to lift a small amount of the mixture from the machine. If it holds its shape and maintains a creamy texture, it’s a good indication that your ice cream is ready.
Be mindful of not over-churning the ice cream, as this can result in a grainy texture. If the mixture becomes too firm and the ice cream appears dry, it’s a sign that it’s been churned for too long. On the other hand, if the mixture remains too liquid and doesn’t thicken, it may need more time in the ice cream maker to reach the desired consistency.
Factors such as the ingredients used and the specific ice cream maker model can influence the ideal consistency. Different recipes and machines may require slightly different churn times to achieve the desired results. It’s important to follow the recipe guidelines and adjust the churn time accordingly to attain the perfect consistency for your ice cream.
Remember, ice cream mixtures can vary in viscosity due to the ingredients used. For example, mixtures with higher fat content, like those made with heavy cream or egg yolks, tend to thicken more quickly and may require a shorter churn time. Whereas mixtures made with lower fat content or non-dairy alternatives may take longer to achieve the desired consistency.
By paying close attention to the consistency of the mixture, you can ensure that your ice cream maker is done at the right moment. Achieving a smooth and creamy texture will make your homemade ice cream a delightful treat that everyone will enjoy.
Sound of the Ice Cream Maker
Another indicator that your ice cream maker is done can be found in the sound it produces during the churning process. While it may sound surprising, listening to the noise emitted by your machine can provide valuable clues about the progress of your ice cream.
At the beginning of the churn cycle, you will typically hear a sloshing or splashing sound as the mixture is initially agitated. This sound indicates that the ice cream maker is incorporating air into the mixture, an important step in creating a light and creamy texture. As the churning process continues, the sound will gradually change.
As the ice cream mixture thickens and nears completion, the sound will become quieter and more uniform. Instead of a pronounced splashing sound, the machine will emit a low hum or gentle whirring noise. This change indicates that the ice cream has reached the desired consistency. It’s important to note that the exact sound may vary depending on the specific ice cream maker model and its motor mechanism.
If you continue to hear vigorous splashing or sloshing sounds, it’s a sign that the ice cream is still in the early stages of churning. Allow the process to continue until the sound changes to a calmer tone. On the other hand, if the machine becomes too quiet or produces an irregular noise, it may indicate a potential issue with the machine itself. In such cases, refer to the manufacturer’s instructions or seek professional assistance to troubleshoot the problem.
While relying solely on the sound of the ice cream maker is not enough, it can complement other visual indicators of the churn’s progress. Listening for a consistent and low humming sound can help you ensure that your ice cream maker is done at the optimal time, resulting in a batch of perfectly churned ice cream.
Remember to consider the recommended churn time in the recipe and the consistency of the mixture alongside the sound. As you gain more experience with your specific ice cream maker and understand its unique sounds, you will become more attuned to when your ice cream is ready.
By paying attention to the sound of the ice cream maker, you can confidently determine when your ice cream is done and achieve the desired smooth and creamy texture. So, next time you’re making homemade ice cream, let your ears guide you to the perfect treat!
Time Indicated in the Recipe
When it comes to determining when your ice cream maker is done, one helpful guide is the time indicated in the recipe. Ice cream recipes often provide an estimated churn time, which serves as a starting point for gauging when your ice cream may be ready to be enjoyed.
The suggested churn time can vary depending on factors such as the specific recipe and the type of ice cream maker being used. It’s important to note that the recommended time is not an exact measurement but rather a general guideline. Different machines may vary in their speed and effectiveness in churning the ice cream mixture.
To utilize the recommended churn time in the recipe effectively, start checking the ice cream at the lower end of the suggested range. Use visual and tactile cues, such as the consistency and texture of the ice cream mixture, as well as the sound and movement of the machine, to assess its progress. If the ice cream is not yet fully churned, continue the process until it reaches the desired consistency.
Keep in mind that the actual churn time can be influenced by various factors, including the ambient temperature, the temperature of the ice cream mixture before churning, and the specific ingredients used. Warmer climates may require slightly longer churn times, while colder temperatures may shorten the time needed.
It’s worth mentioning that while the time indicated in the recipe is a helpful guideline, it’s not an absolute rule. Mastering the art of making homemade ice cream often involves some trial and error to determine the ideal churn time for your individual preferences and the specific machine you are using.
If the recommended churn time in the recipe consistently produces results that are not to your liking, don’t hesitate to experiment and adjust. Extend the churn time slightly for a denser and creamier texture or reduce it for a lighter and fluffier consistency. Keep a record of the adjustments made so you can replicate your desired results in future batches.
Remember, practice makes perfect. As you gain more experience with your ice cream maker and become familiar with its capabilities, you will develop an intuition for when your ice cream is done. By considering the time indicated in the recipe as a starting point and using your senses to assess the progress, you’ll be well on your way to creating outstanding homemade ice cream.
Chilled and Thickened Mixture
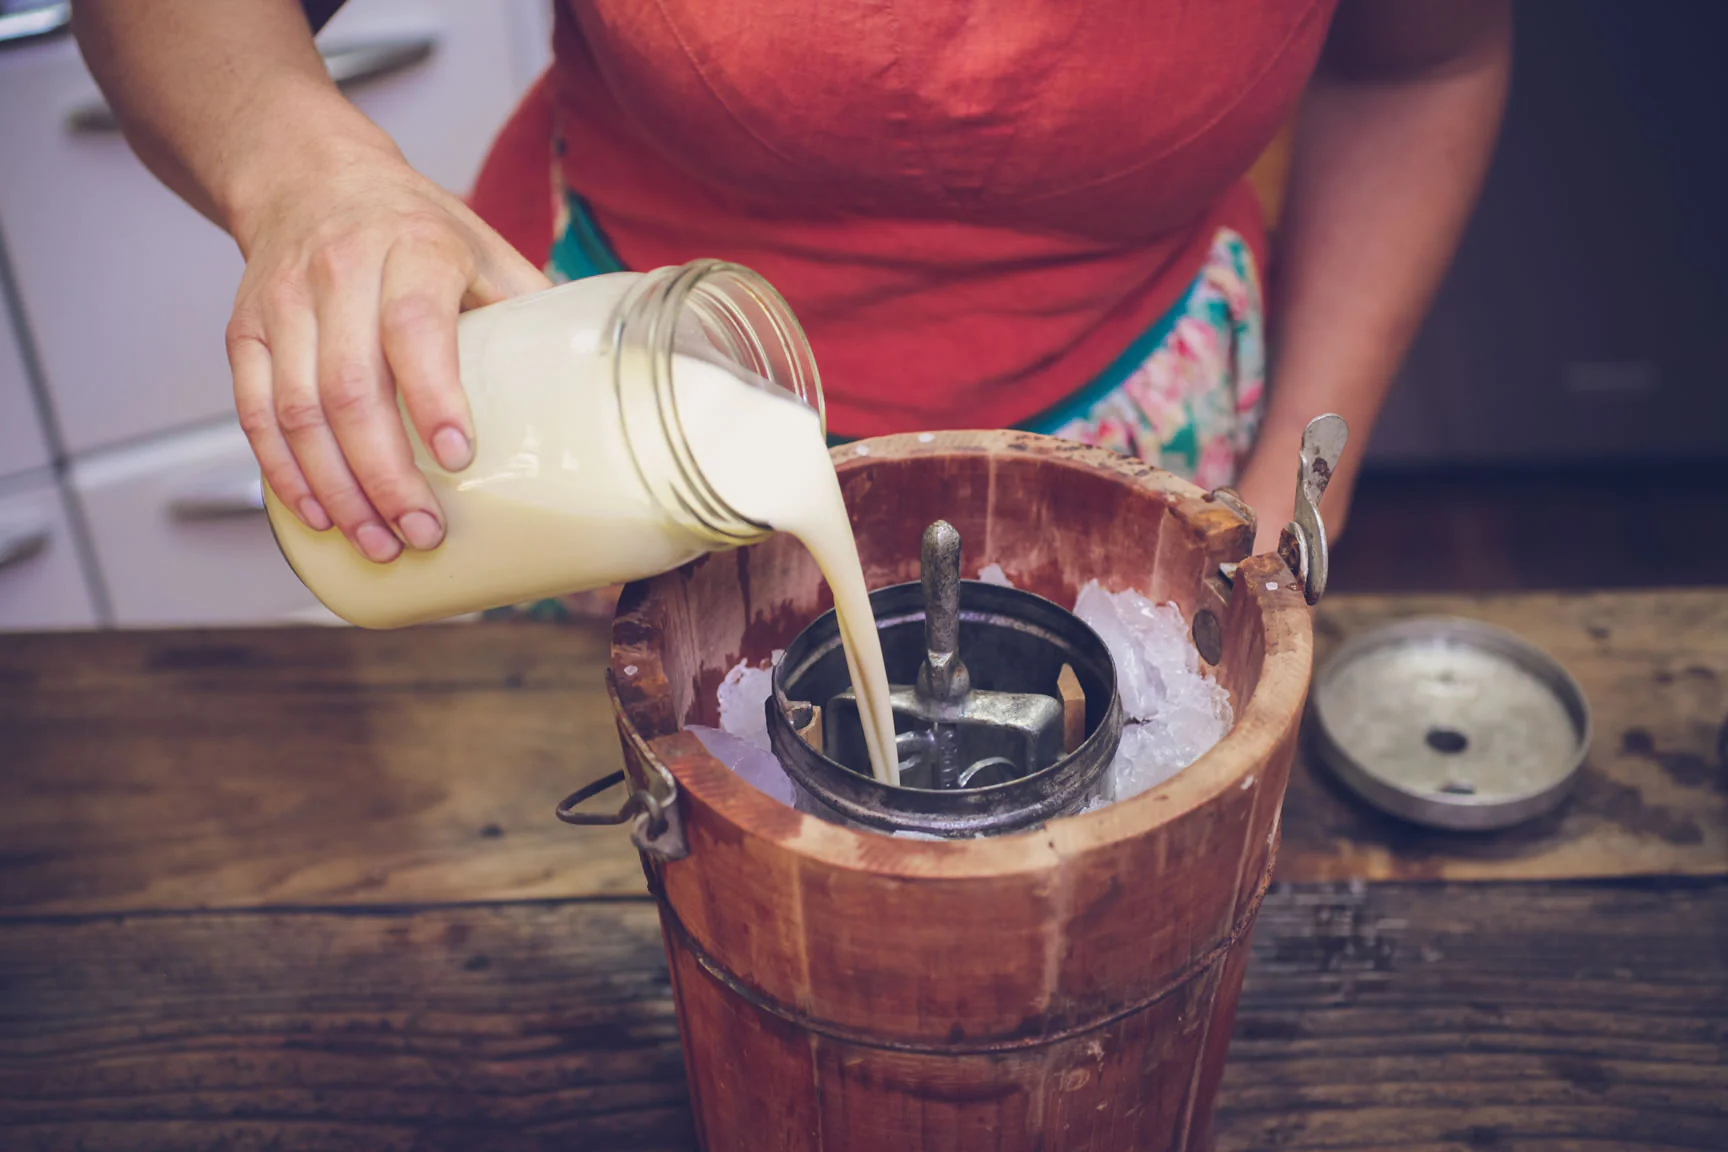
Before placing the mixture into the ice cream maker, it’s crucial to ensure that it has been properly chilled and has started to thicken. The temperature and consistency of the mixture play a significant role in determining when your ice cream maker is done.
Properly chilling the mixture helps to achieve the desired texture and prevents the ice cream maker from overworking. It’s generally recommended to refrigerate the mixture for a few hours, or even overnight, before churning. This allows the ingredients to meld together, enhancing the flavor and facilitating the freezing process.
When the mixture is adequately chilled, it will start to thicken and become more viscous. This thicker consistency is essential for proper churning in the ice cream maker. If the mixture is still too runny or thin, it may take longer to reach the desired consistency during the churn process.
To determine if your mixture is ready to be churned, use a spoon or spatula to check its thickness and texture. As you lift a small amount of the mixture, it should maintain a thicker and more cohesive form. If it appears too liquid and lacks any sign of thickening, it may require more time in the refrigerator to chill and thicken further before transferring it to the ice cream maker.
A chilled and thickened mixture will not only aid in the freezing process but also contribute to achieving the desired creaminess and smoothness in the final ice cream product. The consistency of the mixture is closely linked to the texture of the finished ice cream. It ensures that the air incorporated during churning is well distributed and that any added mix-ins or flavorings are evenly dispersed.
Remember, the chilling and thickening process can vary depending on factors such as the specific recipe, the ingredients used, and the ambient temperature. Recipes made with higher fat content or those requiring custard bases may need a longer chilling time compared to simpler, lower-fat recipes. Adjust the chilling time as needed, always aiming for a slightly thicker consistency without letting it become overly firm.
By ensuring that your ice cream mixture is properly chilled and has started to thicken, you can set the stage for a successful churn in the ice cream maker. This step contributes to creating a rich, creamy, and well-textured ice cream that will delight your taste buds.
Formation of Soft Peaks
One visual indicator that your ice cream maker may be done is the formation of soft peaks in the mixture as it churns. While not applicable to all ice cream maker models, some machines have a transparent lid or an opening that allows you to observe the churning process. This observation can provide valuable insights into the progress of your ice cream.
As the ice cream churns, especially during the later stages of the process, you may notice the formation of soft peaks on the surface of the mixture. Soft peaks are formed when you lift the churned mixture with a spoon or spatula, and the ice cream forms peaks that hold their shape before slowly collapsing back into a smooth surface. This occurrence indicates that the ice cream is beginning to thicken and may be close to the desired consistency.
To check for soft peaks, periodically pause the churning process and lift a spoonful of the churned mixture from the machine. Observe whether the ice cream forms gentle peaks that are not overly stiff. The peaks should hold their shape for a few seconds before slowly sinking back into the mixture. It’s important to note that the peaks should not be too rigid or overly firm as this can indicate over-churning.
The formation of soft peaks signifies that the ice cream has reached a stage where it has incorporated enough air and achieved a semi-frozen consistency. However, it’s important to consider other factors, such as the consistency and temperature of the mixture, and not rely solely on the formation of soft peaks. Use this visual cue in conjunction with other indicators, such as the recommended churn time, the desired texture, and the sound of the ice cream maker.
It’s worth noting that not all ice cream makers have a transparent lid or opening for observing the churn process. In such cases, rely on other signs, such as the consistency and time indications, to determine when your ice cream is done.
By paying attention to the formation of soft peaks, you can get a visual glimpse into the progress of your ice cream and make an informed decision about when to stop the churning process. The formation of soft peaks is an encouraging sign that your ice cream is nearing the desired consistency, allowing you to enjoy a velvety and delicious homemade treat.
Conclusion
Knowing when your ice cream maker is done is crucial for creating a delightful batch of homemade ice cream. By paying attention to various signs, including the consistency of the mixture, the sound of the ice cream maker, the time indicated in the recipe, the chilled and thickened mixture, and the formation of soft peaks, you can achieve the perfect texture and flavor every time.
The consistency of the ice cream mixture is a key indicator of when your ice cream maker is done. Look for a dense and smooth appearance, similar to that of soft serve ice cream. The sound of the ice cream maker can also provide valuable clues, with a quiet and consistent noise indicating that your ice cream is ready.
The time indicated in the recipe can be a helpful guideline, providing a starting point for determining when your ice cream is done. However, it’s important to consider factors such as ambient temperature and the specific characteristics of your ice cream maker.
A chilled and thickened mixture is essential for achieving the desired texture and consistency. Properly chilling the mixture allows the ingredients to meld together, enhancing the flavor and facilitating the freezing process.
The formation of soft peaks, while not applicable to all ice cream makers, can be observed in some machines. Soft peaks indicate that the ice cream is beginning to reach the desired consistency, but it should not be the sole indicator.
By combining these indicators and using your senses, you can confidently determine when your ice cream maker is done and create delectable frozen treats that will satisfy your cravings. Practice, experimentation, and attention to detail will sharpen your skills and enable you to consistently produce batches of homemade ice cream that will impress family and friends.
So, the next time you embark on an ice cream making adventure, keep these signs in mind and let your ice cream maker guide you towards a mouthwatering delight that will have everyone coming back for seconds.