Introduction
Welcome to our guide on how to root your Samsung Galaxy S5! If you’re looking to unlock your device’s full potential, rooting is the way to go. Rooting, in simple terms, means gaining administrator privileges on your Android device, giving you complete control over its operating system and enabling you to customize it to your liking.
Rooting your Galaxy S5 opens up a world of possibilities. You can install custom ROMs, remove pre-installed bloatware, optimize performance, and access features that are otherwise locked. However, it’s worth noting that rooting your device comes with both benefits and risks. It can void your warranty and potentially expose your device to security vulnerabilities if not done correctly. Therefore, it’s important to follow the steps carefully and proceed at your own risk.
In this comprehensive guide, we will walk you through the process of rooting your Samsung Galaxy S5. We will cover everything from enabling developer options and USB debugging to unlocking the bootloader, installing custom recovery, and finding the right root method for your specific device model.
Whether you’re a novice or an experienced Android user, this guide will provide you with step-by-step instructions, ensuring a seamless rooting process. But before we dive into the technical aspects, it’s essential to prepare your device and understand the implications of rooting. Let’s get started!
Understanding Rooting
Before we proceed with the rooting process, it’s important to have a clear understanding of what rooting entails. Rooting an Android device grants you administrative access to the operating system, allowing you to modify system files and settings that are typically off-limits to regular users.
By default, Android devices have limitations imposed by manufacturers and carriers to ensure stability and security. These limitations prevent users from making certain changes that could potentially harm the device or compromise its security. Rooting removes these restrictions, giving you complete control over your Samsung Galaxy S5.
With root access, you can customize your device in ways that are not possible with a stock, unrooted phone. You can install custom ROMs, which are modified versions of the Android operating system, often offering additional features and optimizations. These ROMs can provide a completely new look and feel to your device, as well as improved performance.
In addition to custom ROMs, rooting allows you to remove pre-installed bloatware – the unnecessary apps that come bundled with your device. Many carrier-branded devices have excessive pre-installed apps that take up storage space and may slow down your device. Rooting empowers you to uninstall these apps, freeing up valuable storage and improving overall performance.
Rooting also enables you to use root-only apps that require administrative access. These apps offer advanced functionality, such as system-level backups, ad-blocking, deep customization options, and the ability to tweak various system settings. With root access, you have the freedom to personalize your Samsung Galaxy S5 to match your preferences and needs.
However, it’s important to note that rooting is not without its risks. The process itself can be complex and may void your device’s warranty. Additionally, gaining root access can potentially open up your device to security vulnerabilities if you’re not careful. Therefore, it’s crucial to proceed with caution, follow reliable instructions, and be aware of the potential risks involved.
Now that we have a better understanding of what rooting entails, let’s move on to the next step in the process: preparing your device for rooting.
Preparing Your Device
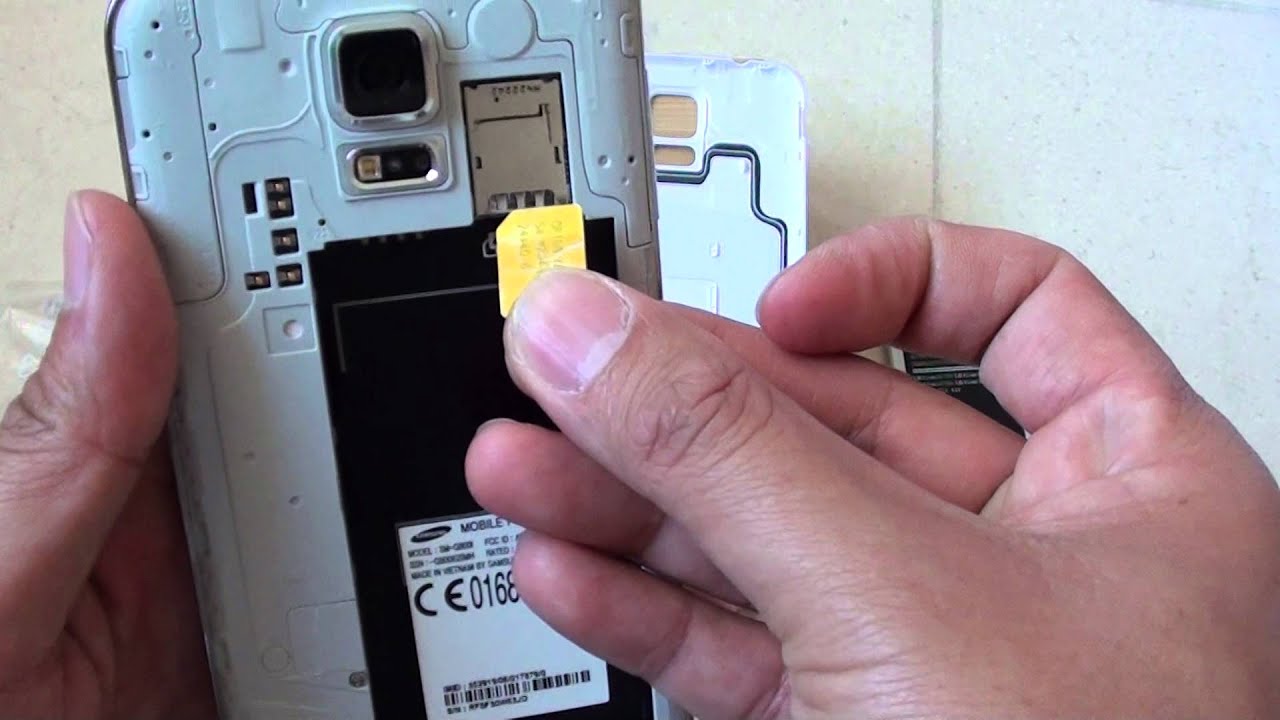
Before diving into the rooting process, it’s essential to prepare your Samsung Galaxy S5 to ensure a smooth and successful experience. This section will guide you through the initial steps you need to take before proceeding with rooting.
1. Backup your data: Rooting your device involves making significant changes to the system, and there is a risk of data loss. It’s crucial to back up your important files, contacts, photos, and any other data you don’t want to lose. You can use various backup apps available on the Google Play Store or sync your data with cloud storage services to safeguard your information.
2. Charge your device: To avoid any unexpected interruptions during the rooting process, make sure your Samsung Galaxy S5 is adequately charged. We recommend charging it to at least 50% to ensure the device has enough power to complete the rooting process.
3. Enable Developer Options: To enable USB debugging, which is necessary for rooting, you first need to enable Developer Options on your device. Go to the device’s Settings and scroll down to find “About phone.” Tap on “Software information” and locate the “Build number” entry. Tap on it multiple times until you see a message confirming that Developer Options have been enabled.
4. Enable USB Debugging: USB debugging allows your Samsung Galaxy S5 to communicate with the computer while rooting. To enable it, go to Settings > Developer Options and toggle on the “USB debugging” option. If you don’t see the Developer Options menu, go to Settings > About phone and tap on “Build number” multiple times until Developer Options are enabled.
5. Check device compatibility: Ensure that your Samsung Galaxy S5 model is compatible with the rooting method you plan to use. Different models and firmware versions may require specific root methods, so it’s important to double-check before proceeding. This information can usually be found on online forums, XDA Developers, or the website of the rooting tool you plan to use.
By following these preparatory steps, you’ll minimize the risk of encountering issues during the rooting process and ensure that your Samsung Galaxy S5 is ready for modification. In the next sections, we’ll guide you through unlocking the bootloader and installing custom recovery, both essential steps to root your device successfully.
Enabling Developer Options
Enabling Developer Options on your Samsung Galaxy S5 is an essential step in the rooting process. It allows you to access advanced settings and debugging options that are not normally available to regular users. Here’s how you can enable Developer Options:
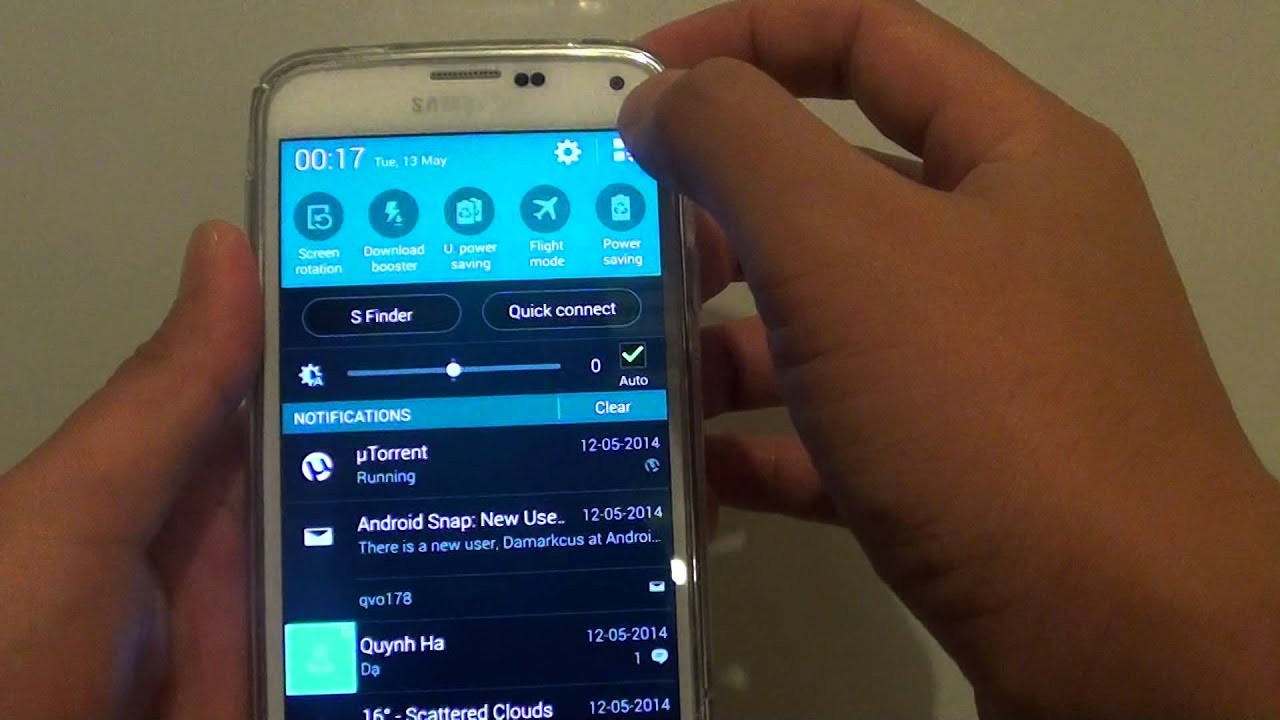
1. Open the Settings app on your Samsung Galaxy S5. You can do this by tapping on the gear icon in the app drawer or by swiping down from the top of the screen and tapping on the gear icon in the quick settings menu.
2. Scroll down and tap on “About phone” or “About device.” This option is usually located towards the bottom of the Settings menu.
3. Look for the “Software information” or “Software” section and tap on it.
4. Locate the “Build number” entry in the software information. The build number may vary depending on the firmware version of your device.
5. Tap on the “Build number” seven times in quick succession. As you tap, you’ll see a countdown message indicating the number of taps remaining. After the seventh tap, you’ll see a message that says, “You are now a developer!”
6. Return to the main Settings menu, and you’ll find a new option called “Developer Options” or “Developer settings.”
7. Tap on “Developer Options” to access the advanced settings. Here, you’ll find a wide range of options that allow you to customize your device and enable USB debugging, which is necessary for the rooting process.
By following these steps, you can easily enable Developer Options on your Samsung Galaxy S5. This will give you access to a variety of advanced settings that can be useful not only for rooting but also for various other purposes such as app development and troubleshooting. In the next section, we’ll guide you through enabling USB debugging, which is another essential step in the rooting process.
Enabling USB Debugging
USB debugging is a crucial setting that needs to be enabled on your Samsung Galaxy S5 to establish a connection with your computer and carry out the rooting process. Enabling USB debugging allows communication between the device and the computer, facilitating the transfer of data and commands. Here’s how you can enable USB debugging:
1. Open the Settings app on your Samsung Galaxy S5.
2. Scroll down and tap on “Developer Options.” If you don’t see this option, refer to the previous section on how to enable Developer Options.
3. Look for “USB debugging” in the Developer Options menu and toggle the switch to turn it on. You may be prompted with a warning message regarding the potential risks of enabling USB debugging. Read the message carefully and select “OK” to proceed.
4. A pop-up window may appear asking you to authorize USB debugging. Check the box next to “Always allow from this computer” and tap “OK.” This grants your computer permission to access your device in debugging mode.
5. Connect your Samsung Galaxy S5 to your computer using a USB cable.
6. On your computer, you may see a prompt asking for permission to allow USB debugging. Check the box next to “Always allow from this computer” and click “OK.”
7. Once USB debugging is enabled, you can proceed with the rooting process. Your computer will be able to communicate with your Samsung Galaxy S5, allowing you to execute commands and transfer files.
Enabling USB debugging is a critical step in the rooting process as it establishes a connection between your device and the computer. By following these steps, you can enable USB debugging on your Samsung Galaxy S5 and ensure a smooth rooting experience. In the next section, we’ll explore the importance of checking device compatibility before proceeding with rooting.
Checking Device Compatibility
Before proceeding with the rooting process for your Samsung Galaxy S5, it’s crucial to ensure that your device is compatible with the rooting method you plan to use. Different device models and firmware versions may require specific rooting methods, and using an incompatible method can lead to complications or even brick your device. Here’s how you can check your device’s compatibility:
1. Determine your device model: Go to the Settings app on your Samsung Galaxy S5 and scroll down to find “About phone” or “About device.” Tap on it and look for the “Model number” or “Device model” entry. Make a note of your device model, as this will be crucial in finding the correct rooting method.
2. Research rooting methods: Once you have the device model, search online for forums, XDA Developers, or official websites that provide information on rooting methods specifically for your Samsung Galaxy S5 model. Look for reliable sources that have a track record of providing accurate and up-to-date information.
3. Check compatibility: On the forums or websites you visit, look for information regarding device compatibility for each rooting method. The information may vary based on device models, firmware versions, and carrier-specific variants. Ensure that the rooting method you choose is compatible with your specific device model and firmware version.
4. Read user experiences and feedback: Pay attention to user experiences and feedback related to the rooting method you plan to use. Look for success stories and any potential issues or complications that users may have encountered. This research will give you a better understanding of the reliability and effectiveness of the chosen rooting method.
By performing these steps and conducting thorough research, you can ensure that you choose the right rooting method for your Samsung Galaxy S5. This will reduce the risk of encountering compatibility issues or complications during the rooting process. In the next section, we’ll cover the important step of unlocking the bootloader before proceeding with rooting.
Unlocking the Bootloader
Unlocking the bootloader is an essential step in the rooting process for your Samsung Galaxy S5. The bootloader is a piece of software that initializes the device’s operating system when it starts up. By default, the bootloader is locked on most Android devices to prevent users from making unauthorized changes to the system. Here’s how you can unlock the bootloader of your Samsung Galaxy S5:
1. Backup your data:
Before proceeding with unlocking the bootloader, ensure that you have backed up all important data on your Samsung Galaxy S5. Unlocking the bootloader can sometimes result in a factory reset, which erases all data on the device. By backing up your data, you can ensure that you won’t lose any important files or information.
2. Enable Developer Options and USB Debugging:
Refer to the earlier sections of this guide on how to enable Developer Options and USB debugging on your Samsung Galaxy S5. These settings will be required for unlocking the bootloader.
3. Power off your device:
Make sure your Samsung Galaxy S5 is powered off completely before proceeding to the next step.
4. Enter bootloader/fastboot mode:
To enter bootloader or fastboot mode, press and hold the appropriate key combination on your device. This combination may vary depending on the device model and manufacturer. Common key combinations used to enter bootloader mode include the Volume Down + Power buttons or Volume Up + Power buttons. Check online or refer to the device’s user manual to determine the correct combination for your Samsung Galaxy S5.
5. Connect your device to the computer:
Using a USB cable, connect your Samsung Galaxy S5 to your computer while still in bootloader/fastboot mode.
6. Install ADB and Fastboot on your computer:
ADB (Android Debug Bridge) and Fastboot are necessary tools for unlocking the bootloader. Install these tools on your computer by following the instructions provided by the Android developer website or by using a software package like Android SDK Platform Tools.
7. Open a command prompt or terminal:
On your computer, open a command prompt (Windows) or terminal (Mac or Linux) window. Navigate to the location where you installed ADB and Fastboot.
8. Unlock the bootloader:
In the command prompt or terminal window, enter the command specific to your device and manufacturer to unlock the bootloader. The command may vary, but it usually follows the format: fastboot oem unlock. Press Enter to execute the command.
9. Follow on-screen instructions:
Once you execute the command, a message may appear on your device asking for confirmation to unlock the bootloader. Use the volume keys to navigate and the power button to select “Yes” or “Confirm.” Be aware that unlocking the bootloader may void your device warranty.
10. Reboot your device:
After successfully unlocking the bootloader, reboot your Samsung Galaxy S5 by entering the command: fastboot reboot. This will restart your device and allow you to proceed with the rooting process.
By following these steps, you can unlock the bootloader of your Samsung Galaxy S5, paving the way for rooting the device. In the next section, we’ll cover the process of installing custom recovery, another crucial step in the rooting process.
Installing Custom Recovery
Installing a custom recovery is an important step in the rooting process for your Samsung Galaxy S5. A custom recovery allows you to flash custom ROMs, create backups, and perform other advanced operations on your device. There are several custom recovery options available, but the most popular one for Samsung devices is TWRP (Team Win Recovery Project). Here’s how you can install TWRP custom recovery on your Samsung Galaxy S5:
1. Download the TWRP image file:
Visit the official TWRP website or a reliable source to download the TWRP recovery image file that matches your Samsung Galaxy S5 model. Make sure to download the latest stable version for optimal compatibility and functionality.
2. Enable USB debugging and connect your device:
Ensure that USB debugging is enabled on your Samsung Galaxy S5 by following the earlier sections of this guide. Connect your device to your computer using a USB cable.
3. Open a command prompt or terminal:
On your computer, open a command prompt (Windows) or terminal (Mac or Linux) window. Navigate to the directory where you have stored the TWRP recovery image file.
4. Boot your device into bootloader/fastboot mode:
Similar to unlocking the bootloader, use the appropriate key combination to boot your Samsung Galaxy S5 into bootloader or fastboot mode. Refer to the earlier sections for information on the key combination for your device model.
5. Flash the TWRP recovery image:
In the command prompt or terminal, enter the following command to flash the TWRP recovery image onto your device:
fastboot flash recovery <path_to_twrp_image>.imgMake sure to replace <path_to_twrp_image> with the actual path to the TWRP recovery image file on your computer. Press Enter to execute the command.
6. Reboot your device:
After successfully flashing the TWRP recovery image, reboot your Samsung Galaxy S5 by using the command:
fastboot reboot7. Enter recovery mode:
To enter recovery mode, power off your device and then press and hold the appropriate key combination. This combination may vary, but it often involves pressing the Volume Up + Home + Power buttons together. Again, refer to the earlier sections or your device’s user manual for the correct combination.
8. Verify TWRP installation:
If you have successfully installed TWRP custom recovery, you should see the TWRP interface on your Samsung Galaxy S5. Use the volume keys to navigate and the power button to select options within TWRP.
By following these steps, you can install TWRP custom recovery on your Samsung Galaxy S5. With TWRP installed, you’ll be able to proceed with the rooting process and explore a range of advanced customization options for your device. In the next section, we’ll discuss how to find the right root method for your specific Samsung Galaxy S5 model.
Finding the Right Root Method for Your Device
When it comes to rooting your Samsung Galaxy S5, it’s important to find the right root method that is compatible with your specific device model and firmware version. Various root methods exist, each tailored to different device variants. Here’s how you can find the right root method for your device:
1. Identify your device model and firmware version:
To find the appropriate root method, you need to know your Samsung Galaxy S5’s exact model number and firmware version. Go to Settings > About phone or About device and look for the “Model number” or “Device model” entry. Make a note of this information as it will determine the compatibility of different root methods.
2. Research online forums and communities:
Visit online forums, such as XDA Developers or Android forums, that focus on rooting and device customization. Look for sections or threads that specifically cover rooting the Samsung Galaxy S5. Search for root methods based on your device model and firmware version. Read through the discussions and user experiences to identify the most recommended and reliable root methods for your specific device.
3. Follow trusted sources and developers:
Identify trusted sources and developers who have a proven track record in providing reliable rooting methods. Look for tutorials, guides, or tools created by recognized developers or teams with extensive experience in the Android rooting community. These sources usually have high-quality instructions and files that align with specific device models and firmware versions.
4. Pay attention to user feedback:
When researching root methods, pay attention to user feedback and reviews. Look for positive experiences and success stories from users who have followed a particular rooting method for their Samsung Galaxy S5. Additionally, be aware of any reported issues or complications that may have occurred. By being informed about real-world experiences, you can make an informed decision about the best root method for your device.
5. Consider security and reliability:
Ensure that the root method you choose is from a reliable source and does not compromise the security of your device. Avoid root methods that come from unknown or untrusted sources, as they may contain malware or malicious code. Stick to reputable developers and sources to ensure a safe and secure rooting process.
By carefully researching and considering these factors, you can find the right root method for your Samsung Galaxy S5. Matching your device model and firmware version with the recommended root methods will increase the likelihood of a successful rooting process. In the next section, we’ll explore the steps to download and install the necessary rooting tools for your device.
Downloading and Installing Rooting Tools
Before you can proceed with rooting your Samsung Galaxy S5, you’ll need to download and install the necessary rooting tools. These tools will help you establish a connection between your device and computer, execute commands, and ultimately gain root access. Here’s how you can download and install the required rooting tools:
1. Identify the required tools:
Based on the root method you’ve chosen and the resources you’ve obtained from trusted sources, identify the specific rooting tools you’ll need. This may include tools like Odin, SuperSU, Magisk, or specific custom recovery-based tools.
2. Download the required tools:
Visit the official websites or trusted sources to download the required rooting tools onto your computer. Make sure to download the latest versions to ensure compatibility and access to the most up-to-date features and improvements.
3. Extract or install the tools:
If the downloaded files are in compressed formats like .zip or .rar, extract the files to a location on your computer. If the files are installer packages, double-click on the installer and follow the on-screen instructions to install the tools. Make sure to read any terms or agreements before proceeding with the installation.
4. Enable USB debugging and connect your device:
Refer to the earlier sections of this guide on how to enable USB debugging on your Samsung Galaxy S5. Connect your device to your computer using a USB cable. Ensure that your device is in USB debugging mode when connecting.
5. Install device drivers:
In some cases, you may need to install device drivers to establish a proper connection between your Samsung Galaxy S5 and computer. Visit the official website of your device manufacturer and search for the appropriate driver for your device model. Follow the instructions provided by the manufacturer to install the drivers on your computer.
6. Test the connection:
Once the tools are downloaded and installed, test the connection between your device and computer. Open a command prompt or terminal window and enter the required commands to check if your device is detected. For example, you can use the command adb devices to list the connected devices. If your device is listed, it means the connection is successful.
By following these steps, you’ll be able to download and install the necessary rooting tools for your Samsung Galaxy S5. These tools will serve as the backbone of the rooting process, allowing you to execute the required commands and gain root access. In the next section, we’ll guide you through the process of rooting your Samsung Galaxy S5.
Rooting Your Samsung Galaxy S5
Now comes the moment you’ve been waiting for – rooting your Samsung Galaxy S5! With the preparatory steps completed and the necessary tools in place, you’re ready to proceed with the rooting process. Here’s a step-by-step guide on how to root your Samsung Galaxy S5:
1. Ensure that you have followed all the previous sections of this guide, including enabling Developer Options, enabling USB Debugging, unlocking the bootloader, and installing custom recovery.
2. Power off your Samsung Galaxy S5 completely.
3. Boot your device into recovery mode by pressing and holding the appropriate key combination. This combination may differ based on the device model. Typically, it involves pressing the Volume Up + Home + Power buttons simultaneously.
4. Within the custom recovery (such as TWRP), use the volume keys to navigate and the power button to select options.
5. In the recovery menu, select the option to install or flash a ZIP file.
6. Navigate to the location on your device where you have stored the root package file. This file is usually provided with the specific root method you selected.
7. Select the root package file and confirm the installation by swiping or selecting the appropriate option in the custom recovery interface.
8. Wait for the installation process to complete. Once it finishes, you should see a success message or notification indicating that the root package has been installed successfully.
9. Reboot your device by selecting the reboot system option in the custom recovery menu.
10. After rebooting, your Samsung Galaxy S5 should now be rooted. You can verify the root status by installing a root-checking app from the Google Play Store or using a command-line tool like “su” in a terminal emulator.
Congratulations! You have successfully rooted your Samsung Galaxy S5, giving you complete control over your device’s operating system and the ability to customize it to your liking. With root access, you can now install root-only apps, remove bloatware, and explore various customizations and optimizations available for rooted devices.
Remember that with great power comes great responsibility. As a rooted user, it’s essential to exercise caution and make informed decisions when making changes to your device’s system. Ensure that you only make changes from trusted sources and understand the implications of any modifications you make.
Enjoy exploring the endless possibilities and customization options that rooting your Samsung Galaxy S5 has unlocked for you!
Verifying Root Access
After successfully rooting your Samsung Galaxy S5, it’s important to verify that you have indeed gained root access to your device. Verifying root access ensures that the rooting process was completed successfully and that you have the necessary privileges to make system-level changes. Here’s how you can verify root access on your Samsung Galaxy S5:
1. Open the Google Play Store on your device.
2. Search for a root-checking app. There are several apps available, such as “Root Checker” or “Root Validator.”
3. Install the root-checking app of your choice.
4. Open the root-checking app and follow any on-screen instructions if prompted.
5. Tap on the “Verify Root Access” or similar option within the app.
6. The app will perform a series of checks to determine if your device has root access. It will notify you whether root access has been successfully granted or if there are any issues.
If the root-checking app confirms that root access is present on your Samsung Galaxy S5, congratulations! You now have administrative privileges on your device, allowing you to make advanced system-level changes and customize it further. However, if the app indicates that root access is not available, double-check the rooting process and ensure that you followed all the steps correctly.
If you encounter any issues during the root verification process, consider repeating the rooting process or seeking assistance from reliable online forums or communities dedicated to Samsung devices and rooting. Remember to always proceed with caution and use trusted sources when making any changes to your rooted device.
Verifying root access is an important step to ensure that you can take advantage of all the benefits that come with a rooted Samsung Galaxy S5. It confirms that you have successfully gained administrative privileges, granting you the ability to explore and customize your device to meet your specific needs and preferences.
Now that you’ve verified root access, you can dive into the world of rooted devices and explore the vast range of possibilities that await you!
Frequently Asked Questions (FAQs)
1. Is rooting my Samsung Galaxy S5 safe?
Rooting your device carries certain risks, such as voiding your warranty or potentially exposing your device to security vulnerabilities if not done correctly. It’s crucial to follow reliable instructions, research thoroughly, and proceed with caution. Understand the potential risks and benefits before deciding to root your device.
2. Can I unroot my Samsung Galaxy S5?
Yes, it is possible to unroot your device. You can typically unroot your Samsung Galaxy S5 by using the same custom recovery to flash a stock firmware or by using a dedicated unrooting tool. Keep in mind that unrooting may still void warranty in some cases.
3. Will rooting my Samsung Galaxy S5 erase my data?
Rooting itself does not erase your data. However, certain rooting methods or actions, such as unlocking the bootloader or flashing custom ROMs, may result in a factory reset, which will erase all of your data. It’s crucial to back up your data before proceeding with rooting.
4. Can I still receive OTA (Over-The-Air) updates after rooting my device?
Rooting your device can sometimes prevent you from receiving official OTA updates. This is because rooted devices often modify the system partition, which can cause conflicts with the update process. However, you can still manually install updates by finding the official firmware and flashing it using custom recovery.
5. Is rooting legal?
Rooting is generally legal, but it may void your device warranty. The legality of rooting varies by country, so it’s essential to familiarize yourself with the laws and regulations in your specific region.
6. Can I use banking apps or other apps that rely on security after rooting?
Some banking apps and other security-sensitive apps may not work on rooted devices due to security concerns. Rooting bypasses some of the device’s built-in security measures, which may trigger security features in these apps, rendering them incompatible with rooted devices. It’s advisable to check app compatibility before rooting.
7. What are the benefits of rooting my Samsung Galaxy S5?
Rooting your Samsung Galaxy S5 unlocks a wide range of benefits. You gain complete administrative access to your device, allowing you to install custom ROMs, remove bloatware, access root-only apps, optimize performance, and customize your device to your liking.
8. Can rooting my Samsung Galaxy S5 damage my device?
If done incorrectly or without proper knowledge, rooting can potentially damage your device. However, by following reliable instructions, using trusted resources, and understanding the process, you can minimize the risk of damaging your Samsung Galaxy S5.
Remember to research thoroughly, exercise caution, and proceed at your own risk when rooting your Samsung Galaxy S5. If you have specific concerns or issues, it’s best to seek guidance and support from trusted online communities or professional technicians.
Conclusion
Congratulations on reaching the end of our guide on rooting your Samsung Galaxy S5! We’ve covered a range of topics, from understanding rooting to preparing your device, enabling developer options and USB debugging, unlocking the bootloader, installing custom recovery, finding the right root method, downloading and installing rooting tools, rooting your device, verifying root access, and addressing frequently asked questions.
Rooting your Samsung Galaxy S5 opens up a world of possibilities, granting you administrative privileges and the ability to customize your device to suit your needs and preferences. However, it’s important to approach rooting with caution and awareness of the potential risks involved. Always make sure to back up your important data before proceeding with any changes to your device.
Throughout this guide, we’ve emphasized the importance of following reliable instructions, using trusted resources, and understanding the implications of the rooting process. By researching thoroughly and seeking guidance from reputable forums or communities, you can navigate the rooting process successfully.
Keep in mind that rooting your device may void your warranty. Additionally, it’s important to note that the rooting process can vary depending on your device model, firmware version, and root method of choice. Therefore, it’s crucial to carefully identify your device’s specifications and find the appropriate root method that corresponds to your specific Samsung Galaxy S5 model.
We hope that this guide has provided you with the necessary information and guidance to root your Samsung Galaxy S5. Remember to exercise caution, make informed decisions, and enjoy the newfound possibilities and customizations that come with rooting.
Happy exploring and customizing your Samsung Galaxy S5!