Introduction
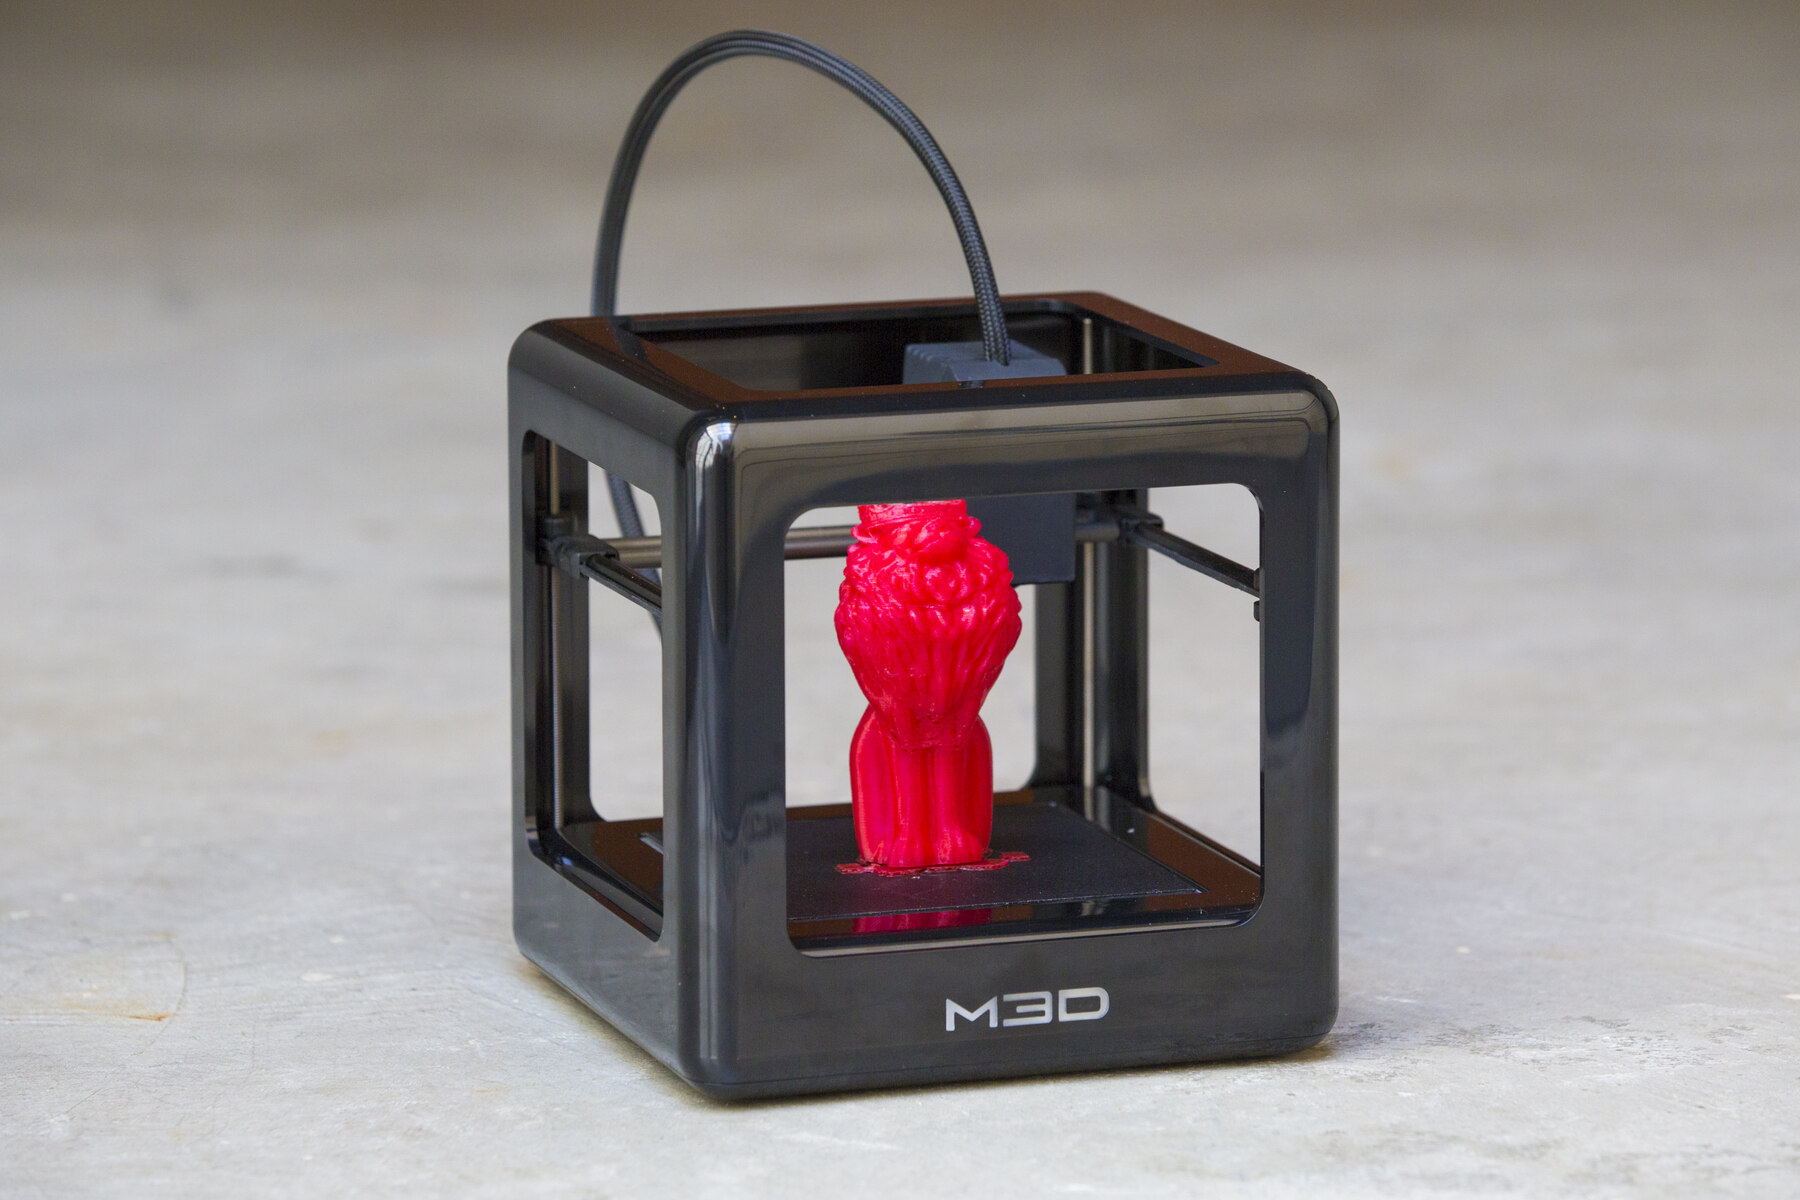
Welcome to the world of 3D printing! Whether you are a seasoned 3D printing enthusiast or just getting started, it’s always helpful to know how to reset your M3D 3D printer to factory specifications.
Resetting your printer to its original settings can be beneficial in various scenarios. It can resolve software glitches, calibration issues, or restore factory-default configurations. By performing a factory reset, you can ensure that your printer is operating at its optimal performance.
Before we delve into the step-by-step process, it’s essential to note that resetting your printer will erase all your custom settings, prints, and calibrations. Therefore, it’s crucial to back up any necessary data before proceeding with the factory reset.
In this guide, we will walk you through the steps required to reset your M3D 3D printer to its factory specifications. By following these instructions, you can regain control over your printer and have it functioning as good as new!
Step 1: Prepare for Reset
Before you initiate the factory reset process for your M3D 3D printer, there are a few essential preparations you should make:
- Backup your files: As mentioned earlier, performing a factory reset will erase all your custom settings and prints. Therefore, it’s crucial to back up any important files or models that you don’t want to lose. You can save them onto a USB drive or any external storage device.
- Power off the printer: Ensure that the printer is powered off and unplugged from any power source. This step is necessary to prevent any electrical mishaps or damage to the printer during the reset process.
- Inspect the printer: Take a moment to visually inspect the printer for any physical damage or loose parts. If you notice any issues, it’s best to address them before proceeding with the reset.
- Check the documentation: Refer to the user manual or online documentation provided by M3D for specific instructions on how to perform the factory reset. Different printer models may have slight variations in the reset procedure, so it’s essential to have the correct information at hand.
By completing these preparations, you set yourself up for a smooth and hassle-free factory reset process. It’s always a good idea to be well-prepared before diving into any technical procedure to ensure the best possible outcome.
Step 2: Perform a Factory Reset
Now that you’ve made the necessary preparations, it’s time to perform the factory reset on your M3D 3D printer. Follow these steps:
- Power on the printer: Plug in the printer and turn it on. Wait for it to fully initialize and reach the ready state.
- Navigate to settings: Using the printer’s control panel or the interface on your computer, navigate to the settings menu. Look for the option that allows you to perform a factory reset.
- Select factory reset: Once you’ve located the factory reset option, select it. The printer will prompt you to confirm your decision. Double-check that you have backed up any necessary data before proceeding.
- Confirm reset: Follow the on-screen instructions to confirm the factory reset. This confirmation step is in place to prevent accidental resets and ensure that you intentionally want to restore the printer to its factory settings.
- Wait for the reset: The printer will now begin the reset process. This may take a few minutes as it clears all the custom settings and configurations. Avoid interrupting the process or turning off the printer during this time.
- Reset completed: Once the factory reset is complete, the printer will notify you. It will return to its default settings, erasing any previous customizations.
By following these steps, you can successfully perform a factory reset on your M3D 3D printer. Remember to be patient during the process and refrain from interrupting it. Once the reset is complete, you can move on to the next step of the calibration process.
Step 3: Calibrate the Printer
After performing the factory reset, it’s important to calibrate your M3D 3D printer to ensure accurate and precise printing. Follow these steps to calibrate your printer:
- Level the print bed: Use the printer’s leveling function or manual adjustments to level the print bed. This step is crucial for proper adhesion and consistent prints.
- Check the nozzle height: Ensure that the nozzle is set at the correct height from the print bed. This is typically done by adjusting the Z-axis or nozzle height settings. Refer to your printer’s documentation for specific instructions.
- Extruder calibration: Calibrate the extruder steps/mm to ensure accurate extrusion of filament. This step is essential for precise printing and prevents under or over-extrusion.
- Test print: Once the calibration is complete, perform a test print to verify that the printer is functioning correctly. Use a simple model or a calibration cube to check the overall quality and accuracy of the print.
- Adjust settings if necessary: If the test print results are not satisfactory, you may need to fine-tune various settings such as temperature, speed, or filament flow. Make small adjustments and continue to test until you achieve the desired print quality.
Calibrating your printer is crucial to ensure consistent and high-quality prints. Take the time to meticulously follow these steps and make necessary adjustments as needed. Proper calibration will greatly enhance your 3D printing experience and help you achieve the best results with your M3D 3D printer.
Step 4: Load Filament and Test Print
Once you have successfully calibrated your M3D 3D printer, it’s time to load filament and perform a test print to ensure everything is working correctly. Follow these steps:
- Prepare the filament: Ensure that you have the appropriate filament loaded and ready. Cut the filament end to create a clean and straight edge.
- Open the extruder: Open the extruder assembly to access the filament feeding mechanism. This can usually be done with a lever or button on the printer.
- Insert the filament: Insert the filament into the filament feeding mechanism and push it in until it is gripped securely by the extruder. Make sure the filament is aligned with the extruder pathway.
- Heat the extruder: Use the printer interface or control panel to heat the extruder to the recommended temperature for the specific filament you are using. This will allow the filament to melt and flow smoothly.
- Start the test print: Load a test print file onto the printer or use a pre-installed test print model provided by the manufacturer. Start the print process and monitor the progress.
- Observe the print quality: As the test print progresses, observe the print quality and check for any issues such as under or over-extrusion, layer adhesion, or any other defects. This will help identify any further adjustments that may be needed.
- Make adjustments if necessary: If you encounter any issues or unsatisfactory print quality, take note of the specific problem and make corresponding adjustments. This can include tweaking temperature settings, adjusting flow rate, or modifying print speed.
By following these steps, you can load filament into your printer and perform a test print to ensure that everything is in order. This step will allow you to identify any remaining issues and make the necessary adjustments for optimal print quality.
Conclusion
Resetting your M3D 3D printer to factory specifications can be a valuable troubleshooting tool to address software glitches, calibration issues, or to restore default settings. By following the step-by-step process outlined in this guide, you can confidently reset your printer and get it back to optimal performance.
Remember to prepare for the reset by backing up any important files and ensuring that the printer is powered off and in good physical condition. Then, proceed to perform the factory reset through the printer’s settings menu, following the on-screen prompts.
After the reset, it’s crucial to calibrate your printer by leveling the print bed, checking the nozzle height, and calibrating the extruder. This will guarantee accurate and precise printing. Don’t forget to perform a test print and make any necessary adjustments to the settings to achieve the desired print quality.
By following these steps, you can effectively reset your M3D 3D printer and get it ready for your next 3D printing project. Enjoy the enhanced performance and consistency that comes with a factory reset!