Introduction
Having a wireless mouse can be incredibly convenient, as it eliminates the hassle of tangled cords and provides freedom of movement. However, one of the challenges that come with using a wireless mouse is keeping track of the battery level. It can be frustrating to suddenly find yourself unable to use your mouse due to a low battery. That’s why it’s essential to know how to check the battery level on your Logitech mouse.
In this article, we will explore various methods to determine if your Logitech mouse battery is running low. Whether you have a Logitech wireless mouse that uses standard disposable batteries or a rechargeable model, there are indicators and settings you can utilize to keep track of the battery level and take appropriate action when needed.
By learning how to check the battery level on your Logitech mouse, you can stay ahead of battery drain and ensure uninterrupted productivity or gaming sessions. Let’s dive into the various methods and tools that Logitech provides to help you monitor and manage your mouse’s battery life.
Checking the Battery Level on a Logitech Mouse
Logitech understands the importance of keeping users informed about their device’s battery life. They have implemented several features to help you easily monitor the battery level on your Logitech mouse.
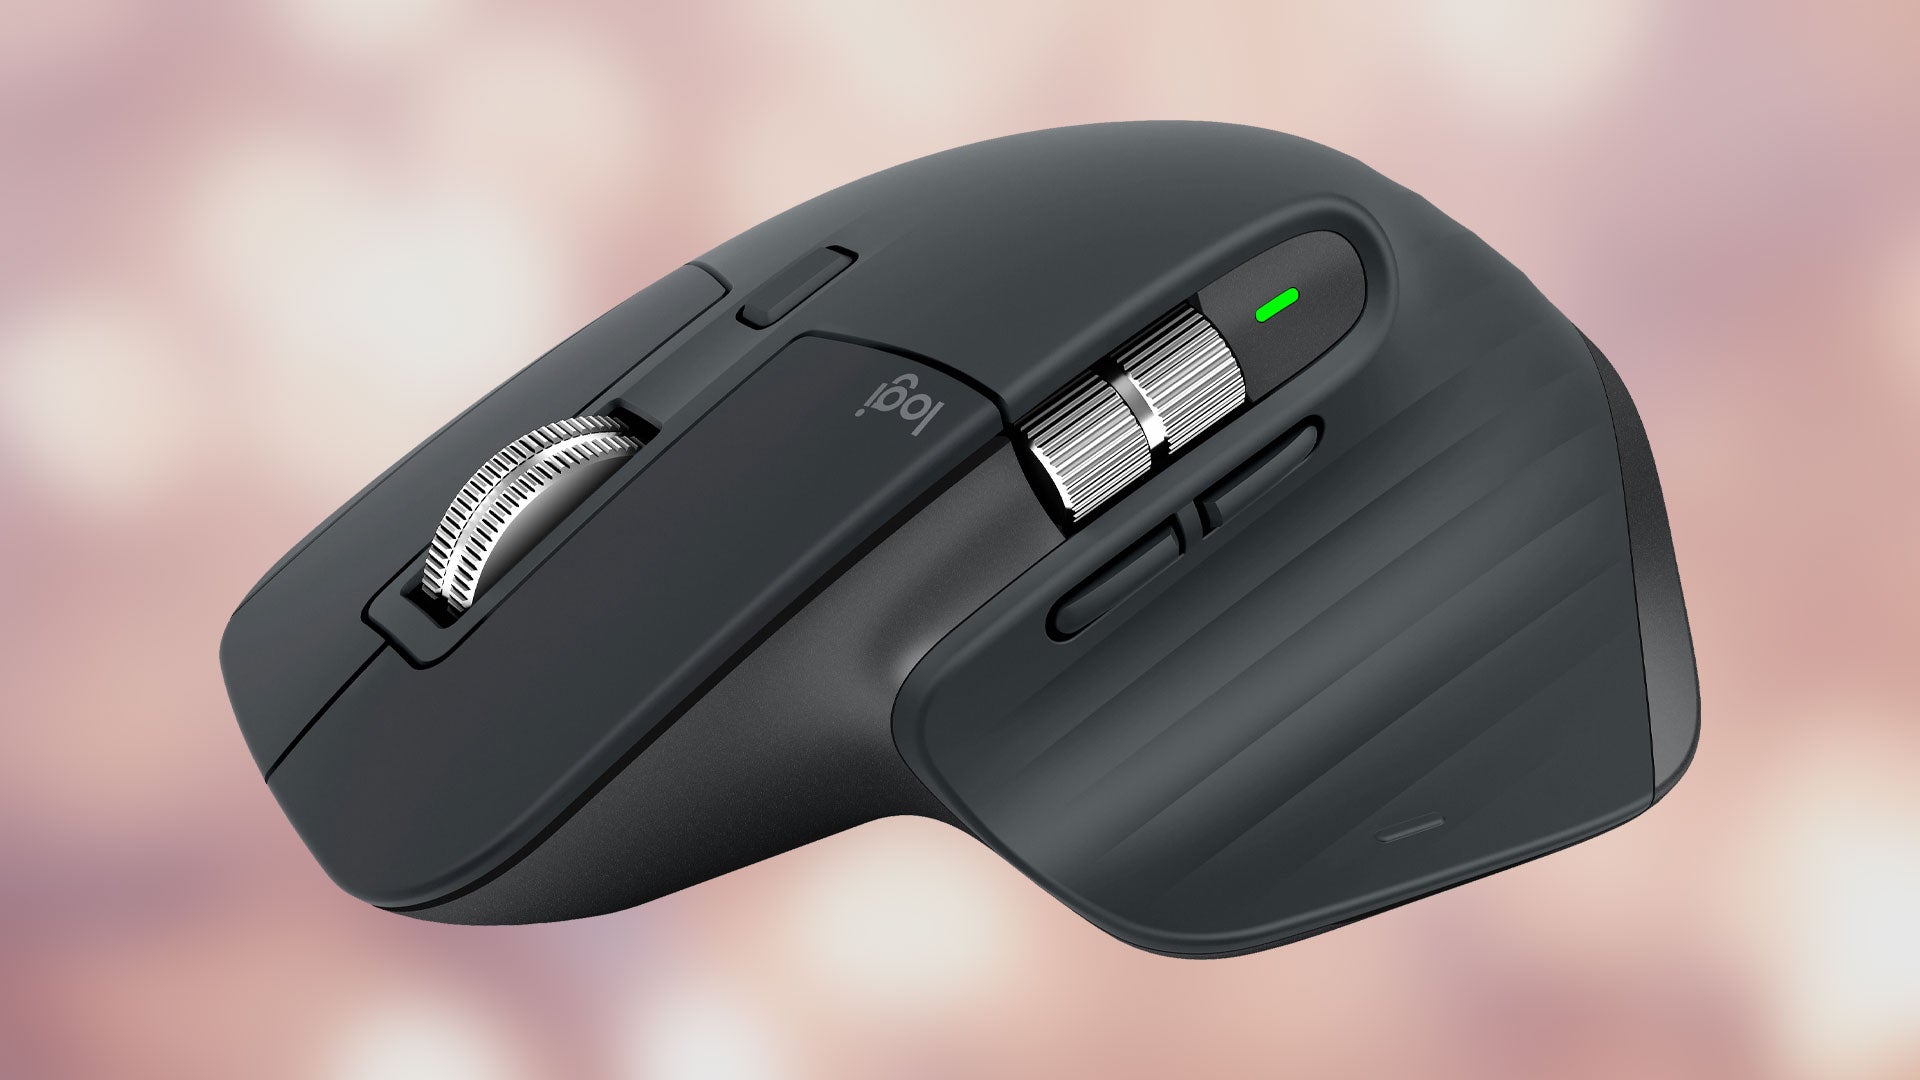
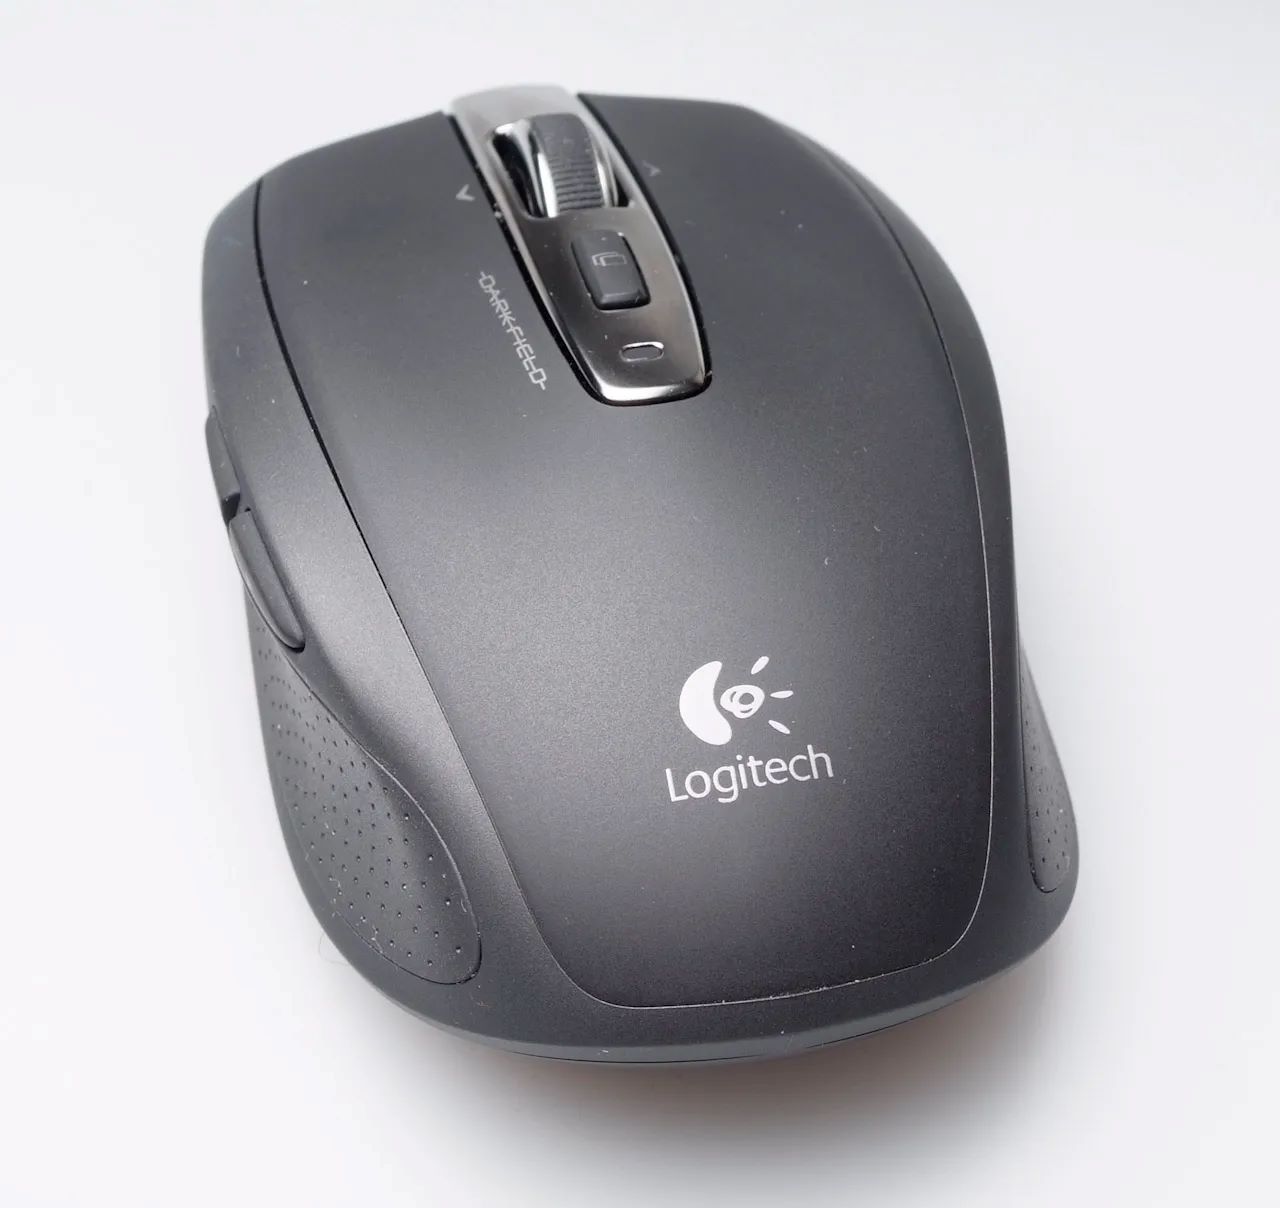
One of the most common ways to check the battery level is by looking at the indicator lights on the mouse. Many Logitech wireless mice come equipped with LED lights that indicate the battery status. These lights may be located on the top surface, sides, or bottom of the mouse, depending on the model.
Typically, a solid green light indicates that the battery has sufficient power. As the battery level decreases, the light may change to yellow or red, signaling the need for a battery change or recharge. However, keep in mind that different Logitech mouse models may have variations in the color and pattern of the indicator lights, so it’s a good idea to consult your mouse’s user manual for specific instructions.
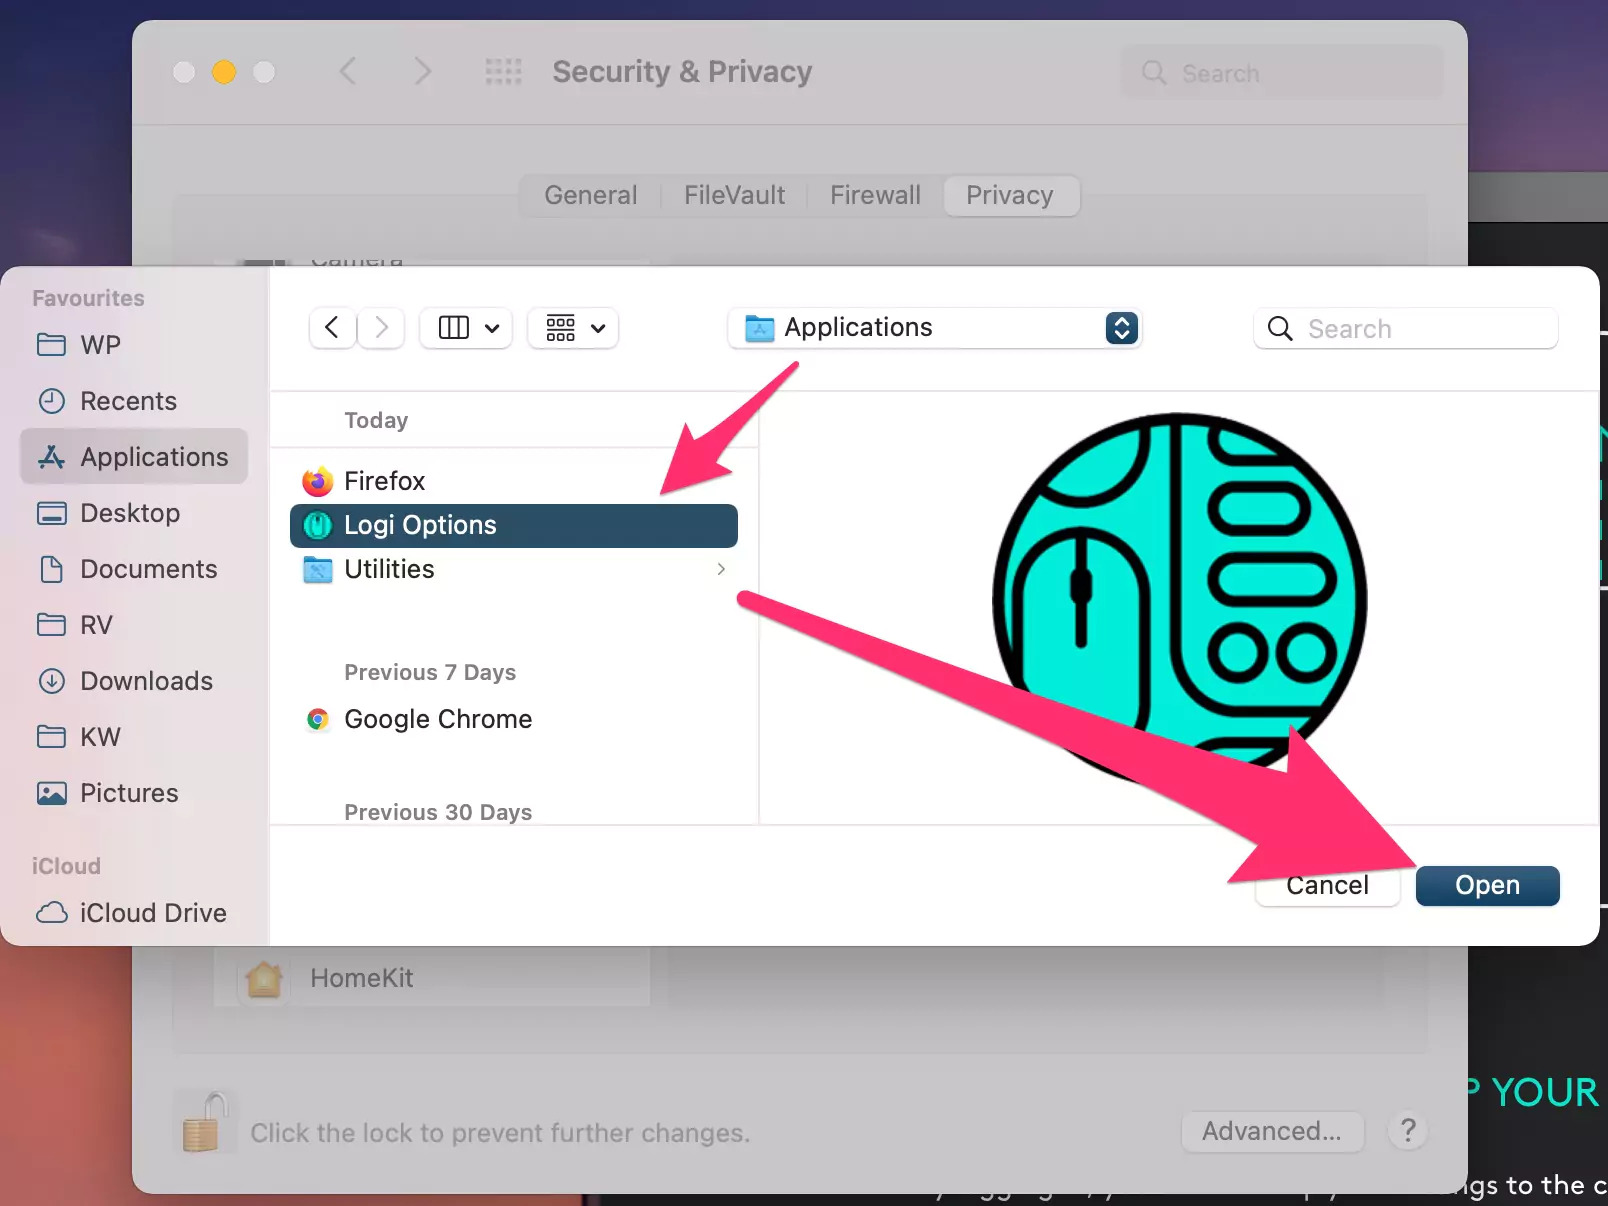
In addition to the indicator lights, Logitech provides software that allows you to check the battery level on your computer. For instance, Logitech’s Options software, available for Windows and macOS, provides a convenient way to monitor your mouse’s battery status. Simply launch the software, locate your mouse, and navigate to the battery status section.
Depending on your Logitech mouse model, the software may display the battery level as a percentage or a graphical representation. This feature is particularly handy if you prefer to have a quick look at your computer screen to check your mouse’s battery level without needing to inspect the physical mouse itself.
Now that we’ve explored the indicator lights and Logitech software, let’s delve into how you can configure battery warnings to receive timely notifications when your mouse’s battery level is running low.
Indicator Lights on the Mouse
The indicator lights on your Logitech mouse are a convenient way to quickly check the battery level without relying on additional software or computer settings. These lights are designed to provide a visual representation of the battery status, making it easy to determine whether your mouse needs a battery change or recharge.
While the specific location and pattern of the indicator lights may vary depending on the Logitech mouse model, they generally follow a similar color-coding system. A solid green light typically indicates that your mouse has sufficient battery power. This means you can continue using it without any interruptions or concerns.
As the battery level starts to decrease, the indicator light may change to yellow or amber. This serves as a warning that the battery is running low and may need to be replaced or recharged soon. It’s important to keep an eye on this color change to ensure you don’t suddenly lose mouse functionality during an important task or gaming session.
When the battery level becomes critically low, the indicator light may turn red. This is an indicator that the battery power is nearly exhausted, and immediate action is required. Be sure to have spare batteries or a charging cable ready to ensure uninterrupted usage.
Logitech’s attention to detail extends to the indicator lights’ placement on the mouse. Some models may have the lights on the top surface, easily visible to the user, while others may feature lights on the side or bottom. Wherever the location may be, Logitech strives to make it convenient for users to check the battery status at a glance.
To determine the specific indicator light behavior for your Logitech mouse model, consult the user manual or visit Logitech’s official website. Familiarizing yourself with these indicators will help you stay prepared and take appropriate action when your mouse’s battery is running low.
Logitech Software
In addition to the indicator lights on your Logitech mouse, Logitech provides software that offers a more in-depth view of your mouse’s battery level and additional customization options. This software, such as Logitech Options, is available for both Windows and macOS devices.
By installing Logitech software on your computer, you gain access to a range of features that enhance your overall mouse experience. One such feature is the ability to monitor the battery status of your Logitech mouse directly from your desktop.
Once installed, the Logitech software detects your connected Logitech mouse and provides an intuitive user interface to manage various settings, including battery information. You can simply open the software and navigate to the battery section to view the current battery level.
The software may display the battery level as a percentage, allowing you to know precisely how much power is remaining. This information is especially useful for users who prefer to monitor their mouse’s battery status without needing to inspect the physical mouse or rely solely on the indicator lights.
In addition to monitoring the battery level, Logitech software also enables users to customize their mouse settings and behaviors. Depending on your mouse model and the software version, you may have the option to adjust power-saving settings to maximize battery life.
Logitech software provides a centralized hub to manage various aspects of your Logitech mouse, making it convenient to keep track of battery life and optimize settings to suit your preferences. Be sure to visit Logitech’s official website to download the appropriate software for your mouse model and operating system.
Now that we’ve explored how Logitech software enhances battery monitoring and customization options, let’s move on to configuring battery warnings to ensure you never miss a low battery notification.
Configuring Battery Warnings
Logitech understands the importance of timely battery warnings, ensuring that you are alerted when your mouse’s battery level is running low. With Logitech software installed on your computer, you can configure battery warnings to receive notifications when it’s time to change or recharge your mouse’s batteries.
Depending on the software version and your mouse model, you may have different options for setting up battery warnings. To start, launch the Logitech software and navigate to the settings or preferences section. Look for an option related to battery status or notifications.
Once you find the battery settings, you can usually customize the battery threshold at which you want to receive a warning. This allows you to set your preferred battery level at which the software will trigger a notification. For example, you can choose to receive a warning when the battery level drops to 20% or any other level that you find suitable.
In addition to setting the battery threshold, Logitech software often allows you to choose the type of warning you prefer. Common options include a pop-up notification, an audible alert, or a combination of both. This flexibility enables you to tailor the warnings to your personal preferences and ensure you never miss an important notification.
Another handy feature provided by Logitech software is the ability to receive low battery warnings via email or push notifications to your mobile device. This is especially useful if you frequently work on multiple devices or are away from your computer but still want to stay informed about your mouse’s battery level.
By configuring battery warnings through Logitech software, you can have peace of mind knowing that you will be alerted in a timely manner when your mouse’s battery level is running low. It ensures that you are always prepared and can take appropriate action, such as replacing or recharging batteries, to avoid any interruptions in your workflow.
Now that we’ve discussed configuring battery warnings, let’s explore another method to find battery information using the Device Manager.
Finding Battery Information in Device Manager
If you prefer a system-level approach to check the battery status of your Logitech mouse, you can rely on the Device Manager in your Windows operating system. Device Manager provides detailed information about the hardware connected to your computer, including your Logitech mouse and its battery status.
To access the Device Manager, you can follow these steps:
- Open the Start menu and search for “Device Manager.”
- Click on the Device Manager option from the search results to open it.
- In the Device Manager window, locate the “Mice and other pointing devices” category.
- Expand the category to reveal the list of mice connected to your computer.
- Find your Logitech mouse in the list and right-click on it.
- From the context menu, select “Properties.”
- In the Properties window, navigate to the “Power Management” or “Details” tab.
- Look for information related to the battery status of your mouse.
Depending on your specific Logitech mouse model and the information provided by the driver, the battery status may be shown as a percentage, a “Good” or “Low” indication, or other specific details. This method allows you to access battery information directly from your system, without the need for additional software or settings.
It’s important to note that the information available in Device Manager may vary based on the compatibility and functionality of your Logitech mouse driver. If you encounter any difficulties finding the battery information or the battery status is not displayed, consider checking Logitech’s support website for the latest driver updates or consult the user manual for more guidance.
Now that we’ve explored using Device Manager to find battery information, let’s move on to the final section, which covers changing batteries in a Logitech mouse.
Changing Batteries in a Logitech Mouse
When the battery level of your Logitech mouse is critically low or completely drained, it’s time to replace the batteries to continue using your mouse wirelessly. The process of changing batteries in a Logitech mouse may vary slightly depending on the model, but the overall steps are similar.
Here is a general guide to help you change the batteries in your Logitech mouse:
- Locate the battery compartment on your Logitech mouse. This is often located on the underside of the mouse.
- Depending on the model, you may need to slide or lift a cover to access the battery compartment. Look for any latch or release mechanism.
- Once the battery compartment is open, carefully remove the old batteries from their slots. Pay attention to the orientation of the batteries to ensure you insert the new ones correctly.
- Dispose of the old batteries responsibly according to your local regulations.
- Take the new batteries and insert them into the battery slots, following the correct orientation as indicated inside the compartment.
- Close the battery compartment cover or slide it back into place, ensuring it is securely fastened.
- Give the mouse a gentle shake or press any buttons to make sure the batteries are properly installed and the mouse is responsive.
It’s always a good idea to use fresh, high-quality batteries for optimal performance. If your Logitech mouse uses rechargeable batteries, make sure they are fully charged before inserting them into the mouse.
If you encounter any difficulties or have any concerns about changing the batteries in your Logitech mouse, refer to the user manual or visit Logitech’s official website for specific instructions related to your mouse model.
With the batteries successfully changed, your Logitech mouse should now be powered up and ready to use wirelessly. Remember to keep an eye on the battery level and utilize the methods we discussed earlier to monitor and manage the battery status effectively.
Now that we’ve covered changing the batteries in a Logitech mouse, let’s wrap up this article with a summary of what we’ve learned about checking the battery level and managing battery life.
Conclusion
Monitoring the battery level on your Logitech mouse is crucial to ensure uninterrupted usage and avoid sudden battery drain. We have explored various methods and tools provided by Logitech to help you stay informed about your mouse’s battery status.
The indicator lights on your Logitech mouse offer a visual representation of the battery level, typically changing from green to yellow or red as the battery power decreases. Additionally, Logitech software, such as Logitech Options, provides an easy-to-use interface to check the battery level on your computer, customize settings, and receive battery notifications.
By configuring battery warnings through Logitech software, you can receive timely alerts when it’s time to change or recharge your mouse’s batteries. These notifications can be in the form of pop-ups, audible alerts, or even email or push notifications to your mobile devices.
If you prefer a system-level approach, you can utilize the Device Manager in your Windows operating system to access detailed information about your Logitech mouse and its battery status.
When the battery level is low, it’s important to know how to change the batteries in your Logitech mouse. By following the general steps we discussed, you can easily replace the old batteries with fresh ones, ensuring continued wireless functionality.
Taking proactive measures to monitor and manage your Logitech mouse’s battery life not only prevents unexpected interruptions but also contributes to a smooth and hassle-free user experience.
Remember to consult your Logitech mouse’s user manual or visit Logitech’s official website for model-specific instructions and any additional support or updates.
We hope this article has equipped you with the knowledge and tools to effectively check the battery level, configure battery warnings, and change batteries in your Logitech mouse. With these insights, you can enjoy the convenience and freedom of a wireless mouse without any battery-related worries.