Introduction
Formatting a micro SD card is a common task that often becomes necessary when you want to prepare the card for use with various devices. Whether you have a new micro SD card or want to erase its contents, formatting provides a fresh start by deleting all the existing data and preparing the card for optimal performance.
Formatting a micro SD card can be done through various devices, including smartphones, cameras, and computers. In this article, we will guide you through the process of formatting a micro SD card using a computer.
While formatting a micro SD card is a straightforward process, it is essential to understand its implications. Formatting erases all data on the card, so it is crucial to back up any important files before proceeding. Additionally, formatting can also remove any potential problems or errors that might be present on the card, improving its overall functionality.
Before diving into the step-by-step process, it is crucial to note that formatting a micro SD card is irreversible. Once the card is formatted, all data will be permanently deleted. Therefore, exercise caution and ensure that you have a proper backup before proceeding.
In the following sections, we will provide you with a comprehensive guide on how to format a micro SD card using a computer. We will cover the necessary steps and options involved in the formatting process, enabling you to successfully prepare your micro SD card for use with a wide range of devices.
Step 1: Insert the Micro SD Card
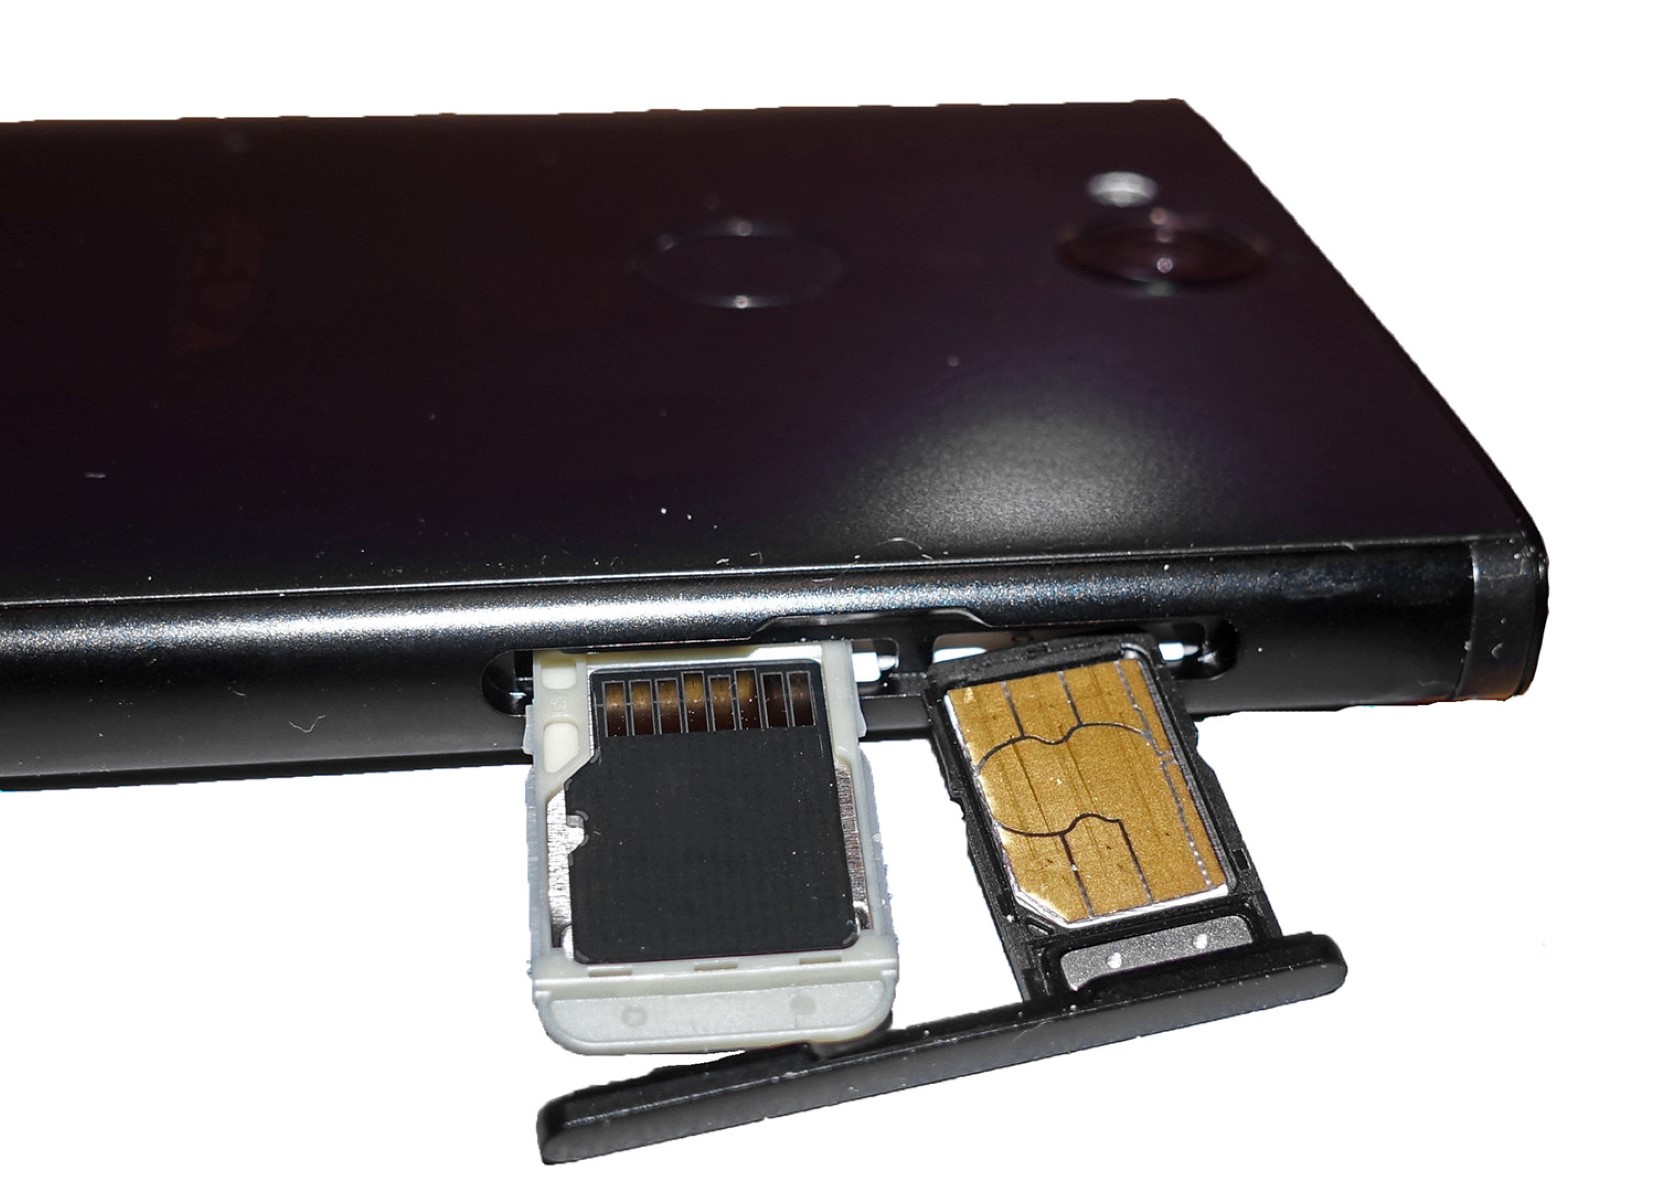
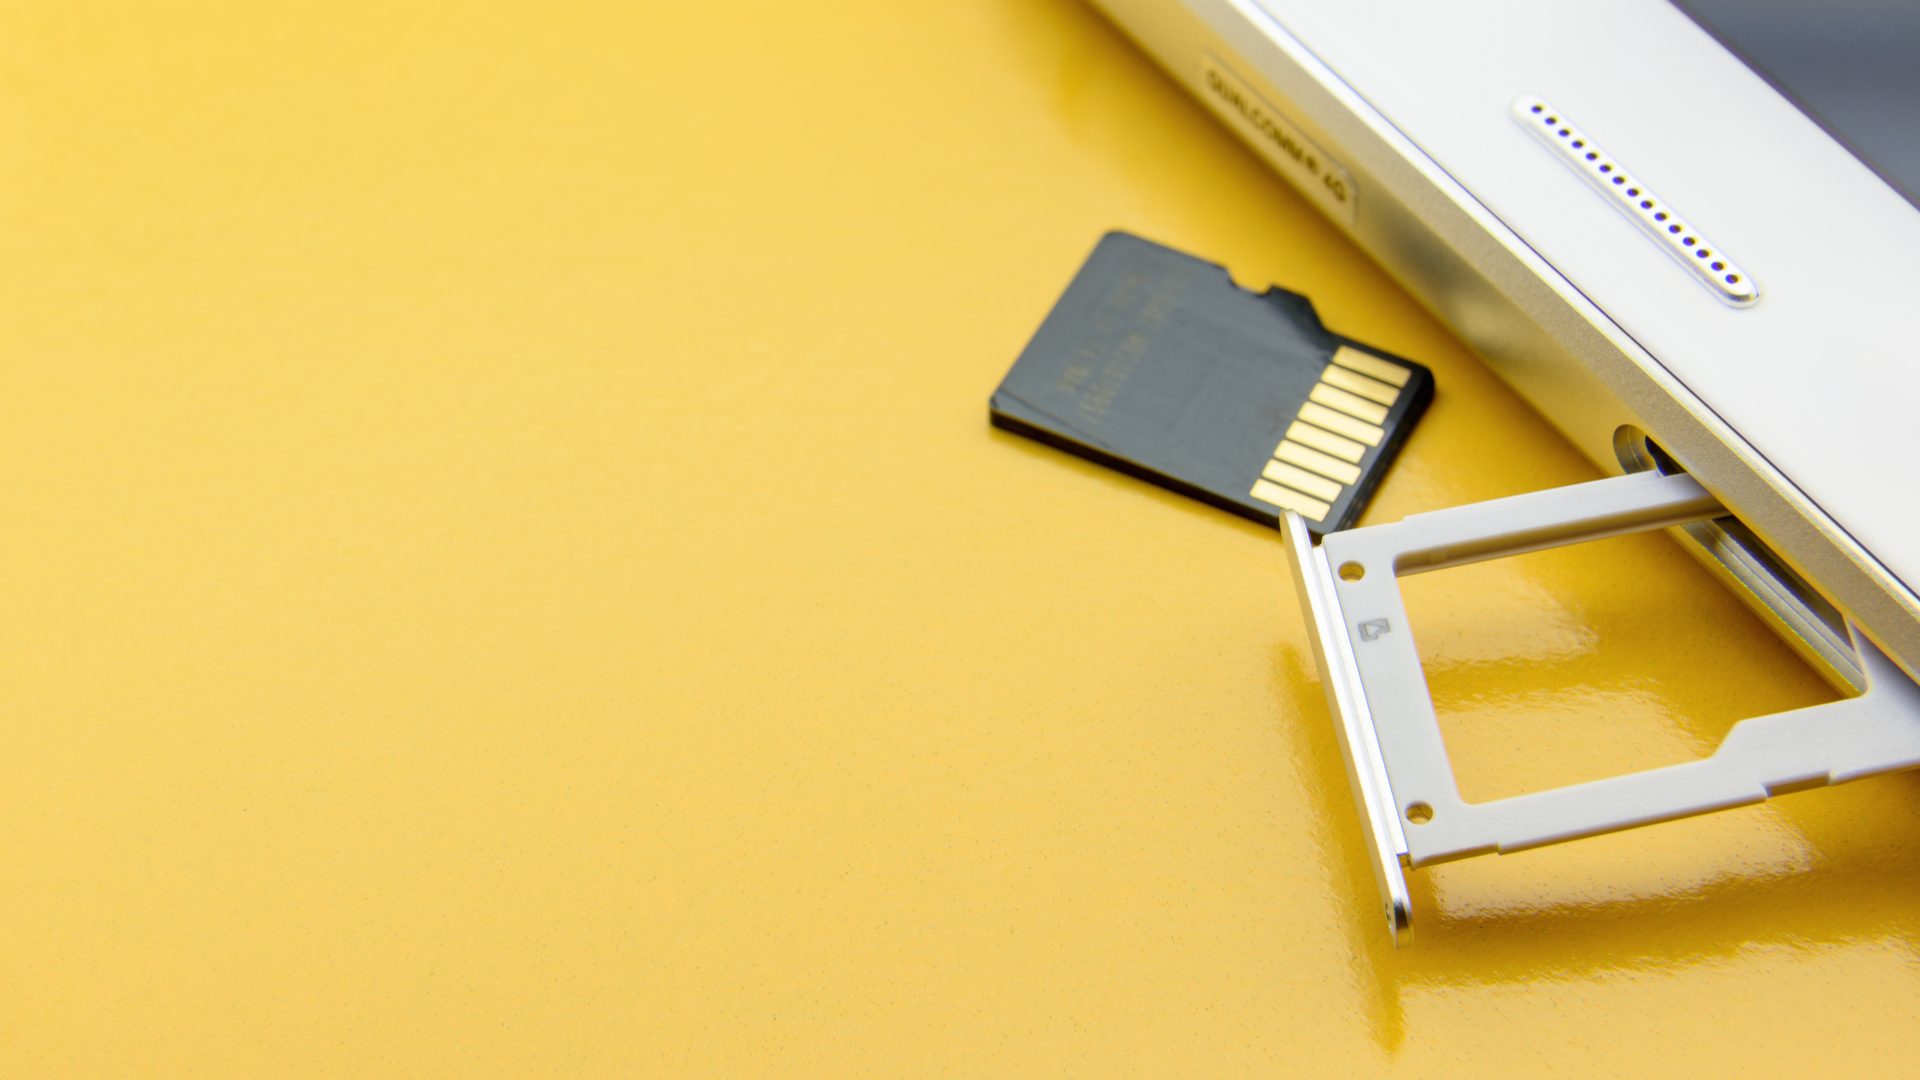
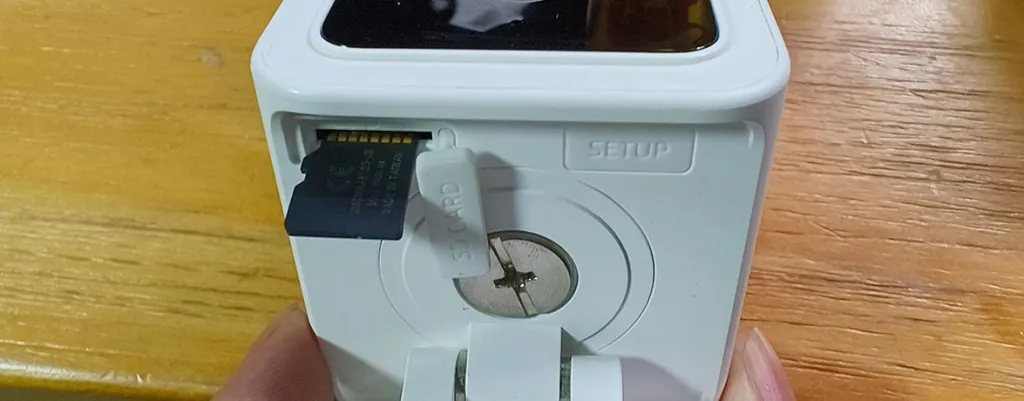
The first step in formatting a micro SD card is to properly insert it into your computer. Most computers and laptops come equipped with built-in micro SD card slots, usually located on the side or front of the device. If your computer does not have a dedicated micro SD card slot, you can use an external card reader to connect the micro SD card to your computer.
Begin by locating the micro SD card slot or the card reader on your computer. Gently insert the micro SD card into the appropriate slot, ensuring that it is properly aligned with the connector pins. Apply light pressure until the card is fully inserted and securely in place.
Once inserted, your computer should detect the micro SD card and display it as a removable storage device. You can verify this by checking the file explorer or the desktop for the presence of the micro SD card icon.
It is important to handle the micro SD card with care to avoid any physical damage. Avoid touching the gold contacts on the card to prevent potential damage or interference with the card’s functionality. Additionally, ensure that the micro SD card is clean and free from any dust or debris that may affect its performance.
Now that you have successfully inserted the micro SD card into your computer, you are ready to move on to the next step of the formatting process.
Step 2: Access the Format Option
With the micro SD card properly inserted into your computer, the next step is to access the format option. This will allow you to initiate the formatting process for the micro SD card.
To access the format option, open the file explorer on your computer by clicking the folder icon in the taskbar or by pressing the Windows key + E shortcut. Once the file explorer is opened, locate the micro SD card under the “This PC” or “Devices and Drives” section.
Right-click on the micro SD card icon and a drop-down menu will appear. From the options available, select the “Format” or “Format…” option. This will open a dialog box or formatting window specific to your operating system.
Alternatively, you can also access the format option by selecting the micro SD card from the file explorer, and then clicking on the “Manage” or “Tools” tab located on the top menu. Within the corresponding options, you should find the “Format” or “Format…” option.
It is important to note that the appearance and options in the formatting dialog box may vary between different operating systems and versions. However, the core functionalities and steps for formatting are generally similar across systems.
Before proceeding to the next step, make sure that you have selected the correct micro SD card to avoid accidentally formatting the wrong storage device.
Now that you have accessed the format option for the micro SD card on your computer, you are ready to move on to the next step and choose the formatting method that best suits your needs.
Step 3: Select a Formatting Method
After accessing the format option for the micro SD card, the next step is to select a formatting method. Different formatting methods offer varying levels of compatibility and performance for the micro SD card.
When you open the formatting dialog box or window, you will typically see a list of formatting options to choose from. The options may include FAT32, exFAT, and NTFS, among others. Each formatting method has its own advantages and limitations.
FAT32: This is the most widely compatible formatting method and works well with various devices, such as cameras, game consoles, and older operating systems. However, it has a file size limit of 4GB, meaning it may not be suitable for storing large files.
exFAT: This formatting method is compatible with modern operating systems and supports larger file sizes compared to FAT32. It is a good choice if you plan to use the micro SD card with devices that require larger file sizes, such as high-definition video recording.
NTFS: This formatting method is primarily suitable for use with Windows-based computers. NTFS offers advanced features such as file compression, encryption, and permissions. However, it may have limited compatibility with other devices.
Other options: Depending on your operating system, you may also see additional formatting options such as ext4 (for Linux) or HFS+ (for Mac). These options are specific to their respective platforms and may not be widely compatible with other devices.
Consider the device or devices you plan to use with the micro SD card and choose the formatting method that best suits your needs. It is recommended to use a formatting method that offers compatibility with the majority of your devices.
Once you have selected a formatting method, proceed to the next step to choose the file system for the micro SD card.
Step 4: Choose the File System
After selecting the formatting method for your micro SD card, the next step is to choose the file system. The file system determines how the data is organized and stored on the micro SD card, affecting its compatibility and performance.
The available file system options will depend on the formatting method you selected in the previous step. Each formatting method has its own default file system, but you can usually select an alternative if desired.
FAT32: The default file system for FAT32 is, unsurprisingly, FAT32. This file system is compatible with a wide range of devices, including cameras, game consoles, and older operating systems. However, it has a maximum file size limit of 4GB.
exFAT: When formatting with exFAT, the default file system is exFAT itself. This file system supports larger file sizes and is suitable for devices that require handling high-definition videos, large databases, or other large files.
NTFS: NTFS, the default file system for Windows, is the recommended choice if you primarily use your micro SD card with Windows-based computers. It offers features such as file compression, encryption, and permissions.
When choosing the file system, consider the devices you intend to use the micro SD card with. If you plan to use it with different operating systems or devices, selecting a more universally compatible file system, such as FAT32 or exFAT, would be the ideal choice.
After selecting the desired file system, you are ready to proceed to the final step and start the formatting process for your micro SD card.
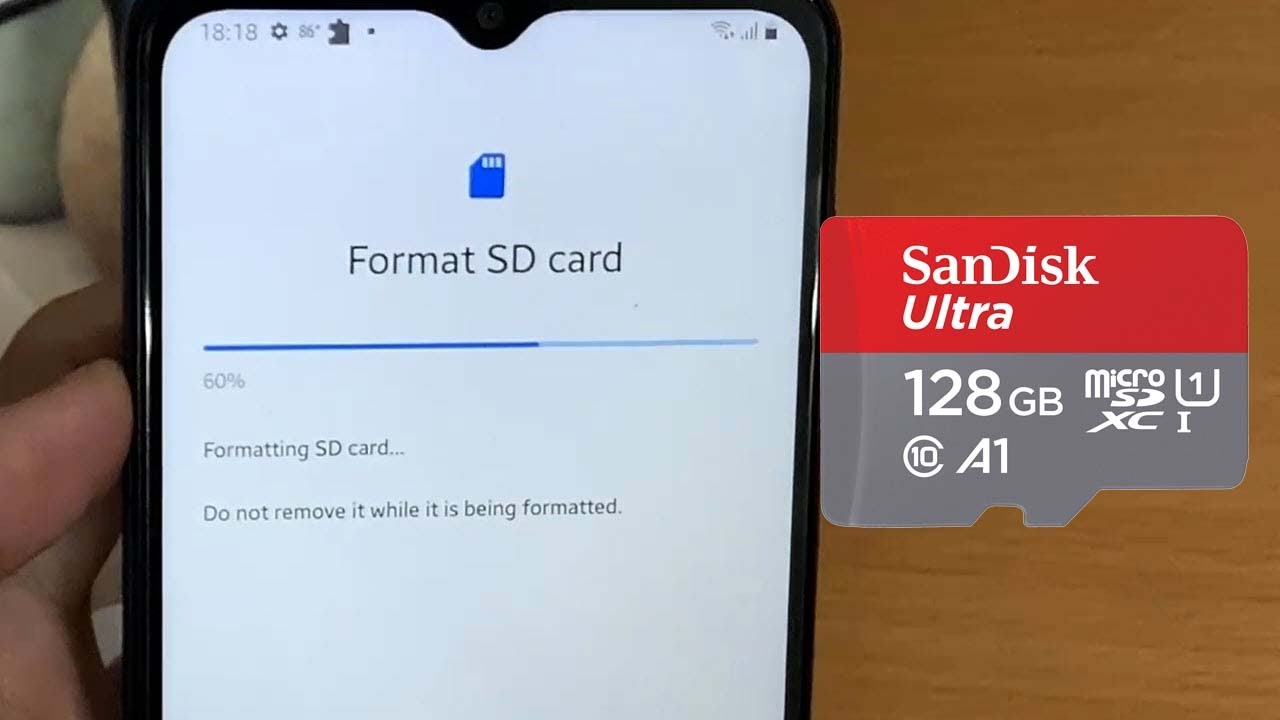
Step 5: Start the Formatting Process
With the formatting method and file system selected, it’s time to start the formatting process for your micro SD card. Before proceeding, make sure you have backed up any important data from the card, as formatting will erase all existing files and partitions.
In the formatting dialog box or window, you should see a confirmation message or a summary of the formatting settings you have chosen. Take a moment to review the settings and ensure they are correct before proceeding.
To initiate the formatting process, click on the “Format” or “Start” button, depending on your operating system. The formatting process may take a few moments to complete, depending on the size and speed of your micro SD card.
While the formatting process is underway, avoid removing the micro SD card or interrupting the process. Doing so can result in data loss or potential damage to the card. Be patient and allow the formatting process to complete fully.
Once the formatting process is finished, you will see a confirmation message indicating that the micro SD card has been successfully formatted. At this point, you can close the formatting window or dialog box.
It is a best practice to double-check that the micro SD card has been properly formatted by accessing its properties or checking its file system. This will ensure that the formatting process was successful and the card is ready for use.
Congratulations! You have successfully completed the formatting process for your micro SD card. You can now proceed to use the card with your desired devices, confident that it has been properly prepared and optimized for performance.
Step 6: Safely Eject the Micro SD Card
After formatting your micro SD card, it is essential to safely eject it from your computer to avoid any data corruption or damage to the card. Follow these steps to safely remove your micro SD card:
1. Ensure that all file transfer or data access activities involving the micro SD card have been completed and closed.
2. Right-click on the micro SD card icon in the file explorer or desktop.
3. From the drop-down menu, select the “Eject” or “Safely Remove” option. This will indicate to your computer that you are going to remove the micro SD card.
4. Wait for your computer to confirm that it is safe to remove the micro SD card. You may see a notification or message stating that the device can now be safely removed.
5. Gently and carefully remove the micro SD card from the card slot or card reader. Hold the card by its edges to avoid touching the gold contacts or exposing it to any static electricity.
6. Store the micro SD card in a protective case or a safe place to prevent physical damage or loss.
By following these steps, you ensure that the formatting process is completed without any data corruption or damage to the micro SD card. Safely ejecting the card also helps maintain its long-term performance and reliability.
It is worth noting that improperly removing the micro SD card without safely ejecting it can result in data loss, card malfunction, or even permanent damage. Take a few extra seconds to safely remove the card and protect your valuable data.
With the micro SD card safely ejected from your computer, you can now insert it into your desired device and enjoy using it for storing photos, videos, documents, and other files.
Conclusion
Formatting a micro SD card is a simple yet crucial process that prepares the card for efficient and reliable use. Whether you have a new micro SD card or need to erase its contents, formatting is essential for optimal performance and compatibility with various devices.
In this article, we provided a step-by-step guide on how to format a micro SD card using a computer. We covered the important aspects, including inserting the micro SD card, accessing the format option, selecting a formatting method, choosing the file system, starting the formatting process, and safely ejecting the card.
Remember that formatting a micro SD card erases all data, so it is important to back up any important files before proceeding. Additionally, exercise caution when handling the micro SD card and ensure that it is properly inserted and removed from the computer.
By properly formatting your micro SD card, you can improve its performance and compatibility. This allows you to use it with various devices such as smartphones, cameras, game consoles, and more, without any compatibility issues.
Always remember to select the appropriate formatting method and file system based on your specific needs and the devices you plan to use with the micro SD card. It is also recommended to regularly format your micro SD card to maintain its functionality and prevent any potential issues that may arise over time.
With the formatting process completed and the micro SD card safely ejected, you are now ready to use the card for storing and accessing your files. Enjoy the convenience and expandable storage capacity that a formatted micro SD card provides!