Introduction
Welcome to the world of Samsung Smart TVs! As technology evolves, your Samsung Smart TV may require updates to enhance its performance, fix bugs, and introduce new features. These updates ensure that you have the latest software and app versions, offering you an optimal viewing experience. In this article, we will explore the different methods you can use to update your Samsung Smart TV.
Updating your Samsung Smart TV is important for several reasons. First and foremost, it allows you to take advantage of the latest improvements and advancements developed by Samsung, ensuring that your TV is running smoothly and efficiently. These updates may include performance enhancements, new streaming capabilities, improved picture quality, and more.
Moreover, updating your TV’s software and apps can prevent compatibility issues with newer content and services. As technology progresses, some older versions of software or apps may become incompatible with certain streaming platforms or features. Regular updates ensure that your TV remains compatible with the latest content and services available.
Keeping your Samsung Smart TV up to date is a straightforward process that can be done either automatically or manually. Automatic updates allow your TV to download and install new software versions and app updates without any user intervention. On the other hand, manual updates give you more control over when and how the updates are applied.
In this article, we will cover both methods, as well as provide troubleshooting tips for common update issues. So, whether you have a software update notification waiting or just want to ensure your TV is running on the latest software and apps, read on to discover how you can update your Samsung Smart TV.
Checking for Updates
Before proceeding with the update process, it’s important to check if there are any available updates for your Samsung Smart TV. Here’s how you can do it:
1. Start by turning on your Samsung Smart TV and making sure it is connected to the internet. A stable internet connection is necessary for the update process.
2. Using your TV’s remote control, navigate to the home screen. This is usually indicated by a house icon or a button labeled “Home”.
3. Once on the home screen, locate the “Settings” option. It is typically represented by a gear or cogwheel icon. Use the arrow keys on your remote control to highlight the “Settings” option and press the enter or OK button to select it.
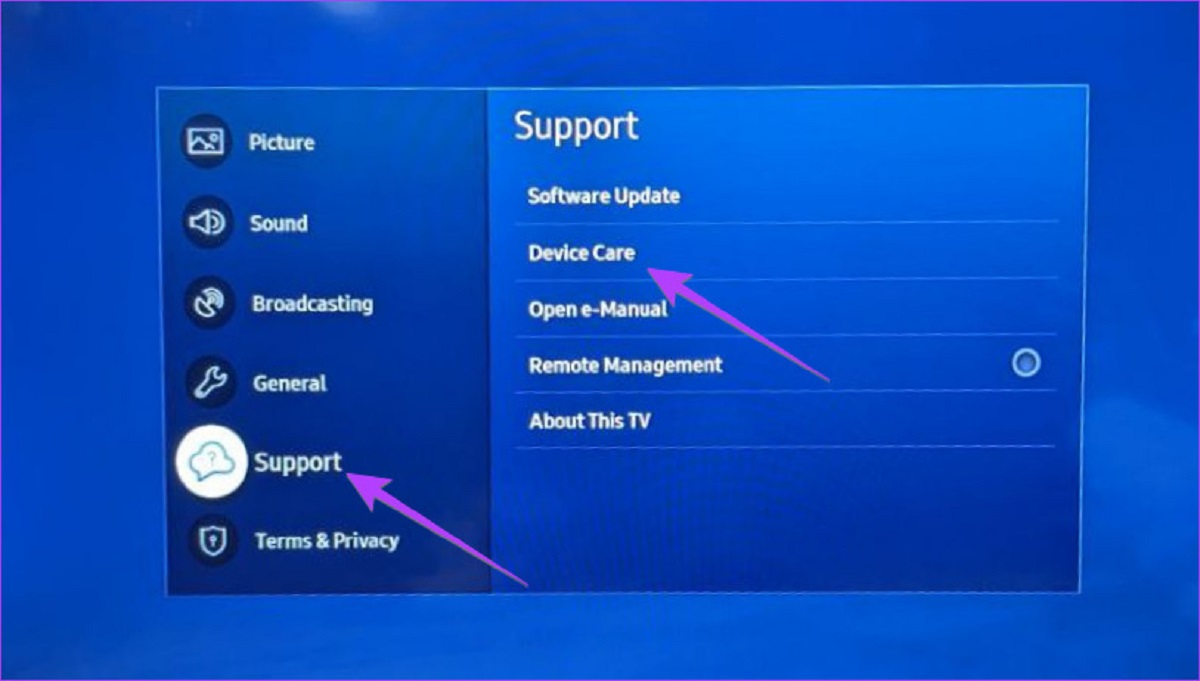
4. In the settings menu, look for the “Support” or “System” option. The exact name may vary depending on your TV model. Select this option to proceed.
5. Within the “Support” or “System” menu, you should find a section labeled “Software Update” or “Firmware Update”. Select this option to check for available updates.
6. Your Samsung Smart TV will now connect to the Samsung servers to check for software and app updates. This process may take a few minutes. If an update is available, you will be prompted to download and install it.
7. Follow the on-screen instructions to initiate the update process. Your TV will download and install the update automatically. Make sure not to turn off or unplug your TV during this process, as it may cause damage to the device.
8. Once the update is complete, your Samsung Smart TV will restart, and you’ll be ready to enjoy the latest features and improvements.
It’s essential to periodically check for updates, as new software versions and app updates may be released by Samsung. By staying up to date, you ensure that your TV is running efficiently and can access the latest features and content.
Updating Software Automatically
One convenient way to keep your Samsung Smart TV up to date is by enabling automatic software updates. When this feature is enabled, your TV will automatically download and install the latest software versions and app updates as they become available. Here’s how you can set up automatic software updates:
1. Start by ensuring that your Samsung Smart TV is connected to the internet. Without an internet connection, your TV won’t be able to check for updates.
2. Using your TV’s remote control, go to the home screen and navigate to the “Settings” option. Look for the gear or cogwheel icon and select it.
3. In the settings menu, find the “Support” or “System” option. The actual name may vary depending on your TV model. Select it to proceed.
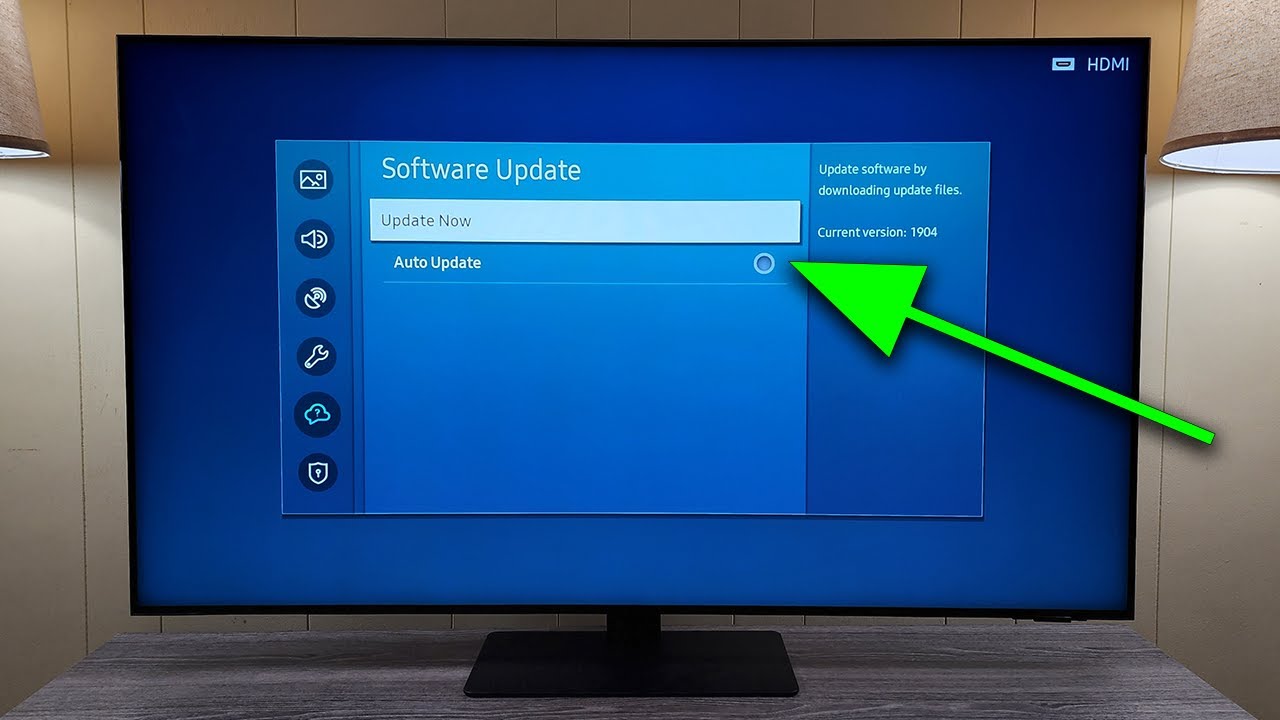
4. Look for the “Software Update” or “Firmware Update” section within the “Support” or “System” menu. Highlight this option and press the enter or OK button.
5. Within the “Software Update” or “Firmware Update” section, you should see an option for automatic updates. Enable this option to allow your TV to download and install updates automatically.
6. Save the settings and exit the menu. Your Samsung Smart TV will now regularly check for available updates and install them automatically when connected to the internet.
Note that the frequency of automatic updates may vary depending on Samsung’s release schedule. This means that your TV may not update immediately after a new software version or app update is released. However, it will download and install updates at the earliest convenience.
If you prefer to have more control over the update process or want to manually check for updates, you can always disable the automatic update feature and follow the steps outlined in the “Checking for Updates” section.
By enabling automatic software updates, you ensure that your Samsung Smart TV remains up to date with the latest improvements, bug fixes, and new features released by Samsung. This way, you can enjoy an optimized viewing experience without having to worry about manually updating your TV’s software.
Updating Software Manually
If you prefer to have more control over the update process or want to manually update your Samsung Smart TV, you have the option to do so. Manual updates allow you to check for available software versions and app updates and install them at your convenience. Here’s how you can update your Samsung Smart TV manually:
1. Start by ensuring that your Samsung Smart TV is connected to the internet. Without an internet connection, your TV won’t be able to download the latest software versions and app updates.
2. Using your TV’s remote control, navigate to the home screen and access the “Settings” menu. Look for the gear or cogwheel icon and select it.
3. In the settings menu, find the “Support” or “System” option. The exact name may vary depending on your TV model. Select this option to proceed.
4. Within the “Support” or “System” menu, locate the “Software Update” or “Firmware Update” section. Highlight this option and press the enter or OK button on your remote control.
5. In the “Software Update” or “Firmware Update” section, you should see an option to “Check for Updates” or “Update Now”. Select this option to initiate the manual update process.
6. Your Samsung Smart TV will now attempt to connect to the Samsung servers and check for available updates. This process may take a few minutes. If an update is available, you will be prompted to download and install it.
7. Follow the on-screen instructions to proceed with the update. Your TV will start downloading the update, and the installation process will begin. It’s important not to turn off or unplug your TV during this process to avoid any potential damage to the device.
8. Once the update is complete, your Samsung Smart TV will automatically restart, and you can start enjoying the latest software version and app updates.
By manually updating your Samsung Smart TV, you have the flexibility to check for updates and install them according to your preferences. This allows you to stay up to date with the latest features, improvements, and bug fixes, ensuring a premium viewing experience.
Updating Apps
Along with updating the software on your Samsung Smart TV, it is also important to keep your apps up to date. App updates often bring new features and improvements, ensuring a smooth and enjoyable user experience. Here’s how you can update apps on your Samsung Smart TV:
1. Start by turning on your Samsung Smart TV and ensuring that it is connected to the internet. A stable internet connection is necessary for app updates.
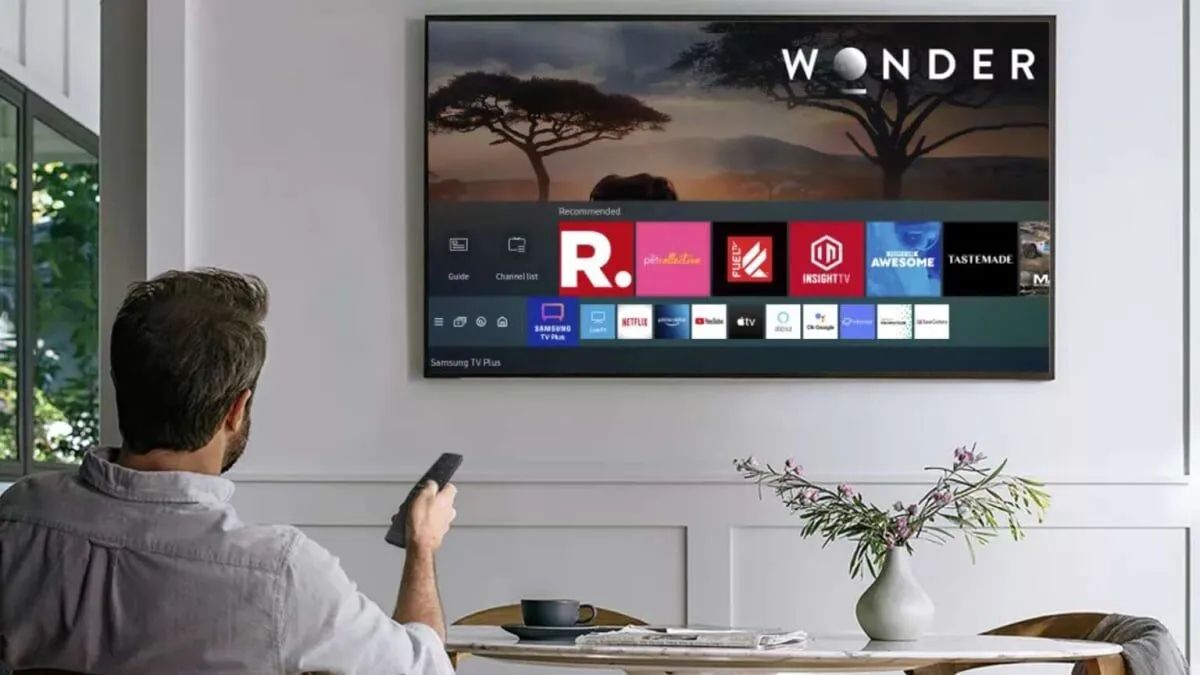
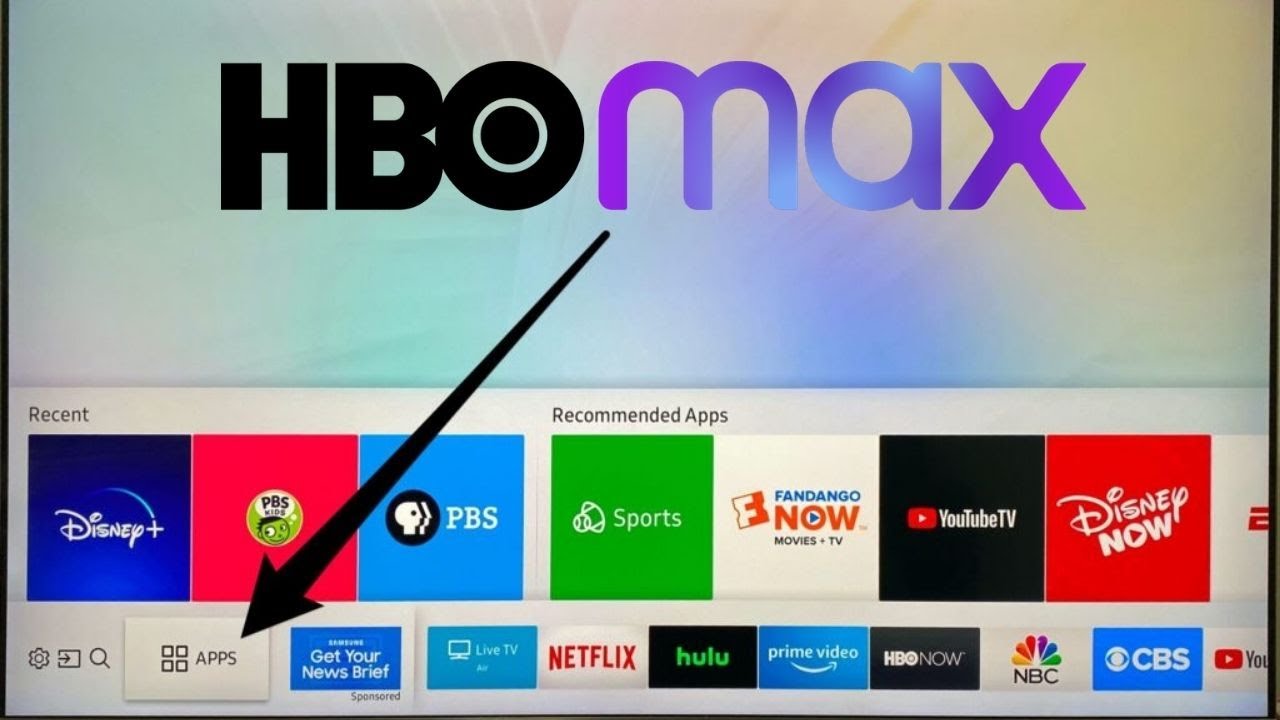
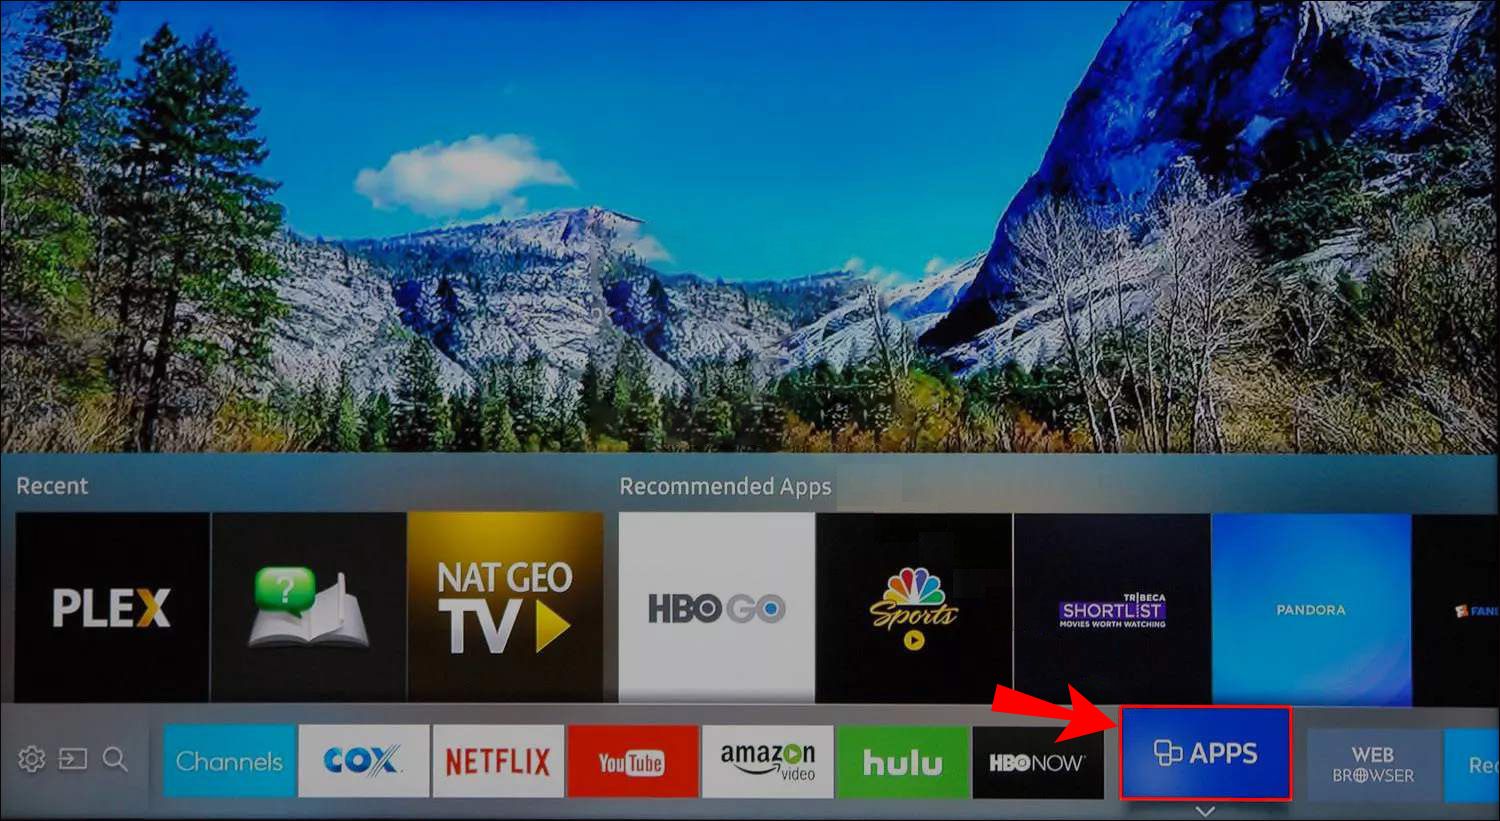
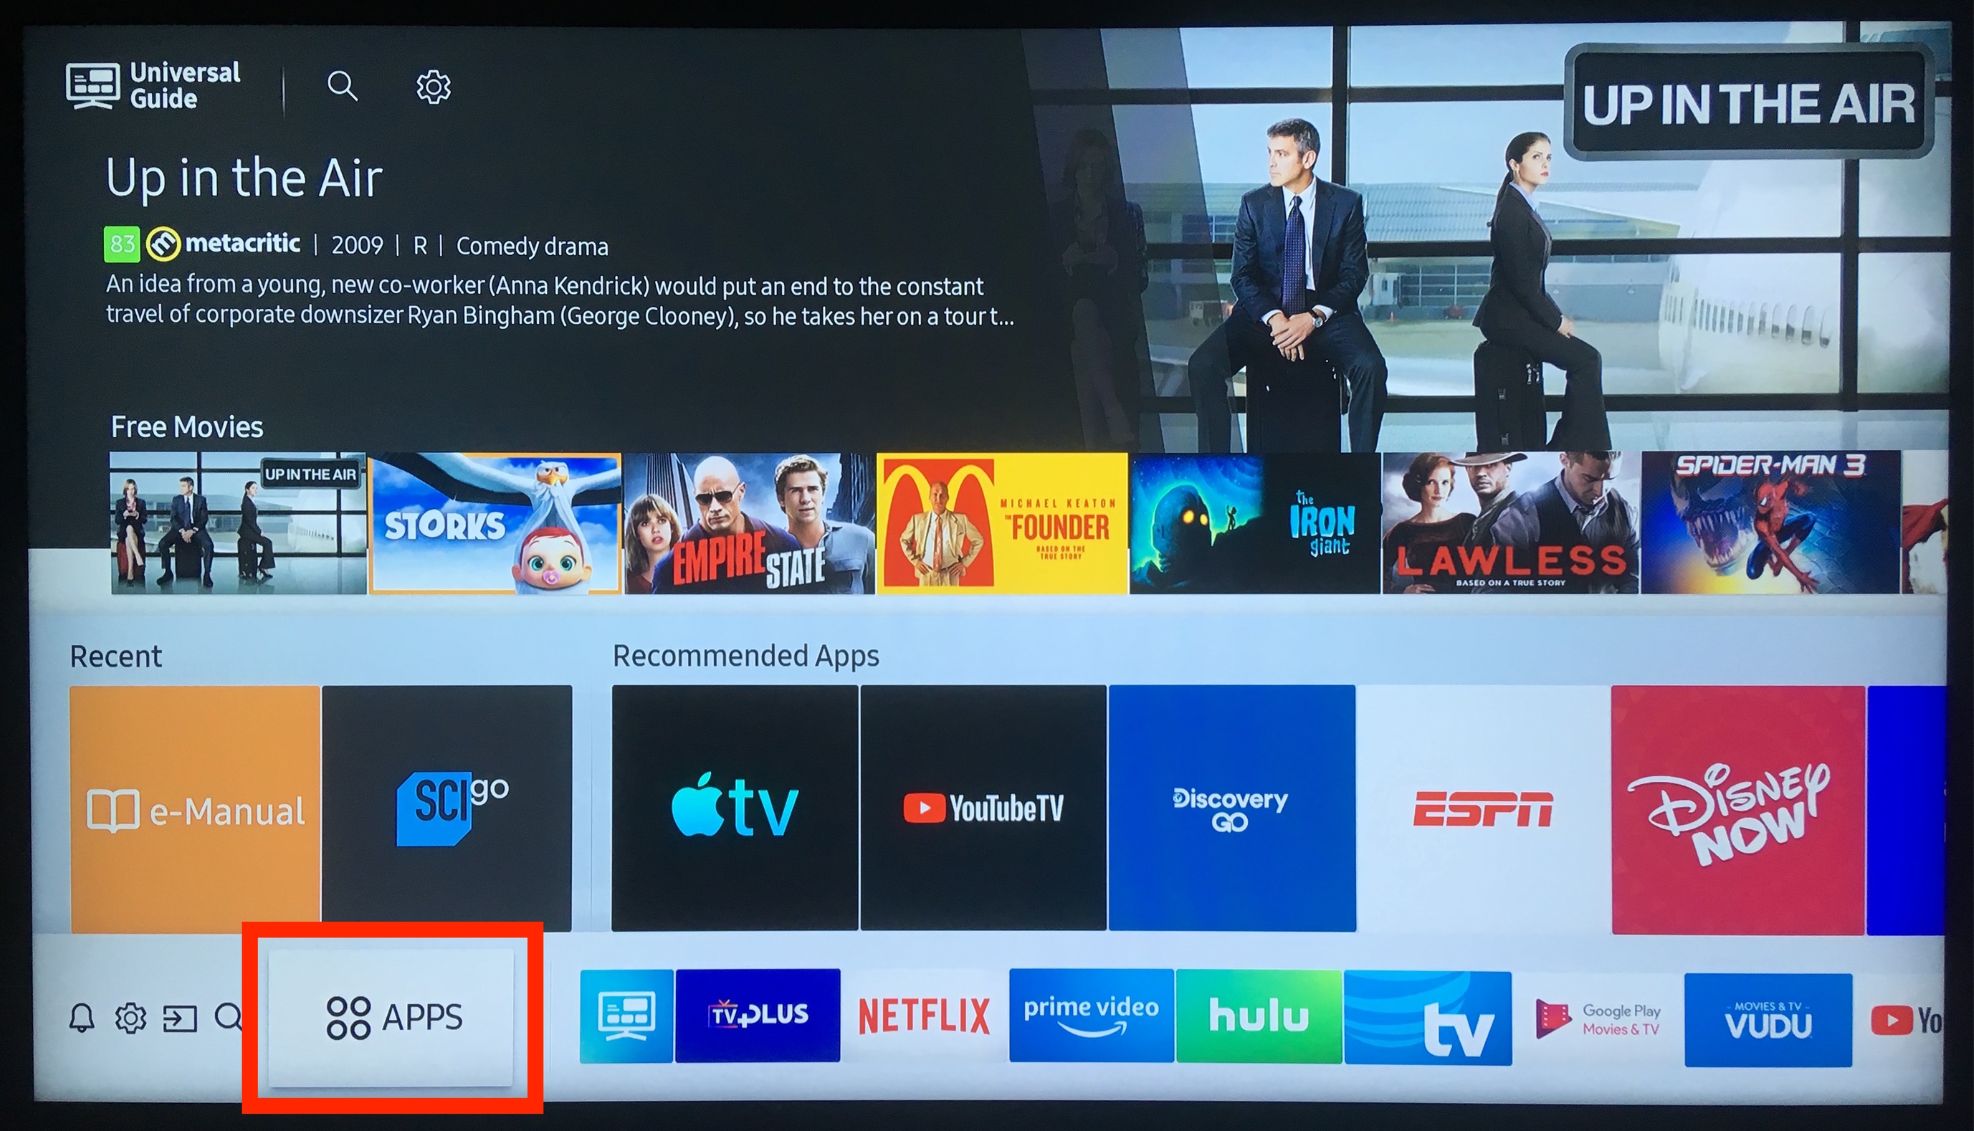
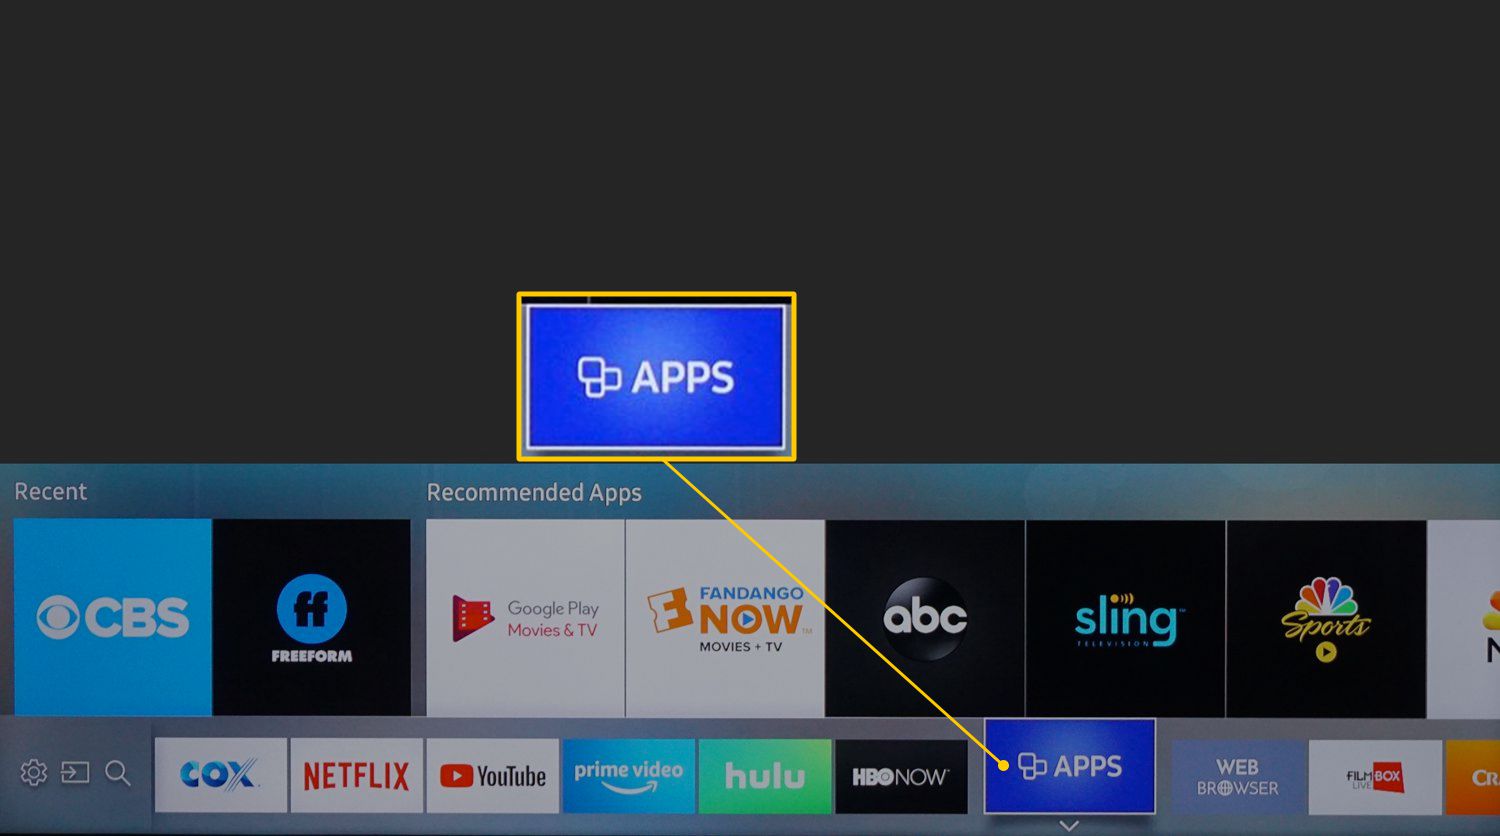
2. Using your TV’s remote control, navigate to the home screen. Look for the “Apps” or “Applications” section. This is where all the installed apps on your TV are located.
3. Within the “Apps” section, you will see a list of all the apps installed on your Samsung Smart TV. Highlight the app that you want to update.
4. Once the app is selected, press and hold the enter or OK button on your remote control. This will bring up a menu with several options.
5. In the menu, look for the “Update” or “Update App” option. Select this option to initiate the app update process.
6. Your Samsung Smart TV will connect to the app store or Samsung servers to check for available updates for the selected app. If an update is available, you will be prompted to download and install it.
7. Follow the on-screen instructions to proceed with the update. Your TV will start downloading the app update, and the installation process will begin. Avoid turning off or unplugging your TV during this process.
8. Once the update is complete, you can launch the updated app and enjoy its new features and improvements.
It’s important to note that some apps may have automatic update features, while others may require manual updates. If you want to ensure that all your apps stay up to date automatically, you can enable the automatic update feature for apps in the settings menu.
Regularly updating your apps on the Samsung Smart TV ensures that you have access to the latest features, bug fixes, and security patches. It also ensures compatibility with the latest content and services available, providing you with an optimal viewing experience.
Clearing Cache and Data
Over time, apps on your Samsung Smart TV can accumulate cache and data, which can affect their performance or cause issues. Clearing the cache and data of apps can help resolve problems and free up storage space. Here’s how you can clear cache and data on your Samsung Smart TV:
1. Start by turning on your Samsung Smart TV and accessing the home screen. Navigate to the “Settings” menu using your TV’s remote control. Look for the gear or cogwheel icon and select it.
2. In the settings menu, find the “Apps” or “Applications” option. This is where you can manage the installed apps on your TV.
3. Within the “Apps” section, you will see a list of all the apps installed on your Samsung Smart TV. Select the app for which you want to clear the cache and data.
4. Once the app is selected, press and hold the enter or OK button on your remote control to bring up a menu with various options.
5. In the menu, look for the “Clear cache” or “Clear data” option. Clearing the cache will remove temporary files and data that may be affecting the app’s performance. Clearing the data will reset the app to its default settings, removing all user data, including login credentials and customized settings.
6. Depending on your needs, you can choose to clear the cache, clear the data, or both. It’s important to note that clearing data will log you out of the app and reset any personalized settings.
7. Follow the on-screen instructions to confirm the action and proceed with clearing the cache or data of the selected app.
8. Repeat the process for other apps that you want to clear the cache or data for.
Clearing the cache and data of apps can help resolve issues such as app crashes, slow performance, or storage space problems. However, it’s worth noting that clearing the data will remove any personalized settings or saved information within the app.
By periodically clearing the cache and data, you can optimize the performance of your apps and ensure a smooth and seamless user experience on your Samsung Smart TV.
Resetting the TV to Factory Settings
If you’re experiencing persistent issues with your Samsung Smart TV or simply want to start fresh, you can reset the TV to its factory settings. Resetting the TV will erase all settings and data, returning it to the original out-of-the-box state. Here’s how you can reset your Samsung Smart TV:
1. Begin by turning on your Samsung Smart TV and accessing the home screen. Using your TV’s remote control, navigate to the “Settings” menu. Look for the gear or cogwheel icon and select it.
2. In the settings menu, locate the “Support” or “System” option. The actual name may vary depending on your TV model. Select this option to proceed.
3. Within the “Support” or “System” menu, look for the “Self Diagnosis” or “Reset” option. Highlight this option and press the enter or OK button on your remote control.
4. In the “Self Diagnosis” or “Reset” menu, you will find the option to “Reset” or “Reset to Factory Settings”. Select this option to initiate the reset process.
5. Before proceeding with the reset, you will be prompted to enter a PIN code. The default PIN code is often “0000” or “1234”, but if you have changed it before, enter the updated PIN code. If you cannot recall the PIN code, refer to your TV’s user manual or contact Samsung support for assistance.
6. Once the correct PIN code is entered, you will see a confirmation prompt warning you that all settings and data will be erased. Carefully read the prompt and ensure that you have backed up any important data before proceeding. Select “Yes” or “OK” to confirm the reset.
7. Your Samsung Smart TV will now reset to its factory settings. The process may take a few minutes as the TV reboots and initializes. Avoid turning off or unplugging the TV during this process.
8. After the reset is complete, you will need to go through the initial setup process again, including connecting to the internet, selecting your preferred settings, and signing in to your accounts.
Resetting your Samsung Smart TV to its factory settings can help resolve persistent software issues or restore default settings if you have made extensive changes. However, be mindful that all settings and data will be erased, so ensure that you have backed up any important information beforehand.
By performing a factory reset, you can start with a clean slate and potentially resolve any lingering issues that may be affecting your Samsung Smart TV.
Troubleshooting Common Update Issues
While updating your Samsung Smart TV, you may encounter some common issues that can hinder the update process. Here are a few troubleshooting steps to help you resolve these issues:
1. Poor or unstable internet connection: Ensure that your TV is connected to a strong and stable internet connection. If the connection is weak or intermittent, consider moving your TV closer to the router or using a wired Ethernet connection for a more reliable connection.
2. Insufficient storage space: If your TV’s storage is running low, it may not be able to download and install the update. Free up some space by deleting unnecessary apps or files before attempting the update again.
3. Power cycle your TV: Sometimes, a simple power cycle can resolve update issues. Turn off your TV, unplug it from the power source, wait for a few minutes, and then plug it back in and turn it on. This can help refresh the TV’s system and resolve any temporary glitches.
4. Double-check your internet connection: Ensure that your internet connection is stable and not experiencing any issues. You can test your connection on other devices or contact your internet service provider (ISP) for assistance if needed.
5. Check for firmware updates: In some cases, firmware updates for routers or modems can resolve compatibility issues with your Samsung Smart TV. Check for any available firmware updates for your network equipment and update them if necessary.
6. Disable VPN or proxy: If you are using a virtual private network (VPN) or a proxy server, try disabling them temporarily during the update process. VPNs or proxies can sometimes interfere with the update process.
7. Contact Samsung support: If you have tried all the troubleshooting steps above and are still facing issues with the update process, reach out to Samsung support for further assistance. They can provide specific solutions or guidance based on your TV model and the nature of the issue.
It’s important to note that the update process may take some time, and occasionally, updates may be delayed due to various factors. However, by following these troubleshooting steps, you can increase the chances of successfully completing the update process and ensuring that your Samsung Smart TV is running on the latest software and app versions.
Conclusion
Updating your Samsung Smart TV is crucial to ensure optimal performance, access to the latest features, and compatibility with new content and services. Whether you choose to update your TV automatically or manually, following the steps outlined in this article will help you keep your TV up to date.
By checking for updates regularly, you can ensure that your Samsung Smart TV is running on the latest software version and app updates. This way, you can enjoy improved performance, bug fixes, new features, and enhanced compatibility with streaming platforms and services.
Remember to clear cache and data, if necessary, to optimize the performance of your apps and free up storage space. And if you encounter any issues during the update process, refer to the troubleshooting tips provided in this article to help resolve them.
Finally, if you’re experiencing persistent issues or simply want to start fresh, you can consider resetting your Samsung Smart TV to its factory settings. Just keep in mind that this action will erase all settings and data, so make sure to back up any important information beforehand.
By keeping your Samsung Smart TV updated, you can make the most out of your viewing experience and ensure that you’re taking full advantage of the capabilities of your TV. Enjoy exploring the newest features and improvements that Samsung continually provides to enhance your entertainment experience.


