Introduction
Mozilla Firefox is a popular web browser known for its speed, security, and customization options. However, like any software, it can encounter issues that affect its performance. If you find your Firefox browser running sluggishly, freezing, or displaying errors, it may be time to refresh it. Refreshing Firefox can help resolve various problems, such as slow loading times, frequent crashes, and unresponsive tabs, by restoring the browser to its default settings without affecting your essential data like bookmarks, passwords, and browsing history.
In this article, we will explore the step-by-step process of refreshing Mozilla Firefox to give it a new lease on life. Whether you're experiencing technical glitches or simply want to optimize your browsing experience, refreshing Firefox can be a simple yet effective solution. By following the methods outlined in this guide, you can troubleshoot common issues and revitalize your browsing experience with a faster, more stable Firefox browser.
Let's delve into the essential techniques for refreshing Mozilla Firefox and regaining control of your browsing experience.
Clearing Cache and Cookies
Clearing the cache and cookies in Mozilla Firefox is a fundamental step in refreshing the browser and resolving various performance issues. The cache is a temporary storage location for files that help web pages load faster, while cookies are small pieces of data that websites store on your computer. Over time, these cached files and cookies can accumulate and lead to browsing issues such as slow loading times, website errors, and privacy concerns. By clearing the cache and cookies, you can effectively declutter Firefox and improve its overall performance.
Step 1: Accessing the Clearing Options
To begin the process, open your Firefox browser and click on the three horizontal lines in the top-right corner to access the menu. From the dropdown menu, select "Options" to open the settings page. Alternatively, you can type "about:preferences" in the address bar and press Enter to directly access the settings.
Step 2: Navigating to Privacy & Security
Within the settings page, navigate to the "Privacy & Security" tab located on the left-hand side. Here, you will find various privacy and security options for your Firefox browser.
Step 3: Clearing Cache and Cookies
Under the "Cookies and Site Data" section, click on the "Clear Data" button. A new window will appear, allowing you to choose what data to clear. Ensure that both "Cookies and Site Data" and "Cached Web Content" are selected, and then click "Clear" to initiate the process.
Step 4: Confirming the Clearing Process
A confirmation dialog will appear, indicating that the selected data will be removed. Click "Clear Now" to confirm and proceed with clearing the cache and cookies from your Firefox browser.
Step 5: Verifying the Results
Once the process is complete, you can verify the results by visiting websites to see if any previous issues have been resolved. Additionally, you may notice improved loading times and a smoother browsing experience after clearing the cache and cookies.
By following these steps to clear the cache and cookies in Mozilla Firefox, you can effectively declutter the browser and address common performance issues. This simple yet impactful process can contribute to a faster, more reliable browsing experience, allowing you to make the most of what Firefox has to offer.
Disabling Add-ons and Extensions
Add-ons and extensions are valuable tools that enhance the functionality and features of Mozilla Firefox. However, an excessive number of add-ons or certain incompatible extensions can sometimes lead to browser performance issues. Disabling add-ons and extensions can help identify problematic ones and improve the overall stability and speed of your Firefox browser.
Step 1: Accessing the Add-ons Manager
To begin the process, open your Firefox browser and click on the three horizontal lines in the top-right corner to access the menu. From the dropdown menu, select "Add-ons" to open the Add-ons Manager. Alternatively, you can type "about:addons" in the address bar and press Enter to directly access the Add-ons Manager.
Step 2: Managing Add-ons and Extensions
Within the Add-ons Manager, you will find different categories such as Extensions, Themes, and Plugins. Click on "Extensions" to view the list of installed extensions. Here, you can review the active and inactive extensions, along with the option to disable or remove them.
Step 3: Disabling Problematic Add-ons and Extensions
Carefully review the list of installed extensions and identify any that may be causing issues with your browser. To disable an extension, simply click on the "Disable" button next to the respective extension. This action will temporarily deactivate the extension without removing it from your browser.
Step 4: Verifying the Impact
After disabling the selected add-ons and extensions, restart your Firefox browser to verify the impact of the changes. Visit websites and perform typical browsing activities to assess whether the browser's performance has improved. If you notice a positive difference in speed and stability, the disabled add-ons or extensions may have been contributing to the previous issues.
Step 5: Enabling Essential Add-ons
While troubleshooting, it's important to distinguish between essential and non-essential add-ons. If you rely on certain add-ons for specific functionalities, consider re-enabling them one by one to identify any that may be causing problems. This step allows you to maintain the necessary add-ons while isolating and addressing issues related to specific extensions.
By following these steps to disable add-ons and extensions in Mozilla Firefox, you can effectively troubleshoot performance issues and streamline your browsing experience. This process enables you to identify and address problematic add-ons, ultimately contributing to a more stable and efficient Firefox browser.
Remember, periodically reviewing and managing your add-ons and extensions can help maintain a smooth and optimized browsing experience, ensuring that your Firefox browser operates at its best.
Resetting Firefox Settings
Resetting Firefox settings can serve as a comprehensive solution to address persistent issues and restore the browser to its default state. This process can effectively resolve a wide range of problems, including unresponsive tabs, frequent crashes, and unexpected behavior. By resetting Firefox settings, you can eliminate potential configuration conflicts and corrupted preferences, ultimately rejuvenating the browser for a smoother and more reliable browsing experience.
Step 1: Accessing the Troubleshooting Information
To initiate the process of resetting Firefox settings, start by accessing the Troubleshooting Information page. In your Firefox browser, click on the three horizontal lines in the top-right corner to open the menu. From the dropdown menu, select "Help" and then click on "Troubleshooting Information." Alternatively, you can type "about:support" in the address bar and press Enter to directly access the Troubleshooting Information page.
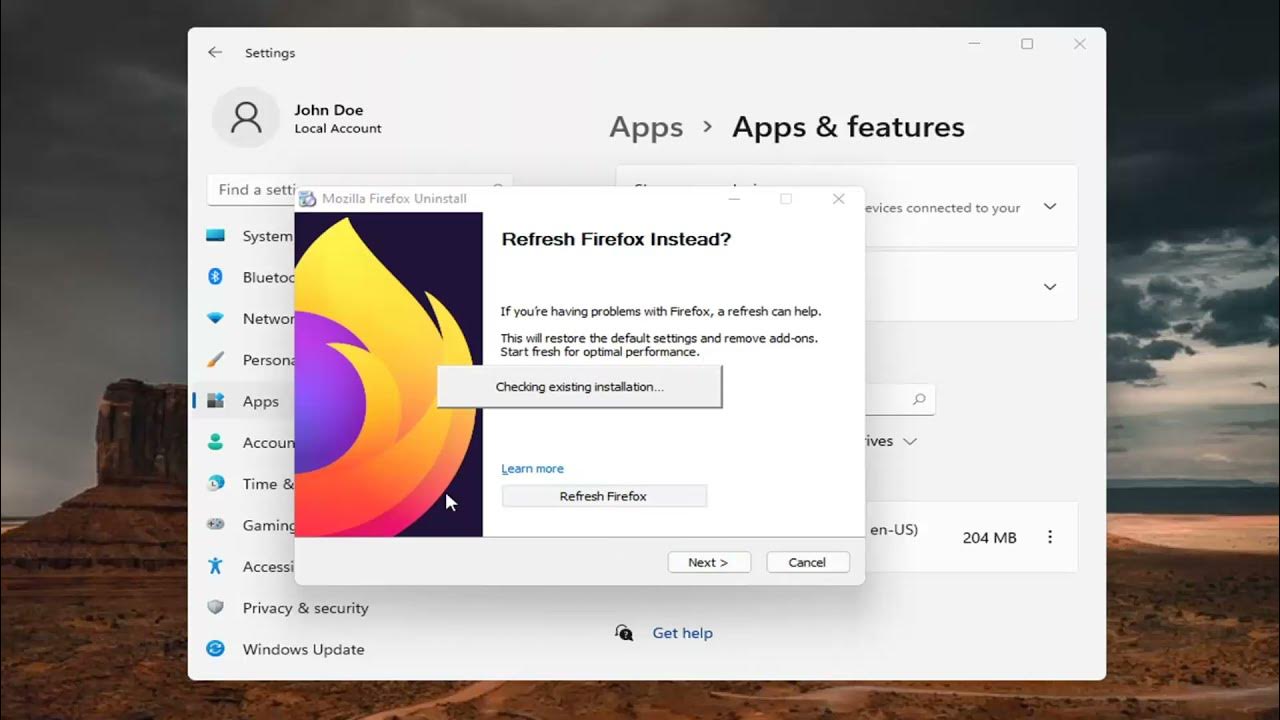
Step 2: Initiating the Reset
Within the Troubleshooting Information page, locate the "Give Firefox a tune up" section, which includes the "Refresh Firefox" button. Click on the "Refresh Firefox" button to start the reset process. A confirmation dialog will appear, providing details about the items that will be saved and removed during the reset. Click on the "Refresh Firefox" button in the dialog to confirm and proceed with the reset.
Step 3: Verifying the Reset
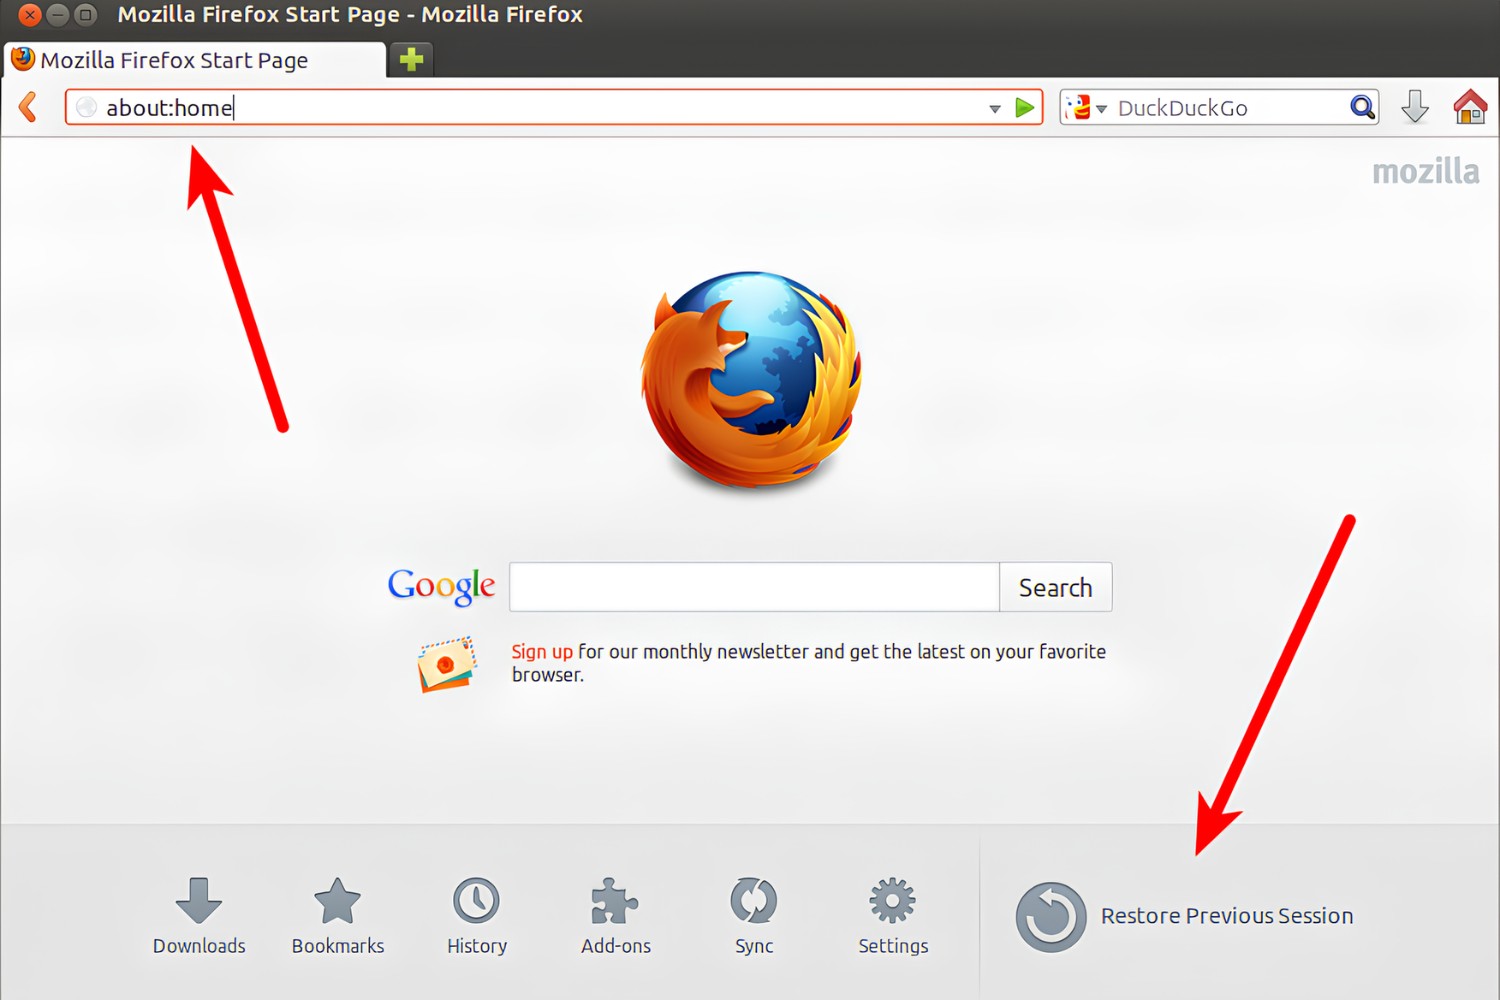
Once the reset process is initiated, Firefox will close and reopen to complete the operation. During this process, Firefox will save your essential information such as bookmarks, browsing history, passwords, and open tabs. After the reset is complete, a window will appear with a list of the data that was imported into a new profile. Click on the "Let's go" button to finalize the reset and start using the refreshed Firefox browser.
Step 4: Assessing the Impact
After the reset, you will notice that Firefox has been restored to its default settings, and any previous issues or unusual behavior may have been resolved. Test the browser by visiting websites, opening multiple tabs, and performing typical browsing activities to assess the impact of the reset. You may observe improved responsiveness, stability, and overall performance as a result of the reset.
By following these steps to reset Firefox settings, you can effectively address persistent issues and streamline the browser for an optimized browsing experience. This process provides a comprehensive solution to troubleshoot and resolve various performance-related issues, allowing you to enjoy a refreshed and reliable Firefox browser.
Remember, resetting Firefox settings is a powerful tool for troubleshooting, and it can be particularly beneficial when other troubleshooting methods have not yielded the desired results.
Updating Firefox to the Latest Version
Keeping your web browser up to date is crucial for ensuring optimal performance, security, and compatibility with the latest web technologies. Mozilla regularly releases updates for Firefox, introducing new features, enhancing security measures, and addressing known issues. By updating Firefox to the latest version, you can benefit from improved browsing speed, enhanced privacy protections, and a seamless web experience.
Step 1: Checking for Updates
To begin the process, open your Firefox browser and click on the three horizontal lines in the top-right corner to access the menu. From the dropdown menu, select "Help" and then click on "About Firefox." This action will prompt Firefox to check for updates automatically. If a new version is available, Firefox will begin downloading the update in the background.
Step 2: Installing the Update
Once the update is downloaded, you will be prompted to install it. Click on the "Restart to update Firefox" button to initiate the installation process. Firefox will close and reopen to apply the update. During this process, your browsing session will be restored, and any open tabs will be reloaded automatically.
Step 3: Verifying the Update
After Firefox reopens, you can verify that the update has been successfully installed by revisiting the "About Firefox" section. Here, you will see the updated version number, confirming that your Firefox browser is now running the latest release.
Benefits of Updating
Updating Firefox to the latest version offers several benefits, including improved performance, enhanced security features, and compatibility with the latest web standards. New versions of Firefox often include bug fixes, stability improvements, and optimizations that contribute to a smoother and more reliable browsing experience. Additionally, staying up to date with Firefox ensures that you have access to the latest privacy enhancements and security patches, safeguarding your online activities.
By regularly updating Firefox, you can take advantage of the latest advancements in web browsing technology, benefit from enhanced security measures, and enjoy a seamless and optimized browsing experience.
Remember, enabling automatic updates in Firefox settings can streamline the update process, ensuring that your browser remains current with the latest features and security enhancements. Periodically checking for updates and installing them promptly is a proactive approach to maintaining a secure and efficient browsing environment.
Updating Firefox to the latest version is a simple yet impactful way to optimize your browsing experience and stay ahead of potential security vulnerabilities and performance issues.