Introduction
When it comes to browsing the web on a Mac, Safari is the go-to browser for many users. Its sleek interface, seamless integration with Apple devices, and robust features make it a popular choice. However, there are times when you may find the default screen size of Safari to be too large for your liking. Whether you're looking to fit more content on your screen or simply prefer a smaller browsing window, adjusting the Safari screen size can greatly enhance your browsing experience.
In this article, we'll delve into the various methods for making the Safari screen smaller on your Mac. Whether you're using a MacBook, iMac, or Mac Mini, these techniques can help you optimize your browsing environment to better suit your preferences and workflow. From adjusting the window size to utilizing the zoom feature, we'll explore the steps to tailor Safari's display to your liking.
So, if you've ever felt the need to resize the Safari window to better accommodate your multitasking habits or to simply create a more comfortable browsing experience, you're in the right place. Let's dive into the methods for customizing the Safari screen size on your Mac and take control of your browsing environment.
Adjusting Safari Screen Size
Adjusting the Safari screen size on your Mac is a simple yet effective way to tailor your browsing experience to your preferences. Whether you're working on multiple tasks simultaneously or simply want to optimize your screen real estate, resizing the Safari window can significantly enhance your productivity and comfort.
Resizing the Safari Window
One of the most straightforward methods for adjusting the Safari screen size is by manually resizing the browser window. To do this, simply position your cursor over the edge of the Safari window until the resize cursor appears. You can then click and drag the edge of the window to expand or shrink it to your desired dimensions. This allows you to customize the size of the Safari window to better suit your browsing needs, whether you prefer a compact window for focused browsing or a larger window for multitasking.
Utilizing Split View
If you're using a Mac with macOS El Capitan or later, you can take advantage of the Split View feature to effectively manage multiple Safari windows side by side. To enter Split View, click and hold the green full-screen button in the upper-left corner of the Safari window. You can then choose to position the Safari window to the left or right side of the screen, allowing you to seamlessly work with two Safari windows simultaneously. This feature is particularly useful for comparing web content, referencing multiple sources, or engaging in research tasks.
Maximizing Screen Real Estate with Full-Screen Mode
For a truly immersive browsing experience, consider utilizing Safari's full-screen mode. By clicking the green full-screen button in the upper-left corner of the Safari window or pressing Control + Command + F, you can expand Safari to occupy the entire screen, eliminating distractions and maximizing your viewing area. This mode is ideal for focusing on a single task or immersing yourself in web content without the clutter of other applications or desktop elements.
Customizing Window Size Preferences
Safari also offers the option to customize window size preferences, allowing you to set specific dimensions for new Safari windows. To do this, open Safari and navigate to "Safari" in the menu bar, then select "Preferences." Within the Preferences window, click on the "Tabs" tab and locate the "Open pages in tabs instead of windows" option. Here, you can choose to open new windows in tabs, effectively consolidating multiple webpages within a single Safari window and optimizing screen space.
By leveraging these methods, you can seamlessly adjust the Safari screen size on your Mac to align with your browsing habits and workflow. Whether you prefer a compact browsing window, a split-screen setup for multitasking, or a distraction-free full-screen mode, Safari offers versatile options to accommodate your preferences and enhance your browsing experience.
Using Zoom Feature
In addition to adjusting the Safari window size, utilizing the zoom feature can further enhance your browsing experience on a Mac. Whether you're looking to magnify text and images for improved readability or shrink the content to fit more on the screen, Safari's zoom functionality provides a versatile tool for customizing your viewing experience.
Zooming In and Out
Safari's zoom feature allows you to magnify or shrink the content displayed within the browser window. To zoom in on a webpage, simply press Command and the plus sign (+) key simultaneously. This action enlarges the content, making text, images, and other elements more prominent and easier to read. Conversely, to zoom out and reduce the content size, press Command and the minus sign (-) key simultaneously. This functionality is particularly useful when encountering webpages with small text or when you want to focus on specific details within an image.
Resetting Zoom Level
If you've adjusted the zoom level and wish to return to the default size, Safari provides a convenient way to reset the zoom. By pressing Command and the number zero (0) simultaneously, you can instantly restore the webpage to its original zoom level, effectively resetting any adjustments made. This feature is valuable for quickly reverting to the standard viewing size, especially when transitioning between different webpages with varying zoom settings.
Customizing Zoom Preferences
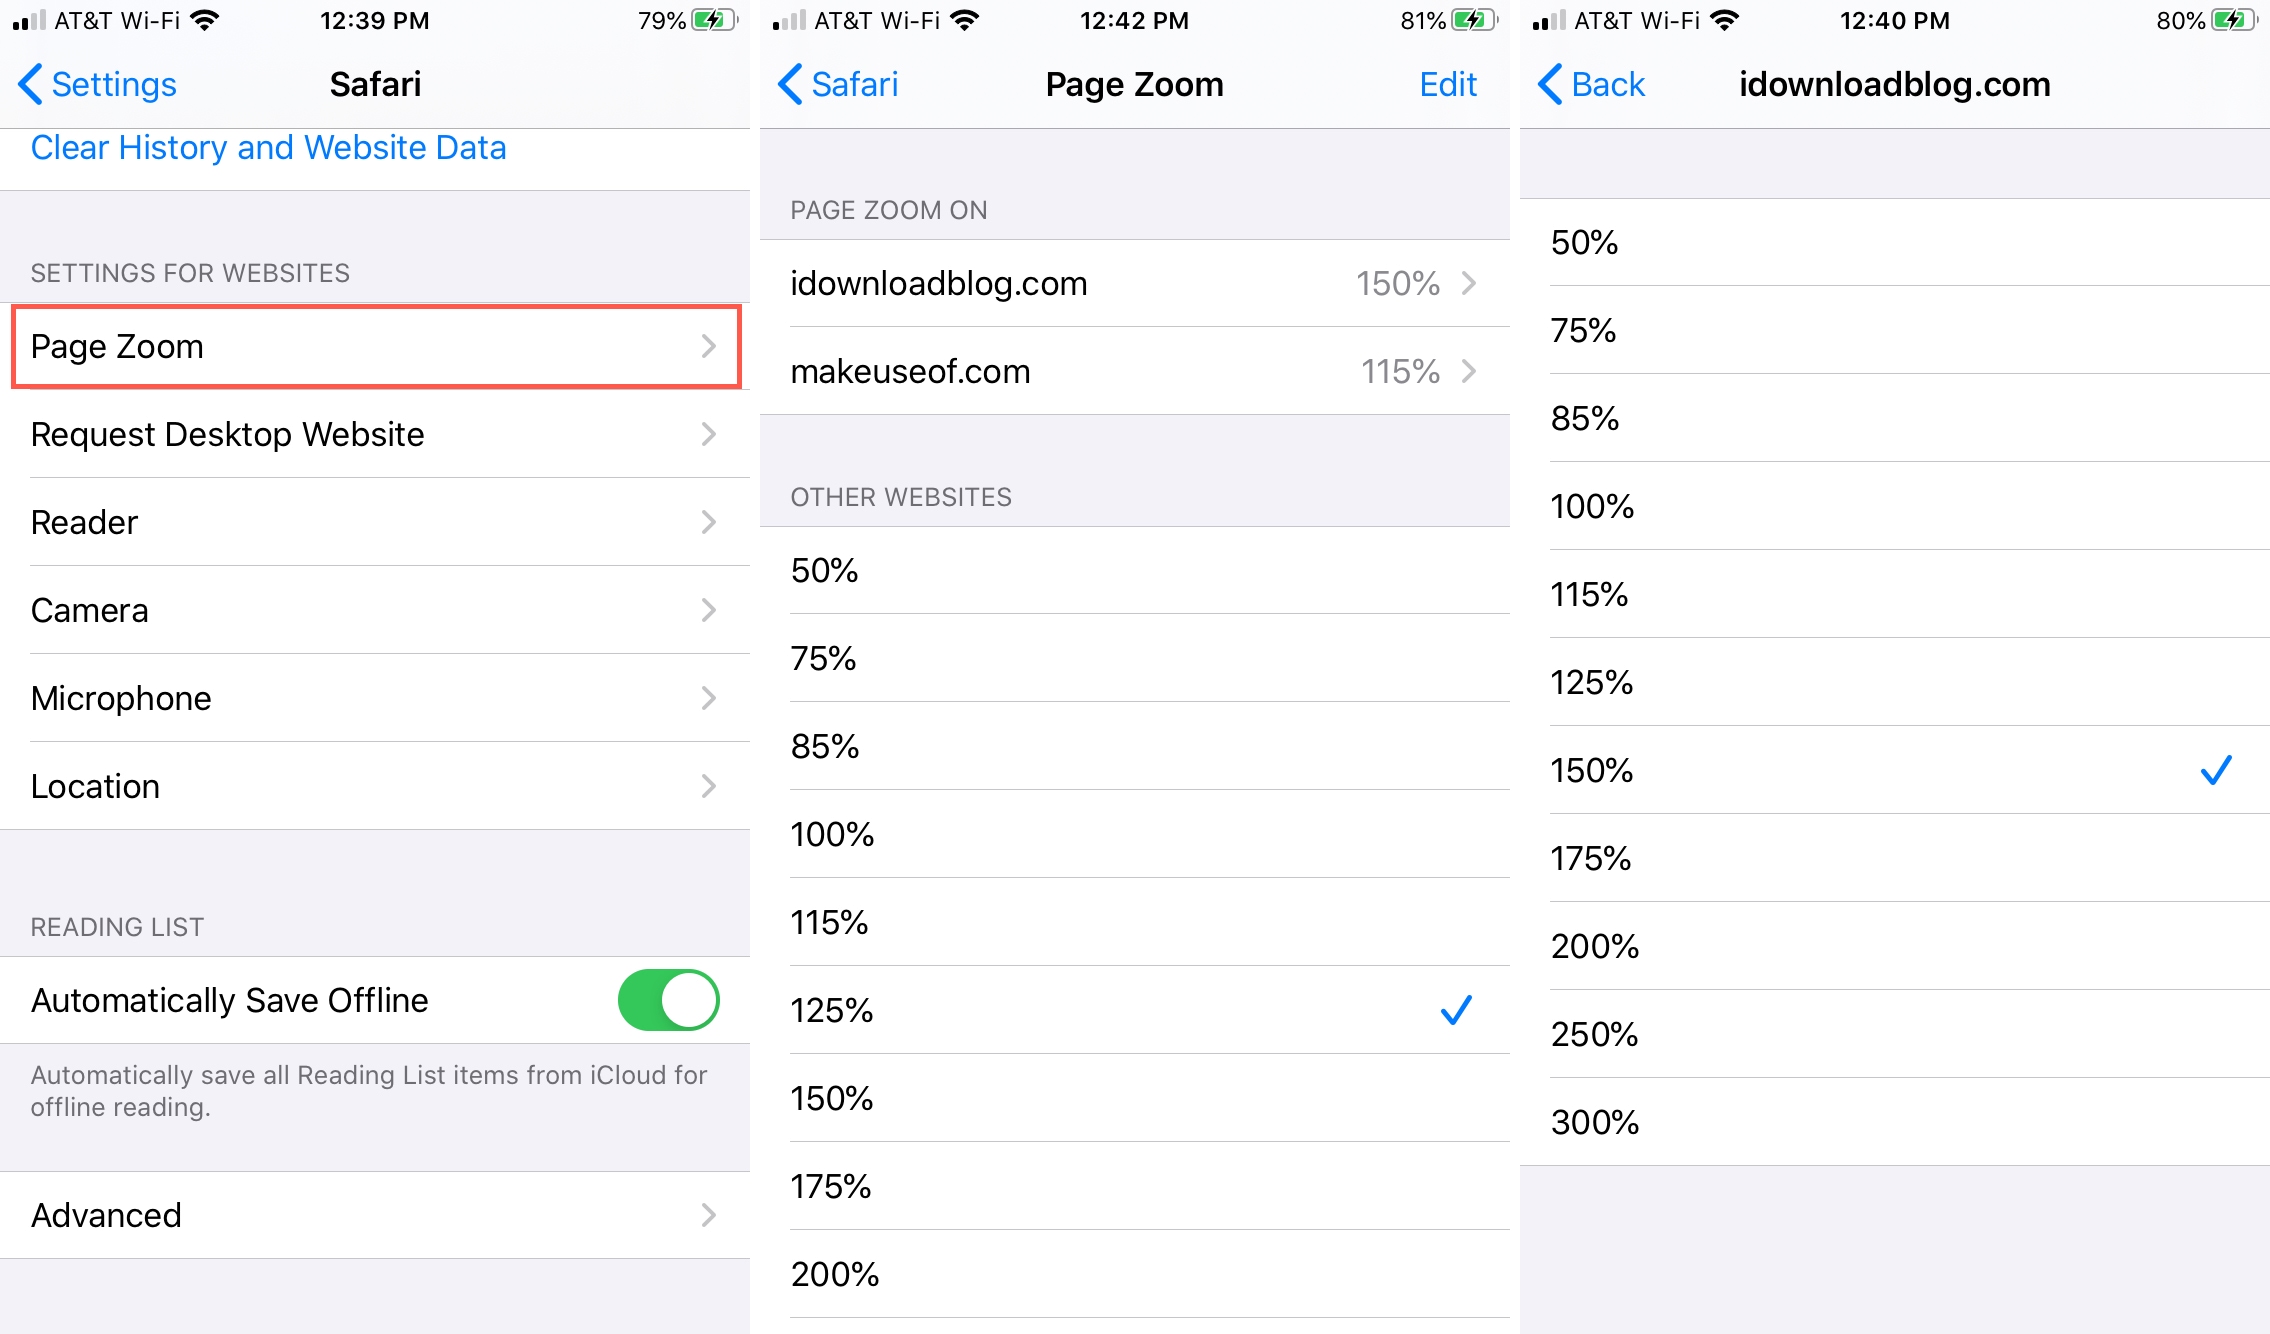
Safari also offers the option to customize zoom preferences to suit your browsing habits. By accessing Safari's preferences and navigating to the "Advanced" tab, you can enable the "Never use font sizes smaller than" option. This allows you to set a minimum font size for web content, ensuring that text is always displayed at a comfortable and readable size. Additionally, you can choose to enable the "Press Option key five times to toggle Zoom" feature, providing a convenient shortcut for quickly activating and deactivating the zoom functionality.
By leveraging Safari's zoom feature, you can effortlessly adjust the display size of web content to align with your preferences and visual comfort. Whether you need to enlarge text for improved readability, shrink images to fit more on the screen, or quickly reset the zoom level to its default state, Safari's zoom functionality empowers you to tailor your browsing experience with ease.
Incorporating the zoom feature into your browsing routine can significantly enhance your ability to interact with web content, ensuring that text and images are displayed at optimal sizes for improved legibility and visual clarity. Whether you're conducting research, reading articles, or exploring multimedia content, the zoom feature in Safari offers a valuable tool for customizing your viewing experience and maximizing your productivity.
Conclusion
In conclusion, customizing the Safari screen size on your Mac empowers you to create a personalized browsing environment that aligns with your preferences and workflow. By adjusting the window size, utilizing split view, maximizing screen real estate with full-screen mode, and customizing window size preferences, you can tailor the Safari browsing experience to suit your multitasking habits, content consumption preferences, and visual comfort.
Furthermore, incorporating the zoom feature into your browsing routine provides an additional layer of customization, allowing you to magnify text and images for improved readability or shrink content to fit more on the screen. The ability to reset the zoom level and customize zoom preferences further enhances your control over the display size of web content, ensuring that you can interact with online resources in a manner that best suits your needs.
By seamlessly integrating these methods into your browsing habits, you can optimize your productivity, enhance your visual comfort, and create a more immersive and tailored browsing experience on your Mac. Whether you're conducting research, reading articles, engaging with multimedia content, or simply navigating the web, the flexibility and customization options offered by Safari empower you to interact with online resources in a manner that best suits your preferences and workflow.
Ultimately, the ability to make the Safari screen smaller on your Mac is not just about adjusting dimensions; it's about taking control of your browsing environment and creating a space that enhances your comfort, productivity, and enjoyment. By leveraging the diverse features and customization options within Safari, you can transform your browsing experience into a seamless and personalized journey, allowing you to focus on what matters most while effortlessly navigating the digital landscape.
In essence, the methods discussed in this article offer a gateway to a more tailored and efficient browsing experience, where the display size, zoom level, and layout of web content can be adjusted to align with your unique preferences and browsing habits. With these tools at your disposal, you can embark on a browsing journey that is not only visually optimized but also seamlessly integrated with your workflow, ultimately enhancing your overall digital experience on your Mac.


