Introduction
When it comes to browsing the web, Google Chrome stands out as one of the most popular and versatile web browsers. Its extensive range of extensions allows users to customize their browsing experience to suit their specific needs. One such need is the ability to highlight and annotate PDF documents directly within the browser. This feature is particularly useful for students, researchers, professionals, and anyone who frequently works with PDF files.
In this article, we will explore the process of highlighting PDFs in Chrome using a PDF viewer extension. By leveraging the capabilities of this extension, users can seamlessly mark up and interact with PDF content without the need for additional software or tools. Whether you're studying a research paper, reviewing a contract, or collaborating on a project, the ability to highlight and annotate PDFs within Chrome can significantly streamline your workflow and enhance productivity.
By the end of this guide, you will have a clear understanding of how to install a PDF viewer extension, highlight text within PDF documents, and efficiently save and share your annotated PDFs. With these skills at your disposal, you'll be well-equipped to make the most of your PDF viewing and editing experience in Chrome. So, let's dive in and discover how to unlock the full potential of PDF highlighting within this popular web browser.
Installing a PDF Viewer Extension
Installing a PDF viewer extension in Chrome is a straightforward process that empowers users to seamlessly view, annotate, and highlight PDF documents directly within the browser. This capability eliminates the need to switch between different applications or software, offering a convenient and efficient solution for working with PDF files. To begin this journey, follow these steps to install a PDF viewer extension:
-
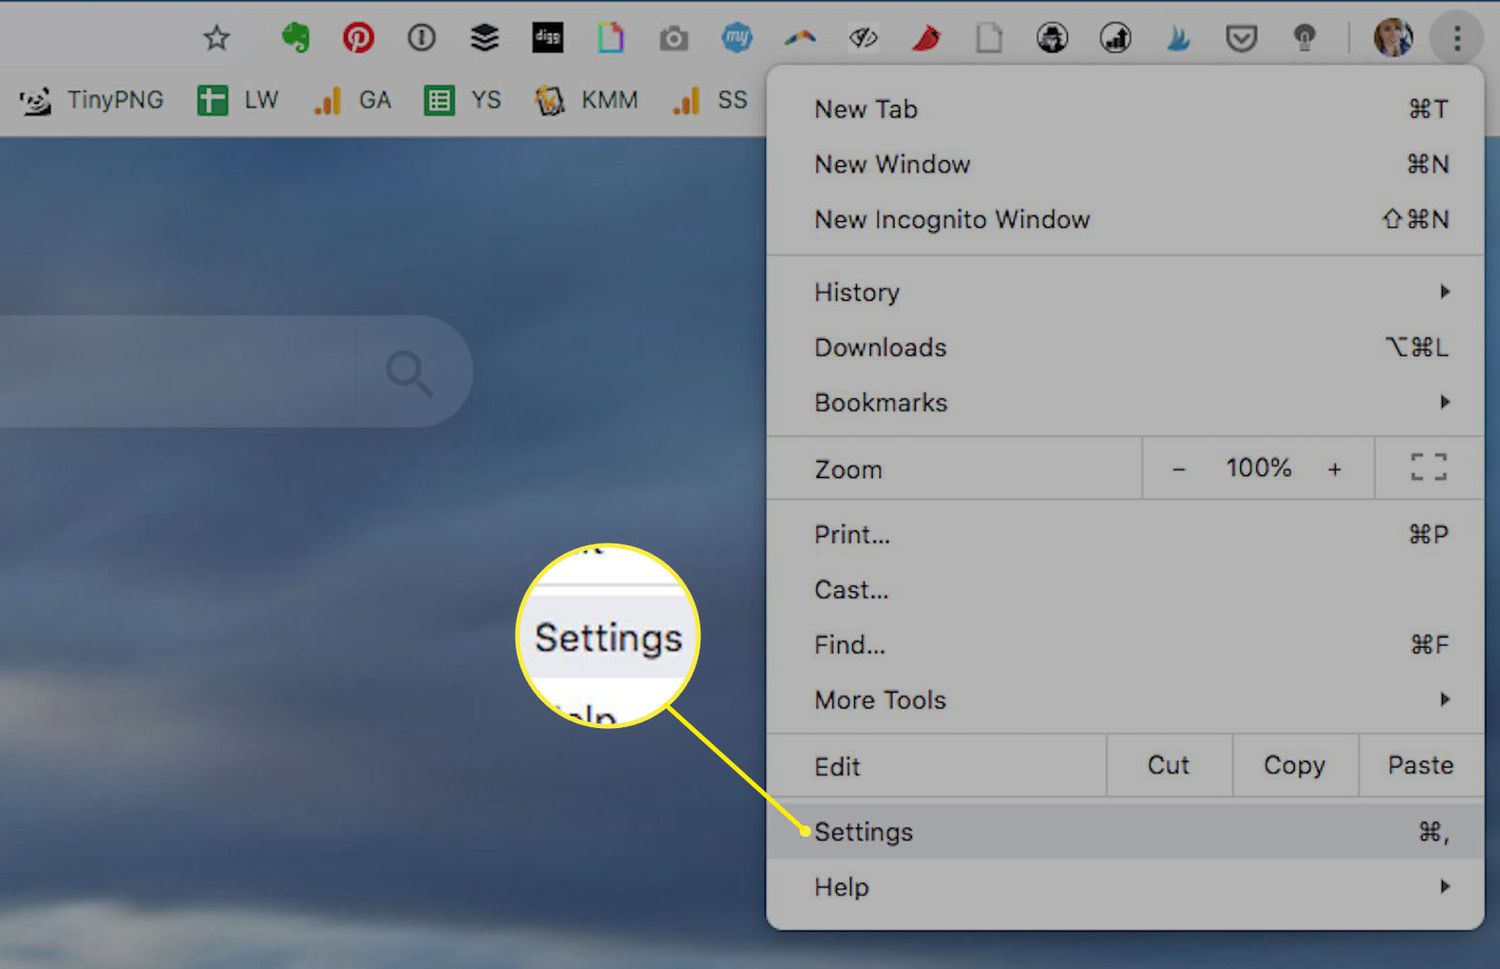
Open the Chrome Web Store: Launch Google Chrome and navigate to the Chrome Web Store by clicking on the Apps shortcut in the bookmarks bar or typing "chrome://apps/" in the address bar.
-
Search for a PDF Viewer Extension: In the search bar at the top left corner of the Chrome Web Store, type "PDF viewer" or "PDF reader" to explore the available extensions designed for viewing and interacting with PDF files.
-
Select a Suitable Extension: Browse through the list of PDF viewer extensions and carefully review their features, user ratings, and reviews to identify a reliable and feature-rich extension that meets your requirements. Popular extensions include "Adobe Acrobat," "PDF Viewer," and "Xodo PDF Viewer & Editor."
-
Click on the Extension: Once you've chosen a PDF viewer extension, click on its icon or name to access its details page within the Chrome Web Store.
-
Add to Chrome: On the extension's details page, click the "Add to Chrome" button to initiate the installation process. A confirmation dialog may appear, requesting permission to add the extension to your browser. Click "Add extension" to proceed.
-
Access the Extension: After the installation is complete, the PDF viewer extension's icon will typically appear in the Chrome toolbar or the extensions menu. You can now access the extension by clicking on its icon to open and interact with PDF documents directly within Chrome.
By following these steps, you can seamlessly integrate a PDF viewer extension into your Chrome browser, unlocking the ability to view, annotate, and highlight PDF files with ease. This streamlined approach enhances your productivity and workflow, allowing you to focus on the content of the PDF without the distraction of switching between different applications. With the PDF viewer extension in place, you're ready to delve into the next steps of highlighting text within PDF documents and maximizing your PDF viewing experience in Chrome.
Highlighting Text in a PDF
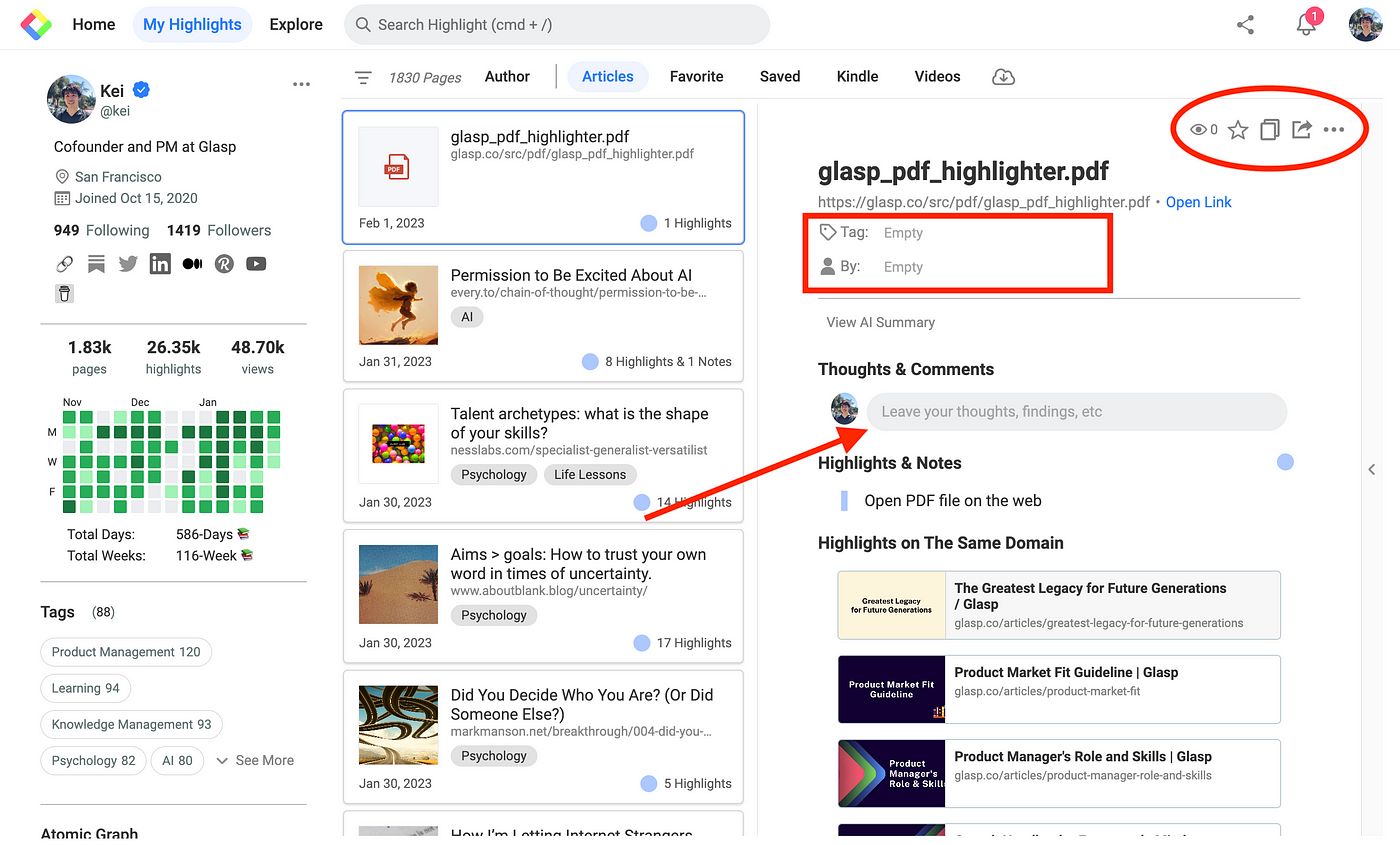
Once you have installed a PDF viewer extension in Chrome, you gain the ability to highlight text within PDF documents seamlessly. This feature is particularly valuable for students, researchers, and professionals who need to mark up and annotate important sections of PDF files for reference, analysis, or collaboration. Here's a detailed guide on how to effectively highlight text in a PDF using the installed extension:
-
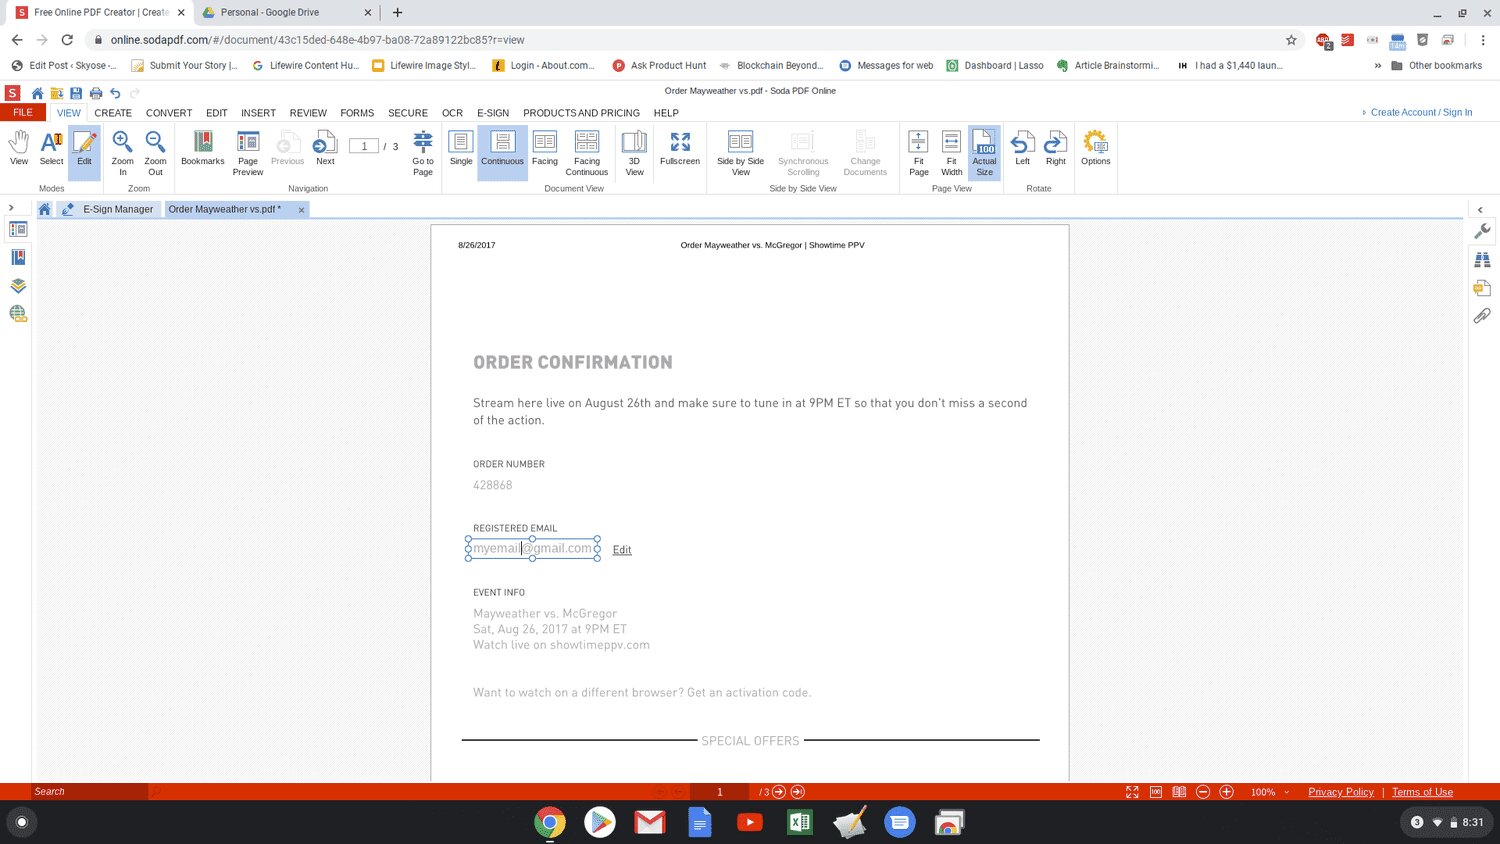
Open a PDF Document: Begin by locating the PDF document you wish to highlight. This could be a research paper, a report, a contract, or any other type of PDF file that requires your attention.
-
Access the PDF Viewer Extension: With the PDF document open in your Chrome browser, click on the PDF viewer extension icon in the toolbar or extensions menu. This action will launch the PDF viewer, allowing you to interact with the document's content.
-
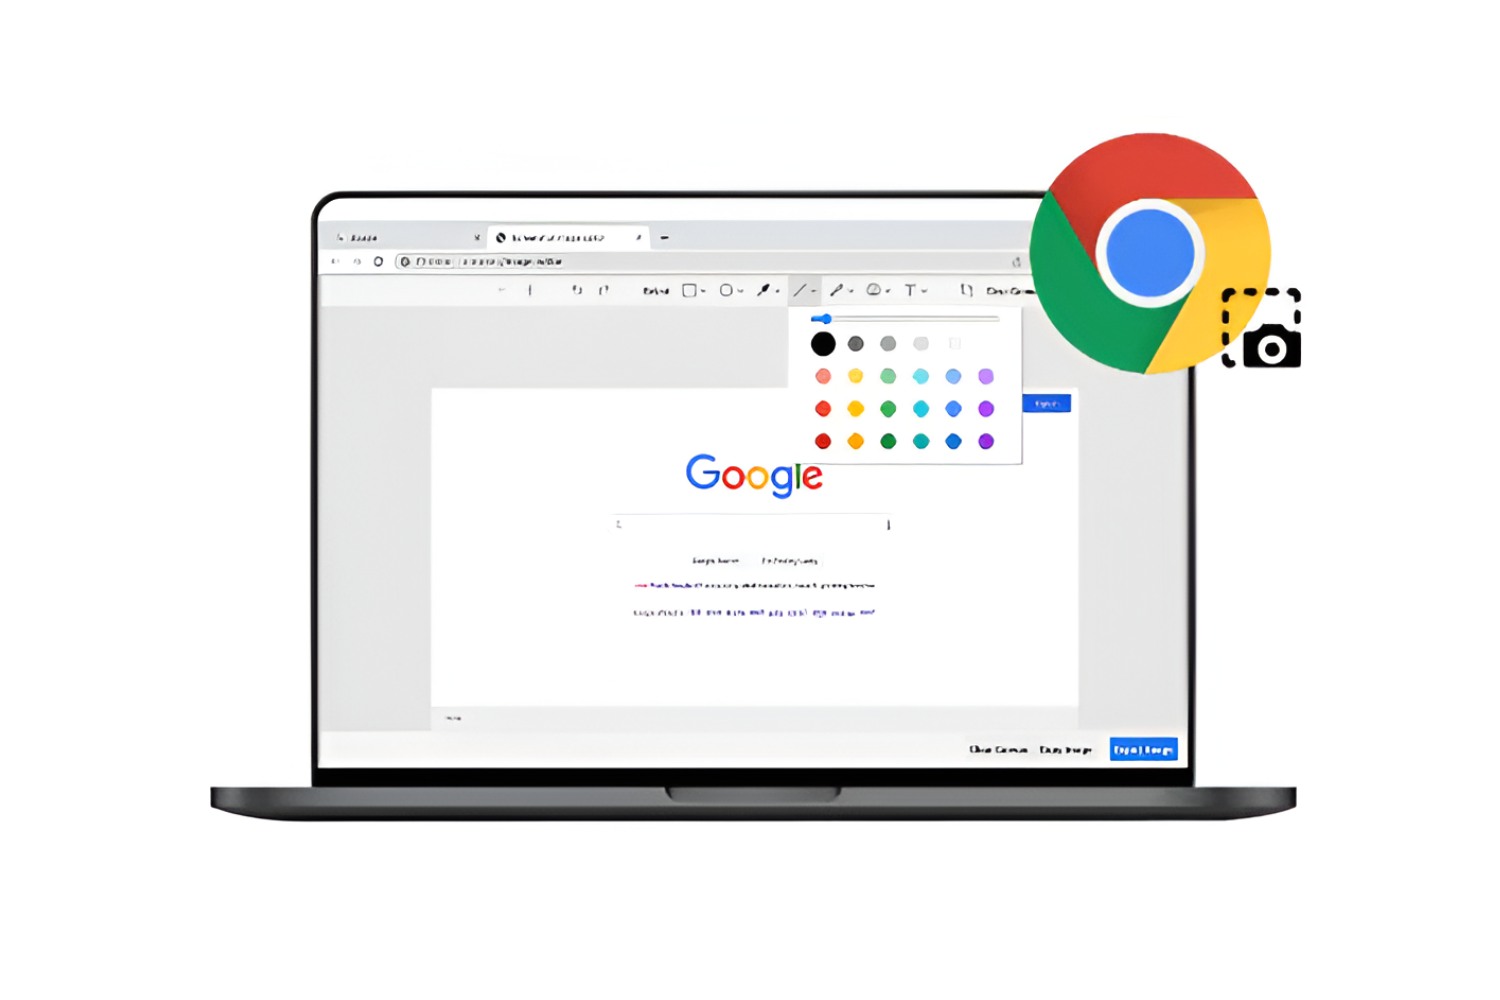
Navigate to the Highlighting Tool: Within the PDF viewer interface, locate the highlighting tool. This tool is typically represented by an icon resembling a highlighter pen or a text selection tool. Click on this tool to activate the highlighting function.
-
Select and Highlight Text: Using your mouse or trackpad, select the specific text or passages within the PDF document that you want to highlight. As you drag the cursor over the text, it will be highlighted in a distinct color, making it stand out from the surrounding content.
-
Customize Highlight Colors: Some PDF viewer extensions offer the option to customize highlight colors. If this feature is available, you can choose from a range of colors to differentiate between different types of highlights or to suit your personal preference.
-
Add Annotations (Optional): In addition to highlighting text, you may have the option to add annotations, comments, or notes to the highlighted sections. This can be useful for providing context, explanations, or reminders related to the highlighted content.
-
Save Your Changes: Once you have completed the highlighting process, ensure that you save your changes. This step is crucial to preserve the highlighted text and any accompanying annotations for future reference.
By following these steps, you can effectively highlight text within PDF documents using the PDF viewer extension in Chrome. This capability empowers you to engage with the content of PDF files in a dynamic and interactive manner, facilitating efficient study, analysis, and collaboration. With the ability to highlight and annotate PDFs at your fingertips, you can elevate your productivity and make the most of your PDF viewing experience within the Chrome browser.
Saving and Sharing Highlighted PDFs
After highlighting and annotating important sections of a PDF document using a PDF viewer extension in Chrome, it's essential to understand how to save and share the annotated PDFs effectively. This process ensures that your highlighted content and any accompanying annotations are preserved for future reference and collaboration. Here's a detailed guide on how to save and share highlighted PDFs seamlessly:
Saving the Annotated PDF
-
Access the Save Function: Once you have completed highlighting and annotating the PDF, locate the save function within the PDF viewer interface. This function is typically represented by a disk icon or a "Save" option in the menu.
-
Choose a Location: When prompted to save the annotated PDF, select a suitable location on your computer or cloud storage where you want to store the file. This could be a specific folder, your desktop, or a designated cloud storage service such as Google Drive or Dropbox.
-
Specify the File Name: Enter a descriptive and recognizable file name for the annotated PDF. This name should reflect the content of the document and the nature of the annotations, making it easy to identify the file at a glance.
-
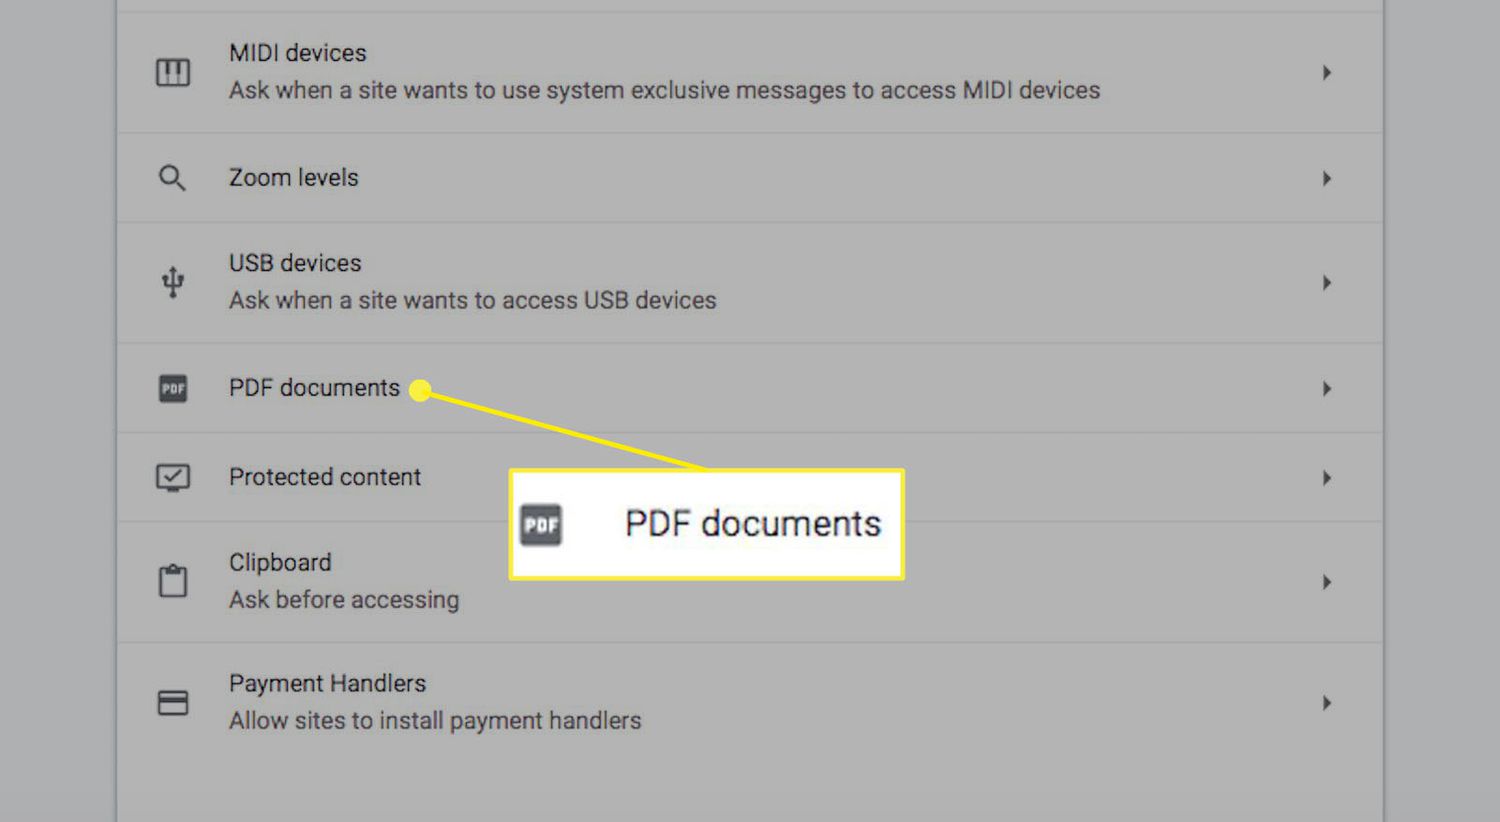
Select the File Format: Depending on the capabilities of the PDF viewer extension, you may have the option to choose the file format for saving the annotated PDF. Common formats include PDF, PDF/A, and PDF/X. Select the appropriate format based on your requirements.
-
Confirm the Save: Once you have specified the location, file name, and format, proceed to save the annotated PDF. This action ensures that your highlighted content and annotations are preserved in a separate file, distinct from the original PDF document.
Sharing the Annotated PDF
-
Upload to Cloud Storage: If you intend to share the annotated PDF with collaborators or colleagues, consider uploading the file to a cloud storage service. This approach allows you to generate a shareable link or grant access to specific individuals, facilitating seamless collaboration and document sharing.
-
Email Attachment: Another common method of sharing annotated PDFs is to send the file as an email attachment. Compose a new email, attach the annotated PDF, and provide relevant context or instructions to the recipients regarding the highlighted content and annotations.
-
Collaboration Platforms: If your workflow involves collaboration platforms or project management tools, explore the option to upload and share the annotated PDF within these platforms. This approach centralizes document sharing and collaboration, streamlining communication and feedback processes.
By following these steps, you can effectively save and share highlighted PDFs, ensuring that your annotations are preserved and accessible for future reference and collaboration. This streamlined approach enhances your ability to engage with PDF content, share insights, and collaborate with others, ultimately maximizing the value of your annotated PDF documents.