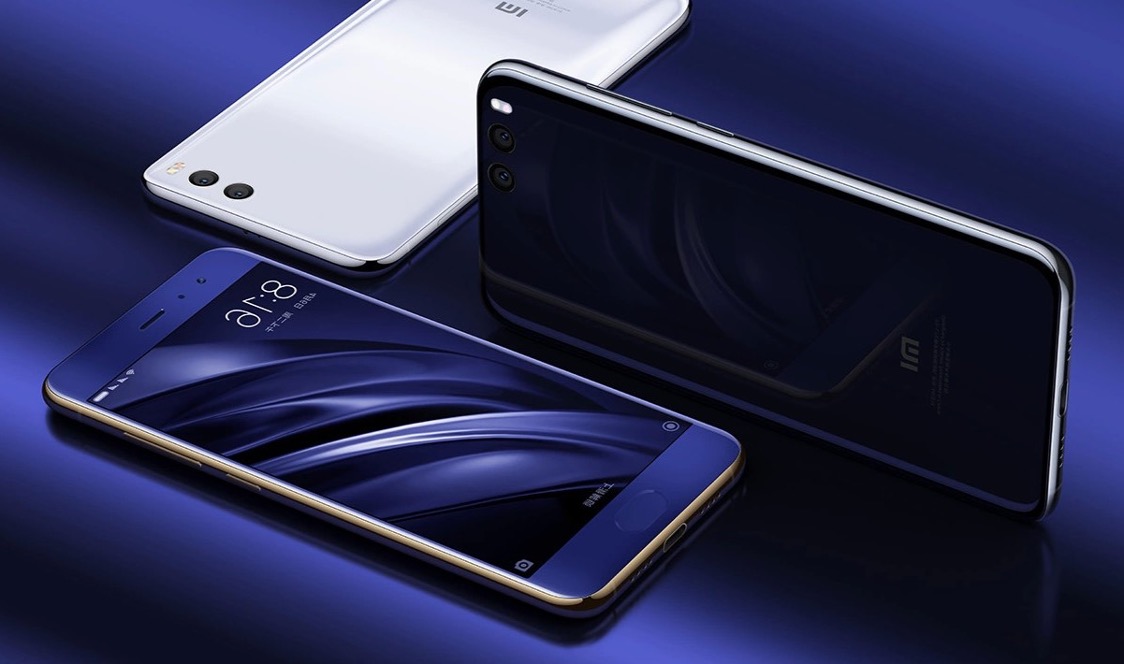
To switch Xiaomi Global ROM on your device, you must unlock the bootloader, download the correct Fastboot ROM for your exact model, and flash it using the Mi Flash Tool on a Windows PC. This process replaces your current software with an official Global ROM, which typically adds Google services, wider language support, and removes China-specific bloatware.
Before you switch your Xiaomi Global ROM: critical warnings
Switching your Xiaomi Global ROM is a technical procedure that carries real risks, especially if your device was originally sold with a Chinese ROM. The most important warning concerns HyperOS: if your device runs HyperOS, you must request unlock permission via the Xiaomi Community app and wait approximately 30 days before you can unlock the bootloader. Attempting to bypass this waiting period or using unofficial tools can permanently damage your device.
Another critical danger is relocking the bootloader on Chinese hardware. If your phone is a Chinese variant (hardware model ending in “CN”) and you flash a Global ROM, you must never relock the bootloader. Doing so will brick the device because the Global ROM’s bootloader signature does not match the Chinese hardware’s trusted keys. Only relock the bootloader if your device is officially Global or EUX hardware. If you are unsure, leave the bootloader unlocked.
Step 1: Back up your data
Before you do anything else, protect your personal data because unlocking the bootloader and flashing a ROM will erase everything on your phone. A proper backup ensures you can restore your contacts, photos, messages, and app data after the switch.
Use Xiaomi’s built-in backup
Go to Settings → Additional settings → Backup & reset → Local backups on your current ROM. Create a new backup and select the data types you want to save (apps, system settings, call logs, etc.). Store the backup on your internal storage or an external SD card, then copy it to your computer or cloud storage before proceeding.
Third-party backup apps
For more granular control, use apps like Titanium Backup (requires root) or Helium (no root needed). These let you back up individual app data, which the built-in tool might miss. Install the app, grant the required permissions, and create a backup to a safe location.
Cloud backup services
Sync your photos, contacts, and documents to Google Drive, Dropbox, or Xiaomi’s Mi Cloud. This provides an extra layer of security, especially for media files that are large and difficult to restore manually. Verify that your sync is complete before you start the ROM switching process.
Step 2: Unlock the bootloader
Unlocking the bootloader is mandatory to flash a different Global ROM. This process removes the security check that prevents custom software from being installed.
Get unlock permission from Xiaomi
Visit the official Xiaomi Mi Unlock website and sign in with your Mi account. Submit a request for bootloader unlocking. If your device runs HyperOS, you must also open the Xiaomi Community app, go to the “Unlock” section, and apply there. The waiting period is typically 30 days, but it can be longer or shorter depending on your account age and device.
Enable Developer Options and USB debugging
On your phone, go to Settings → About Phone and tap the “MIUI version” or “HyperOS version” seven times until you see “You are now a developer.” Then go to Settings → Additional settings → Developer options and enable both OEM unlocking and USB debugging.
Use the Mi Unlock tool
Download the Mi Unlock tool on your Windows PC from the official Xiaomi website. Install it, then sign in with the same Mi account that requested permission. Power off your phone, then boot into Fastboot mode by holding Volume Down + Power for a few seconds. Connect the phone to your PC via USB, open the Mi Unlock tool, and click “Unlock.” The tool will check your permission status; if approved, it will unlock the bootloader and wipe your device.
Step 3: Download the correct Global ROM and Mi Flash Tool
Using the wrong ROM for your device model can cause a hard brick that is not recoverable. You must identify your exact model and download the official Fastboot ROM package.
Identify your device model
Go to Settings → About Phone and look for the “Model” or “Device” line (e.g., 2107113SG for a Redmi Note 10 Pro). Alternatively, check the back of your phone or the original box. Cross-reference this with the official Xiaomi ROM download page to ensure you select the correct variant.
Download the Fastboot ROM (.tgz file)
Get the package from Xiaomi's own Xiaomi Global community post. Select your device model and choose the “Fastboot ROM” option for the Global region (e.g., “Global” or “EEA”). The file will be a .tgz archive, this is the correct format for Mi Flash Tool. Avoid recovery ROMs (zip files) for this method.
Install Mi Flash Tool on Windows
Download the Mi Flash Tool from the official Xiaomi website or a reputable mirror. Extract the ZIP file and run the installer. It requires Windows 7 or later and will install necessary USB drivers. After installation, reboot your PC if prompted.
Step 4: Flash the new Global ROM with Mi Flash Tool
This step replaces your current ROM with the Global version. Follow the sequence exactly to avoid errors.
Boot into Fastboot mode
Power off your phone completely. Press and hold Volume Down + Power simultaneously for about 5 seconds until you see the Fastboot logo (a rabbit with a robot). Connect your phone to your PC using a USB cable.
Extract the ROM file
Locate the downloaded .tgz file on your PC. Use a tool like 7-Zip or WinRAR to extract it. You will need to unzip it twice: first to get a .tar file, then again to reveal a folder containing the ROM files (e.g., “images” folder and a flash-all.bat script). Note the full path to this folder.
Flash with Mi Flash Tool
Open Mi Flash Tool. Click the “Select” button and navigate to the extracted ROM folder. Click “Refresh” to ensure your device in Fastboot mode is recognized (it should appear in the list). Then click “Flash” to begin the installation. The tool will push the ROM to your device and automatically reboot it when done. Do not disconnect the USB cable during this process, it takes 5-10 minutes.
Step 5: Reboot and set up your device
After the flash completes, your phone will reboot automatically. The first boot can take up to 10 minutes, do not interrupt it. You will see the new Global ROM’s boot animation, then the initial setup wizard.
Complete the setup wizard
Select your language, connect to Wi-Fi, and sign in to your Google account (if desired). You can skip most steps and do them later. The wizard will ask if you want to restore from a backup, choose “Restore from cloud” or “Copy from another device” if you have a Google backup, or skip and restore manually later.
Restore your backed-up data
Once you reach the home screen, restore your personal data. If you used Xiaomi’s local backup, copy the backup folder back to your phone’s internal storage and use Settings → Additional settings → Backup & reset → Local backups to restore it. For cloud backups, open the respective apps (Google Drive, Mi Cloud, etc.) and sync your files. Third-party app backups can be restored via their respective apps.
Verify that all your contacts, photos, and messages are present. If something is missing, check your backup sources before you proceed to customize your device.
After restoring, take a moment to explore the new Global ROM. You should now have access to Google Play Store, Google Assistant, and a wider range of language options. The device should feel more responsive, and you can customize the interface to your liking. Remember: keep the bootloader unlocked if your hardware is Chinese, relocking it will permanently brick your phone.
\nRelated reading: Integrating Xiaomi Devices With SmartThings - User Guide and Connecting Xiaomi Camera To PC - Step-by-Step Instructions.