Introduction
Creating a hotspot on your Chromebook can provide a convenient way to share your internet connection with other devices, such as smartphones, tablets, or laptops. Whether you're in a location with limited Wi-Fi access or you simply need to connect multiple devices on the go, setting up a hotspot on your Chromebook can be a valuable solution.
In this article, we'll guide you through the process of configuring a hotspot on your Chromebook in just a few simple steps. By following these instructions, you'll be able to create a secure and reliable hotspot that allows other devices to connect and access the internet through your Chromebook.
With the increasing reliance on digital connectivity in both personal and professional settings, knowing how to set up a hotspot on your Chromebook can be a valuable skill. Whether you're a student needing to connect your smartphone to the internet during a study session, a professional requiring internet access for a work-related task, or simply someone who wants to share their internet connection with friends or family, understanding the process of creating a hotspot on your Chromebook can be incredibly beneficial.
Now, let's dive into the step-by-step instructions for setting up a hotspot on your Chromebook, empowering you to stay connected and share your internet connection with ease.
Step 1: Accessing Network Settings
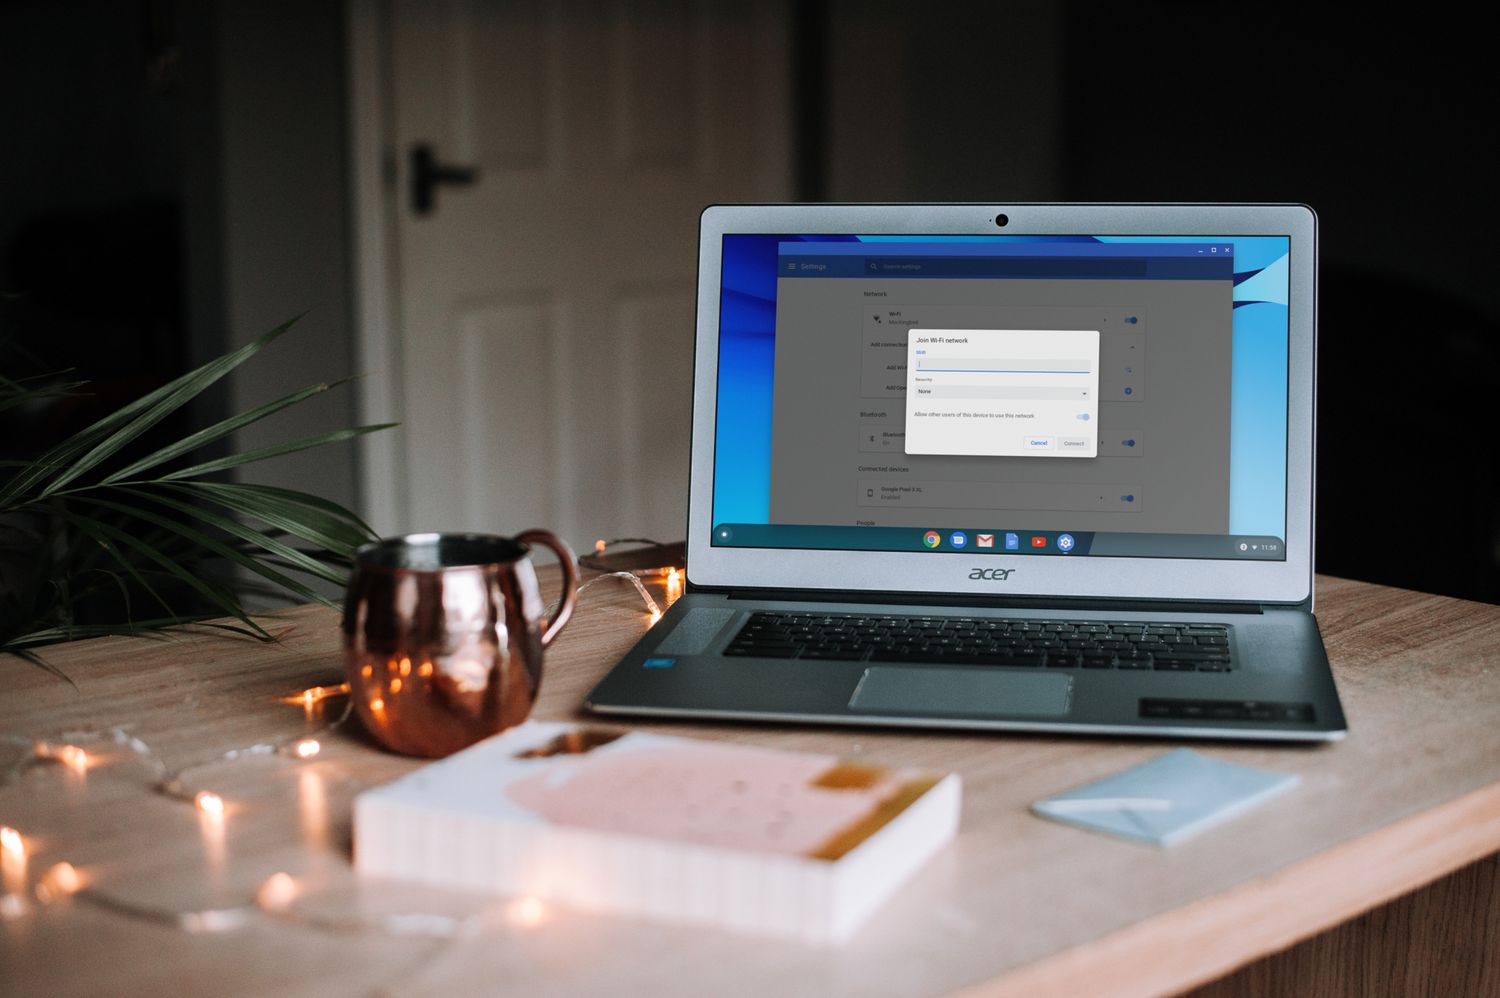
Accessing the network settings on your Chromebook is the initial step towards setting up a hotspot. This process allows you to configure and manage your network connections, including the creation of a hotspot for sharing your internet connection with other devices.
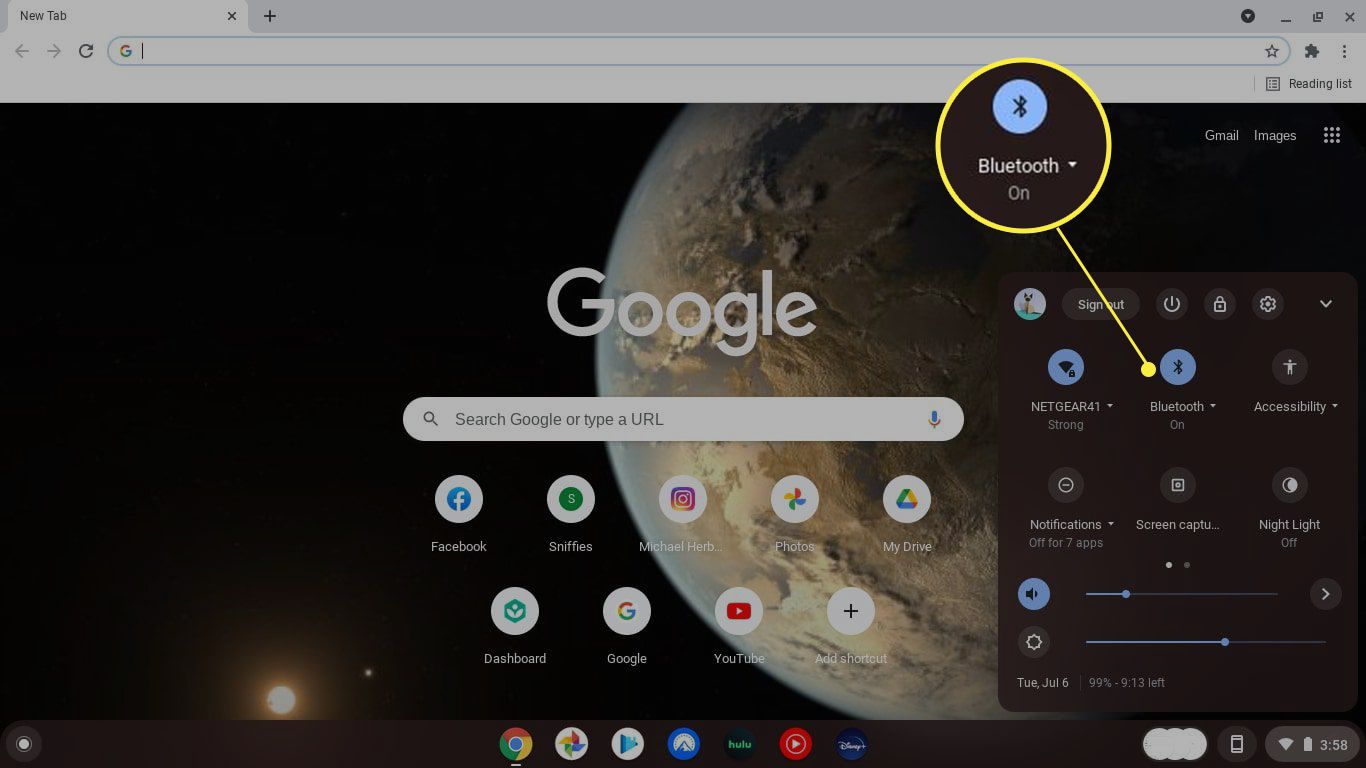
To begin, locate the network icon in the bottom-right corner of the screen on your Chromebook. This icon typically resembles a series of concentric arcs or a series of vertical bars, symbolizing the strength of the network signal. Clicking on this icon will open a menu that displays available Wi-Fi networks and other network-related options.
Upon clicking the network icon, a list of available Wi-Fi networks will appear, along with additional network settings. Look for the "Settings" option within this menu and click on it to proceed to the network settings interface.
Once you've accessed the network settings, you will find a variety of options for managing your network connections. These options may include Wi-Fi settings, VPN configurations, and the ability to set up a new network connection, among others. To create a hotspot, you will need to navigate to the specific setting for configuring a new network connection, which will enable you to establish a hotspot on your Chromebook.
Accessing the network settings on your Chromebook is a fundamental step that sets the stage for configuring a hotspot and sharing your internet connection with other devices. By familiarizing yourself with this process, you can gain greater control over your network connections and leverage the functionality of your Chromebook to facilitate seamless connectivity.
Now that you've successfully accessed the network settings on your Chromebook, you're ready to proceed to the next step of configuring a hotspot, which will enable you to share your internet connection with other devices.
Step 2: Configuring Hotspot
Configuring a hotspot on your Chromebook involves setting up a wireless access point that allows other devices to connect and utilize your Chromebook's internet connection. This feature can be particularly useful in situations where traditional Wi-Fi access is limited, such as in a public space or while traveling. By following the steps outlined below, you can easily configure a hotspot on your Chromebook and share your internet connection with other devices.
-
Accessing Hotspot Settings: Once you have accessed the network settings on your Chromebook, navigate to the option for creating a new network connection. Within this menu, you should find the setting for configuring a hotspot. Click on this option to initiate the process of setting up your hotspot.
-
Naming Your Hotspot: When configuring your hotspot, you will have the opportunity to name the network and set a password for secure access. Choose a name that is easily recognizable and indicative of the network's purpose. Additionally, select a strong password to ensure that only authorized users can connect to your hotspot.
-
Selecting Security Preferences: Chromebook offers different security options for hotspots, including WPA2 and WPA3. It is advisable to choose the most secure option available to protect your hotspot from unauthorized access and ensure the privacy and security of your internet connection.
-
Enabling Hotspot: Once you have customized the settings for your hotspot, proceed to enable the hotspot feature. This action will activate the wireless access point on your Chromebook, allowing other devices to detect and connect to the newly created hotspot network.
-
Verifying Hotspot Configuration: After enabling the hotspot, verify that the settings have been applied correctly. Ensure that the network name and password match your preferences and that the hotspot is active and ready for other devices to connect.
Configuring a hotspot on your Chromebook equips you with the ability to extend your internet connectivity to other devices, fostering greater flexibility and convenience in various scenarios. Whether you need to share your internet connection with a colleague during a meeting, provide access to a family member while traveling, or facilitate connectivity for multiple devices in a shared workspace, the hotspot feature on your Chromebook offers a versatile solution for wireless connectivity.
By following these steps to configure a hotspot on your Chromebook, you can harness the full potential of your device's networking capabilities, enabling seamless sharing of your internet connection with other devices. This process empowers you to create a secure and reliable hotspot that enhances your ability to stay connected and productive in diverse environments.
Step 3: Connecting Devices to Hotspot
Connecting devices to the hotspot you've created on your Chromebook is a straightforward process that enables other devices to access the internet using your Chromebook's internet connection. Once the hotspot is configured and activated, other devices, such as smartphones, tablets, or laptops, can easily connect to the hotspot network. Here's a detailed guide on how to connect devices to the hotspot on your Chromebook:
-
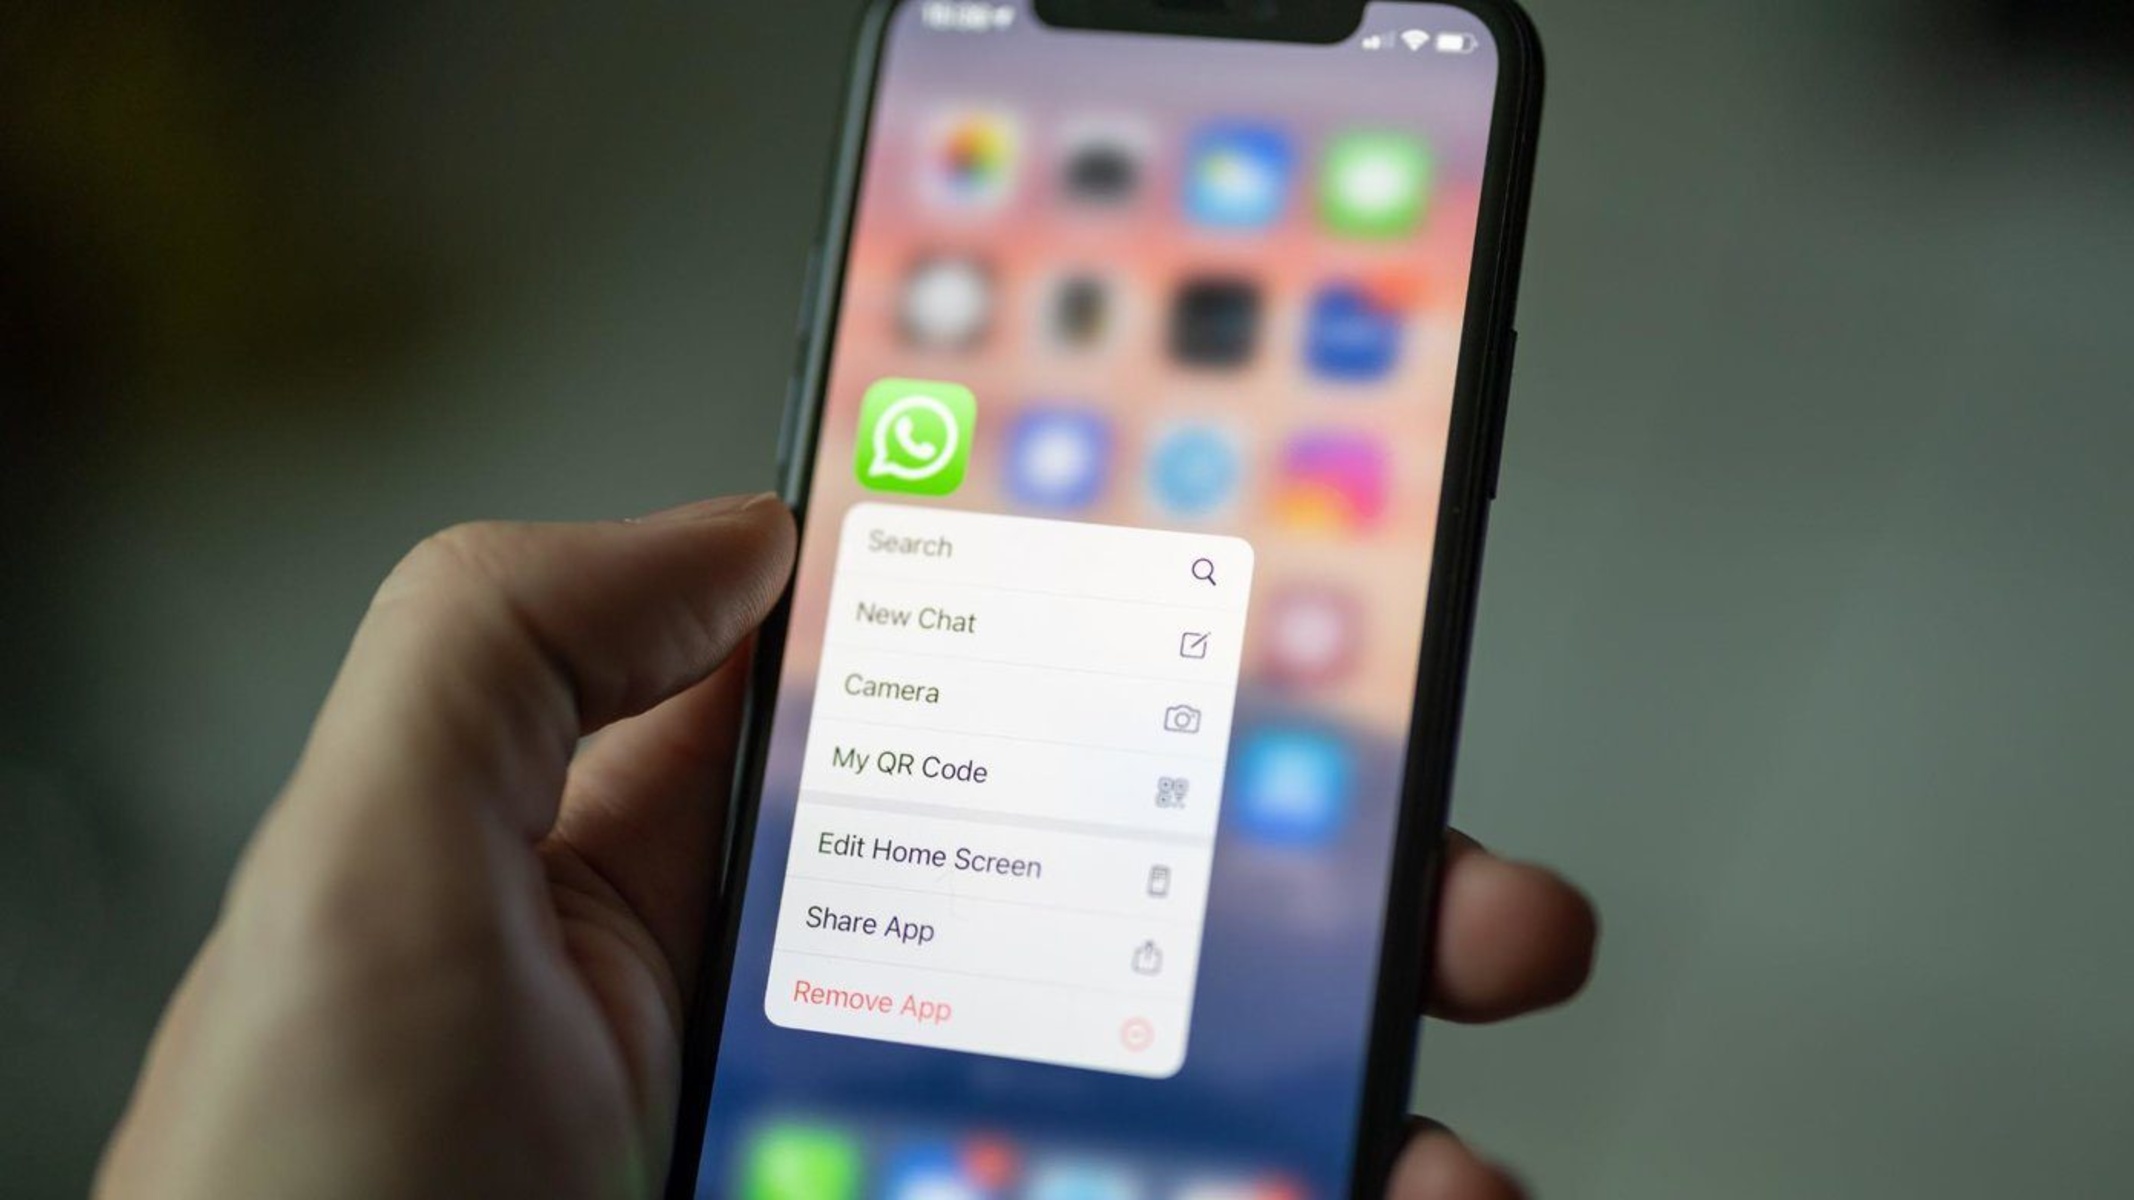
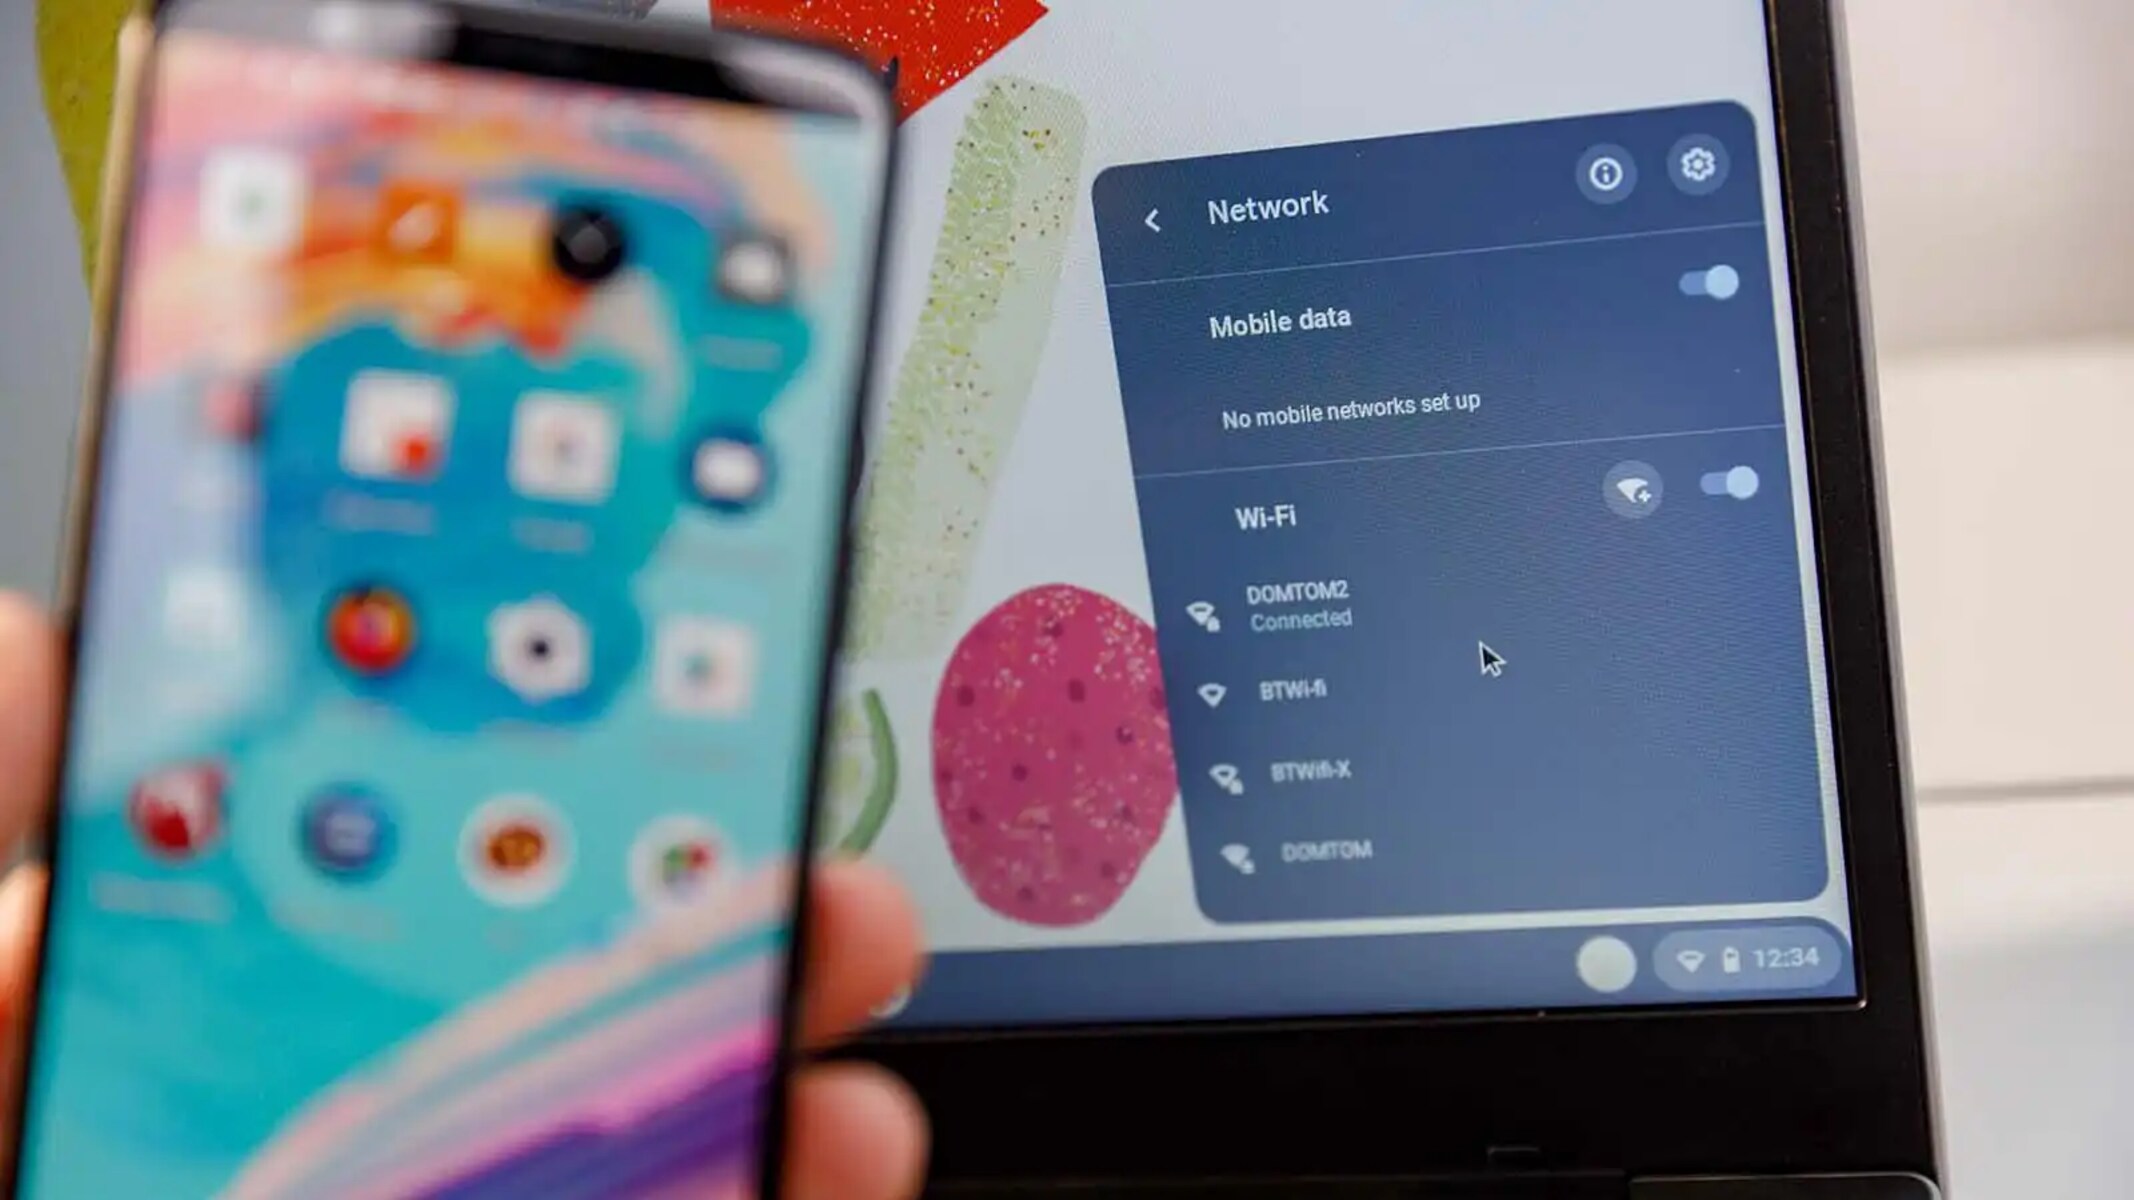
Discovering the Hotspot: On the device you wish to connect, navigate to the Wi-Fi settings and look for available networks. The name of the hotspot you configured on your Chromebook should appear in the list of available networks. Select the hotspot network to initiate the connection process.
-
Entering the Password: Upon selecting the hotspot network, you will be prompted to enter the password that you set during the configuration of the hotspot on your Chromebook. Input the correct password to authenticate and establish the connection to the hotspot.
-
Establishing the Connection: After entering the password, the device will proceed to establish a connection to the hotspot. Once the connection is successfully established, the device will be able to access the internet using the internet connection provided by your Chromebook.
-
Verifying Connectivity: Once the device is connected to the hotspot, verify that it has successfully gained access to the internet. You can do this by opening a web browser or launching an internet-dependent application to ensure that the device is able to browse the web and utilize online services.
-
Utilizing the Hotspot: With the device successfully connected to the hotspot, it can now leverage the internet connectivity provided by your Chromebook. Whether it's for browsing the web, accessing online content, or engaging in various internet-dependent activities, the connected device can make full use of the internet connection facilitated by the hotspot.
Connecting devices to the hotspot on your Chromebook extends the utility of your device by enabling seamless sharing of your internet connection with other devices. This capability is particularly valuable in situations where traditional Wi-Fi access is limited or when you need to provide internet connectivity to multiple devices on the go.
By following these steps to connect devices to the hotspot on your Chromebook, you can ensure that other devices can easily access and utilize your internet connection. This process empowers you to facilitate connectivity for a diverse range of devices, fostering greater flexibility and convenience in various settings.
Conclusion
In conclusion, the ability to create a hotspot on your Chromebook offers a valuable solution for sharing your internet connection with other devices in diverse settings. By following the step-by-step process outlined in this guide, you can seamlessly configure and activate a secure hotspot, enabling other devices to connect and access the internet using your Chromebook's internet connection.
The flexibility and convenience provided by the hotspot feature empower you to extend your internet connectivity to smartphones, tablets, laptops, and other devices, fostering enhanced productivity and connectivity in various scenarios. Whether you're in a location with limited Wi-Fi access, traveling, or working in a shared workspace, the capability to create a hotspot on your Chromebook equips you with a versatile tool for facilitating wireless connectivity.
Furthermore, the process of accessing network settings, configuring the hotspot, and connecting devices to the hotspot is designed to be user-friendly and accessible, ensuring that you can easily navigate through each step to create a functional hotspot on your Chromebook. By leveraging the hotspot feature, you can share your internet connection with colleagues, friends, or family members, enabling them to stay connected and productive while on the go.
The ability to create a hotspot on your Chromebook aligns with the evolving demands of digital connectivity, offering a practical solution for sharing internet access and fostering collaboration and communication across multiple devices. Whether you're a student, a professional, or an individual seeking to facilitate internet connectivity for others, the hotspot feature on your Chromebook serves as a valuable resource for extending your internet connection and enhancing connectivity in diverse environments.
In essence, the process of creating a hotspot on your Chromebook empowers you to take control of your network connections and leverage the full potential of your device's networking capabilities. By following the guidelines provided in this article, you can confidently configure a secure and reliable hotspot, enabling seamless sharing of your internet connection with other devices.
As digital connectivity continues to play a pivotal role in our daily lives, the ability to create a hotspot on your Chromebook represents a practical and empowering feature that enhances your capacity to stay connected and productive, regardless of your location or connectivity constraints. Embracing the functionality of the hotspot feature on your Chromebook enables you to extend the reach of your internet connection, fostering greater flexibility and convenience in an increasingly interconnected world.