Introduction
In today's fast-paced world, staying connected is essential, whether for work, entertainment, or communication. When Wi-Fi isn't available, many people turn to their smartphones' personal hotspot feature to provide internet access to their other devices. If you find yourself in a situation where you need to connect your Windows computer to your iPhone's hotspot, this comprehensive guide will walk you through the process and provide troubleshooting tips to ensure a seamless connection.
Whether you're on the go, in a remote location, or experiencing issues with your regular internet connection, utilizing your iPhone's hotspot can be a lifesaver. It allows you to harness your phone's cellular data connection and share it with other devices, such as your Windows computer, enabling you to stay productive and connected wherever you are.
In the following sections, we will delve into the step-by-step process of enabling the personal hotspot feature on your iPhone, connecting your Windows computer to the hotspot, and troubleshooting common issues that may arise during the connection process. By the end of this guide, you'll have the knowledge and confidence to set up and troubleshoot your iPhone hotspot connection with ease.
So, whether you're a professional needing to access important documents on your Windows computer while away from traditional Wi-Fi networks, a student looking to complete assignments on the go, or simply someone who wants to stay connected while traveling, this guide is tailored to help you navigate the process of connecting your Windows computer to your iPhone hotspot effortlessly. Let's dive into the steps and get you connected in no time!
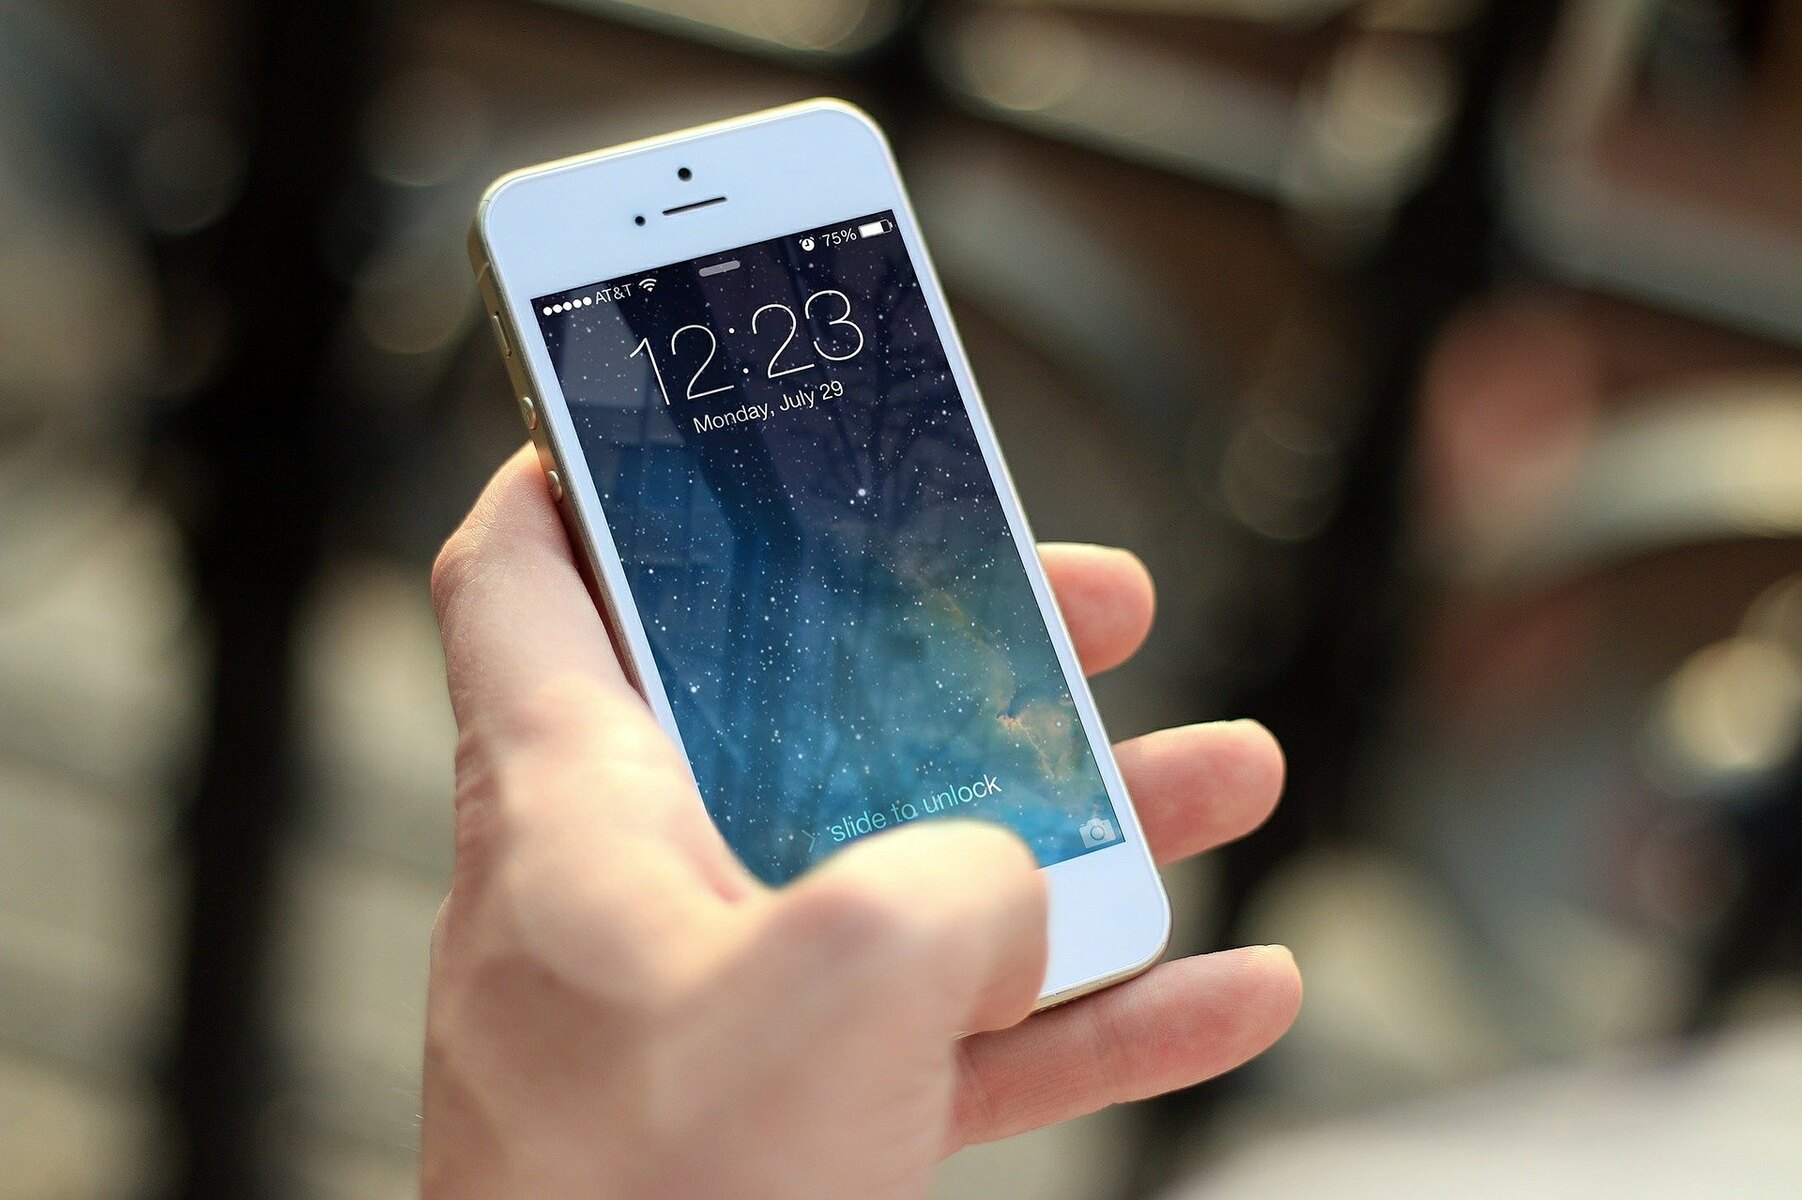
Step 1: Enable Personal Hotspot on iPhone
Enabling the personal hotspot feature on your iPhone allows you to share its cellular data connection with other devices, such as your Windows computer. This feature is invaluable when traditional Wi-Fi networks are unavailable, providing a convenient way to stay connected on the go. Follow the steps below to activate the personal hotspot on your iPhone:
-
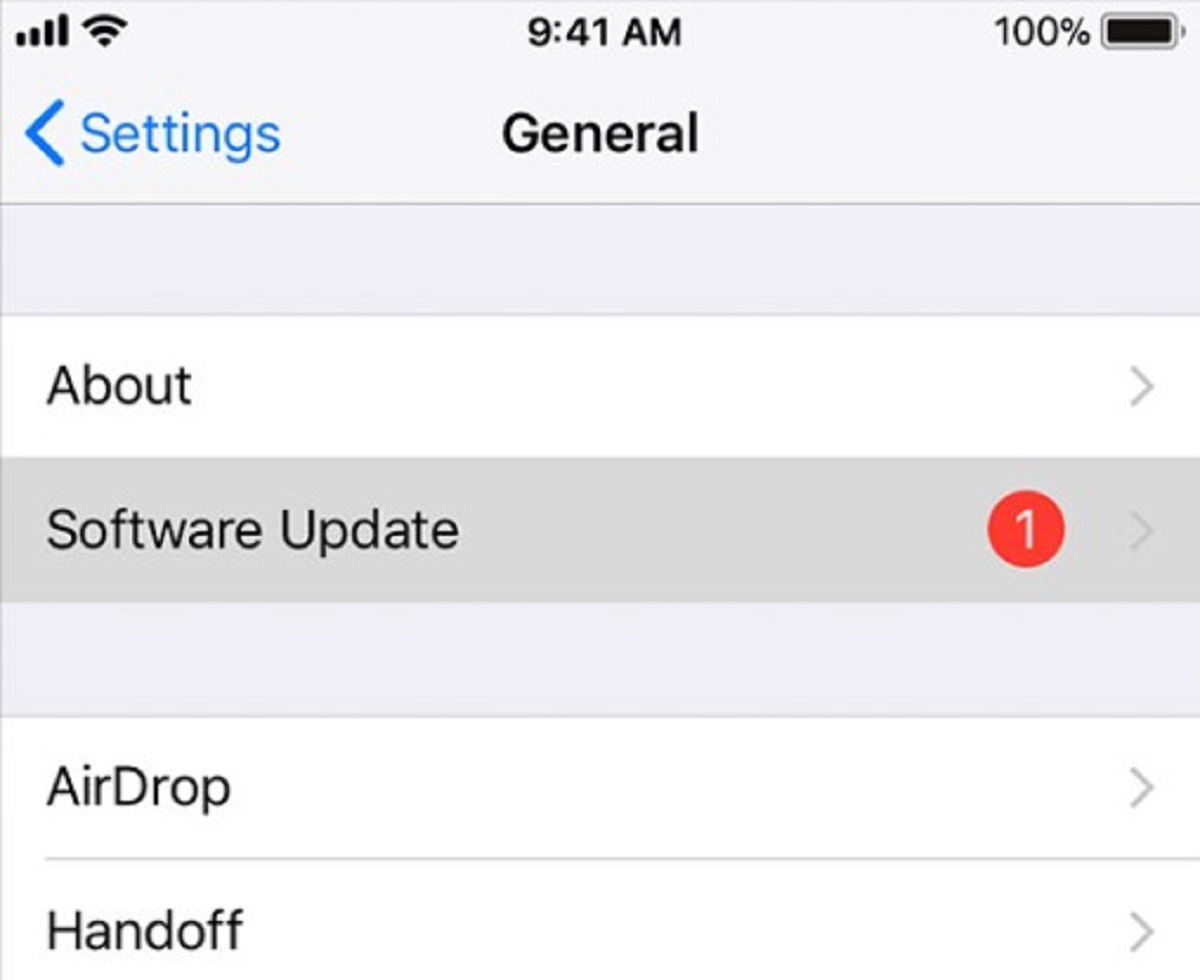
Accessing Personal Hotspot: Begin by unlocking your iPhone and navigating to the "Settings" app, which is represented by a gear icon. Once in the Settings menu, look for the "Personal Hotspot" option. This feature may be located near the top of the menu or within the "Cellular" or "Mobile Data" section, depending on your iPhone's model and iOS version.
-
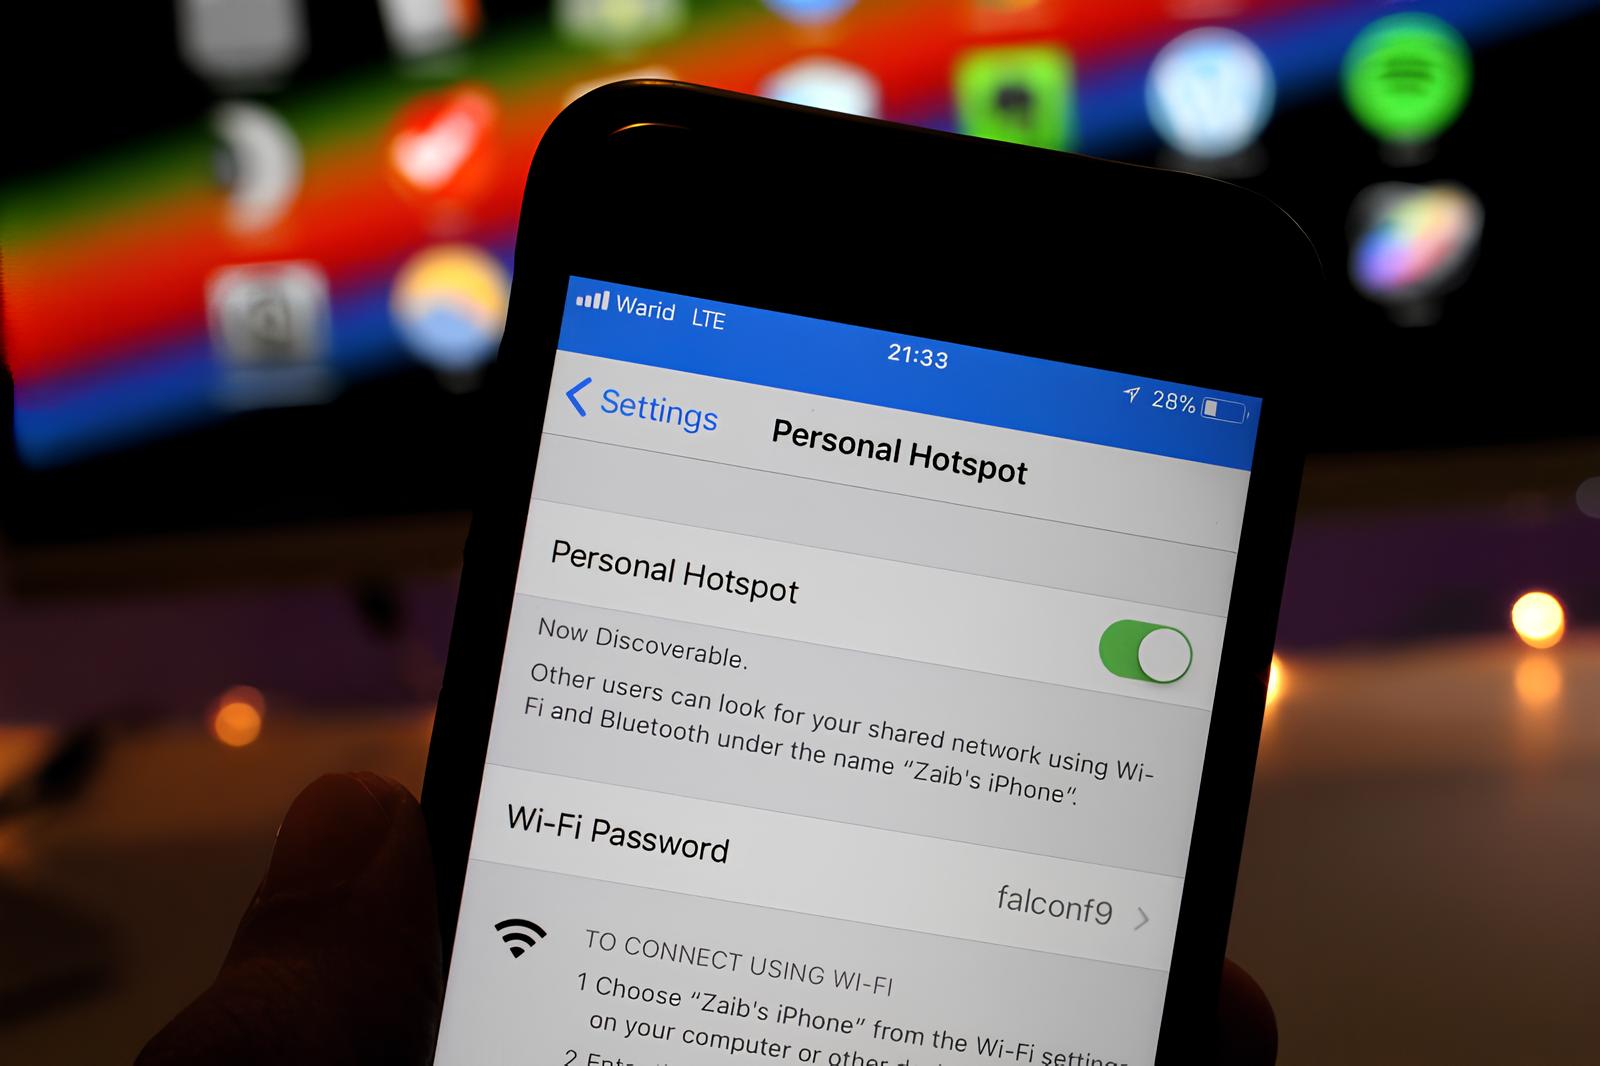
Enabling Personal Hotspot: After locating the "Personal Hotspot" option, tap on it to access the settings. You will then have the option to enable the personal hotspot feature by toggling the switch to the "On" position. As you do this, your iPhone will prompt you to set up the hotspot by creating a Wi-Fi password. This password will be used to connect your Windows computer to the iPhone's hotspot, ensuring secure access to the cellular data connection.
-
Configuring Hotspot Settings: Once the personal hotspot is enabled, you can customize its settings to suit your preferences. For example, you can change the Wi-Fi password, manage connected devices, and adjust the hotspot's name. These settings allow you to personalize your hotspot experience and enhance its security and usability.
-
Connecting Devices: With the personal hotspot activated and configured, your iPhone is now ready to share its cellular data connection with other devices, including your Windows computer. Keep your iPhone's screen on and accessible, as other devices will need to locate and connect to the hotspot using the provided Wi-Fi password.
By following these straightforward steps, you can easily enable the personal hotspot feature on your iPhone, empowering you to share its cellular data connection with your Windows computer. Once the hotspot is active, you can proceed to connect your Windows computer to it, as outlined in the next section.
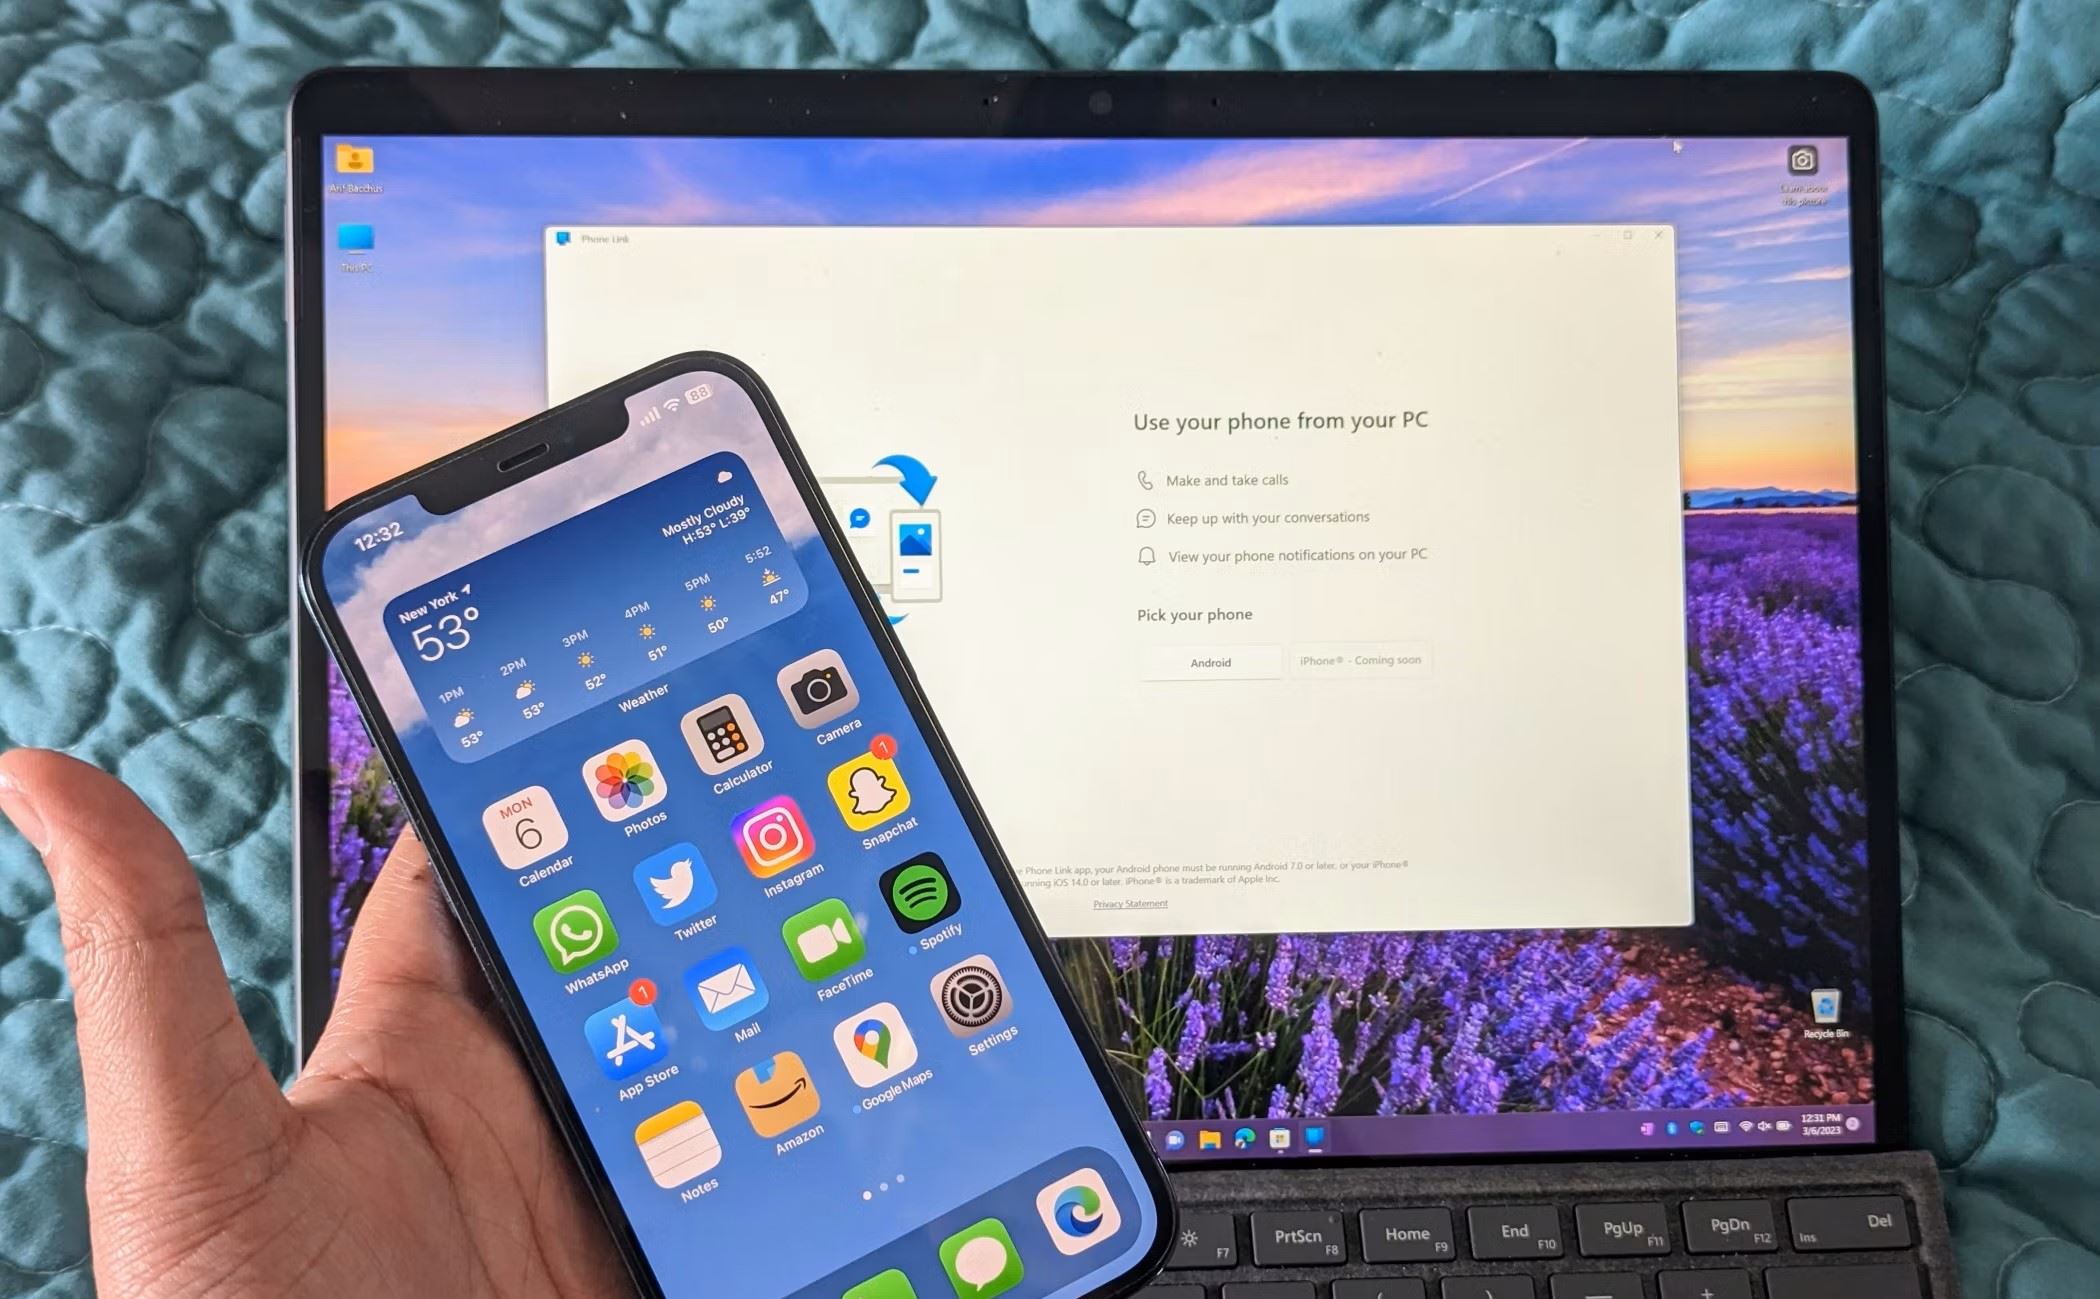
Step 2: Connect Windows Computer to iPhone Hotspot
Once the personal hotspot feature is activated on your iPhone, the next step is to connect your Windows computer to the hotspot. This process allows your computer to utilize your iPhone's cellular data connection, providing internet access when traditional Wi-Fi networks are unavailable. Follow the steps below to seamlessly establish the connection:
-
Accessing Network Settings: Begin by navigating to the network settings on your Windows computer. You can do this by clicking on the network icon located in the system tray at the bottom-right corner of the screen. Alternatively, you can access the network settings through the Control Panel or Settings app, depending on your Windows version.
-
Locating iPhone Hotspot: In the network settings, look for the available Wi-Fi networks. Your iPhone's hotspot should appear in the list of available networks, typically identified by the name you configured for the hotspot. Click on the iPhone hotspot to initiate the connection process.
-
Entering Wi-Fi Password: Upon selecting the iPhone hotspot, you will be prompted to enter the Wi-Fi password that you set up when enabling the personal hotspot on your iPhone. Enter the password and proceed to connect to the hotspot.
-
Establishing Connection: After entering the correct Wi-Fi password, your Windows computer will begin the process of connecting to the iPhone hotspot. Once the connection is established, you will see a confirmation message, and the network icon in the system tray will indicate that you are connected to the iPhone hotspot.
-
Verifying Connection: To ensure that the connection is successful, open a web browser or any internet-dependent application on your Windows computer. If the connection is functioning properly, you should be able to access the internet and browse websites without any issues.
By following these steps, you can effectively connect your Windows computer to your iPhone hotspot, allowing you to harness your iPhone's cellular data connection for internet access. This seamless connection empowers you to stay productive and connected, even when traditional Wi-Fi networks are unavailable.
In the event that you encounter any difficulties during the connection process, refer to the troubleshooting tips in the next section to address common issues and ensure a smooth and reliable connection between your Windows computer and iPhone hotspot.
Step 3: Troubleshooting Common Issues
Connecting your Windows computer to your iPhone hotspot should be a straightforward process, but occasionally, you may encounter common issues that can disrupt the connection. Understanding and addressing these issues is crucial to ensuring a seamless and reliable connection. Below are some common issues and troubleshooting tips to help you overcome them:
-
Incorrect Wi-Fi Password: If you are unable to connect to your iPhone hotspot, double-check the Wi-Fi password you entered on your Windows computer. Ensure that you are entering the correct password, as any discrepancies will prevent a successful connection.
-
Limited or No Internet Access: In some cases, you may successfully connect to the iPhone hotspot, but experience limited or no internet access on your Windows computer. To address this, try disabling and re-enabling the Wi-Fi connection on your computer. Additionally, restart your iPhone hotspot and ensure that cellular data is enabled in the iPhone's settings.
-
Interference and Signal Strength: If you are experiencing a weak or unstable connection, consider the physical proximity between your Windows computer and your iPhone. Signal interference from other electronic devices or physical obstructions can affect the strength and stability of the connection. Moving closer to the iPhone or reducing interference from other devices can improve the connection quality.
-
Hotspot Disconnection: If your iPhone hotspot frequently disconnects from your Windows computer, check for any software updates on both devices. Outdated software can sometimes cause connectivity issues. Additionally, ensure that your iPhone is not overheating, as excessive heat can impact its performance, including the stability of the hotspot connection.
-
Device Compatibility: Ensure that your Windows computer is compatible with the iPhone hotspot feature. While most modern Windows computers support Wi-Fi connections, older or specialized devices may have limitations that affect their ability to connect to an iPhone hotspot.
-
Network Settings: If all else fails, consider resetting the network settings on your iPhone. This can resolve any underlying network configuration issues that may be affecting the hotspot connection.
By troubleshooting these common issues, you can overcome potential obstacles and ensure a reliable connection between your Windows computer and your iPhone hotspot. These troubleshooting tips empower you to address connectivity challenges effectively, allowing you to stay connected and productive, even when traditional Wi-Fi networks are unavailable.
Conclusion
In conclusion, the ability to connect your Windows computer to your iPhone hotspot opens up a world of possibilities, enabling you to stay connected, productive, and informed regardless of your location or the availability of traditional Wi-Fi networks. By following the step-by-step guide provided in this article, you have gained the knowledge and confidence to navigate the process of enabling the personal hotspot feature on your iPhone, connecting your Windows computer to the hotspot, and troubleshooting common issues that may arise during the connection process.
The personal hotspot feature on your iPhone serves as a powerful tool, allowing you to share your device's cellular data connection with other devices, such as your Windows computer. Whether you're a professional needing to access important documents on the go, a student looking to complete assignments while traveling, or someone who simply wants to stay connected while away from traditional Wi-Fi networks, the iPhone hotspot feature empowers you to do so seamlessly.
By understanding the steps to enable and configure the personal hotspot on your iPhone, you can easily share its cellular data connection with your Windows computer, providing internet access when it's needed the most. The ability to connect your Windows computer to your iPhone hotspot is particularly valuable in situations where traditional Wi-Fi networks are unavailable, such as during travel, remote work, or in areas with limited connectivity options.
Furthermore, the troubleshooting tips provided in this guide equip you with the knowledge to address common issues that may arise when connecting your Windows computer to your iPhone hotspot. By understanding and overcoming these challenges, you can ensure a seamless and reliable connection, allowing you to make the most of your iPhone's hotspot feature without unnecessary disruptions.
In essence, the process of connecting your Windows computer to your iPhone hotspot is a gateway to enhanced productivity, connectivity, and flexibility. It empowers you to leverage your iPhone's cellular data connection to stay connected, access essential resources, and maintain productivity, regardless of your location or the availability of traditional Wi-Fi networks.
By mastering the process of connecting your Windows computer to your iPhone hotspot, you have unlocked a valuable resource that can enhance your digital experience and keep you connected in a dynamic and fast-paced world. Embrace the power of your iPhone hotspot and enjoy seamless connectivity wherever you go.