Introduction
When it comes to enjoying your favorite tunes or immersing yourself in a captivating podcast, your Bose headset is an indispensable companion. However, there are times when technical glitches can disrupt this harmonious experience. Whether it's a sudden loss of sound, connectivity issues, or unresponsive controls, encountering problems with your headset can be frustrating. Fortunately, there are troubleshooting steps that can swiftly address these issues and get you back to enjoying your audio oasis.
In this comprehensive guide, we'll walk you through the essential troubleshooting steps to revive your Bose headset. From checking the power source to updating the firmware and performing a quick reset, we've got you covered. By following these steps, you can resolve common issues and restore your headset to its optimal functionality.
So, if you've ever found yourself puzzled by a malfunctioning headset or grappling with connectivity woes, fret not. This guide will equip you with the knowledge and techniques to troubleshoot your Bose headset effectively. Whether you're a tech enthusiast or a casual user, understanding these troubleshooting methods can save you time and frustration, ensuring that your audio experience remains uninterrupted.
Now, let's embark on this troubleshooting journey together and breathe new life into your Bose headset!
Step 1: Checking the Power
Ensuring that your Bose headset has an adequate power supply is the first step in troubleshooting any issues. A lack of power can lead to various malfunctions, such as audio disruptions or connectivity issues. Here's how to effectively check the power source for your Bose headset:
-
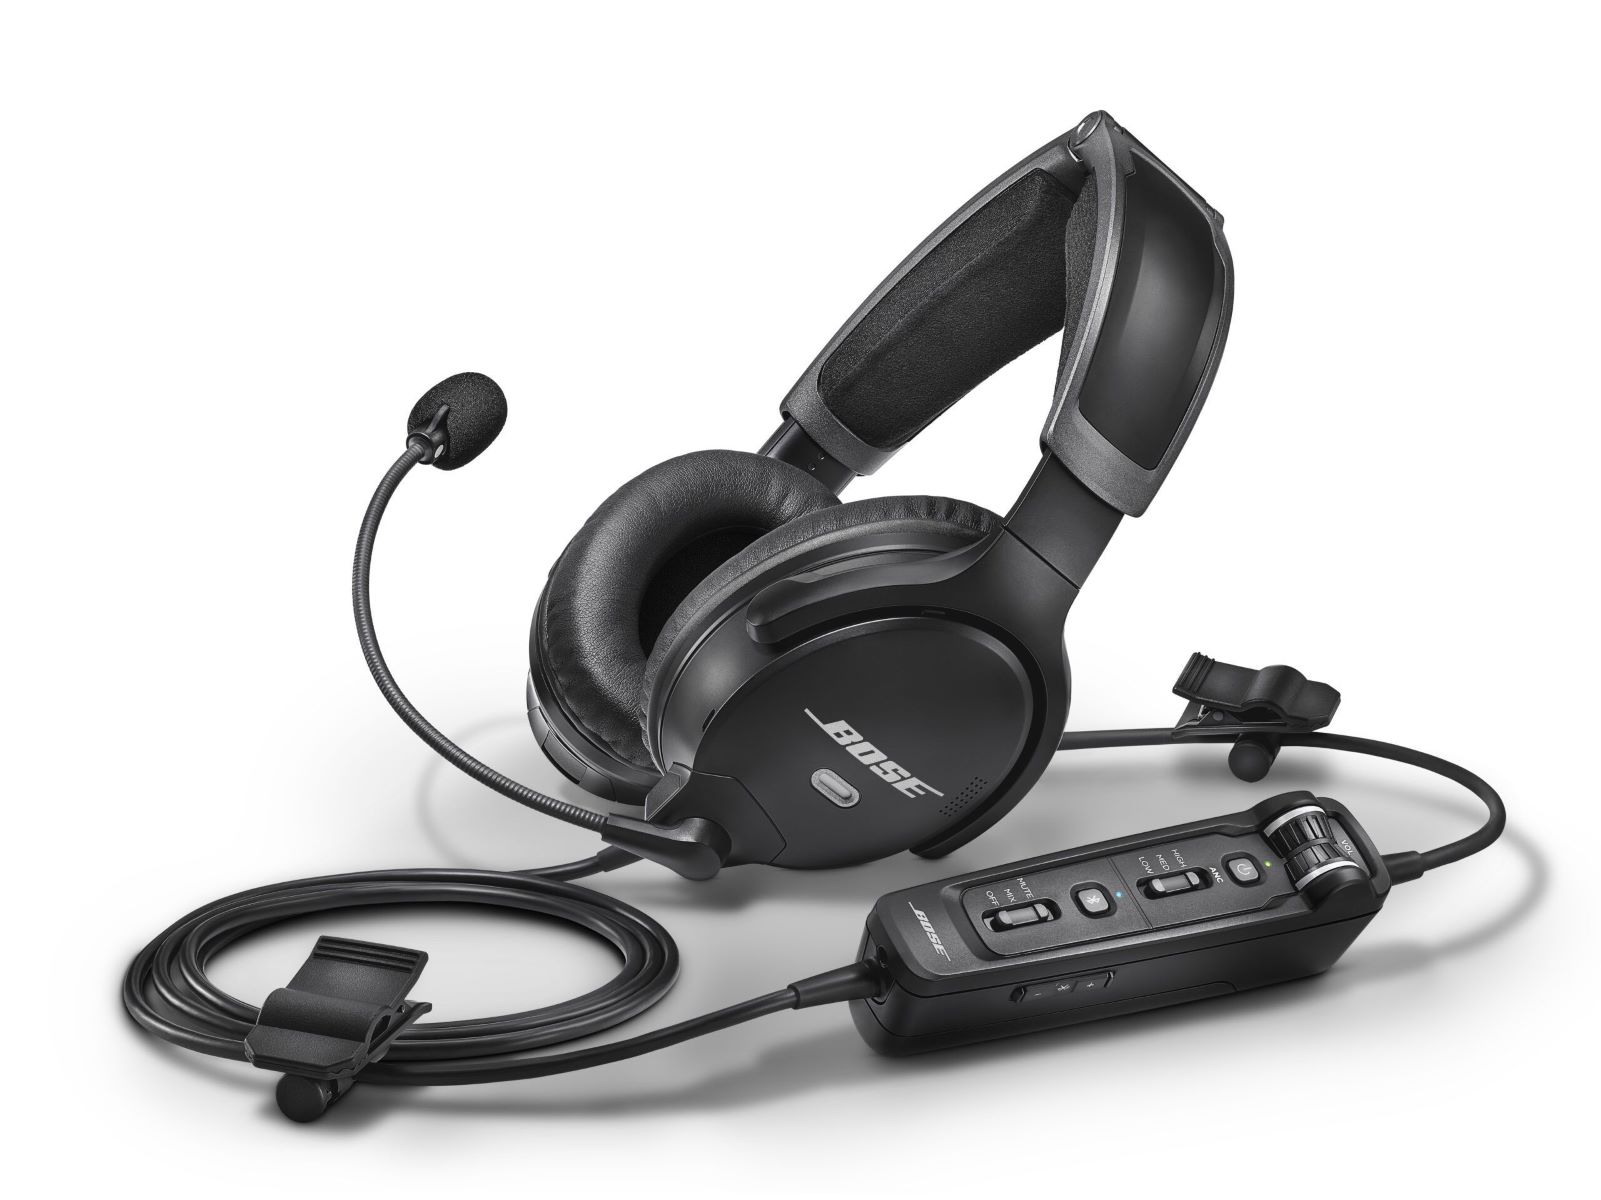
Charging the Headset: Begin by connecting your Bose headset to a power source using the provided charging cable. Allow the device to charge for the recommended duration specified in the user manual. It's essential to ensure that the charging cable is securely connected to both the headset and the power source. Look for the LED indicator on the headset to confirm that it is receiving a charge. A solid or blinking light typically indicates that the headset is charging.
-
Battery Status: Once the headset is fully charged, check the battery status to verify that it is holding a charge. Turn on the headset and navigate to the battery status indicator on the device or the associated mobile app. If the battery level is low, it may indicate the need for a replacement battery or further inspection by a Bose technician.
-
Power Source: If the headset fails to power on, consider testing the power source. Try using a different charging cable and power outlet to eliminate the possibility of a faulty cable or outlet. Additionally, inspect the charging port on the headset for any debris or damage that may impede the charging process.
-
Wireless Connectivity: For wireless headsets, ensure that the Bluetooth or wireless connectivity features are activated and functioning correctly. Check that the headset is within the recommended range of the connected device and that there are no obstructions interfering with the signal.
By meticulously examining the power source and ensuring that your Bose headset is receiving the necessary power, you can effectively address common issues related to power supply. This step sets the foundation for further troubleshooting and can often resolve connectivity and functionality issues, allowing you to enjoy uninterrupted audio experiences with your Bose headset.
Step 2: Checking the Connections
Ensuring that the connections of your Bose headset are secure and properly configured is crucial for resolving potential audio and functionality issues. A loose or faulty connection can lead to sound distortions, intermittent audio output, or even complete audio loss. By meticulously examining the various connections of your headset, you can identify and rectify any issues that may be hindering its performance.
Wired Connections
If your Bose headset utilizes wired connections, such as an audio cable for a wired connection to an audio source, it's essential to inspect the following:
-
Audio Cable: Examine the audio cable for any signs of wear, fraying, or damage. A damaged cable can result in poor audio quality or intermittent connectivity. If any issues are detected, consider replacing the cable with a new, compatible one to restore optimal audio transmission.
-
Audio Jack: Ensure that the audio jack on the headset and the connected device is clean and free from debris. Debris or dust accumulation in the audio jack can impede the connection and lead to audio disruptions. Use a soft brush or compressed air to carefully clean the audio jack and remove any obstructions.
Wireless Connections
For wireless Bose headsets that rely on Bluetooth or wireless connectivity, examining the following aspects is essential:
-
Bluetooth Pairing: Verify that the headset is correctly paired with the intended audio source. Access the Bluetooth settings on the connected device and ensure that the Bose headset is recognized and paired. If the pairing seems unstable or the connection is frequently lost, consider re-pairing the devices to establish a stable connection.
-
Wireless Transmitter: If your Bose headset utilizes a separate wireless transmitter, ensure that it is powered on and functioning correctly. Check the transmitter's indicator lights to confirm that it is successfully transmitting the audio signal to the headset.
By meticulously checking the wired and wireless connections of your Bose headset, you can identify and address potential issues that may be affecting its performance. This step plays a pivotal role in troubleshooting audio disruptions and connectivity issues, ultimately ensuring that your audio experience remains seamless and enjoyable.
Step 3: Updating the Firmware
Updating the firmware of your Bose headset is a pivotal step in troubleshooting and maintaining its optimal performance. Firmware serves as the underlying software that controls the functionality and features of the headset, including audio processing, connectivity protocols, and overall system stability. By keeping the firmware up to date, you can address potential software-related issues and ensure that your headset operates at its best.
To initiate the firmware update process, begin by accessing the official Bose website or the dedicated Bose Connect app, depending on the model of your headset. These platforms often provide detailed instructions and resources for updating the firmware, ensuring a seamless and straightforward process.
Once you have accessed the relevant platform, check for any available firmware updates for your specific headset model. Manufacturers regularly release firmware updates to address software bugs, enhance performance, and introduce new features. It's essential to stay informed about these updates to leverage the latest improvements for your Bose headset.
Before proceeding with the firmware update, ensure that your headset is adequately charged or connected to a power source. A stable power supply during the update process is crucial to prevent any interruptions that could potentially affect the firmware installation.
Next, follow the provided instructions to download and install the firmware update onto your Bose headset. This process typically involves connecting the headset to a computer or mobile device and using the manufacturer's proprietary software to initiate the update. During the update, it's important to refrain from disconnecting the headset or interrupting the process, as this could lead to firmware corruption.
Upon successful completion of the firmware update, restart your Bose headset to apply the changes and ensure that the updated firmware is fully integrated. After the restart, take a moment to test the headset's functionality, including audio playback, connectivity, and any additional features that may have been affected by the firmware update.
By regularly updating the firmware of your Bose headset, you can proactively address potential software-related issues, benefit from performance enhancements, and access new features introduced by the manufacturer. This proactive approach to firmware maintenance ensures that your Bose headset remains at the forefront of audio technology, delivering an exceptional listening experience with improved stability and functionality.
Step 4: Resetting the Headset
Resetting your Bose headset can serve as a powerful troubleshooting technique to address persistent issues and restore the device to its default settings. This process can effectively resolve a wide range of issues, including unresponsive controls, audio distortions, and connectivity disruptions. By performing a reset, you can clear temporary system glitches and recalibrate the headset, often resolving issues that may have persisted despite previous troubleshooting efforts.
Soft Reset
A soft reset, also known as a power cycle, is the initial step in resetting your Bose headset. This process involves turning off the headset, disconnecting it from the power source, and allowing it to remain powered off for a brief period. To perform a soft reset, follow these steps:
- Power Off: Ensure that the headset is powered on, then power it off using the designated controls or power button.
- Disconnect Power: If the headset is connected to a power source, such as a charging cable or power adapter, disconnect it to ensure that the device is not receiving any power.
- Wait: Allow the headset to remain powered off for approximately 30 seconds to 1 minute, giving it ample time to discharge any residual power and reset internal components.
- Power On: After the waiting period, power on the headset and observe its behavior. This soft reset can often resolve minor issues and restore the headset to a functional state.
Hard Reset
In cases where a soft reset does not effectively address persistent issues, a hard reset may be necessary. A hard reset involves more extensive measures to restore the headset to its default settings. It's important to note that performing a hard reset will erase any personalized settings or configurations stored on the headset. To perform a hard reset, follow these steps:
- Power Off: Ensure that the headset is powered on, then power it off using the designated controls or power button.
- Reset Sequence: Depending on the model of your Bose headset, the hard reset sequence may vary. Refer to the user manual or official Bose support resources for specific instructions on performing a hard reset for your headset model.
- Confirmation: After completing the hard reset sequence, the headset will revert to its factory settings, erasing any personalized configurations. Upon restarting the headset, you will need to reconfigure settings and re-establish connections as needed.
By incorporating the soft and hard reset techniques into your troubleshooting arsenal, you can effectively address persistent issues and restore your Bose headset to its optimal functionality. These reset methods provide a powerful means of resolving complex issues and ensuring that your audio experience remains uninterrupted and enjoyable.
Step 5: Contacting Customer Support
If you've diligently followed the preceding troubleshooting steps and are still encountering persistent issues with your Bose headset, it may be time to seek assistance from the dedicated customer support team at Bose. Contacting customer support can provide invaluable guidance, personalized troubleshooting assistance, and access to specialized resources to address complex issues that may require expert intervention.
When reaching out to Bose customer support, it's essential to provide detailed information about the issues you're experiencing with your headset. This includes a thorough description of the symptoms, any error messages displayed, and the specific troubleshooting steps you've already attempted. By conveying this information clearly and comprehensively, you enable the support team to assess the situation accurately and provide tailored guidance.
Bose offers multiple channels for contacting customer support, including phone support, live chat, email support, and in-person assistance at authorized service centers. Depending on your preference and the urgency of the issue, you can choose the most suitable support channel to initiate the troubleshooting process.
When engaging with Bose customer support, it's beneficial to have your headset's serial number and purchase details readily available. This information allows the support team to verify the product's warranty status, access relevant technical specifications, and provide tailored assistance based on the specific model of your headset.
During your interaction with the customer support team, be open to following any additional troubleshooting steps or diagnostic procedures they recommend. This may involve performing advanced tests, providing diagnostic logs, or participating in remote troubleshooting sessions to identify and address the root cause of the issues.
In instances where the issues cannot be resolved through standard troubleshooting methods, the customer support team may facilitate the repair or replacement of your Bose headset, especially if it is covered by warranty or an extended service plan. By leveraging the expertise and resources of Bose's customer support, you can navigate complex technical issues with confidence, knowing that dedicated professionals are committed to restoring your headset to optimal functionality.
Contacting customer support serves as the final recourse for resolving persistent issues with your Bose headset, ensuring that you receive personalized assistance and access to specialized resources tailored to your specific situation. This proactive approach to seeking support underscores Bose's commitment to delivering exceptional customer care and ensuring that your audio experience remains seamless and satisfying.


