Introduction
Welcome to the world of WordPress, where you can effortlessly create and manage your website’s content. One crucial aspect of every website is visual appeal, and the WordPress Media Library plays a vital role in storing and managing all your media files, including images.
In this guide, we’ll take you through the process of downloading an image from the WordPress Media Library. Whether you need to download an image for editing, sharing, or any other purpose, we’ve got you covered with a step-by-step approach.
The WordPress Media Library is a centralized hub that allows you to upload, organize, and manage all your media files within your WordPress dashboard. This includes images, videos, audio files, and even documents. It provides a user-friendly interface that simplifies the process of handling your media assets.
Understanding how to navigate and utilize the WordPress Media Library is essential for anyone who wants to effectively manage their website’s media content. It gives you the ability to easily upload, delete, and edit media files, as well as access important information such as file names, sizes, and image dimensions.
In the following sections, we’ll guide you through the steps to download an image from the WordPress Media Library. By the end of this tutorial, you’ll be equipped with the knowledge and skills to retrieve your desired images and use them as required.
Overview of the WordPress Media Library
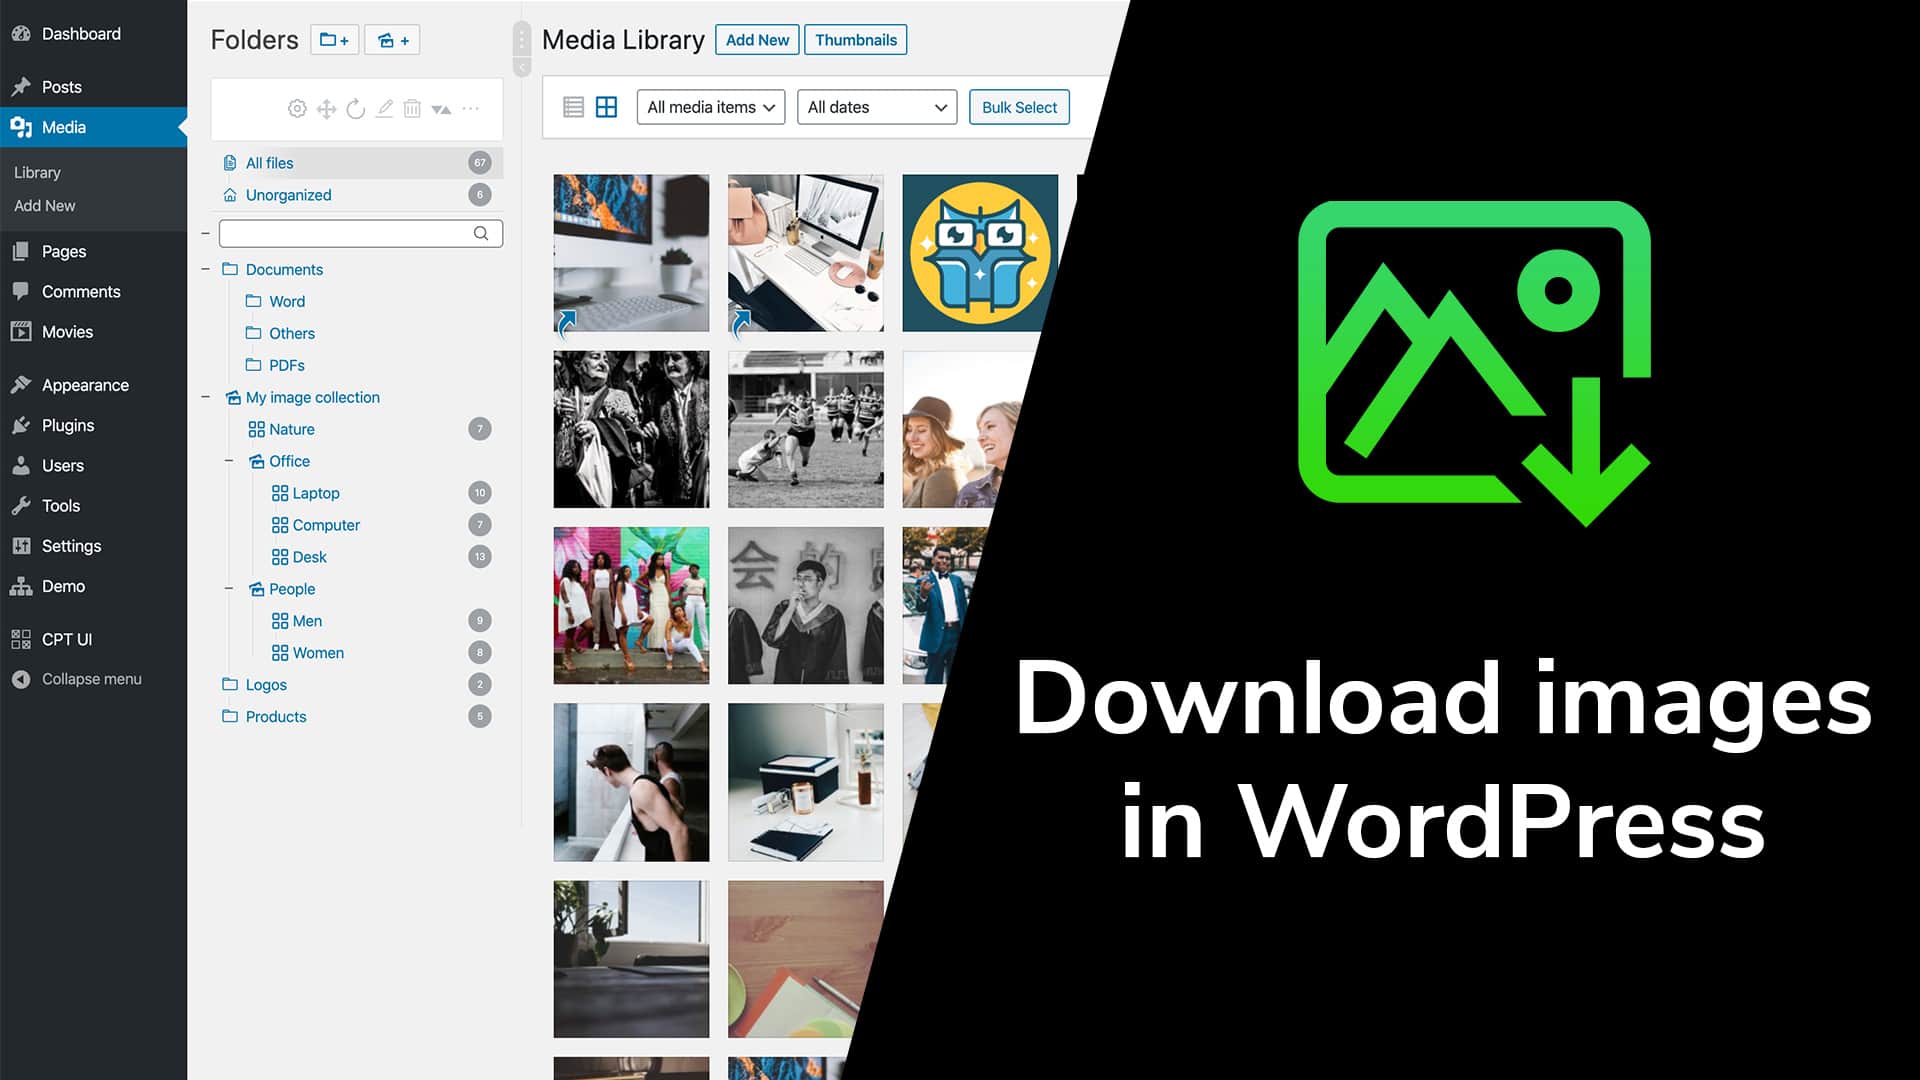
The WordPress Media Library is a powerful tool that allows you to manage all your media files in one place. It serves as a central repository for images, videos, audio files, and other media assets used on your WordPress website. Understanding how the Media Library works is essential for effectively managing and organizing your media content.
When you upload an image or any other media file through the WordPress admin interface, it gets stored in the Media Library. You can access the Media Library by navigating to the “Media” section in your WordPress dashboard. Here, you’ll find all your uploaded files neatly organized and displayed in a grid or list format, depending on your preference.
The Media Library provides essential information about each file, such as the file name, file type, dimensions for images, file size, and the date it was uploaded. This makes it easy to search, filter, and sort your media files based on specific criteria.
In addition to basic file management, the WordPress Media Library also offers various features to enhance your media management experience. You can choose to edit your images directly within the library by cropping, rotating, or scaling them. WordPress also generates multiple versions of each image, allowing you to select the most suitable size when inserting it into your posts or pages.
The Media Library also supports organizing your files into folders, called “media categories” or “media tags.” You can assign specific categories or tags to your media files to help you quickly locate them later. Additionally, WordPress allows you to insert media files directly into your content using the “Add Media” button, making it convenient to include images or other media elements in your posts or pages.
Overall, the WordPress Media Library streamlines the management of your media files and improves the efficiency of working with images and other media assets on your website. Now that we’ve covered the basics, let’s dive into the step-by-step process of downloading images from the Media Library.
Step 1: Accessing the WordPress Media Library
The first step to downloading an image from the WordPress Media Library is accessing the Media Library itself. Follow the simple steps below to get started:
- Login to your WordPress website by entering your username and password in the login page.
- Once logged in, you will be directed to the WordPress dashboard, where you can manage various aspects of your website.
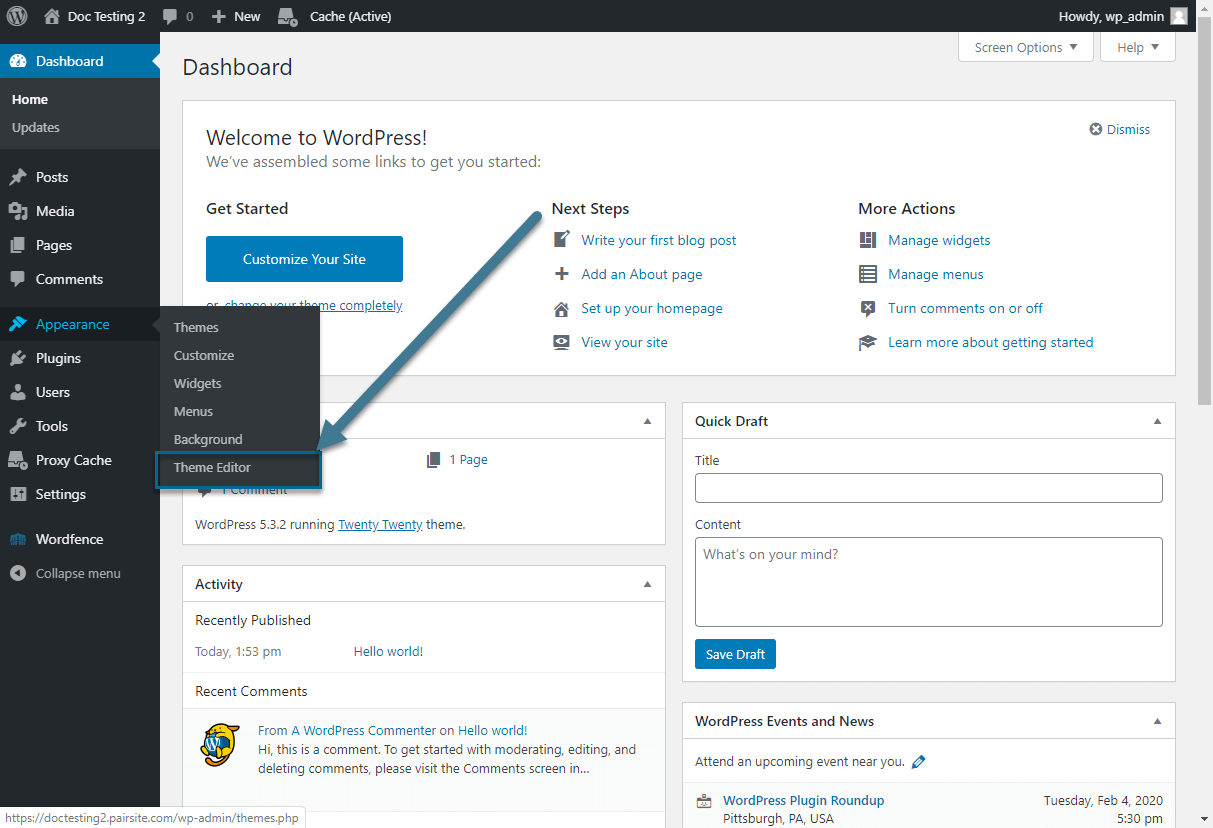
- On the left-hand side of the dashboard, locate the “Media” option and click on it. This will take you to the Media Library page.
Alternatively, you can access the Media Library by hovering over the “Media” option on the left-hand menu and selecting “Library” from the sub-menu that appears.
Once you’ve accessed the Media Library, you will see a grid or list view of all the media files stored on your website. From here, you can easily browse, search, and manage your media files.
It’s important to note that different WordPress themes and plugins may have slightly different layouts or names for the Media Library section. However, the general process remains the same, and you should be able to locate the Media Library by looking for the term “Media” or “Library” in your WordPress dashboard.
Now that you know how to access the WordPress Media Library, let’s move on to the next step, where we’ll guide you through navigating the Media Library effectively.
Step 2: Navigating the Media Library
Once you have accessed the WordPress Media Library, it’s important to learn how to navigate through your media files effectively. The Media Library provides various tools and options to help you find and manage your images effortlessly. Follow these steps to navigate the Media Library:
- By default, the Media Library displays your media files as a grid with thumbnail previews. You can switch to a list view by clicking on the “List View” icon, usually located at the top right corner of the Media Library.
- To search for a specific image, you can use the search bar located at the top right corner of the Media Library. Simply enter a keyword or part of the file name, and WordPress will filter the results accordingly.
- If you have a large number of images and need to narrow down your search, you can use the filtering options available beneath the search bar. You can filter images by media type, such as “Images,” “Audio,” or “Video,” or you can choose to view only “Uploaded to this post” or “Unattached” files.
- Another useful feature is the ability to sort your media files. You can click on the “Uploaded to” or “Date” column headings to sort your files in ascending or descending order. This makes it easier to find the most recent or relevant image.
- To view more details about a specific image, simply click on the image thumbnail. This will open a new window displaying the image’s details, including its filename, dimensions, file size, and any associated metadata.
- If you have organized your media files into categories or tags, you can navigate between them using the filter options available on the left-hand side of the Media Library. Clicking on a specific category or tag will display only the files associated with it.
By utilizing these navigation tools and options in the WordPress Media Library, you can easily find and manage your images with efficiency. In the next step, we will guide you on selecting the image you want to download from the Media Library.
Step 3: Selecting the Image to Download
Now that you are familiar with how to navigate the WordPress Media Library, it’s time to select the image you want to download. Follow these steps to select the image:
- Scroll through the Media Library or use the search and filtering options to find the image you want to download.
- Once you have located the image, you can click on the thumbnail to view a larger preview of the image.
- If you need more information about the image before downloading it, you can click on the “Attachment Details” link below the image preview. This will open a window displaying additional details about the image, such as its file name, dimensions, file size, and any metadata associated with it.
- If you want to download multiple images, you can hold down the “Ctrl” key (or “Command” key on a Mac) while clicking on the thumbnails of the images you want to select.
- Once you have selected the image or images you want to download, you can proceed to the next step, where we will guide you on how to download the image from the Media Library.
By following these steps, you can easily select the image or images you want to download from the WordPress Media Library. With the image selected, you are one step closer to having it saved and ready for use. In the next step, we will explain how to view the details of the image before initiating the download.
Step 4: Viewing Image Details
Before downloading the image from the WordPress Media Library, it’s important to view its details to ensure it’s the correct image and meets your requirements. Follow these steps to view the image details:
- Select the image you want to download by clicking on its thumbnail in the Media Library.
- A larger preview of the selected image will be displayed, along with some basic information such as the file name and dimensions.
- To view more detailed information about the image, click on the “Attachment Details” link below the image preview.
- A new window will open, providing additional details about the image, such as its file size, image dimensions, file type, and any associated metadata.
- You can also find important information such as the date the image was uploaded and the specific URL where the image is hosted.
- If necessary, you can edit the image by clicking on the “Edit Image” button. This will allow you to modify the image’s dimensions, crop or rotate it, and make other changes directly within the Media Library.
The ability to view image details gives you a better understanding of the image you’re about to download. It helps ensure that you’re downloading the correct image and that it meets your specific requirements. Once you’ve verified the image details, you can proceed to the next step, where we will guide you on how to download the image.
Step 5: Downloading the Image
Now that you have selected the image from the WordPress Media Library and reviewed its details, it’s time to download the image. Follow these steps to initiate the download:
- Ensure that the image you want to download is selected. If you need to deselect the image, simply click outside the selection area.
- Look for the download button or option. In the WordPress Media Library, this is usually represented by an icon with a down arrow or the word “Download.”
- Click on the download button or option, and the image will start downloading to your device.
- Choose the location on your device where you want to save the downloaded image. You can specify a specific folder or leave it to the default download location.
- Wait for the download to complete. The time taken for the download will depend on the size of the image and the speed of your internet connection.
Once the download is complete, you will have a copy of the image saved on your device. You can now use the downloaded image for editing, sharing, or any other purpose as needed.
It’s worth noting that the specific steps for downloading an image may vary slightly depending on your web browser and operating system. However, the general process remains the same – select the image and initiate the download using the provided download button or option.
With this final step, you have successfully downloaded the image from the WordPress Media Library. Congratulations! You now have the image saved on your device and ready to be used for your desired purposes.
Conclusion
The WordPress Media Library provides a user-friendly and efficient way to store, manage, and download your website’s images. By following the step-by-step guide outlined in this article, you now have the knowledge and skills to download images from the Media Library with ease.
We started by introducing the WordPress Media Library and its importance in managing your website’s media assets. We then discussed how to access and navigate through the Media Library, making use of search, filtering, and sorting options to locate your desired image quickly. Next, we explored the process of selecting and viewing image details to ensure you download the right image for your needs. Finally, we covered the steps for downloading the image to your device.
By understanding these steps and implementing them, you can efficiently retrieve images from the WordPress Media Library, whether for editing, sharing, or any other purpose. Remember to pay attention to image details and verify that the selected image meets your specific requirements before initiating the download.
With the ability to effectively manage and download images from the WordPress Media Library, you can enhance the visual aesthetics of your website, deliver compelling content, and create a remarkable online experience for your visitors. Whether you’re a seasoned WordPress user or a beginner, mastering these skills will undoubtedly benefit your website’s overall performance.
So, go ahead and explore the WordPress Media Library to unlock its full potential. Download images, organize your media assets, and let your creativity shine through your website’s visuals. Enjoy the power and convenience provided by the WordPress platform, and take your website to new heights!