Introduction
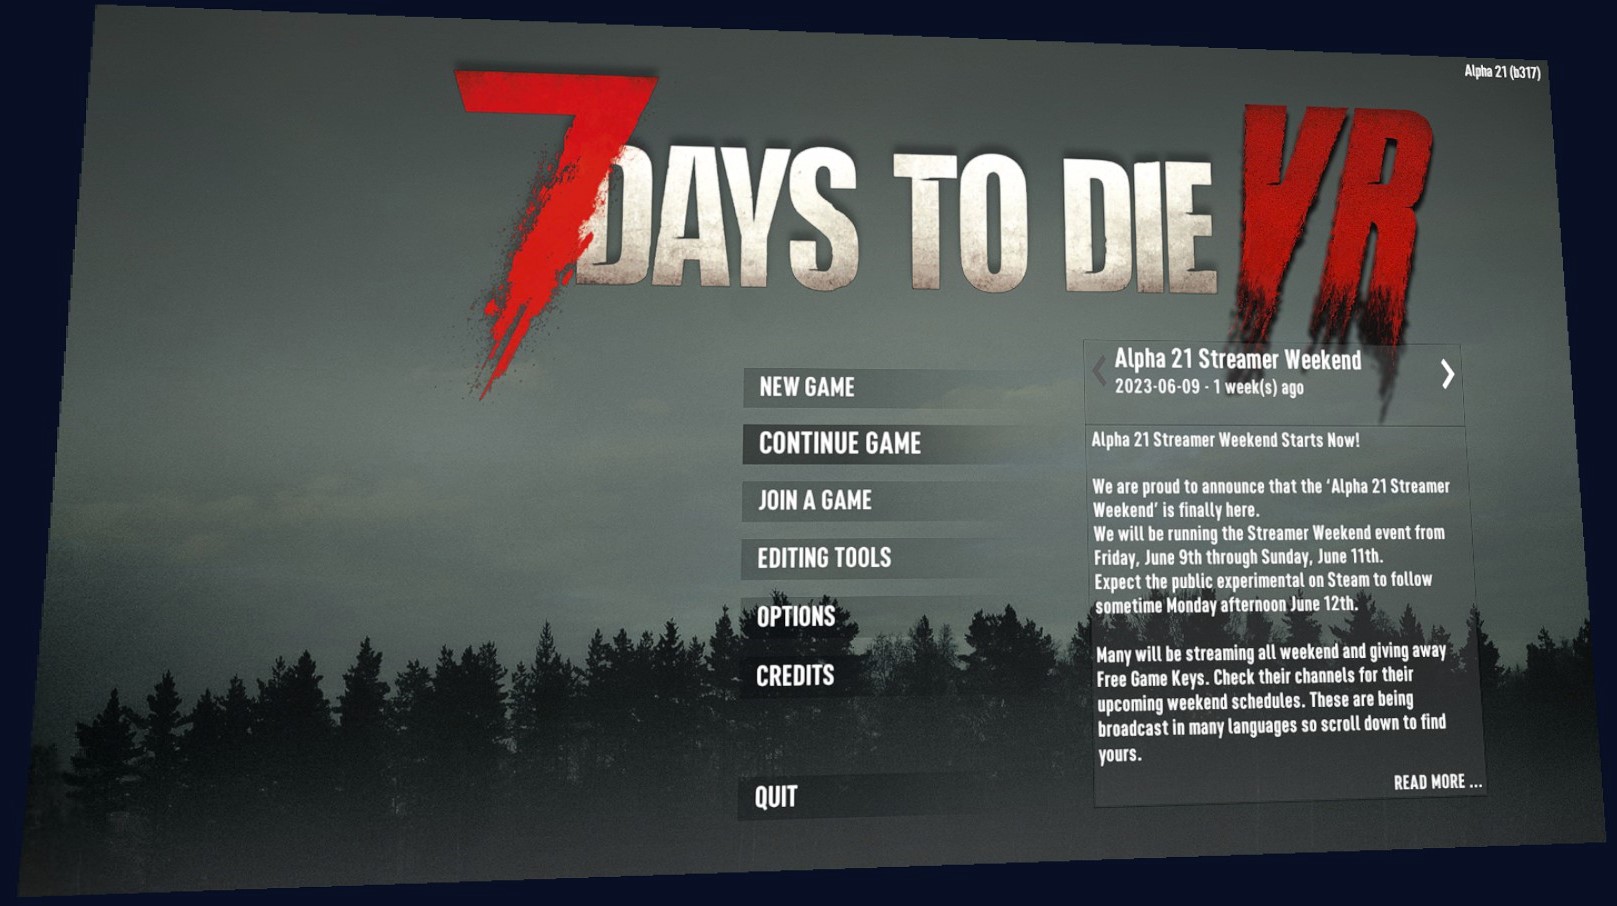
Welcome to the world of 7 Days to Die, a post-apocalyptic survival game where you must navigate through a desolate wasteland filled with hordes of zombies and other deadly threats. While the game provides an immersive and challenging experience on its own, you can further enhance your gameplay by using mods.
Mods, short for modifications, are user-created add-ons that can modify and enhance various aspects of the game. They can range from simple tweaks to gameplay mechanics, new items, advanced crafting options, visual enhancements, and much more. These mods allow you to personalize your gaming experience, adding depth and excitement to your adventures in the world of 7 Days to Die.
If you’re ready to take your gameplay to the next level and explore the endless possibilities of mods, this guide will walk you through the process of downloading, installing, and using mods in 7 Days to Die.
Whether you prefer a completely overhauled experience or small adjustments to suit your playstyle, the world of mods has something for everyone. You can tailor your game to your liking, making it more challenging, adding new features, or even introducing new gameplay mechanics. But where can you find these mods?
What are mods?
Mods, short for modifications, are user-created add-ons that can alter and enhance various aspects of the base game. In the context of 7 Days to Die, mods can range from minor tweaks to major overhauls, allowing players to customize and personalize their gameplay experience.
Mods can introduce new features, mechanics, items, and graphical enhancements to the game. They can also adjust existing gameplay elements such as difficulty settings, crafting recipes, enemy behavior, and more. The possibilities are virtually endless, as the modding community continues to create innovative and exciting content for players to enjoy.
For example, you might come across mods that add new weapons and armor sets, introducing more variety and strategic options in combat. Or perhaps you’re interested in mods that expand the building and crafting aspects of the game, allowing you to construct intricate structures or automate resource gathering. You could even find mods that add new biomes, NPCs, quests, or storylines, providing fresh and engaging content beyond the base game.
Mods can be developed by experienced programmers or enthusiastic players who possess a deep understanding of the game mechanics. They often invest countless hours into creating and refining their mods, ensuring compatibility, balance, and overall quality. These dedicated individuals contribute to the thriving modding community, constantly expanding and enriching the gameplay experience for all players.
It’s important to note that mods are not officially supported by the game developers and can sometimes carry risks. Installing mods from trusted sources and carefully reading reviews and user feedback can help minimize the chance of encountering compatibility issues or unintended consequences. It’s always a good idea to create backups of your game files before installing mods, ensuring that you can revert back to the vanilla version if needed.
Now that we understand what mods are and their potential, let’s explore where you can find these exciting additions to the world of 7 Days to Die.
Where to Find 7 Days to Die Mods?
When it comes to finding 7 Days to Die mods, there are several reliable sources you can explore. These platforms host a wide variety of mods that cater to different playstyles and preferences:
- Official 7 Days to Die Forums: The official forums for 7 Days to Die have a dedicated section for mods. Here, you can find a vast selection of mods created by the community. The forums offer a great place to connect with other players, ask questions, and discover new mods that pique your interest.
- Modding Websites: There are various websites specifically designed for hosting and sharing mods for different games. Websites like Nexus Mods, ModDB, and 7 Days to Die Nexus are excellent platforms to browse and download mods for 7 Days to Die.
- Steam Workshop: Steam Workshop is a popular platform where players can easily discover, download, and manage mods for their favorite games. 7 Days to Die has an active Steam Workshop community, with an extensive collection of mods that you can browse and subscribe to with just a few clicks.
- Community Discord and Websites: Many modders have their own Discord servers or websites where they showcase their creations. Following modders and joining their communities can provide you with a direct line of access to their latest mods and updates.
Before diving into the modding world, it’s essential to research and read reviews or comments about the mods you’re interested in. This will help you gauge the overall quality, compatibility, and user satisfaction of each mod. It’s also worth checking the last update date of a mod, as more recently updated mods are more likely to be compatible with the latest version of the game.
Remember to always download mods from trusted sources to minimize the risk of encountering malware or incompatible files. Additionally, consider supporting modders by offering constructive feedback and engaging in discussions about their mods. This helps create a supportive and vibrant modding community for everyone to benefit from.
Now that you know where to find mods, let’s explore how to download and install them using the 7 Days to Die Mod Launcher.
The 7 Days to Die Mod Launcher
The 7 Days to Die Mod Launcher is a user-friendly tool that simplifies the process of downloading, installing, and managing mods for the game. It provides an intuitive interface that allows you to browse and search for mods, as well as enable or disable them with ease.
The Mod Launcher serves as a central hub for all your modding needs, ensuring that you can easily organize and update your mods without the hassle of manual installation or file manipulation. It also helps in preventing conflicts between different mods, as the Launcher handles the necessary adjustments and dependencies for you.
To get started with the Mod Launcher, you can download it from reputable sources such as the official 7 Days to Die website or the Steam Workshop. Once downloaded, follow the installation instructions to set it up on your system.
Upon launching the Mod Launcher, you’ll see a user-friendly interface that displays various tabs and options for managing your mods. You can explore different categories, search for specific mods, and read descriptions and user reviews to decide which mods suit your preferences.
When you find a mod you want to install, simply click the “Download” button next to it. The Mod Launcher will handle the downloading and installation process automatically, ensuring that the mod is properly integrated into your game files. You can also update your mods through the Mod Launcher, keeping them up to date with the latest improvements and bug fixes.
In addition to the convenience of downloading and updating mods, the Mod Launcher also provides a straightforward way to enable or disable mods for each play session. This allows you to easily switch between different mod configurations without the need to manually remove or add mod files.
Overall, the 7 Days to Die Mod Launcher streamlines the modding experience, making it more accessible and user-friendly for players of all levels of modding expertise. Whether you’re a seasoned modder or new to the world of mods, the Mod Launcher is a valuable tool that enhances your gameplay experience and opens up a world of creative possibilities.
Now that you’re familiar with the Mod Launcher, let’s dive into the process of downloading mods using this handy tool.
How to Download Mods Using the Mod Launcher
The 7 Days to Die Mod Launcher makes it incredibly easy to download and install mods for the game. Follow these simple steps to start enhancing your gameplay:
- Launch the Mod Launcher: Open the Mod Launcher from your desktop or start menu.
- Browse Mods: Explore the available mods by browsing through different categories or using the search function to find specific mods.
- Select a Mod: Once you find a mod you’re interested in, click on it to view the mod details, including a description, user reviews, and the ability to see which other mods it may require or conflict with.
- Download the Mod: Click on the “Download” button to start the mod download. The Mod Launcher will handle the download process for you.
- Install the Mod: After the download is complete, the Mod Launcher will automatically install the mod for you. This ensures that the mod is properly integrated into your game files.
- Enable the Mod: Once the mod is installed, you can enable it by ticking the checkbox next to its name in the Mod Launcher’s interface.
- Launch the Game: Start the 7 Days to Die game from the Mod Launcher. The mod will be active and ready to enhance your gameplay experience.
It’s important to note that some mods may require specific dependencies or other mods to function correctly. The Mod Launcher will notify you of any requirements or conflicts before you install a mod, helping you manage your mod collection efficiently.
In addition to downloading mods from the Mod Launcher itself, you can also manually add mods to the Launcher by placing the mod files in the appropriate folder. This can be useful if you have mods that are not available through the Mod Launcher or if you prefer to manage your mods manually.
Now that you know how to download mods using the Mod Launcher, let’s explore an alternative method of manually downloading and installing mods.
Manually Downloading and Installing Mods
In addition to using the Mod Launcher, you can also manually download and install mods for 7 Days to Die. This method gives you more flexibility and allows you to use mods that may not be available through the Mod Launcher. Here’s how you can do it:
- Find a Mod: Begin by browsing modding websites, official forums, or other trusted sources to find the mod you want to download. Ensure that the mod is compatible with the version of 7 Days to Die you are playing.
- Download the Mod: Once you’ve found the mod, click on the download link provided. This will start the download of the mod file to your computer.
- Locate Your Game Folder: Open your file explorer and navigate to the folder where you have 7 Days to Die installed on your computer. The default installation location is usually in the “Program Files” or “Program Files (x86)” folder.
- Access the Mods Folder: Look for a folder within the game’s installation directory called “Mods.” If it doesn’t exist, create a new folder and name it “Mods.”
- Install the Mod: Extract the downloaded mod file (usually in.zip or .rar format) using a file extraction tool such as WinRAR or 7-Zip. Once extracted, you will have a folder containing the mod files.
- Copy the Mod Files: Copy all the files from the extracted mod folder and paste them into the “Mods” folder within the game’s installation directory.
- Enable the Mod: Launch the game and go to the mod manager section in the main menu. Locate the mod you just installed and enable it by ticking the checkbox next to its name.
- Play with the Mod: Start a new game or load an existing one, and the mod should be active, enhancing your gameplay experience.
It’s important to note that manually installing mods can be more complex compared to using the Mod Launcher. You may have to deal with mod conflicts or ensure that the installed mods are compatible with each other. Always read the mod documentation or user comments to understand any specific installation instructions or requirements.
Now that you know how to manually download and install mods, let’s explore another popular method of installing mods through the Steam Workshop.
Installing Mods from Steam Workshop
If you prefer a streamlined approach to installing mods for 7 Days to Die, the Steam Workshop provides a convenient and user-friendly platform. Here’s how you can install mods from the Steam Workshop:
- Launch Steam: Start the Steam application on your computer and log in to your account. Ensure that you have the Steam client installed and updated.
- Open the Steam Workshop: In the Steam client, navigate to the “Community” tab and click on “Workshop” from the dropdown menu. Alternatively, you can search for “7 Days to Die” in the Steam store and click on the “Workshop” tab on the game’s store page.
- Browse Mods: Explore the vast library of mods available for 7 Days to Die in the Steam Workshop. You can use the search bar or browse different categories to find mods that interest you.
- Select a Mod: Click on a mod’s thumbnail or name to access its details page. Here, you will find a description, screenshots, user reviews, and other relevant information about the mod.
- Subscribe to the Mod: On the mod’s details page, click on the “Subscribe” button. This will add the mod to your Steam Workshop subscriptions.
- Launch the Game: Start 7 Days to Die from your Steam library. The mod you subscribed to will be automatically downloaded and installed.
- Enable the Mod: Once the download is complete, launch the game and go to the mod manager section in the main menu. Locate the mod you just downloaded and enable it by ticking the checkbox next to its name.
- Play with the Mod: Start a new game or load an existing one, and the mod will be active, enhancing your gameplay experience.
The advantage of using the Steam Workshop is that it handles the entire process of downloading, installing, and updating mods seamlessly. Steam will ensure that your subscribed mods are kept up to date, reducing the chances of compatibility issues with the game.
Remember to read the mod descriptions and user reviews to understand any dependencies, conflicts, or additional installation steps required for specific mods. If you encounter any issues with a mod, you can easily disable or unsubscribe from it within the Steam Workshop interface.
Now that you know how to install mods from the Steam Workshop, let’s explore how to enable and use mods within the game.
How to Enable and Use Mods In-Game
After successfully installing mods, you need to enable and use them within the 7 Days to Die game itself. Here’s how you can do it:
- Launch the Game: Start 7 Days to Die from your Steam library or whichever method you use to launch the game.
- Go to the Mod Manager: From the main menu, navigate to the “Mods” or “Mod Manager” section. Here, you will find a list of all the mods you have installed.
- Enable the Mods: Tick the checkbox next to each mod you want to activate and use in your game. You can enable multiple mods simultaneously.
- Adjust Mod Load Order: If you have multiple mods enabled, you can set their load order to prioritize certain mods over others. This can be helpful in case of mod conflicts or dependencies.
- Start or Load a Game: Once you have enabled the desired mods and adjusted their load order, start a new game or load an existing one. The enabled mods will be active within the gameplay session.
When playing with mods enabled, you will notice the changes and enhancements added by each mod within the game. These can range from new items or weapons, gameplay mechanics, visual effects, and much more. Explore and enjoy the unique experiences that each mod brings to your 7 Days to Die adventure.
It’s important to note that enabling and using mods can sometimes impact the stability or performance of the game. If you encounter any issues, such as crashes or unexpected behavior, consider disabling specific mods or adjusting their load order to troubleshoot any conflicts.
Managing mods within the game allows you to easily enable or disable them based on your preferences and playstyle. You can experiment with different combinations of mods to create a customized gameplay experience that suits your preferences.
Now that you know how to enable and use mods in-game, let’s explore some tips for managing mods and troubleshooting common issues.
Tips for Managing Mods and Troubleshooting Common Issues
Managing mods and troubleshooting issues is an important aspect of using mods in 7 Days to Die. Here are some tips to help you effectively manage your mods and address common issues that may arise:
- Read Mod Descriptions: Before installing a mod, carefully read its description and any installation instructions provided by the mod creator. This will help you understand the mod’s purpose, functionality, and any specific requirements or dependencies it may have.
- Check Mod Compatibility: Ensure that the mods you install are compatible with the version of 7 Days to Die you are playing. Mods created for older or newer game versions may not function correctly or could cause conflicts.
- Backup Your Game: Before installing mods, make a backup of your game files. This will allow you to revert back to the vanilla version of the game if you encounter any issues or conflicts with the mods.
- Use Mod Load Order: If you have multiple mods enabled, adjust their load order to prioritize certain mods over others. This can help resolve conflicts and ensure that mods work together harmoniously.
- Keep Mods Updated: Regularly check for updates to your installed mods. Mod creators frequently release updates with bug fixes, improvements, and new features. Keeping your mods up to date can help prevent compatibility issues and ensure optimal performance.
- Research Mod Compatibility: If you intend to use several mods together, research their compatibility with each other. Some mods may be incompatible or may require specific patches or compatibility patches to work alongside other mods.
- Disable Conflicting Mods: If you encounter issues or conflicts between mods, try disabling specific mods to identify the source of the problem. Disabling one mod at a time can help isolate the conflicting mod and allow the others to work properly.
- Join Modding Communities: Engage with the modding community by joining forums, Discord servers, or other platforms where modders and players share their experiences. These communities can provide valuable insights, help troubleshoot issues, and recommend compatible mod combinations.
- Provide Feedback: If you encounter bugs or have suggestions for improvement, provide feedback to the mod creators. Constructive feedback helps them address issues and enhance the quality of their mods.
- Be Selective with Mods: While the modding community offers a wide range of mods to choose from, it’s important to be selective and choose mods that align with your preferences and playstyle. Installing too many mods or incompatible mods can lead to a cluttered or unstable game.
Remember that mods can significantly enhance your 7 Days to Die experience, but they can also introduce risks such as game instability, conflicts, or unintended consequences. Always exercise caution when downloading and installing mods, and rely on trusted sources for your modding needs.
By following these tips and being attentive to potential issues, you can effectively manage your mods and enjoy a customized and engaging gameplay experience in 7 Days to Die.
Now that you’re equipped with these tips, you’re ready to dive into the world of modding in 7 Days to Die. Enhance your survival skills, alter the game world, and create your own unique adventures with the help of mods!
Conclusion
Modding opens up a world of possibilities in 7 Days to Die, enabling you to customize and enhance your gameplay experience in ways that suit your preferences. Whether you’re seeking new challenges, visual enhancements, or unique gameplay mechanics, mods provide the opportunity to transform the post-apocalyptic wasteland into your own personalized adventure.
Through this guide, you have learned what mods are and how they can add depth and excitement to 7 Days to Die. You now know where to find mods, whether it’s through official forums, modding websites, or the convenient platforms like the 7 Days to Die Mod Launcher and Steam Workshop.
You have also gained insights into the process of downloading, installing, enabling, and managing mods. Whether you choose to use the user-friendly Mod Launcher or prefer to manually install mods, you have the tools and knowledge to enhance your gameplay experience.
Additionally, you have learned valuable tips for managing mods and troubleshooting common issues that may arise during the modding process. By following these tips and being selective with your mods, you can minimize conflicts and ensure a stable and enjoyable gaming experience.
Now, armed with this information, it’s time to embark on your modding journey in 7 Days to Die. Discover the wide range of mods available, experiment with different combinations, and create a gameplay experience that is uniquely yours.
Remember to have fun, provide feedback to mod creators, and contribute to the vibrant modding community. Modding not only enhances your own gameplay but also adds to the collective creativity and enjoyment of the 7 Days to Die community as a whole.
Enjoy your adventures in the post-apocalyptic world, filled with hordes of zombies, survival challenges, and now, the endless possibilities of mods!


