Create Your Own Minecraft Server and Take Your Gaming Experience to the Next Level!
Gaming enthusiasts around the world are always looking for ways to enhance their gameplay. Minecraft, a popular sandbox game, offers endless possibilities for creativity and exploration. If you want to take your Minecraft experience to the next level, why not create your own server? In this blog post, we will guide you through the process of setting up a Minecraft server, giving you the freedom to customize your gameplay, invite friends to join, and have a blast!
Key Takeaways:
- Creating your own Minecraft server allows you to have full control over the gameplay and customize it according to your preferences.
- A dedicated server ensures a smoother gaming experience and better performance when compared to playing on public servers.
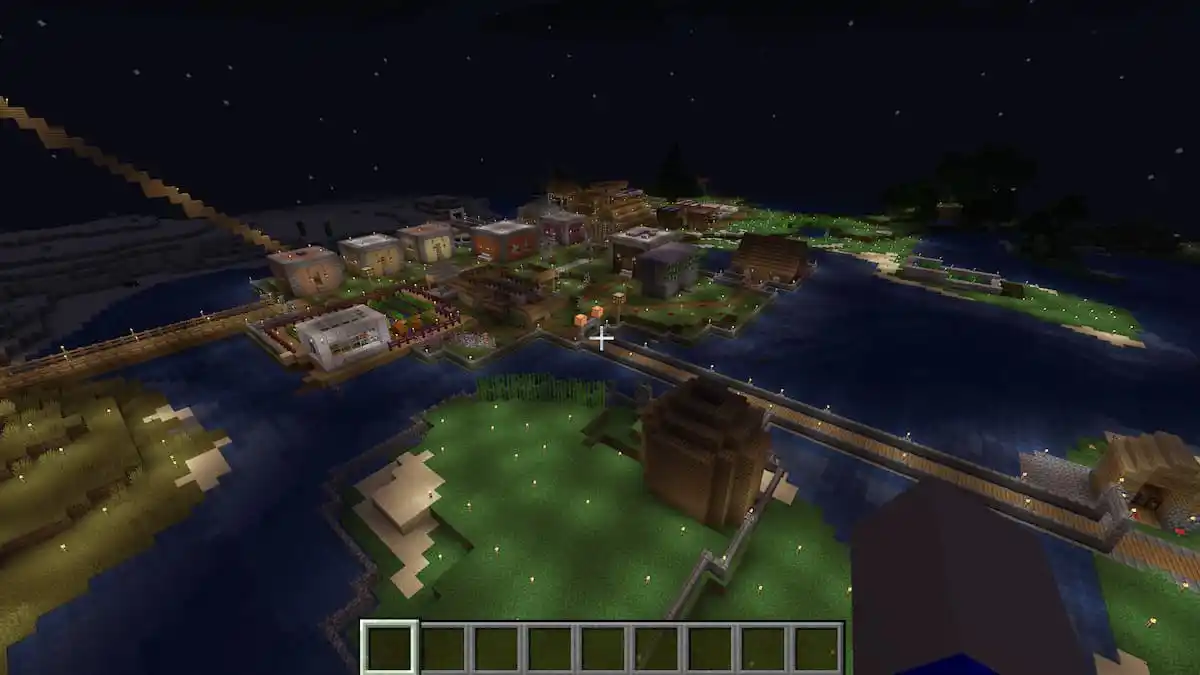
Setting Up Your Own Minecraft Server
Now, let’s dive into the step-by-step process of creating your very own Minecraft server:
- Choose the Right Hosting Plan: To start, you’ll need to find a reliable hosting provider that specializes in Minecraft server hosting. Look for a plan that offers enough RAM and storage space to accommodate your gameplay requirements. Keep in mind that a dedicated server will provide better performance than a shared one.
- Select a Server Version: Decide on the Minecraft version you want to run your server on. Whether it’s the latest release or a specific modded version, make sure your hosting provider supports it.
- Configure Server Settings: Once you have your hosting plan and version set up, it’s time to configure your server settings. You can personalize various aspects such as world size, game mode, difficulty level, and even enable or disable specific features.
- Install Server Software: Download the Minecraft server jar file from the official website or the specific version you wish to use. Upload the file to your server’s root directory and run it to start the installation process. Make sure to follow the instructions provided by your hosting provider.
- Customize Your Server: This is where the fun begins! Customize your server by installing plugins and mods that enhance gameplay or add exciting new features. Install a permissions plugin to manage user access and control what actions players can perform.
- Invite Friends to Join: Share the server IP address with your friends so they can connect and join your Minecraft world. Coordinate and embark on exciting adventures together or engage in friendly competitions.
- Maintain and Update: Regularly monitor your server’s performance and apply updates as necessary. Stay vigilant for any security vulnerabilities and take necessary precautions to keep your server and players safe.
With your own Minecraft server up and running, you’ll have full control over the gameplay environment. Customize game rules, create unique worlds, and invite friends to join you in epic adventures. The possibilities are limited only by your imagination!
Making your own Minecraft server not only provides an enhanced gaming experience, but it also allows you to create a vibrant community where players can connect, collaborate, and have a great time together. So, why wait? Take the plunge, follow our guide, and get ready to elevate your Minecraft gaming experience today!