How to Draw Minecraft: Unlock Your Inner Artist
Are you a Minecraft enthusiast who wants to take your passion for the game to the next level? If so, you’re in luck! In this blog post, we’ll guide you through the process of drawing Minecraft characters and landscapes. Whether you’re a beginner or an experienced artist, this step-by-step guide will help you unlock your inner creativity and bring the pixelated world of Minecraft to life on paper.
Key Takeaways:
- Learn how to draw Minecraft characters and landscapes.
- Bring the pixelated world of Minecraft to life on paper.
Getting Started: Collect Your Tools
Before diving into the world of Minecraft drawing, make sure you have the right tools at your disposal. Here’s what you’ll need:
- Pencil: Start with a basic pencil to sketch the outlines and details.
- Eraser: Mistakes happen, and an eraser will help you correct them along the way.
- Markers or colored pencils: For adding vibrant colors to your piece.
- Sketchbook or paper: Choose a sketchbook or paper that suits your preference.
Step-by-Step Guide to Drawing Minecraft Characters
Now, let’s dive into the fun part – drawing Minecraft characters! Follow these steps to recreate your favorite Minecraft character on paper:
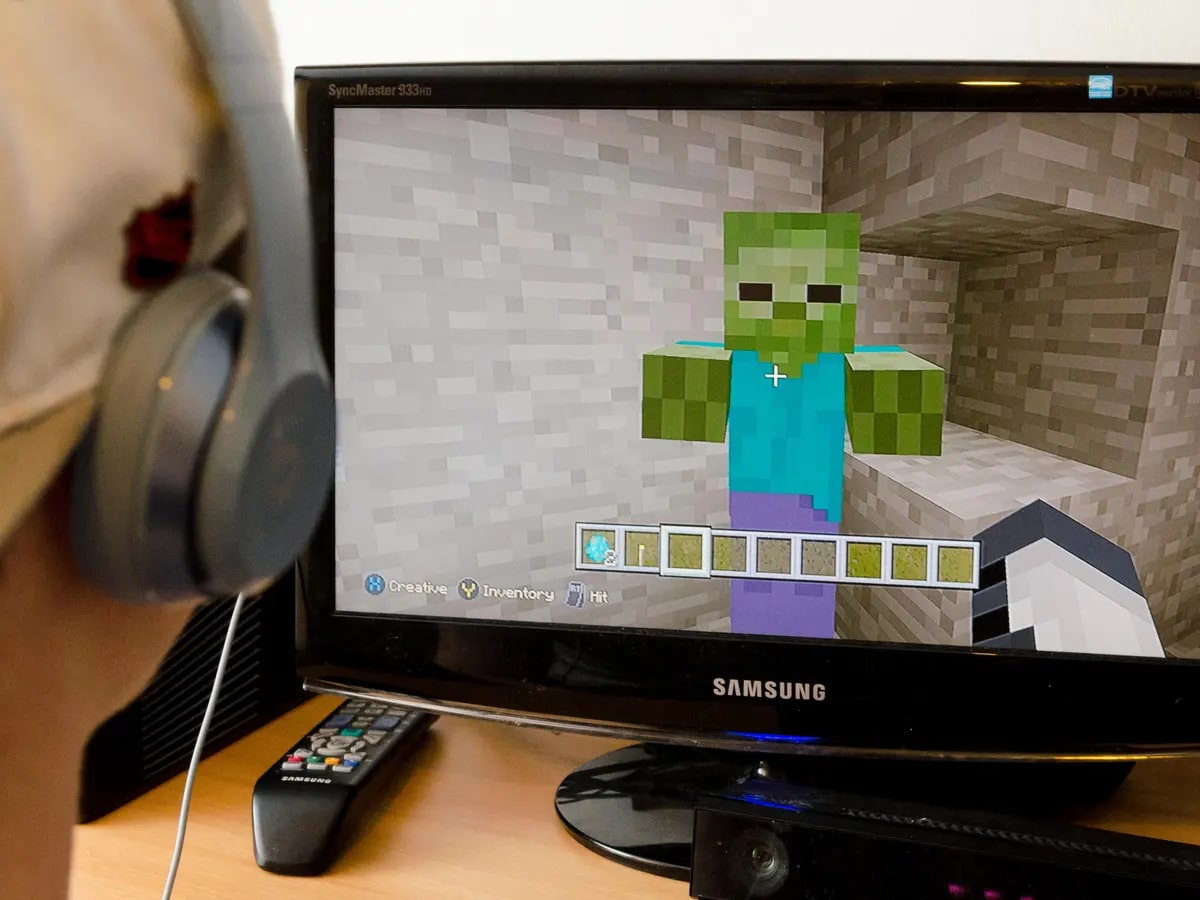
- Choose your character: Decide which Minecraft character you want to draw and get a reference image to guide you. Popular choices include Steve, Creeper, and Enderman.
- Start with basic shapes: Begin by drawing the outline of your character using simple geometric shapes like squares and rectangles.
- Add details: Once you have the basic form, start adding the details unique to your chosen character. Pay close attention to facial features, clothing, and accessories.
- Refine and finalize: Clean up any unnecessary lines and refine the details of your drawing. Take your time to ensure every detail is accurate.
- Color your creation: Use markers or colored pencils to bring your Minecraft character to life with vibrant colors. Refer to the game or your chosen reference image for accurate color representation.
- Don’t forget the background: To complete your artwork, consider adding a background that complements your character. It could be a forest, a village, or even the iconic Minecraft blocky landscape.
Creating Minecraft Landscapes
If you’re interested in drawing Minecraft landscapes, follow these steps to capture the essence of the pixelated world:
- Select your landscape: Decide on the Minecraft landscape you want to draw, whether it’s a scenic mountain range, a tranquil lake, or a sprawling village.
- Create a base: Start with a basic outline of the chosen landscape, focusing on the overall shape and layout.
- Add details: Fill in the landscape with iconic Minecraft elements, such as trees, mountains, water bodies, and buildings. Pay attention to the distinctive blocky shapes and colors.
- Refine and finalize: Clean up the lines and add finer details to your landscape, like individual tree leaves or architectural features of buildings.
- Color your creation: Use markers or colored pencils to add vibrant colors to your landscape. Be creative and experiment with different shades to make it visually appealing.
Remember, practice makes perfect! Don’t be discouraged if your first attempts don’t match your expectations. Keep practicing, experimenting, and adding your personal touch to each drawing. Soon enough, you’ll be able to create impressive Minecraft artwork that showcases your love for the game.
So, grab your pencil, unleash your inner artist, and let your imagination run wild as you draw the incredible world of Minecraft on paper. Happy drawing!