Introduction
Do you own an Xbox 360 game controller and want to use it with your Windows 10 PC? Updating the controller is essential to ensure seamless compatibility and optimal performance. Whether you’re a gaming enthusiast or simply looking to enhance your PC gaming experience, this guide will walk you through the process of updating your Xbox 360 game controller on Windows 10.
With the advancements in technology, the Xbox 360 controller has become a popular choice for PC gaming due to its ergonomic design and intuitive button layout. By updating the controller, you can access the latest features and improvements, ensuring a smooth and responsive gaming experience on your Windows 10 system.
Through the following steps, you’ll learn how to connect the controller to your PC, download the necessary software, install the driver, and test the controller to confirm its functionality. By the end of this guide, you’ll be ready to enjoy your favorite PC games with the updated Xbox 360 controller, unlocking a new level of gaming immersion and precision.
Step 1: Connect the Xbox 360 Controller to Your PC
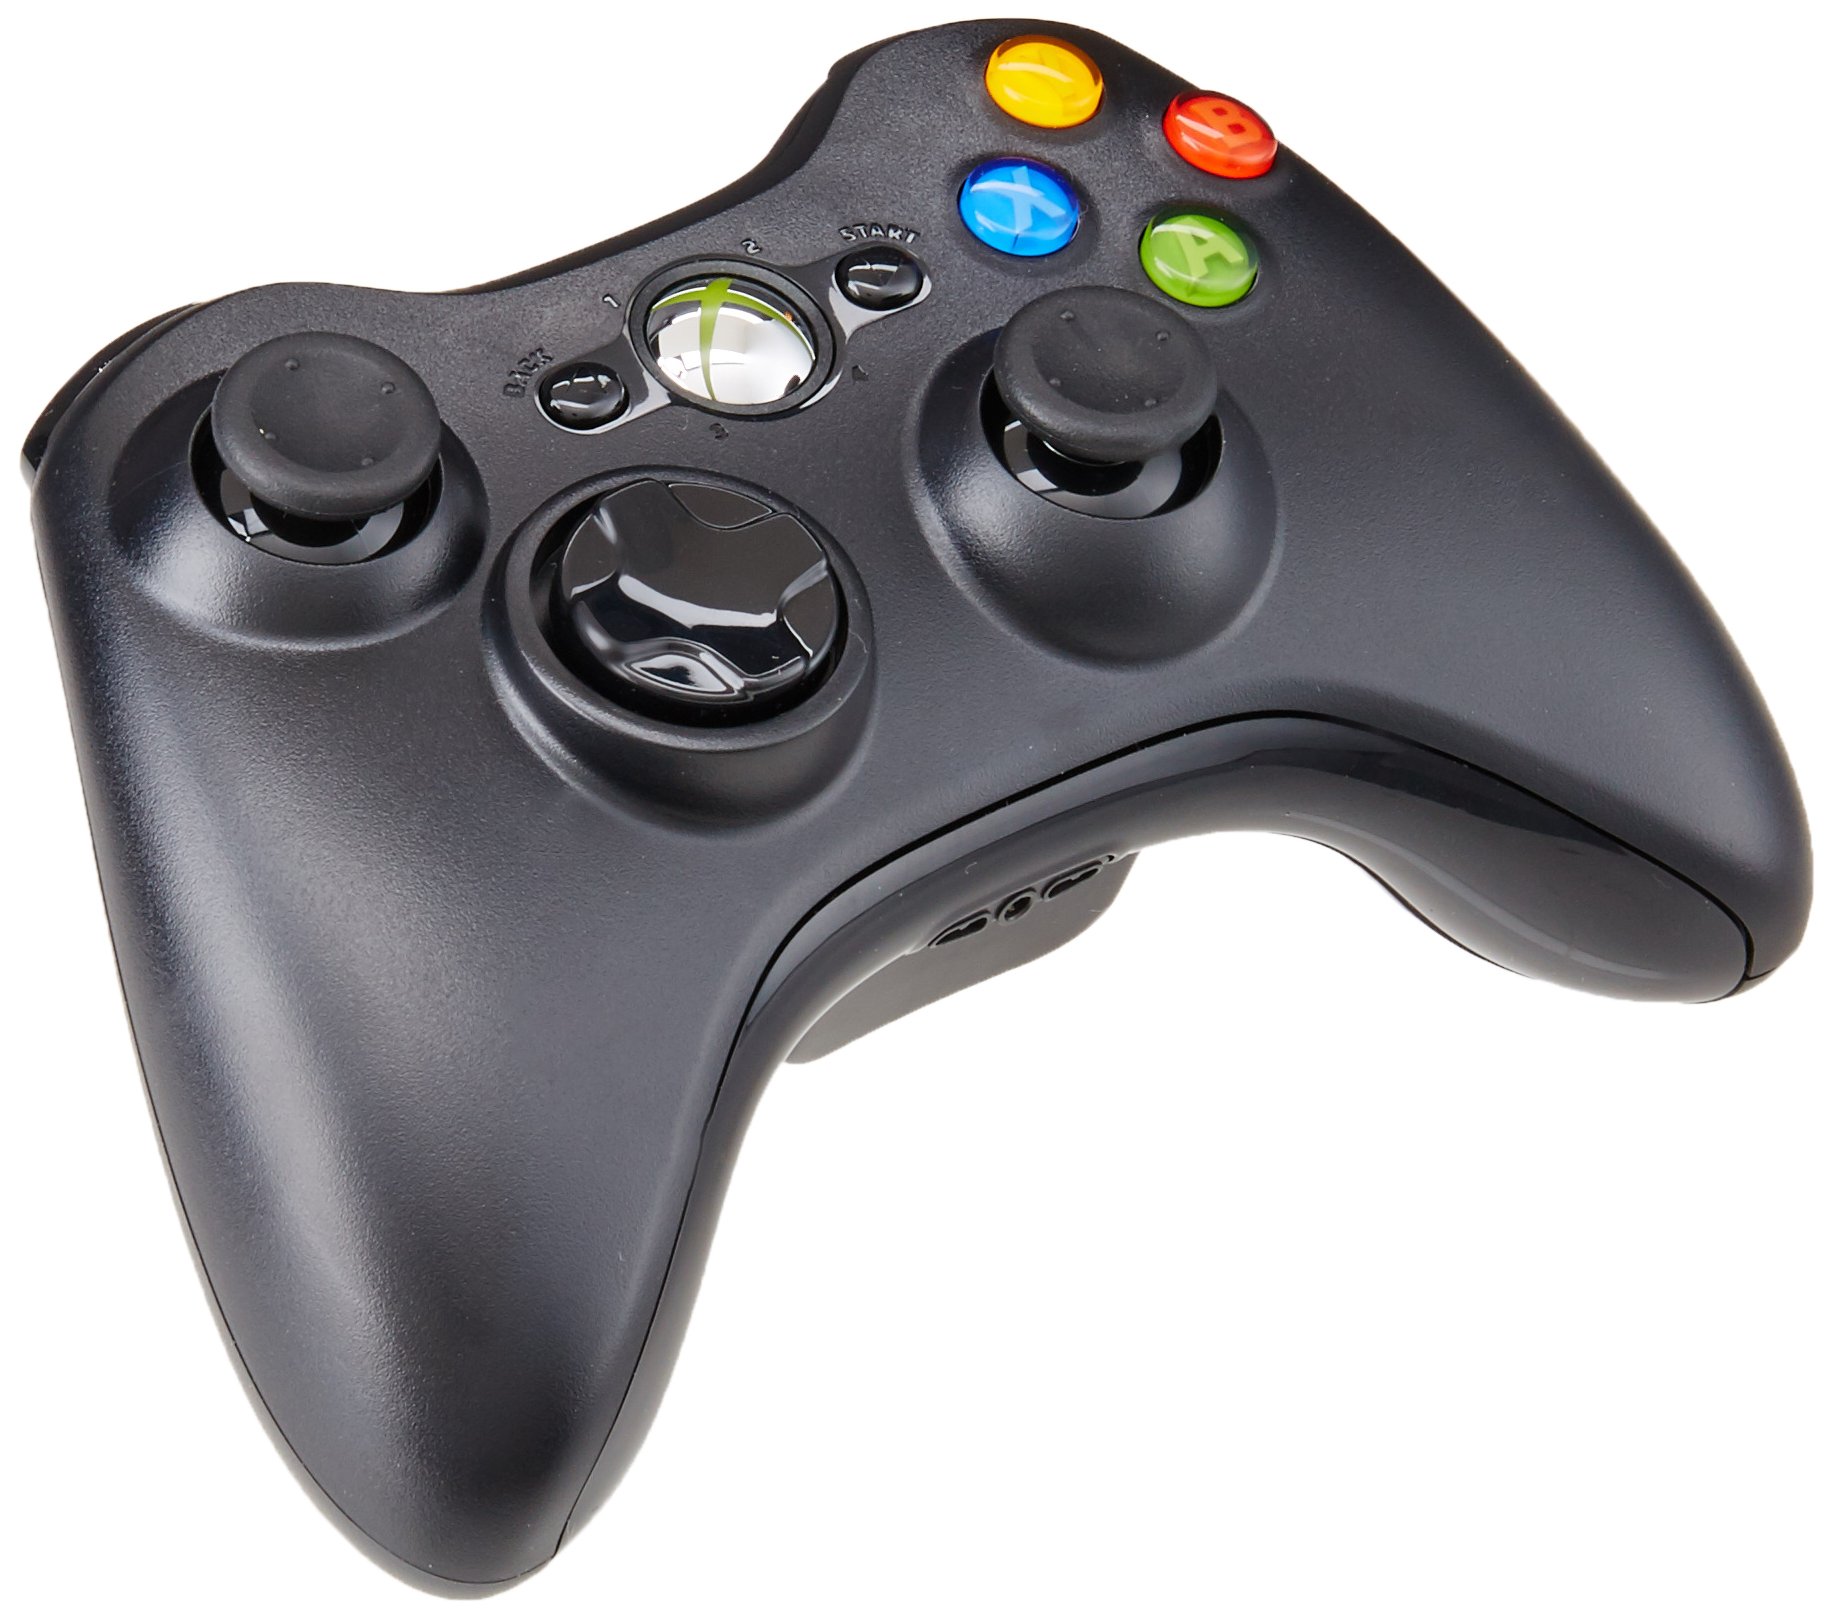
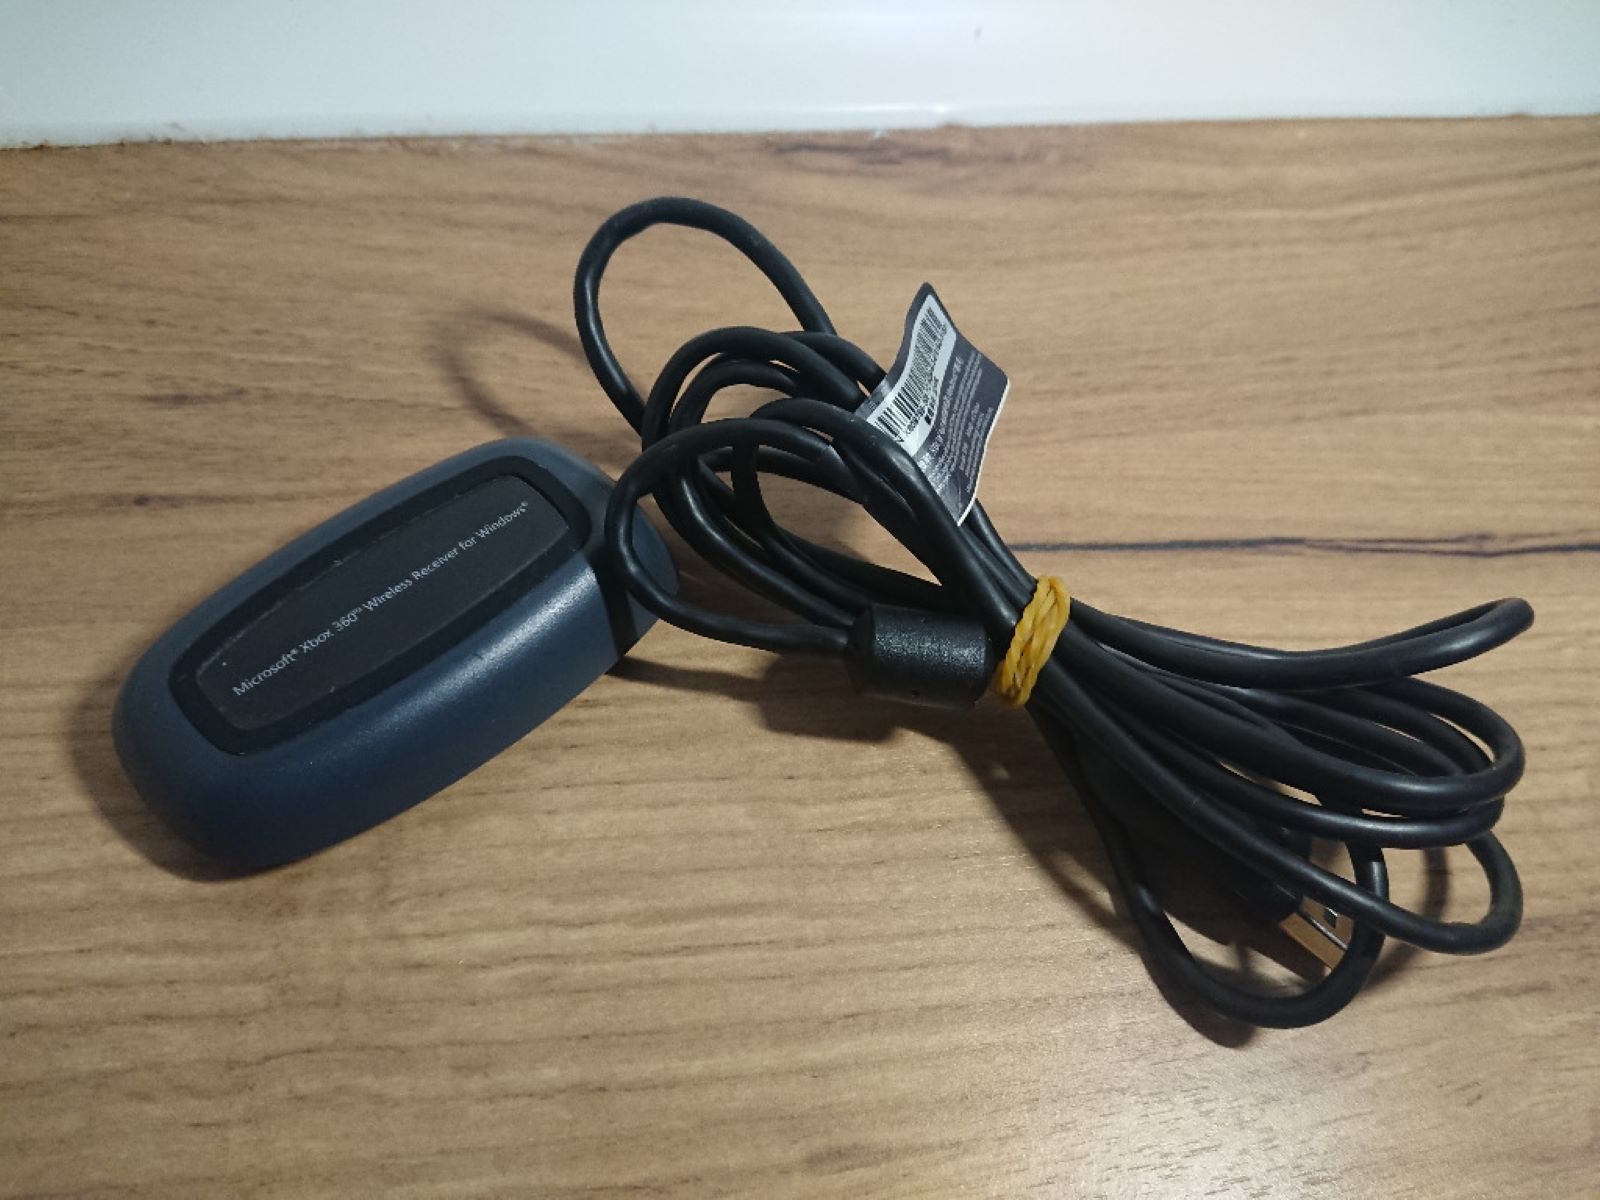
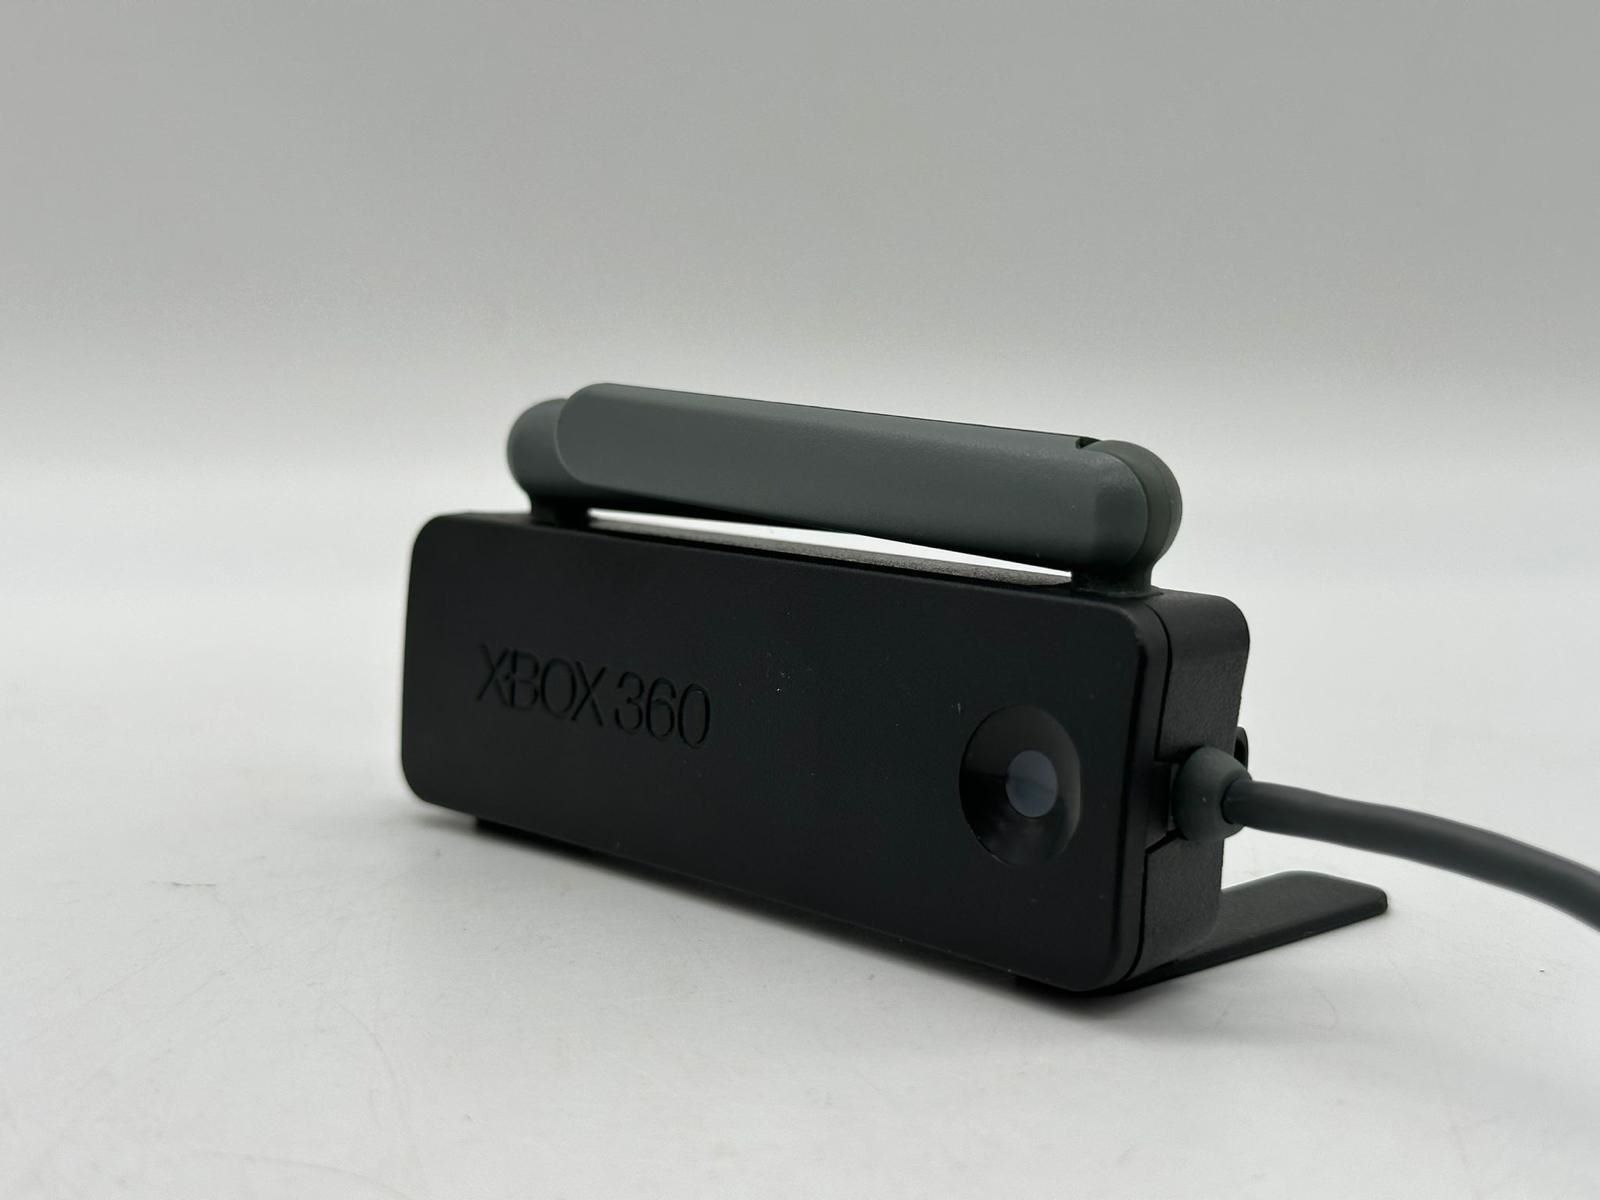
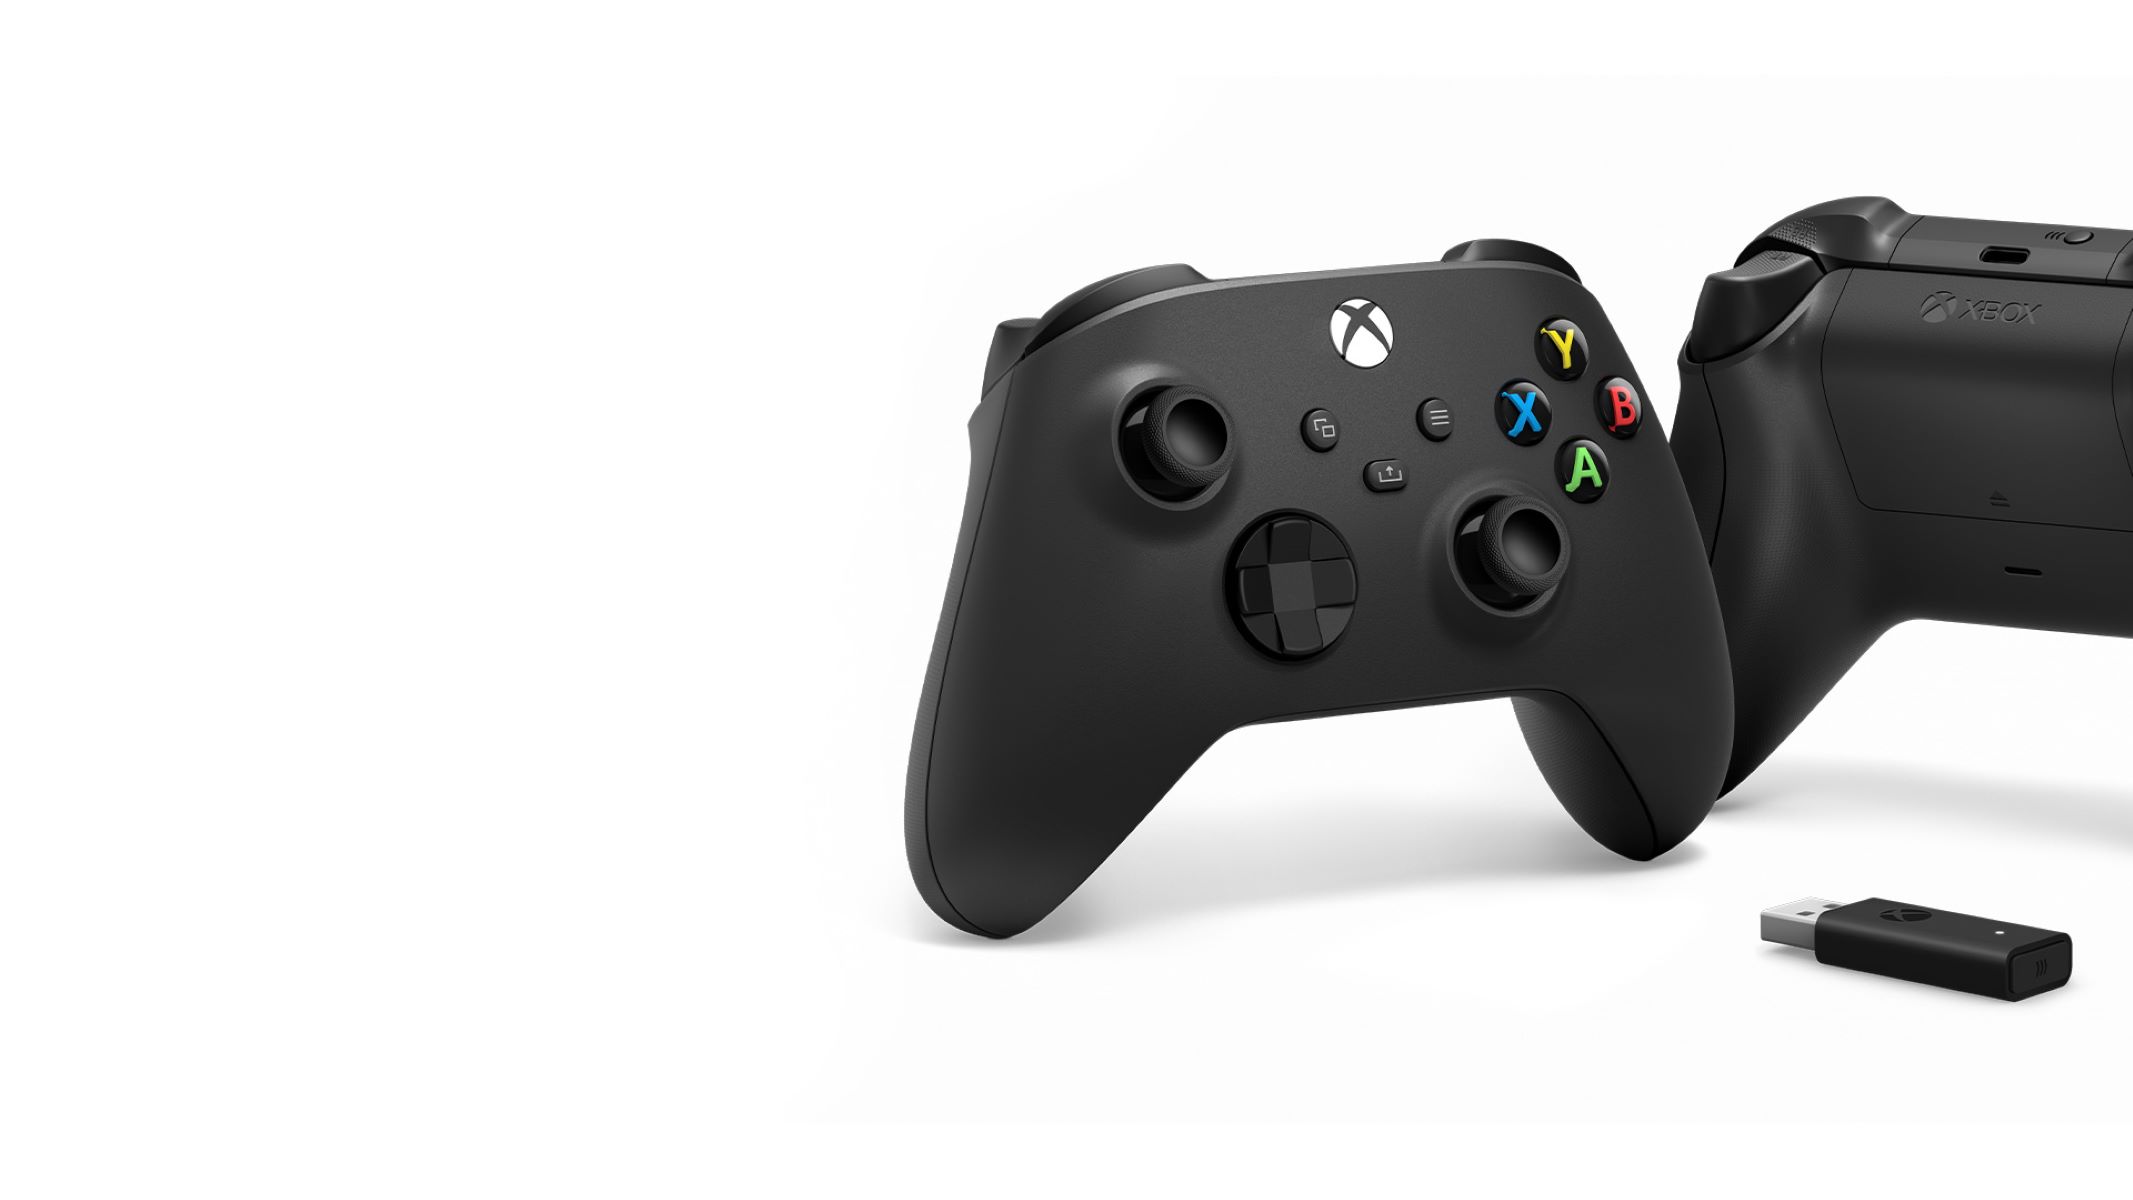
Before updating the Xbox 360 controller, the first step is to establish a physical connection between the controller and your Windows 10 PC. To do this, you will need a wired Xbox 360 controller or a wireless controller with a wireless gaming receiver.
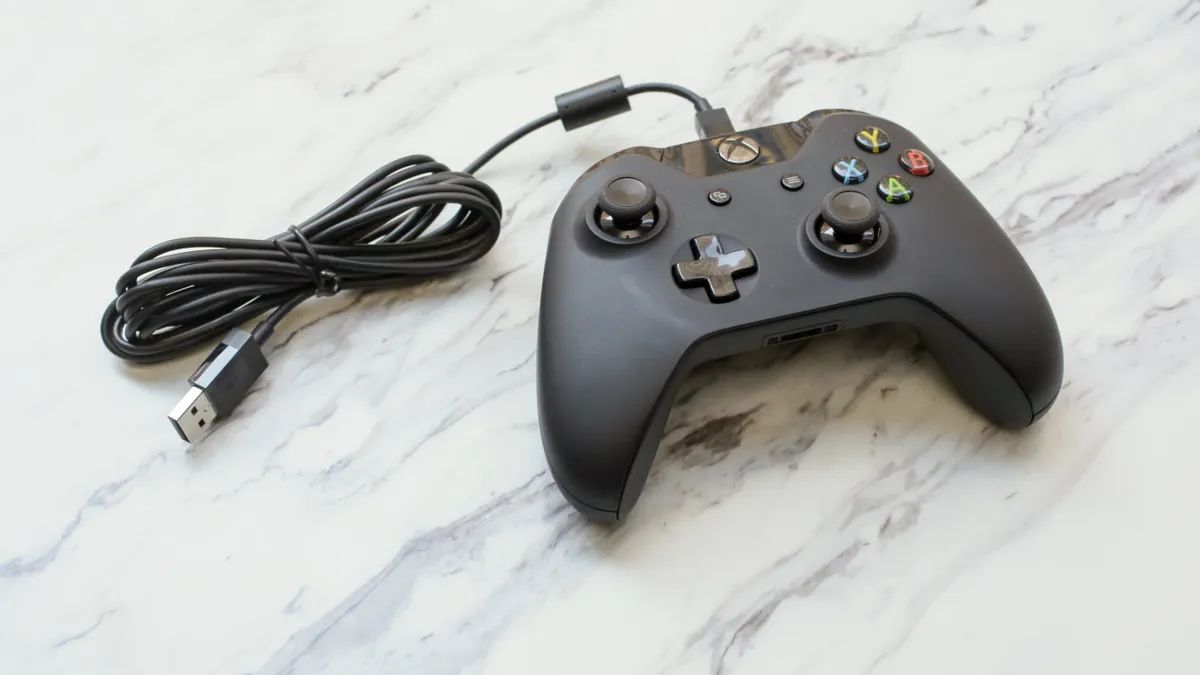
If you have a wired Xbox 360 controller, simply plug the USB connector into an available USB port on your PC. Windows 10 will automatically detect the controller and install the necessary drivers. Once connected, the controller is ready to be updated.
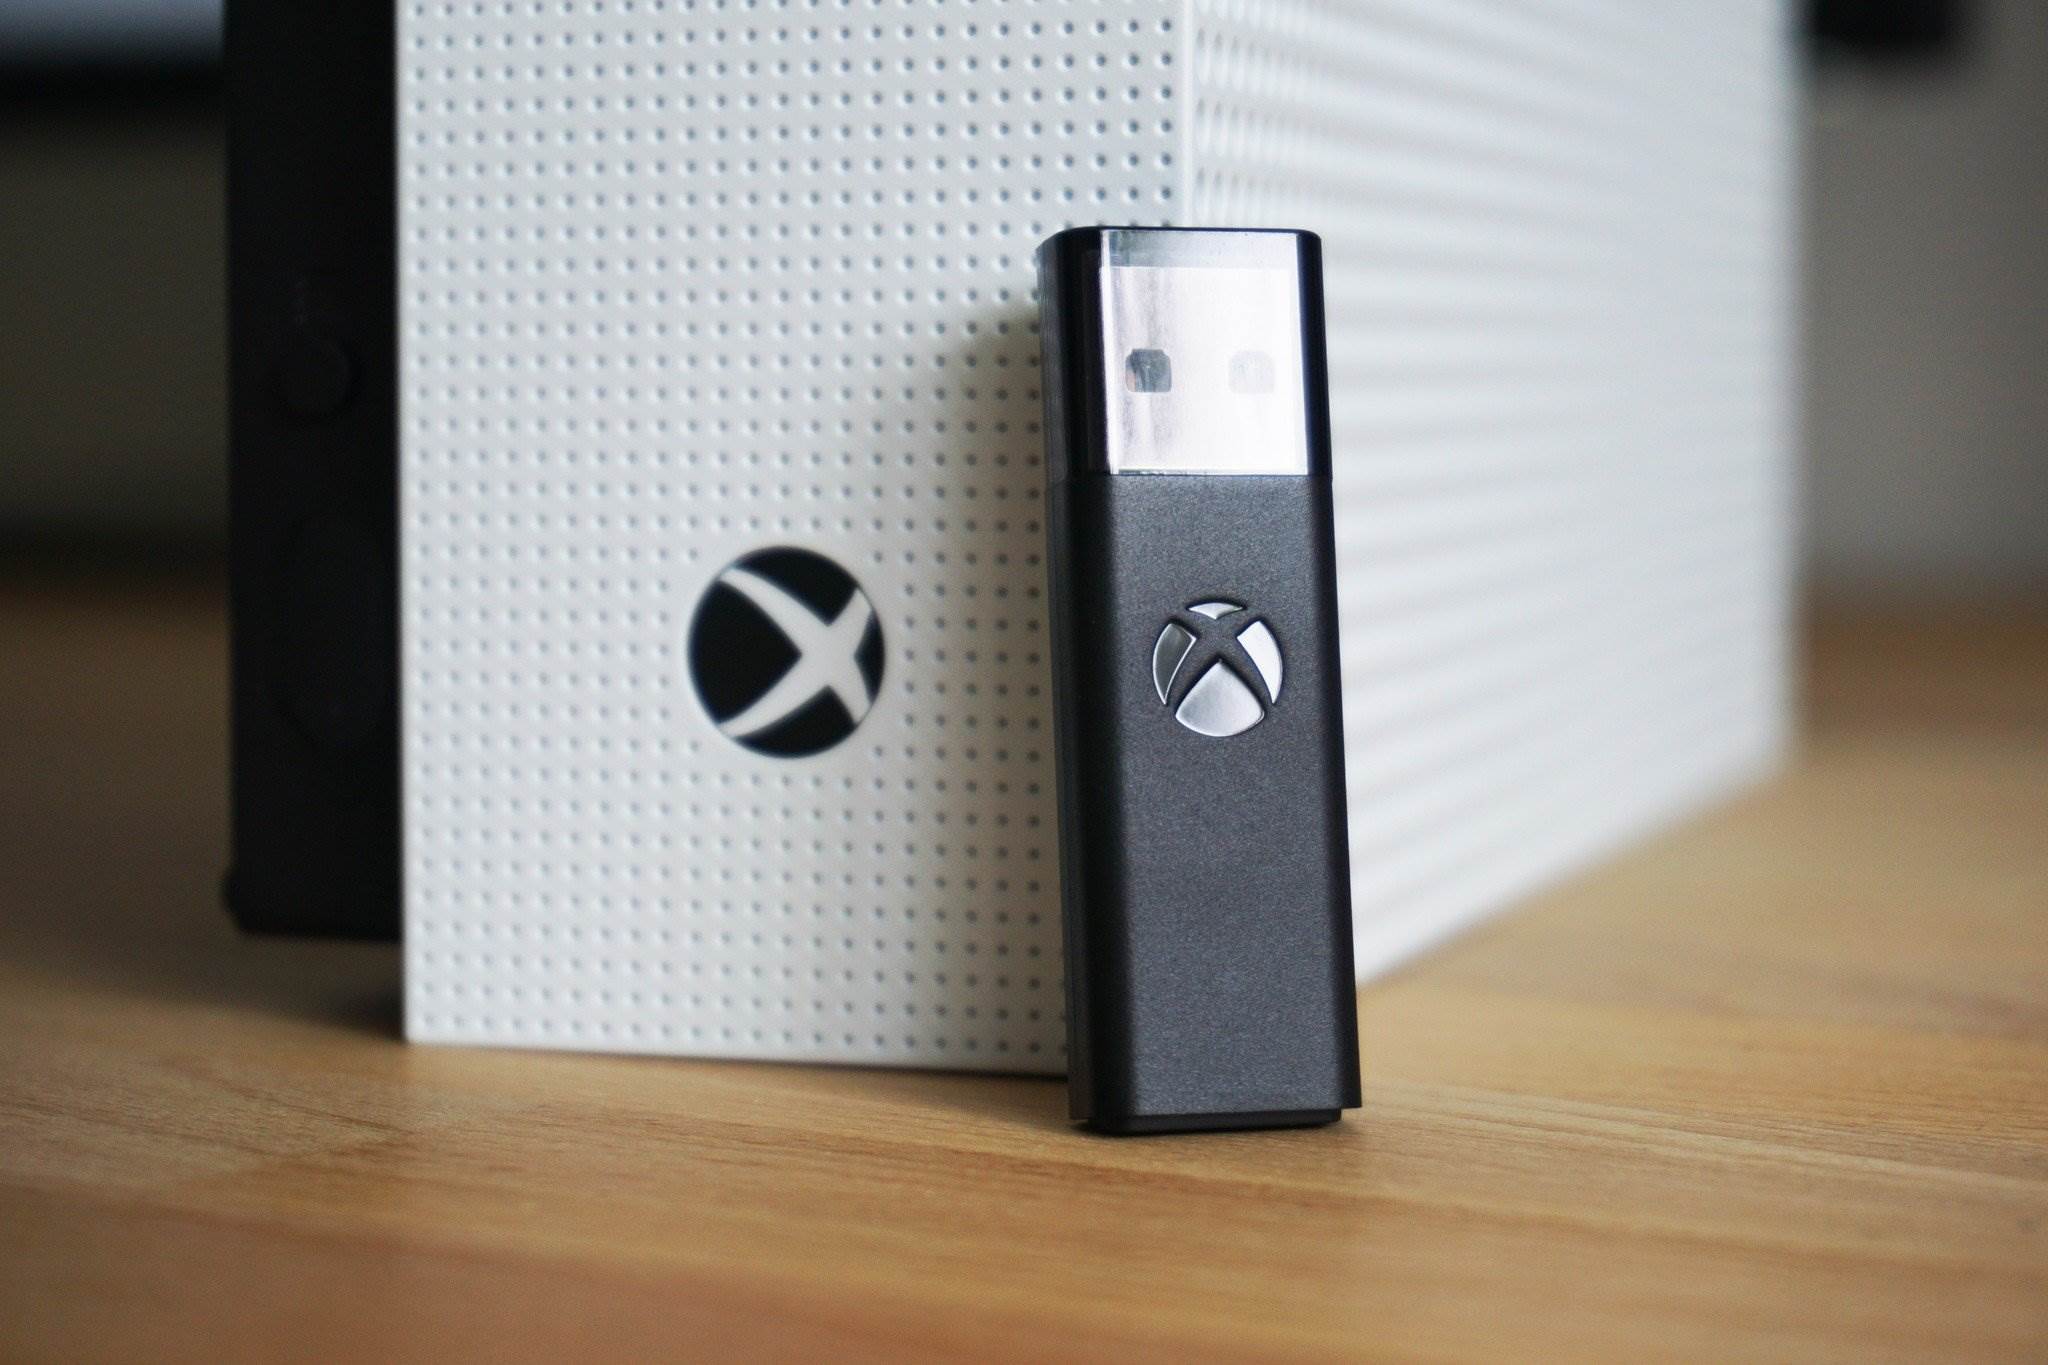
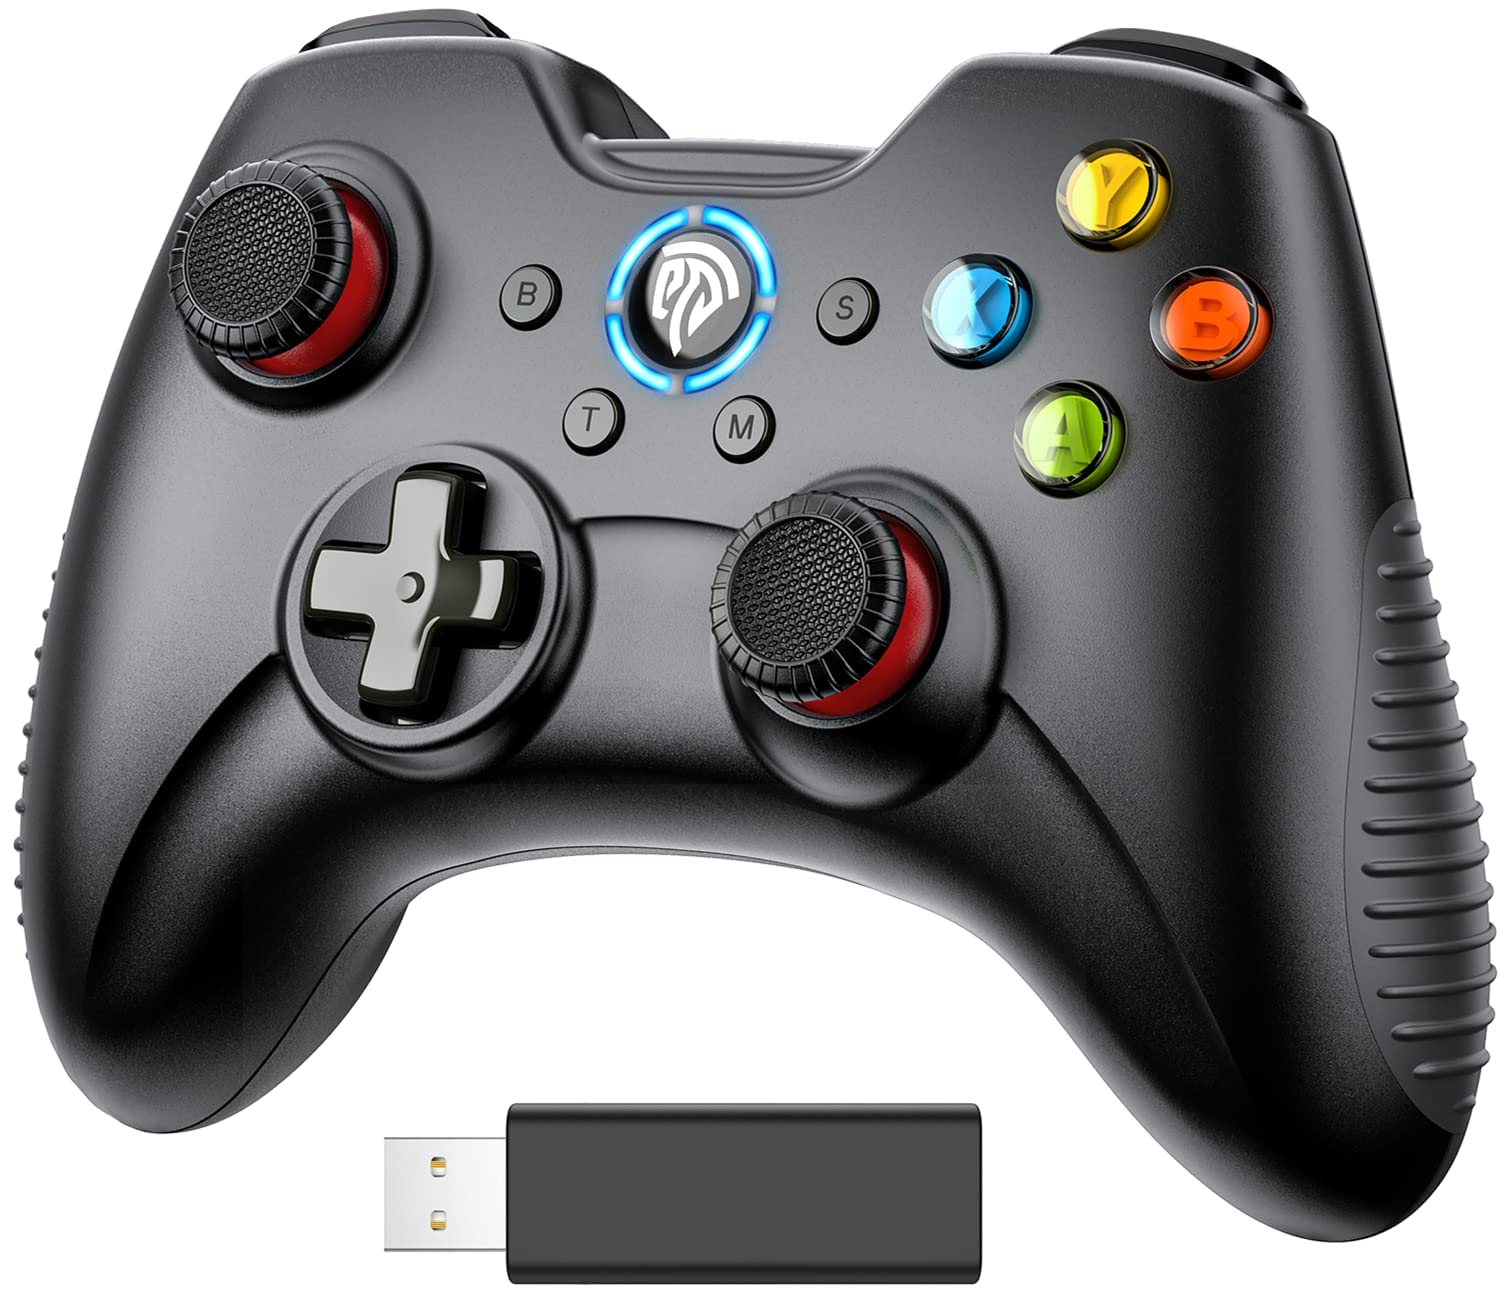
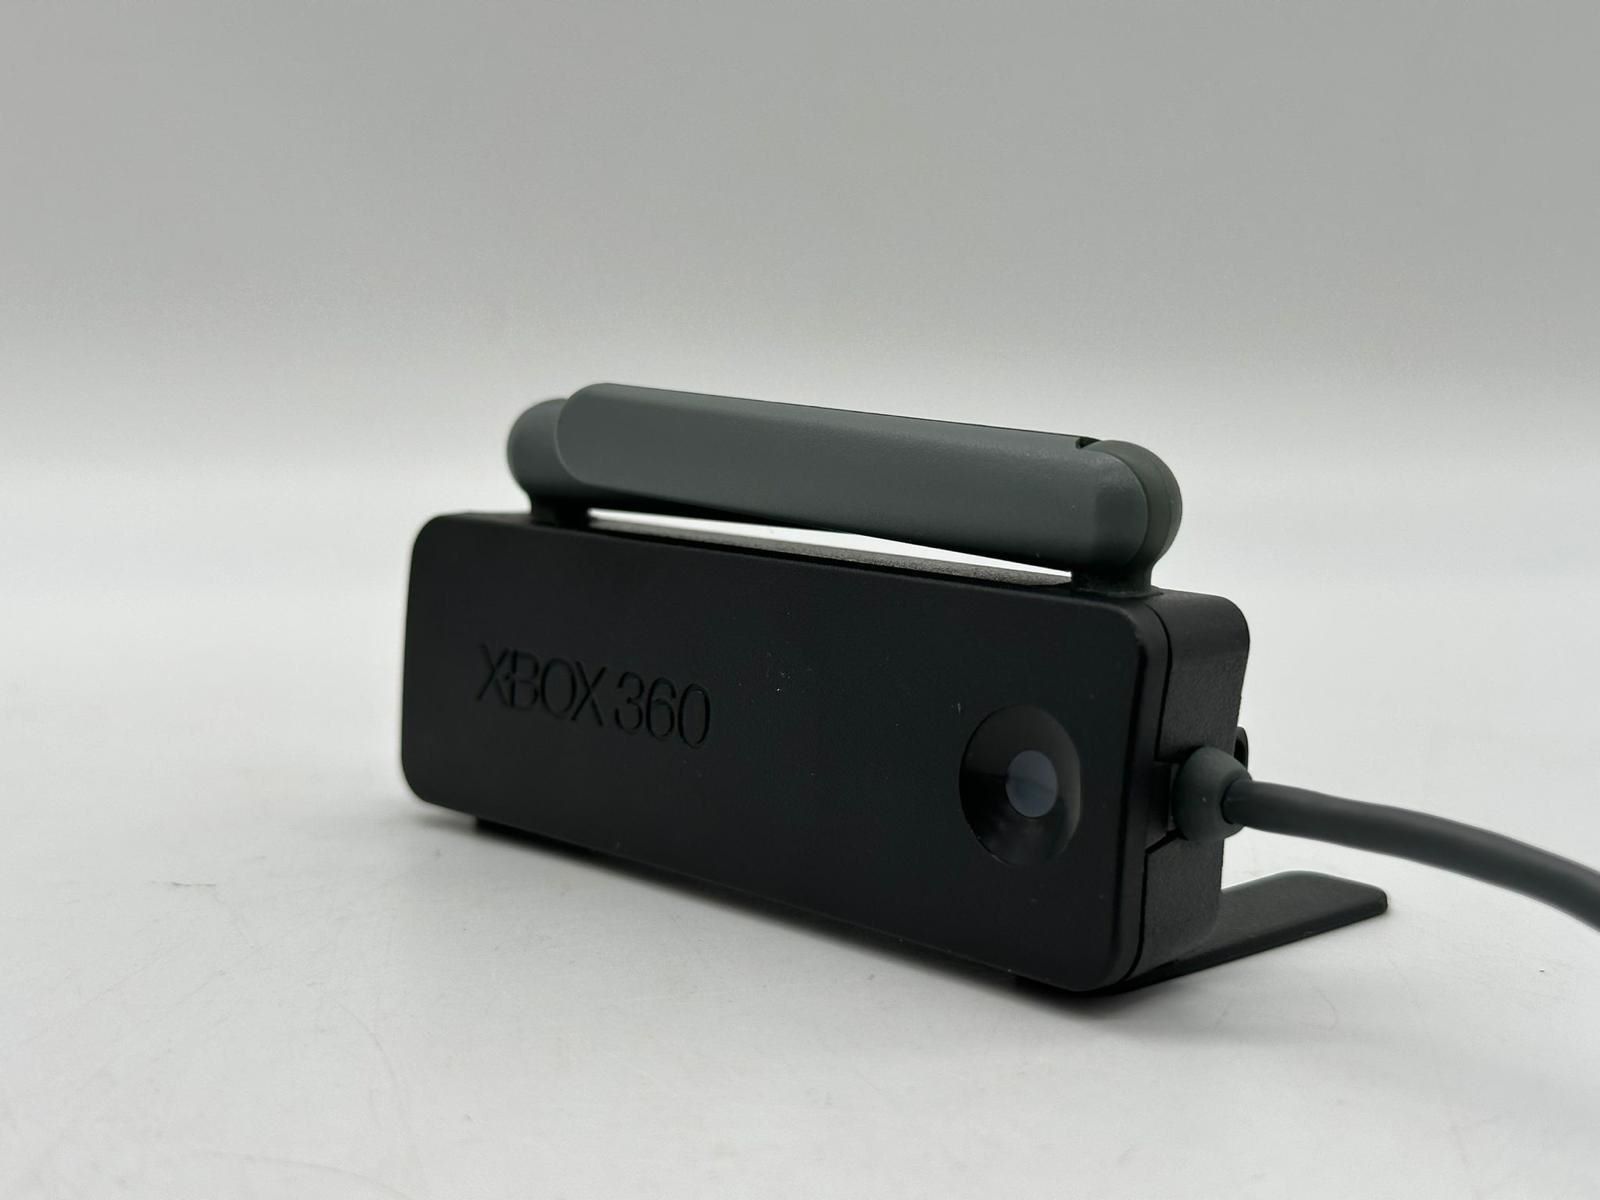
For wireless controllers, you will need to use a wireless gaming receiver, which plugs into a USB port on your PC. After connecting the receiver, press the “connect” button on both the receiver and the Xbox 360 controller to establish a wireless connection. Once the controller is successfully connected, you can proceed to the next step of updating the controller’s software.
Ensuring a secure and stable connection between the Xbox 360 controller and your PC is crucial for a smooth updating process. By following these steps to establish the connection, you are one step closer to enjoying an enhanced gaming experience with your updated controller on Windows 10.
Step 2: Download the Xbox 360 Accessories Software
Once you have connected the Xbox 360 controller to your Windows 10 PC, the next step is to download the Xbox 360 Accessories software, which is essential for updating the controller’s firmware and drivers. This software provides the necessary tools to customize controller settings and ensure compatibility with your PC.
To download the Xbox 360 Accessories software, navigate to the official Microsoft website or trusted software repositories. Look for the specific software version compatible with Windows 10, ensuring that you download the correct package for your system architecture (32-bit or 64-bit).
After locating the appropriate software, initiate the download and follow the on-screen instructions to complete the process. Once the software is successfully downloaded, proceed to the next step to install it on your Windows 10 PC.
Downloading the Xbox 360 Accessories software is a crucial step in preparing your PC for the updated controller. By obtaining the necessary software package, you are equipping your system with the tools required to optimize the functionality and performance of the Xbox 360 controller, setting the stage for a seamless gaming experience.
Step 3: Install the Xbox 360 Accessories Software
With the Xbox 360 Accessories software successfully downloaded, the next step is to install it on your Windows 10 PC. The installation process is straightforward and ensures that your system is equipped with the necessary tools to update and optimize the Xbox 360 controller.
Locate the downloaded Xbox 360 Accessories software package on your PC and double-click to initiate the installation. Follow the on-screen prompts to complete the installation process, ensuring that you agree to any license agreements and select the appropriate installation directory when prompted.
Once the installation is complete, you will have access to the Xbox 360 Accessories software, providing a user-friendly interface to manage and update your Xbox 360 controller. This software is essential for customizing controller settings and ensuring seamless compatibility with your Windows 10 system.
By installing the Xbox 360 Accessories software, you are taking a pivotal step toward optimizing your gaming experience with the updated controller. This software serves as the gateway to unlocking the full potential of the Xbox 360 controller on your Windows 10 PC, setting the stage for an immersive and responsive gaming experience.
Step 4: Update the Xbox 360 Controller Driver
After successfully installing the Xbox 360 Accessories software, the next crucial step is to update the controller’s driver to ensure optimal performance and compatibility with your Windows 10 PC. The updated driver will enable the controller to leverage the latest features and improvements, enhancing your gaming experience.
To update the Xbox 360 controller driver, open the Xbox 360 Accessories software that you installed in the previous step. Within the software interface, navigate to the “Device and Accessories” section, where you will find the option to update the controller’s driver.
Follow the on-screen instructions within the Xbox 360 Accessories software to initiate the driver update process. The software will automatically search for the latest driver version and prompt you to install it. Ensure that your PC is connected to the internet during this process to facilitate the download of the updated driver.
Once the driver update is complete, your Xbox 360 controller will be equipped with the latest firmware and driver, optimizing its functionality and ensuring seamless compatibility with your Windows 10 system. This update is essential for accessing new features and improvements, enhancing your gaming experience.
By updating the Xbox 360 controller driver, you are taking a significant stride toward maximizing the performance and compatibility of the controller with your Windows 10 PC. This step ensures that your controller is equipped with the latest enhancements, setting the stage for an immersive and responsive gaming experience.
Step 5: Test the Controller
After updating the Xbox 360 controller and its driver, it’s essential to test the controller to ensure that it is functioning optimally and is fully compatible with your Windows 10 PC. Testing the controller allows you to verify its responsiveness and confirm that the updates have been successfully applied.
To test the controller, open a compatible game or application on your Windows 10 PC that supports the Xbox 360 controller. Ensure that the controller is properly connected to your PC, either via a wired connection or through a wireless gaming receiver. Once the game or application is running, use the controller to navigate through menus and interact with the interface.
Verify that all buttons, triggers, and joysticks on the controller are responsive and accurately register your inputs within the game or application. Test the controller’s vibration function, if applicable, to ensure that it is functioning as expected. Additionally, assess the responsiveness of the controller’s analog sticks and triggers to confirm that they are accurately translating your inputs within the game.
During the testing phase, pay attention to any anomalies or irregularities in the controller’s behavior. If you encounter any issues, such as unresponsive buttons or erratic input behavior, it may indicate a need for further troubleshooting or adjustments within the Xbox 360 Accessories software.
By thoroughly testing the controller, you can ensure that the updates have been successfully applied and that the controller is fully functional and optimized for use with your Windows 10 PC. This step allows you to confirm that the controller’s performance has been enhanced, setting the stage for an immersive and enjoyable gaming experience.
Conclusion
Updating an Xbox 360 game controller for use on a Windows 10 PC is a straightforward process that can significantly enhance your gaming experience. By following the steps outlined in this guide, you have successfully connected the controller to your PC, downloaded and installed the necessary software, updated the controller’s driver, and tested its functionality.
Through this process, you have ensured that your Xbox 360 controller is equipped with the latest firmware and driver updates, optimizing its performance and compatibility with your Windows 10 system. This ensures that you can enjoy a seamless and responsive gaming experience, leveraging the controller’s ergonomic design and intuitive button layout for enhanced gameplay.
With the controller successfully updated and tested, you are now ready to immerse yourself in a wide range of PC games, leveraging the precision and familiarity of the Xbox 360 controller. Whether you’re navigating virtual landscapes, engaging in intense combat, or embarking on thrilling adventures, the updated controller will serve as your reliable companion, enhancing your gaming immersion and enjoyment.
By staying proactive in updating your gaming peripherals, such as the Xbox 360 controller, you can ensure that you are making the most of your gaming hardware, unlocking new features and improvements that enhance your overall gaming experience. This attention to detail and optimization sets the stage for countless hours of enjoyable gaming on your Windows 10 PC.
As you venture into the world of PC gaming with your updated Xbox 360 controller, remember that staying informed about the latest updates and optimizations for your gaming peripherals can further elevate your gaming experience. Embracing these updates ensures that you are equipped with the tools and features necessary to fully immerse yourself in the captivating worlds of modern PC games.


