Introduction
Introduction
If you own an ASUS laptop and find yourself in a situation where the mouse pad isn't functioning as expected, you're not alone. Many users encounter issues with their laptop's mouse pad, whether it's unresponsive, disabled, or simply not working. The good news is that resolving these problems is often straightforward, and you can typically restore the functionality of your ASUS laptop's mouse pad with a few simple steps.
In this guide, we'll walk you through the process of turning on the mouse pad on your ASUS laptop. Whether you accidentally disabled the mouse pad or it's not responding, we've got you covered. By following the instructions provided, you'll be able to troubleshoot the issue and get your mouse pad back up and running in no time.
Understanding how to check the status of your mouse pad, turn it on, and adjust its settings is essential for ASUS laptop users. These steps can help you regain control and improve your overall user experience. So, without further ado, let's dive into the process of troubleshooting and resolving mouse pad issues on your ASUS laptop.
Checking the Mouse Pad Status
Before attempting to turn on the mouse pad on your ASUS laptop, it’s crucial to determine its current status. This involves checking whether the mouse pad is disabled or experiencing any software-related issues. Here’s how you can check the status of your ASUS laptop’s mouse pad:
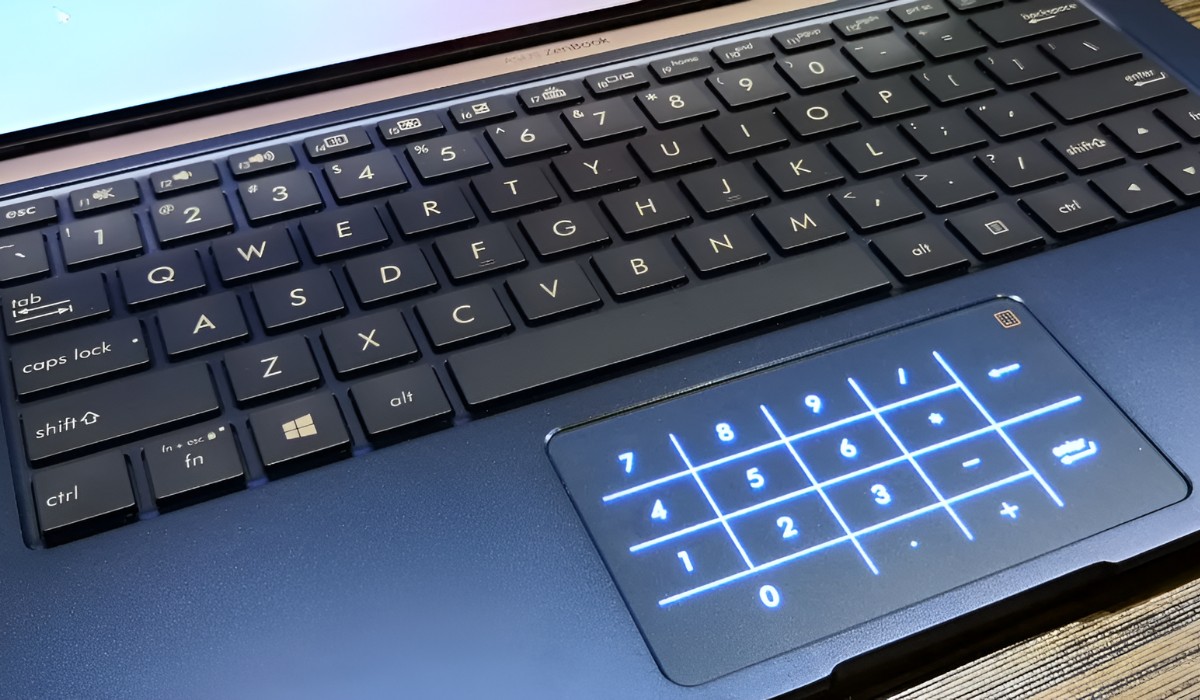
- Keyboard Shortcut: ASUS laptops often have a keyboard shortcut to enable or disable the mouse pad. Look for a function key (such as “Fn”) in combination with a key that has a touchpad icon. Pressing these keys simultaneously may toggle the mouse pad on or off. Keep in mind that the specific key combination can vary based on your laptop model, so refer to the user manual if needed.
- Device Manager: Another method to check the status of the mouse pad is through the Device Manager. Right-click on the Start button and select “Device Manager.” Look for the “Mice and other pointing devices” category, where you should find your ASUS laptop’s touchpad listed. If there’s a yellow exclamation mark or the device is disabled, you may need to enable it to restore functionality.
- Settings Menu: Navigate to the Settings menu on your ASUS laptop and select “Devices” or “Mouse.” Here, you can verify the status of the touchpad and explore additional settings that may affect its functionality.
By employing these methods, you can gain insight into the current state of your ASUS laptop’s mouse pad. Identifying any issues or disabled settings is the first step towards resolving mouse pad-related concerns.
Turning On the Mouse Pad
Once you’ve determined the status of your ASUS laptop’s mouse pad, you can proceed with turning it on if it’s currently disabled. Depending on the cause of the issue, you may need to use different methods to re-enable the mouse pad. Here’s how you can turn on the mouse pad on your ASUS laptop:
- Keyboard Shortcut: If the mouse pad is disabled, you can typically re-enable it using a keyboard shortcut. Locate the function key (e.g., “Fn”) paired with the touchpad activation key. Press these keys simultaneously to toggle the mouse pad back on. This straightforward method is often the quickest way to restore functionality.
- Device Manager: If the mouse pad is disabled in the Device Manager, you can enable it from this interface. Right-click on the touchpad device listed under “Mice and other pointing devices” and select “Enable device.” This action should reactivate the mouse pad, allowing you to use it seamlessly.
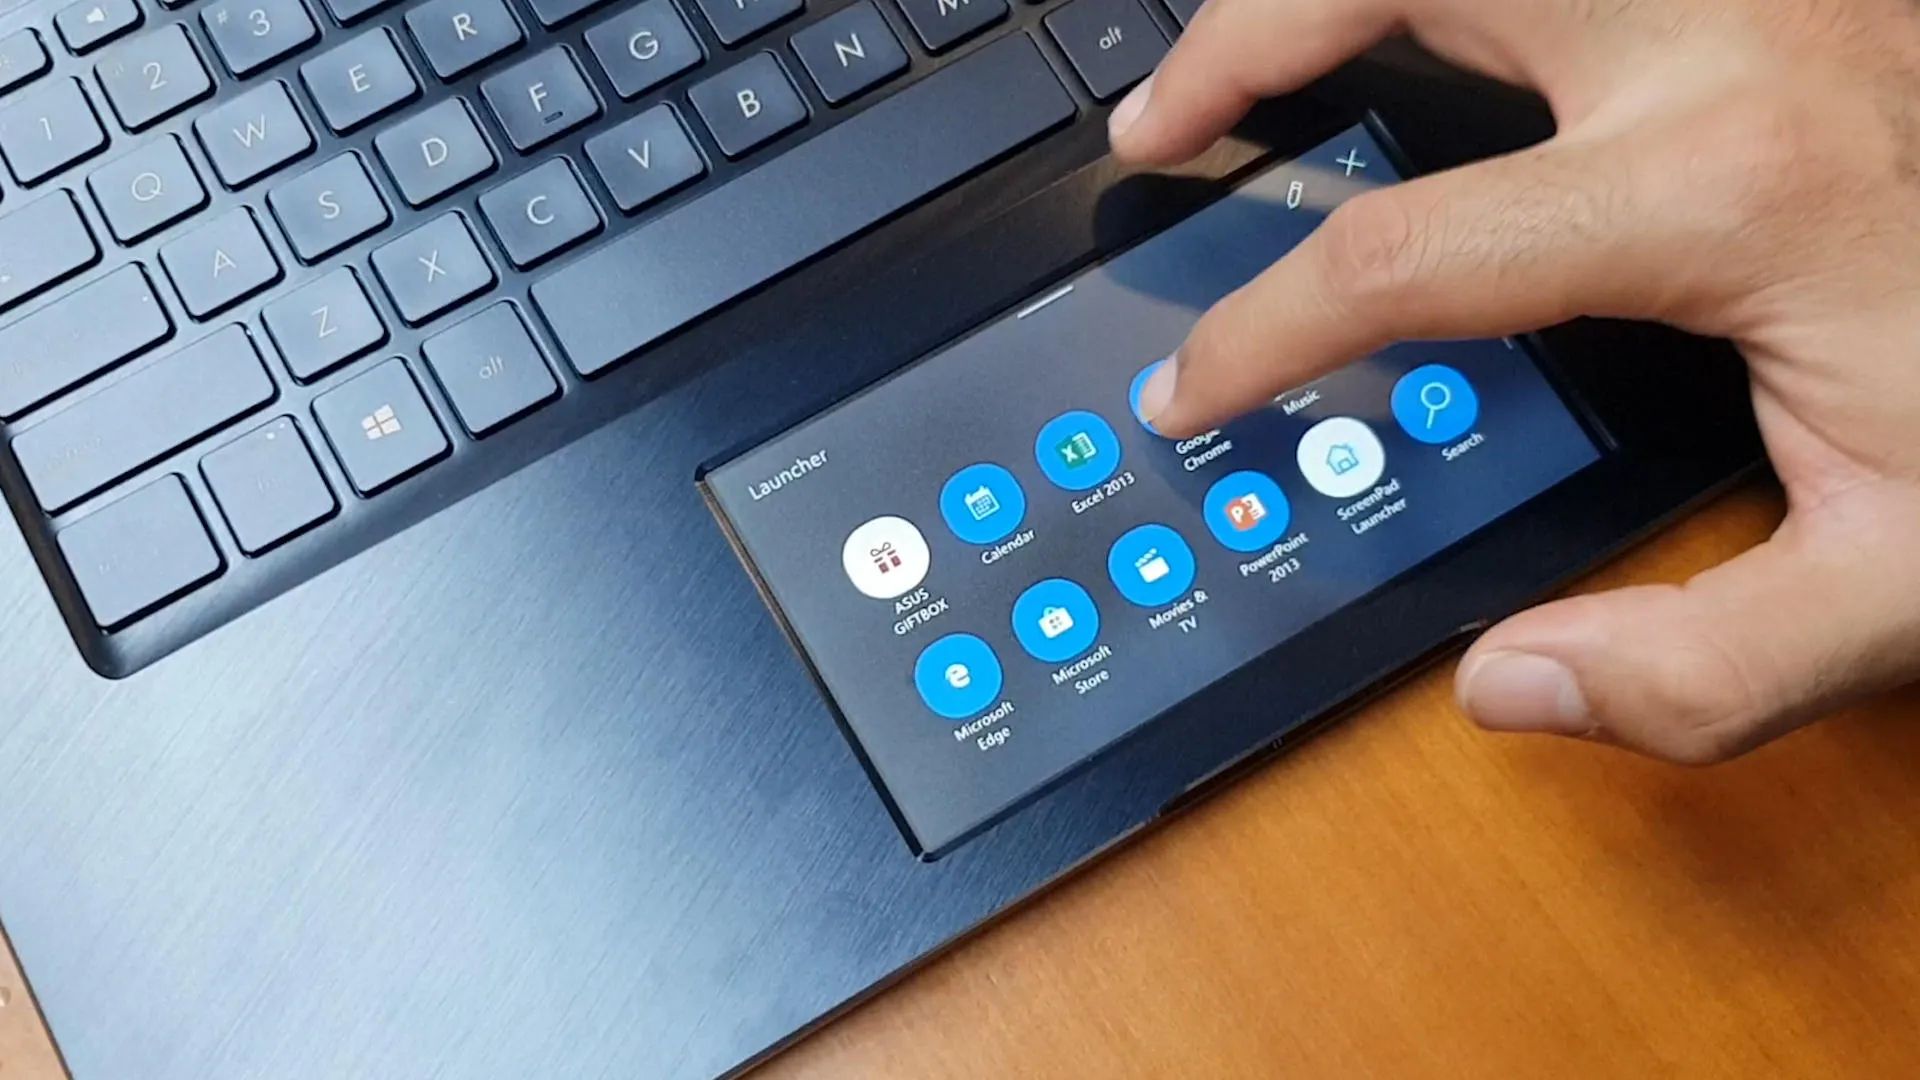
- Settings Menu: Access the Settings menu on your ASUS laptop and navigate to the “Devices” or “Mouse” section. Look for the touchpad settings and ensure that it’s enabled. You may also find additional customization options here, such as gestures and sensitivity settings, which can enhance your overall user experience.
By following these steps, you can effectively turn on the mouse pad on your ASUS laptop, addressing any issues related to its functionality. It’s important to explore these methods to identify the most suitable approach for your specific situation, ultimately restoring the convenience of using the laptop’s touchpad.
Adjusting Mouse Pad Settings
After turning on the mouse pad on your ASUS laptop, you may want to customize its settings to better suit your preferences and usage habits. ASUS laptops often offer various options for adjusting the touchpad settings, allowing you to enhance its responsiveness and functionality. Here’s how you can adjust the mouse pad settings to optimize your user experience:
- Gesture Settings: Explore the gesture settings for the touchpad, which enable you to perform actions such as scrolling, zooming, and navigating with intuitive gestures. Depending on your laptop model, you can customize these gestures to align with your preferred usage style, enhancing the overall efficiency of the touchpad.
- Sensitivity Adjustment: ASUS laptops typically provide the option to adjust the touchpad sensitivity. This feature allows you to fine-tune the responsiveness of the touchpad to match your desired level of control. Whether you prefer a more delicate touch or a firmer response, adjusting the sensitivity settings can significantly improve the touchpad experience.
- Additional Customization: Depending on your laptop model and the installed drivers, you may encounter additional customization options for the touchpad. These can include settings for palm rejection, tapping behavior, and cursor speed. Exploring these options can help tailor the touchpad to your specific needs, ensuring a seamless and personalized user experience.
By delving into the touchpad settings on your ASUS laptop, you can fine-tune its behavior to align with your preferences and optimize its functionality. These adjustments empower you to make the most of the touchpad, enhancing your overall productivity and comfort while using the laptop.


