Introduction
Welcome to the world of wireless gaming! Setting up your Logitech game controller for wireless use is an exciting endeavor that offers the freedom to play without being tethered to your device. Whether you're a casual gamer or a dedicated enthusiast, the convenience and flexibility of a wireless controller can enhance your gaming experience.
In this comprehensive guide, you'll learn how to set up your Logitech game controller for wireless use, step by step. From unboxing the controller to pairing it with the wireless receiver, this guide will walk you through the entire process, ensuring that you can start gaming wirelessly in no time.
The Logitech game controller provides a seamless and responsive gaming experience, and by setting it up wirelessly, you can eliminate the constraints of wired connections and enjoy a greater range of motion while playing your favorite games. With the freedom to move around without being restricted by cables, you can immerse yourself fully in the gaming environment and enjoy a more immersive and enjoyable gaming experience.
Whether you're using your controller with a gaming console, PC, or mobile device, the steps outlined in this guide will help you set up your Logitech game controller for wireless use, allowing you to unleash the full potential of your gaming setup. So, let's dive in and get started with unboxing your Logitech game controller!
Step 1: Unboxing the Logitech Game Controller
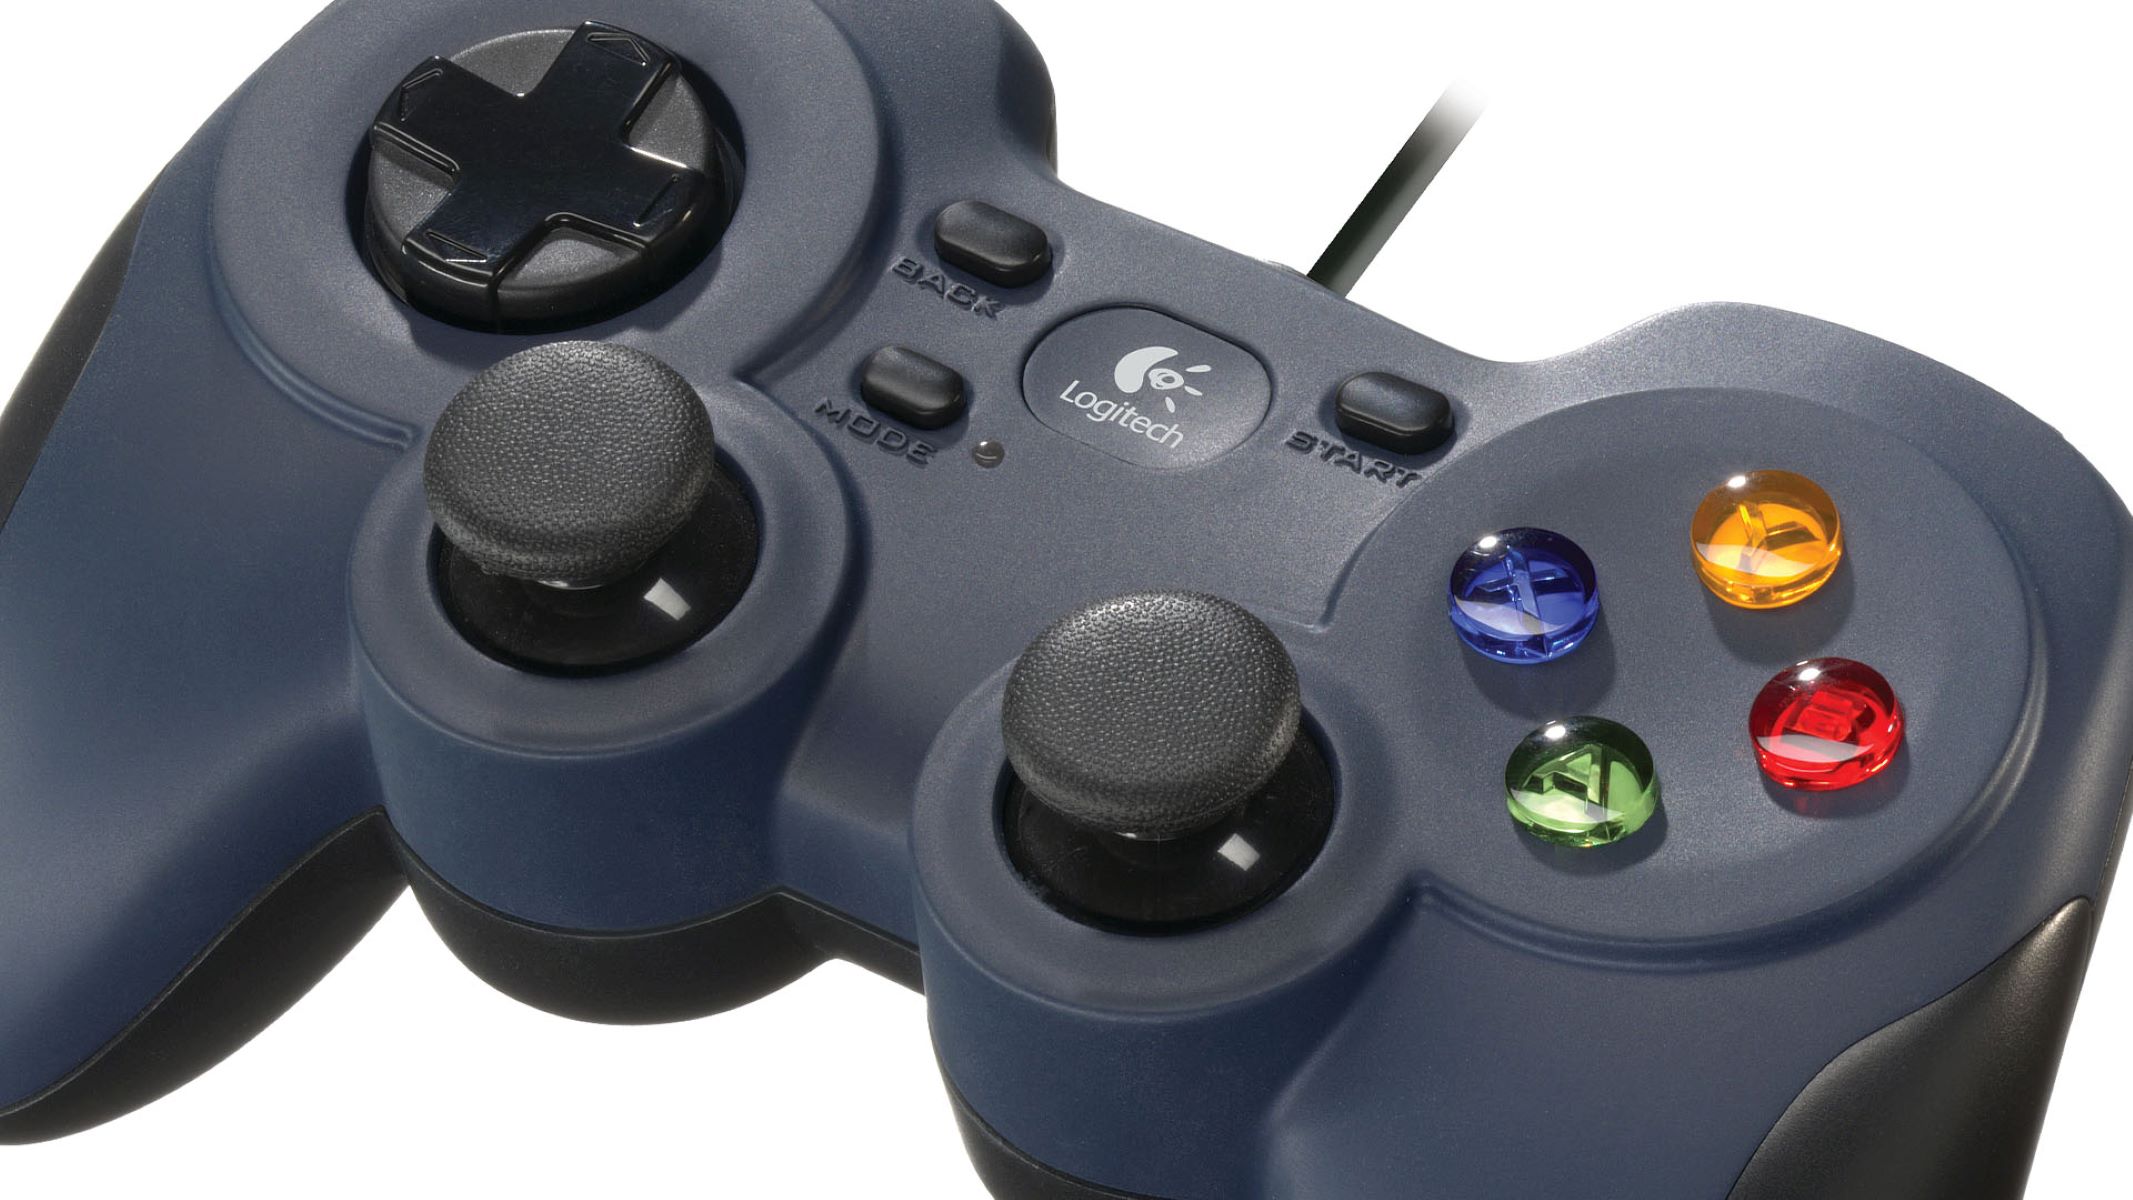
Before you can start using your Logitech game controller wirelessly, you need to unbox it and familiarize yourself with its components. The unboxing process sets the stage for the setup and ensures that you have all the necessary parts at your disposal.
When you unbox your Logitech game controller, you will typically find the following items:
- The Logitech game controller
- Wireless receiver
- Batteries (if not pre-installed)
- Instruction manual
Once you have unboxed the controller, carefully inspect each item to ensure that nothing is damaged or missing. Familiarize yourself with the layout of the controller, the location of buttons and triggers, and any additional features it may have.
It’s important to handle the controller and its components with care during the unboxing process to prevent any damage. Take your time to appreciate the design and build quality of the controller, as well as the attention to detail that Logitech is known for.
By unboxing the Logitech game controller thoroughly, you’ll be better prepared for the subsequent steps of the setup process. With the controller in hand and the wireless receiver at the ready, you’re one step closer to enjoying the freedom of wireless gaming. Now, let’s move on to the next step: installing the batteries.
Step 2: Installing the Batteries
Once you have unboxed your Logitech game controller, the next step is to install the batteries. While some controllers come with pre-installed batteries, others may require you to insert the batteries yourself. This step is crucial for ensuring that your controller has the power it needs to function wirelessly.
Before installing the batteries, it’s essential to refer to the instruction manual that came with your controller. The manual will provide specific guidance on the type of batteries required and the correct way to install them. Typically, Logitech game controllers use AA or AAA batteries, but it’s important to verify this information to avoid any compatibility issues.
When installing the batteries, pay close attention to the polarity markings inside the battery compartment. Ensure that you insert the batteries in the correct orientation to prevent damage to the controller. Once the batteries are in place, securely close the battery compartment to complete the installation process.
Installing fresh, high-quality batteries is recommended to ensure optimal performance and battery life for your wireless controller. With the batteries properly installed, your Logitech game controller is now ready to receive power and be paired with the wireless receiver, bringing you one step closer to enjoying wireless gaming freedom.
Now that the batteries are in place, you’re ready to move on to the next step: connecting the wireless receiver to your gaming device. This pivotal step will establish the wireless connection that enables you to use the controller without being tethered by cables. Let’s proceed to the next step and continue the setup process.
Step 3: Connecting the Wireless Receiver
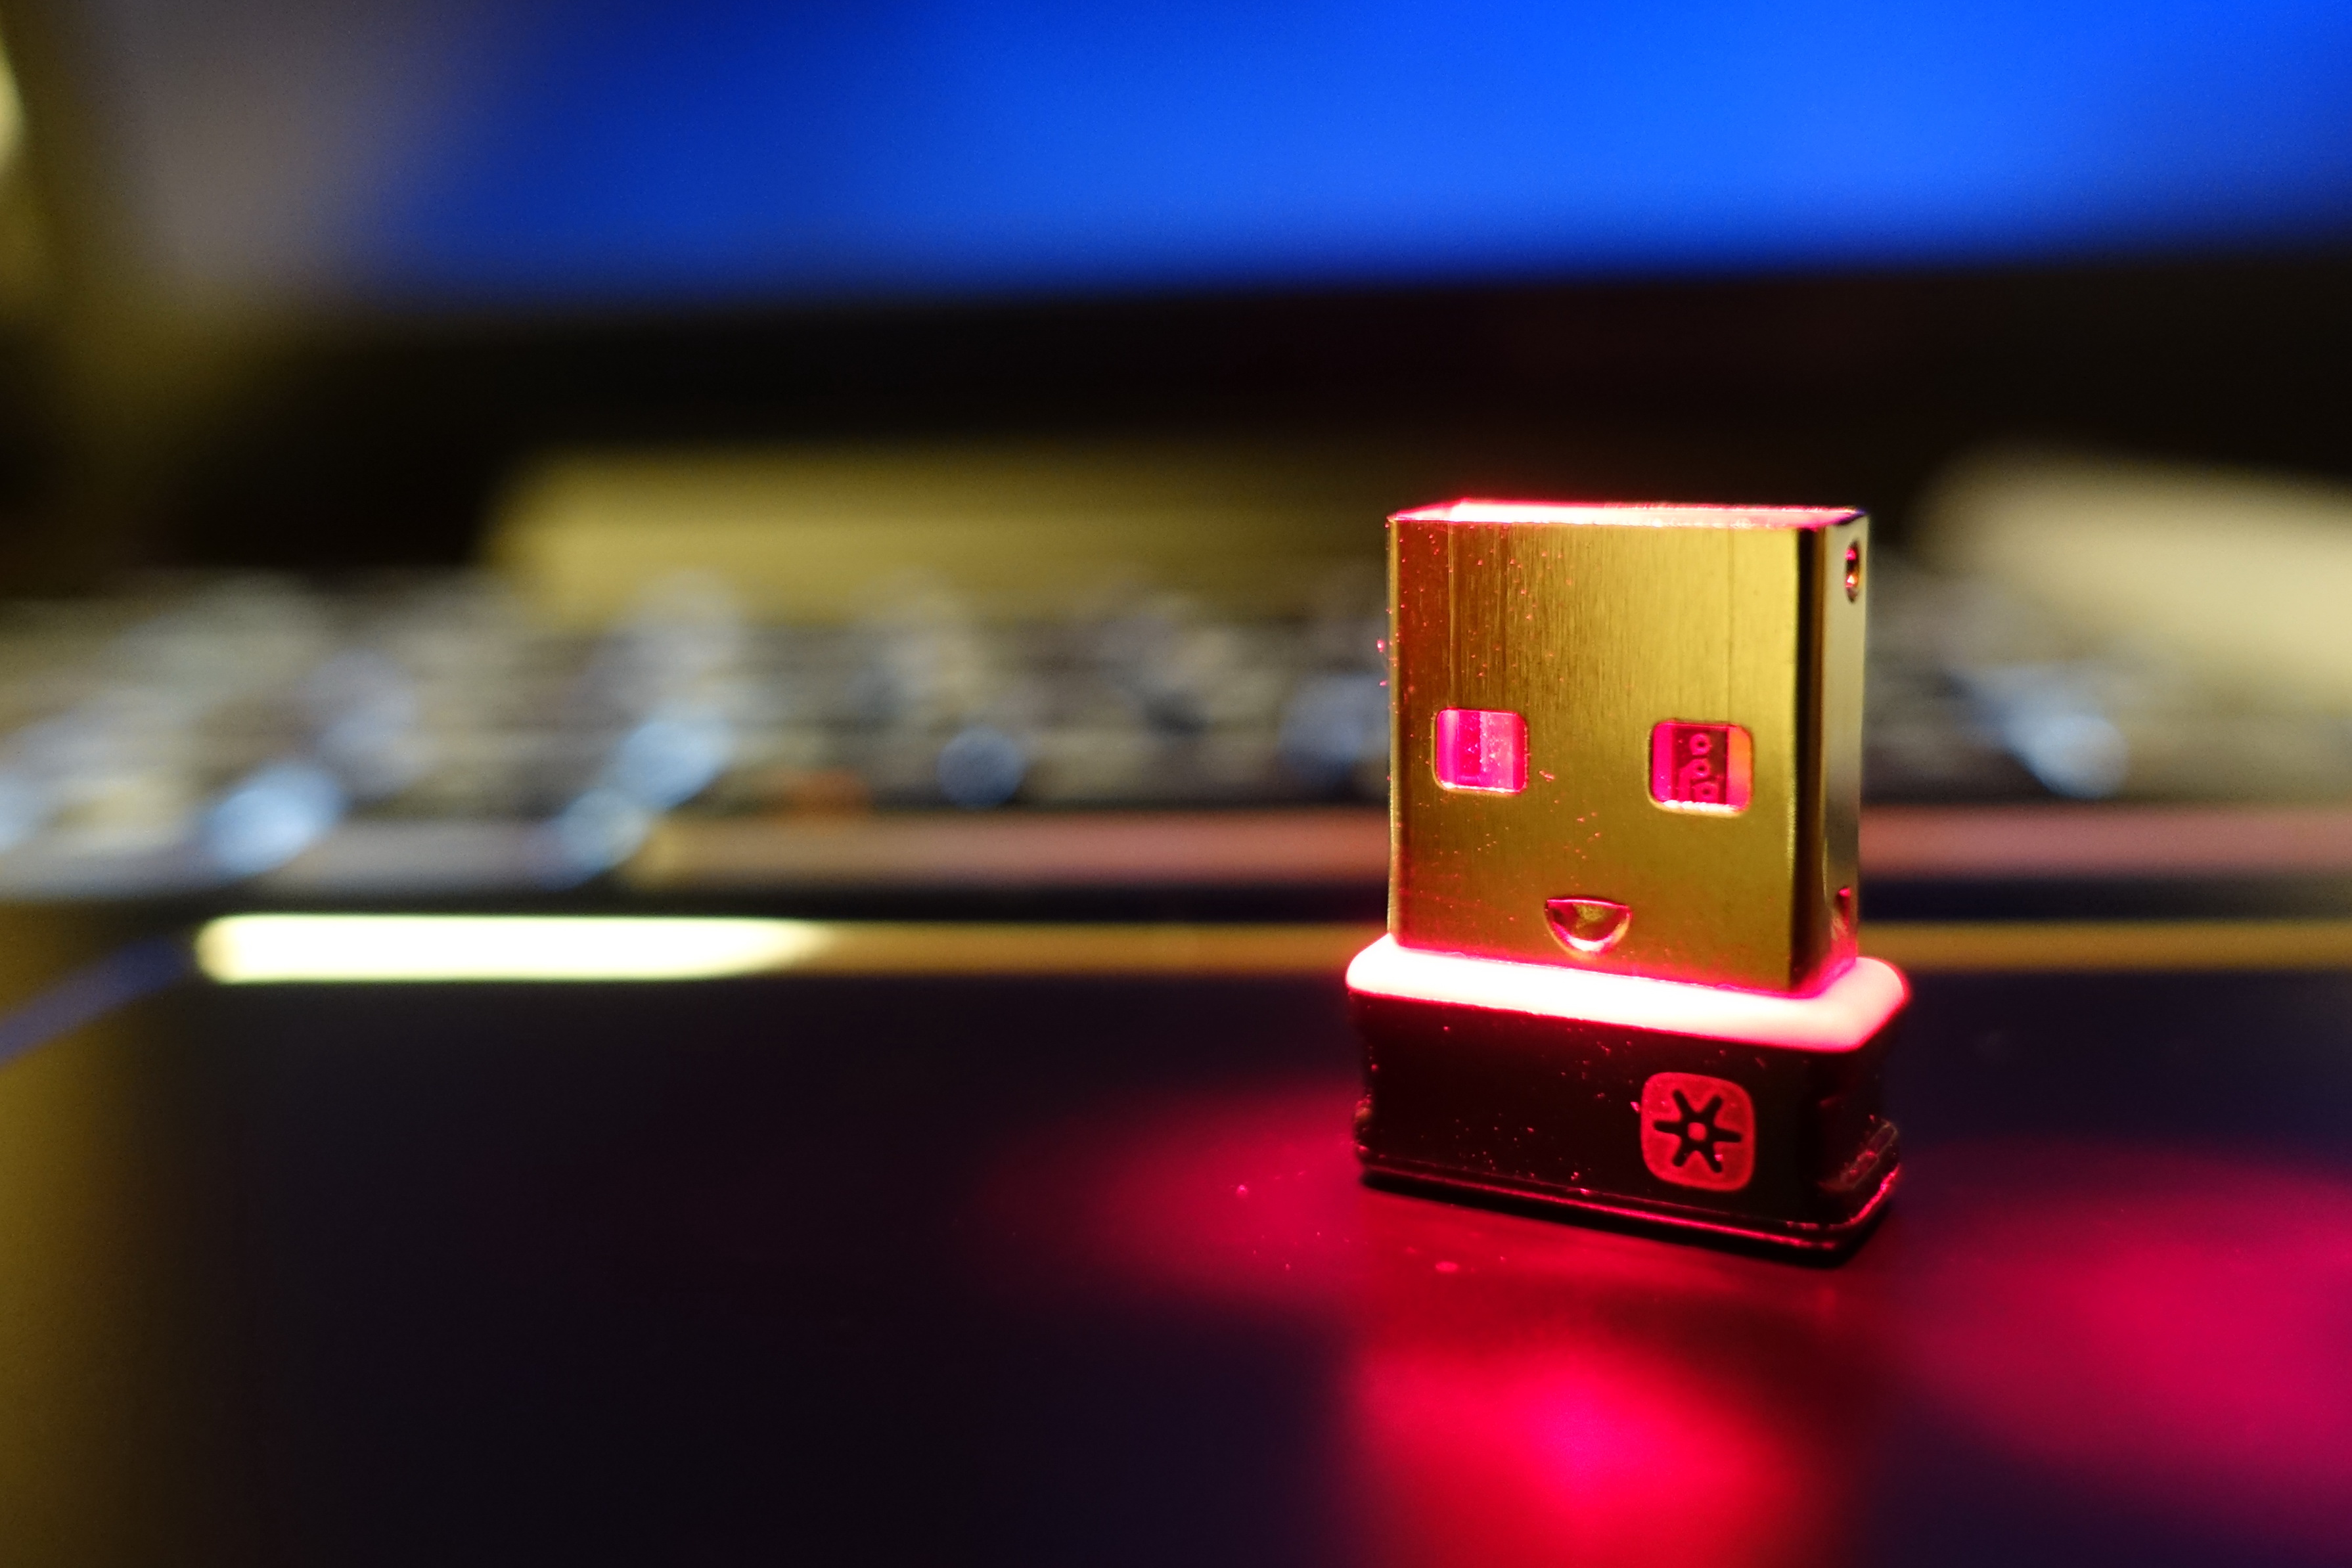
With the batteries installed in your Logitech game controller, the next step is to connect the wireless receiver to your gaming device. The wireless receiver serves as the intermediary between your controller and the gaming device, enabling seamless communication and allowing you to play wirelessly.
Locate the wireless receiver that came with your Logitech game controller. It is typically a small USB device that plugs into a USB port on your gaming device. Before connecting the receiver, ensure that the gaming device is powered on and ready to receive the wireless signal from the controller.
Insert the wireless receiver into an available USB port on your gaming device. If your gaming device has multiple USB ports, choose a port that is easily accessible and provides a clear line of sight to the controller, as this can optimize the wireless connection’s performance.
Once the receiver is plugged in, your gaming device will automatically recognize and configure it. In some cases, you may need to install device drivers or software provided by Logitech to ensure seamless compatibility and functionality. Follow the instructions in the controller’s manual or on Logitech’s website to complete this process.
After connecting the wireless receiver, you’re one step closer to experiencing the freedom of wireless gaming. The receiver serves as the bridge that allows your Logitech game controller to communicate with the gaming device, enabling you to play without the constraints of wired connections.
Now that the wireless receiver is connected, the next step is to pair the controller with the receiver, establishing the crucial link that will enable you to control your games wirelessly. Let’s move on to the next step and continue the setup process.
Step 4: Pairing the Controller with the Receiver
After connecting the wireless receiver, the next pivotal step in setting up your Logitech game controller for wireless use is pairing the controller with the receiver. Pairing establishes a secure and reliable connection between the two devices, allowing seamless communication and ensuring that your controller responds accurately to your gaming inputs.
To initiate the pairing process, ensure that the gaming device is powered on and the wireless receiver is plugged into an available USB port. On your Logitech game controller, locate the pairing button, which is typically located on the underside or near the battery compartment. Press and hold the pairing button until the controller’s status light begins to blink, indicating that it is in pairing mode.
Simultaneously, locate the pairing button on the wireless receiver. Press and hold the receiver’s pairing button until its status light also begins to blink. This action signals that the receiver is ready to pair with the controller. The blinking lights on both the controller and the receiver indicate that they are actively searching for each other to establish a connection.
Once the blinking lights on both devices synchronize and remain solid, it signifies that the pairing process is successful, and the controller is now wirelessly linked to the receiver. At this point, the controller is ready to be used for gaming, and you can enjoy the freedom of wireless gameplay without the limitations of wired connections.
By successfully pairing your Logitech game controller with the wireless receiver, you have unlocked the potential for immersive and responsive gaming experiences. The secure wireless connection ensures that your gaming inputs are accurately transmitted to the gaming device, allowing you to fully engage in your favorite games without being tethered by cables.
With the controller successfully paired with the receiver, the final step in the setup process is to test the controller and ensure that it functions as expected. Let’s move on to the next step and put your wireless Logitech game controller to the test.
Step 5: Testing the Controller
Now that your Logitech game controller is successfully paired with the wireless receiver, it’s time to put it to the test and ensure that it functions as expected. Testing the controller allows you to verify its responsiveness, button functionality, and overall performance, ensuring that it is ready for seamless and enjoyable wireless gaming.
Begin by launching a game or application on your gaming device that is compatible with the Logitech game controller. Navigate through the game’s menus and interface using the controller to confirm that all buttons, triggers, and joysticks respond accurately to your inputs. This initial test ensures that the controller’s inputs are correctly registered by the gaming device.
Once in-game, engage in gameplay that requires various controller inputs, such as movement, aiming, and action commands. Test the controller’s responsiveness and accuracy by performing a range of in-game actions, including character movement, weapon aiming, and interaction with in-game objects. This comprehensive test allows you to assess the controller’s performance across different gaming scenarios.
Pay attention to the controller’s ergonomics and comfort during gameplay, ensuring that it provides a comfortable and intuitive gaming experience. Assess the controller’s grip, button placement, and overall feel to determine whether it meets your preferences and enhances your gaming enjoyment.
During the testing phase, take note of any issues or inconsistencies with the controller’s performance, such as input lag, unresponsive buttons, or connectivity disruptions. If you encounter any issues, refer to the troubleshooting section of the controller’s manual or seek assistance from Logitech’s customer support to address and resolve the issues effectively.
By thoroughly testing your Logitech game controller, you can be confident that it is fully functional and ready to deliver an exceptional wireless gaming experience. The successful completion of the testing phase signifies that your controller is primed for extended gaming sessions, providing you with the freedom and flexibility of wireless gameplay.
Congratulations! You have successfully set up and tested your Logitech game controller for wireless use. With the controller functioning seamlessly, you can now immerse yourself in your favorite games and enjoy the freedom of wireless gaming without the constraints of wired connections.
Conclusion
Congratulations on successfully setting up your Logitech game controller for wireless use! By following the step-by-step guide outlined in this comprehensive tutorial, you have unlocked the freedom and flexibility of wireless gaming, allowing you to immerse yourself fully in your favorite games without the limitations of wired connections.
Unboxing the Logitech game controller marked the beginning of your journey toward wireless gaming, as you familiarized yourself with its components and design. Installing the batteries ensured that your controller had the necessary power to function wirelessly, setting the stage for a seamless setup process.
Connecting the wireless receiver to your gaming device established the crucial link that enabled wireless communication between the controller and the gaming device, paving the way for a liberating gaming experience. Pairing the controller with the receiver solidified the wireless connection, ensuring that your gaming inputs are accurately transmitted without latency or disruptions.
Testing the controller allowed you to verify its responsiveness, button functionality, and overall performance, ensuring that it met your gaming needs and preferences. By thoroughly testing the controller, you gained confidence in its ability to deliver an exceptional gaming experience, free from the constraints of wired connections.
As you embark on your wireless gaming journey with your Logitech game controller, remember to explore the diverse gaming experiences and genres that are now accessible to you. Whether you’re engaging in fast-paced action games, immersive role-playing adventures, or competitive multiplayer battles, the wireless setup of your controller offers unparalleled freedom and flexibility.
With your Logitech game controller seamlessly integrated into your gaming setup, you can look forward to countless hours of immersive and enjoyable gameplay, unhindered by the limitations of wired connections. Embrace the freedom of wireless gaming and unleash your gaming prowess with the confidence that your Logitech game controller is ready to elevate your gaming experiences.
Thank you for embarking on this wireless gaming journey with us. We hope that this guide has empowered you to enjoy the full potential of your Logitech game controller and experience gaming in a new, liberating light. Happy gaming!