Introduction
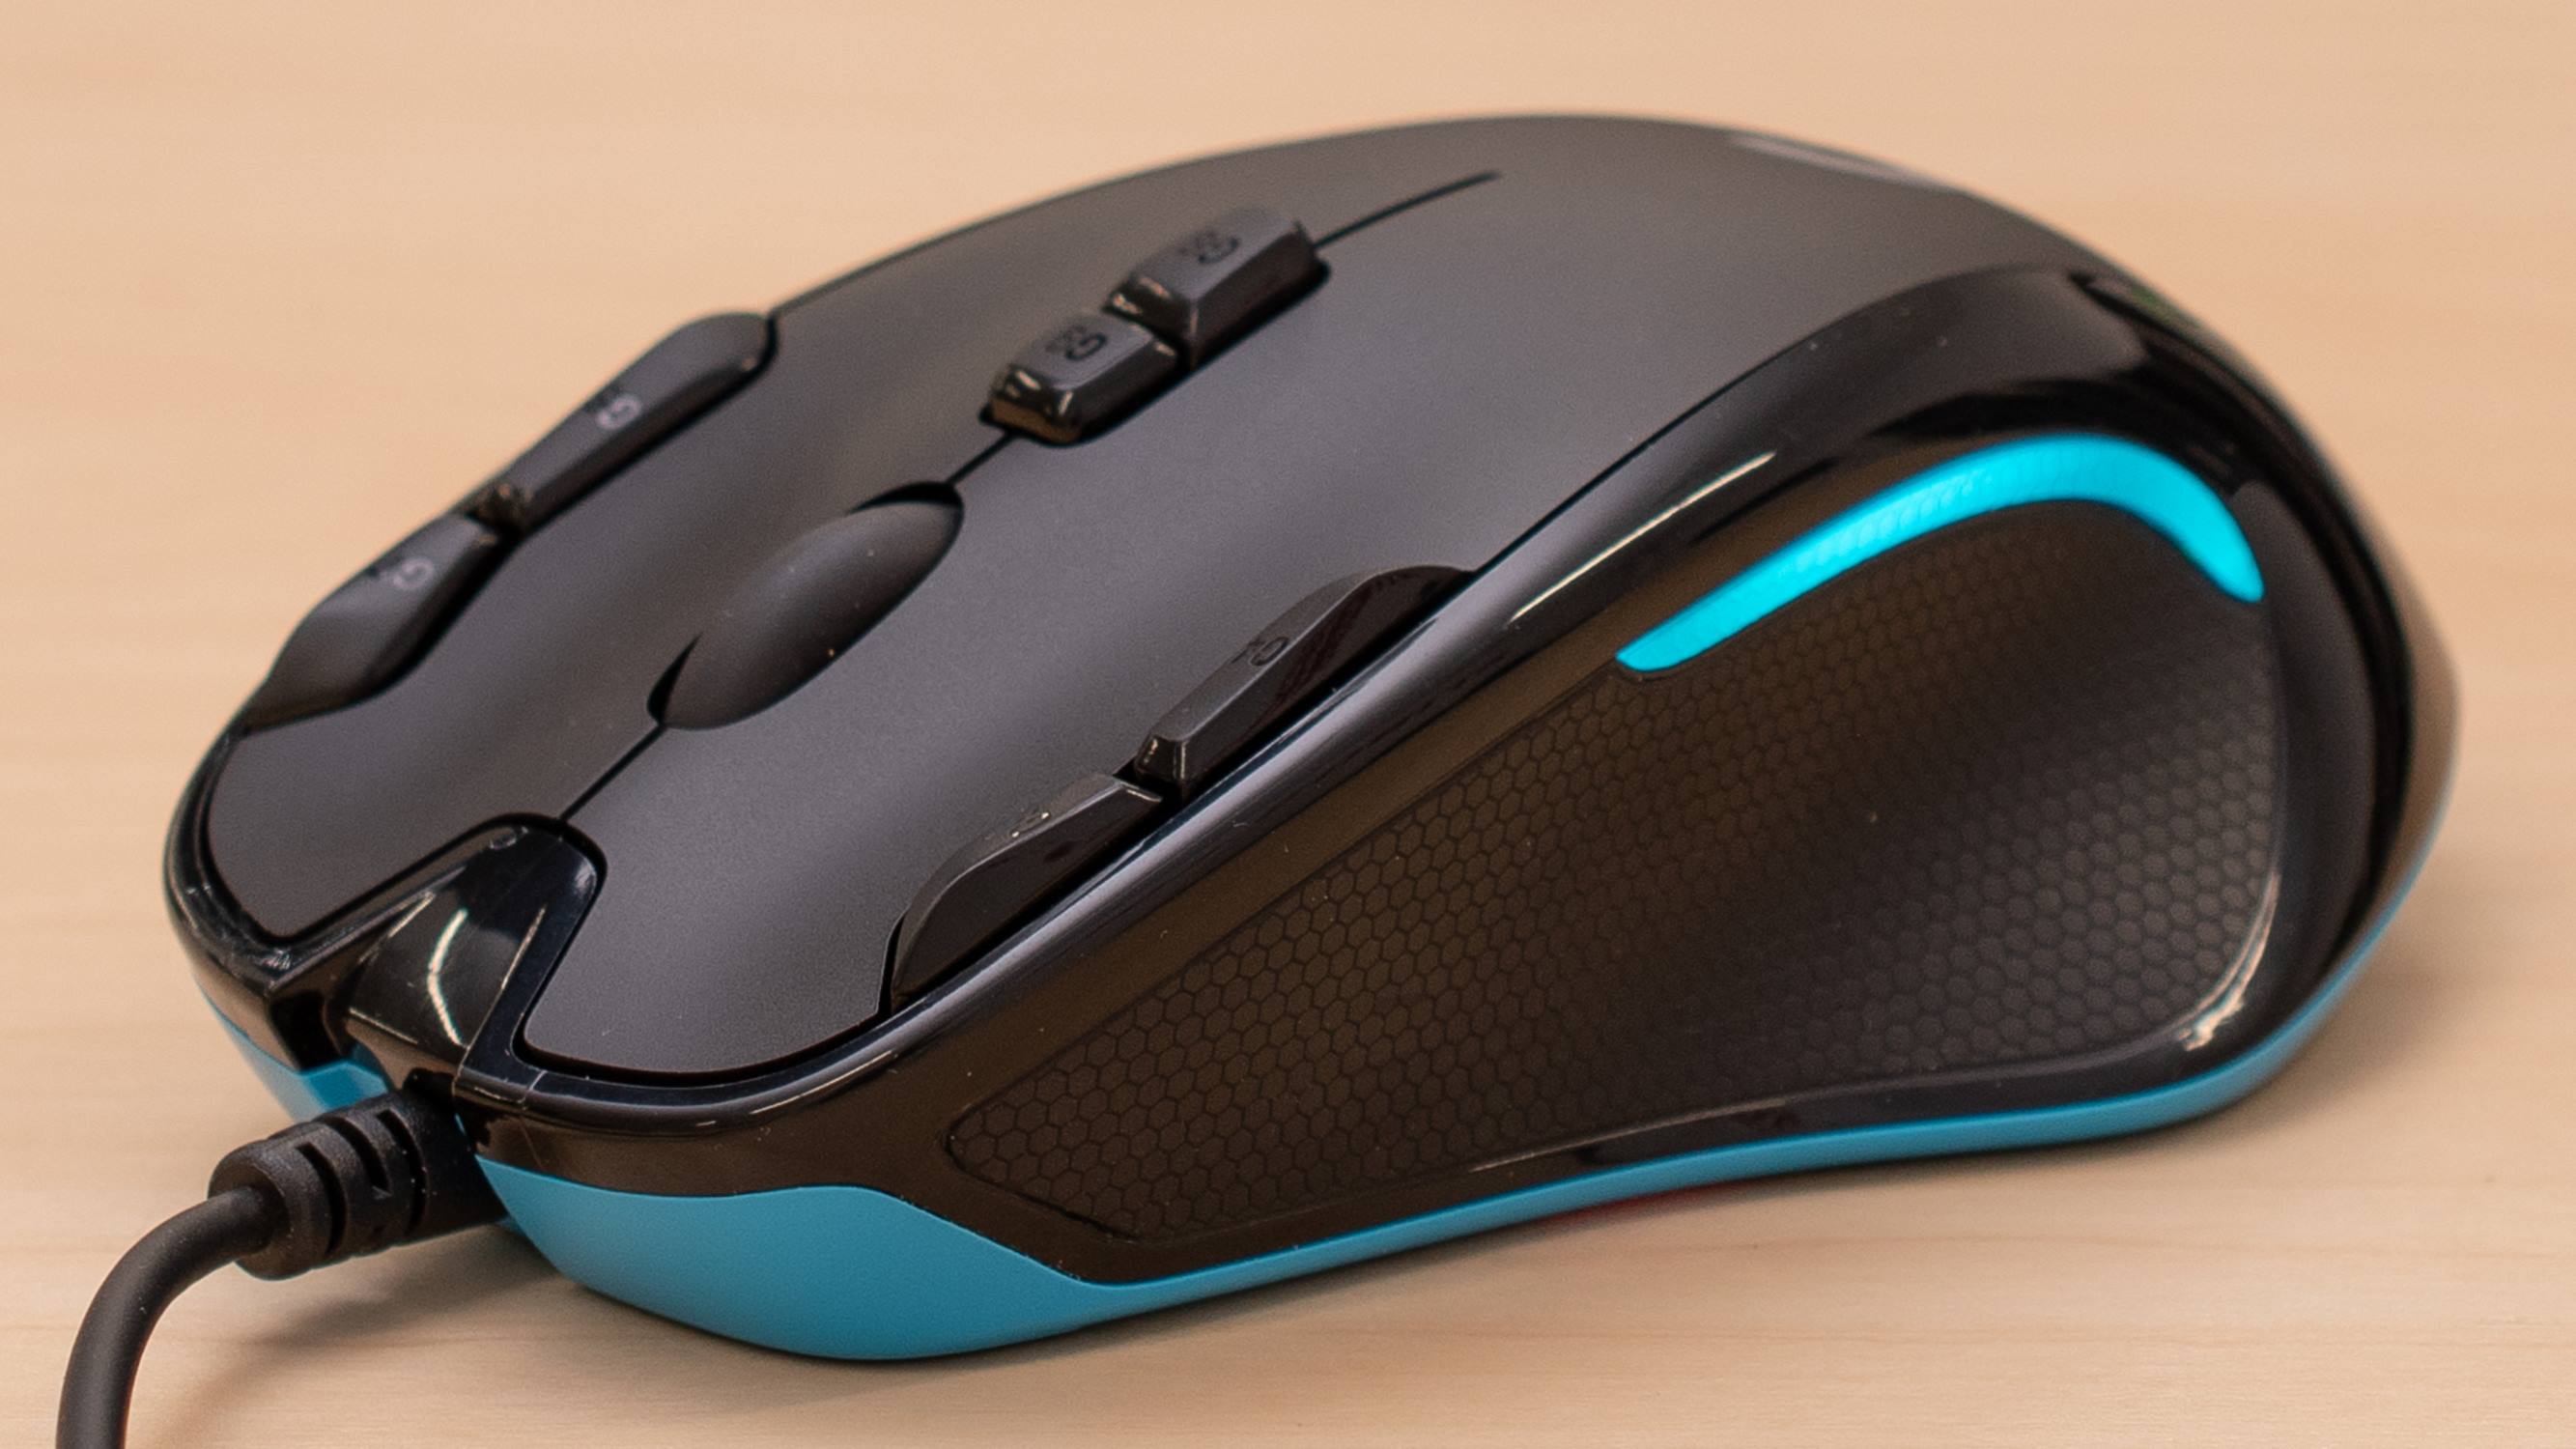
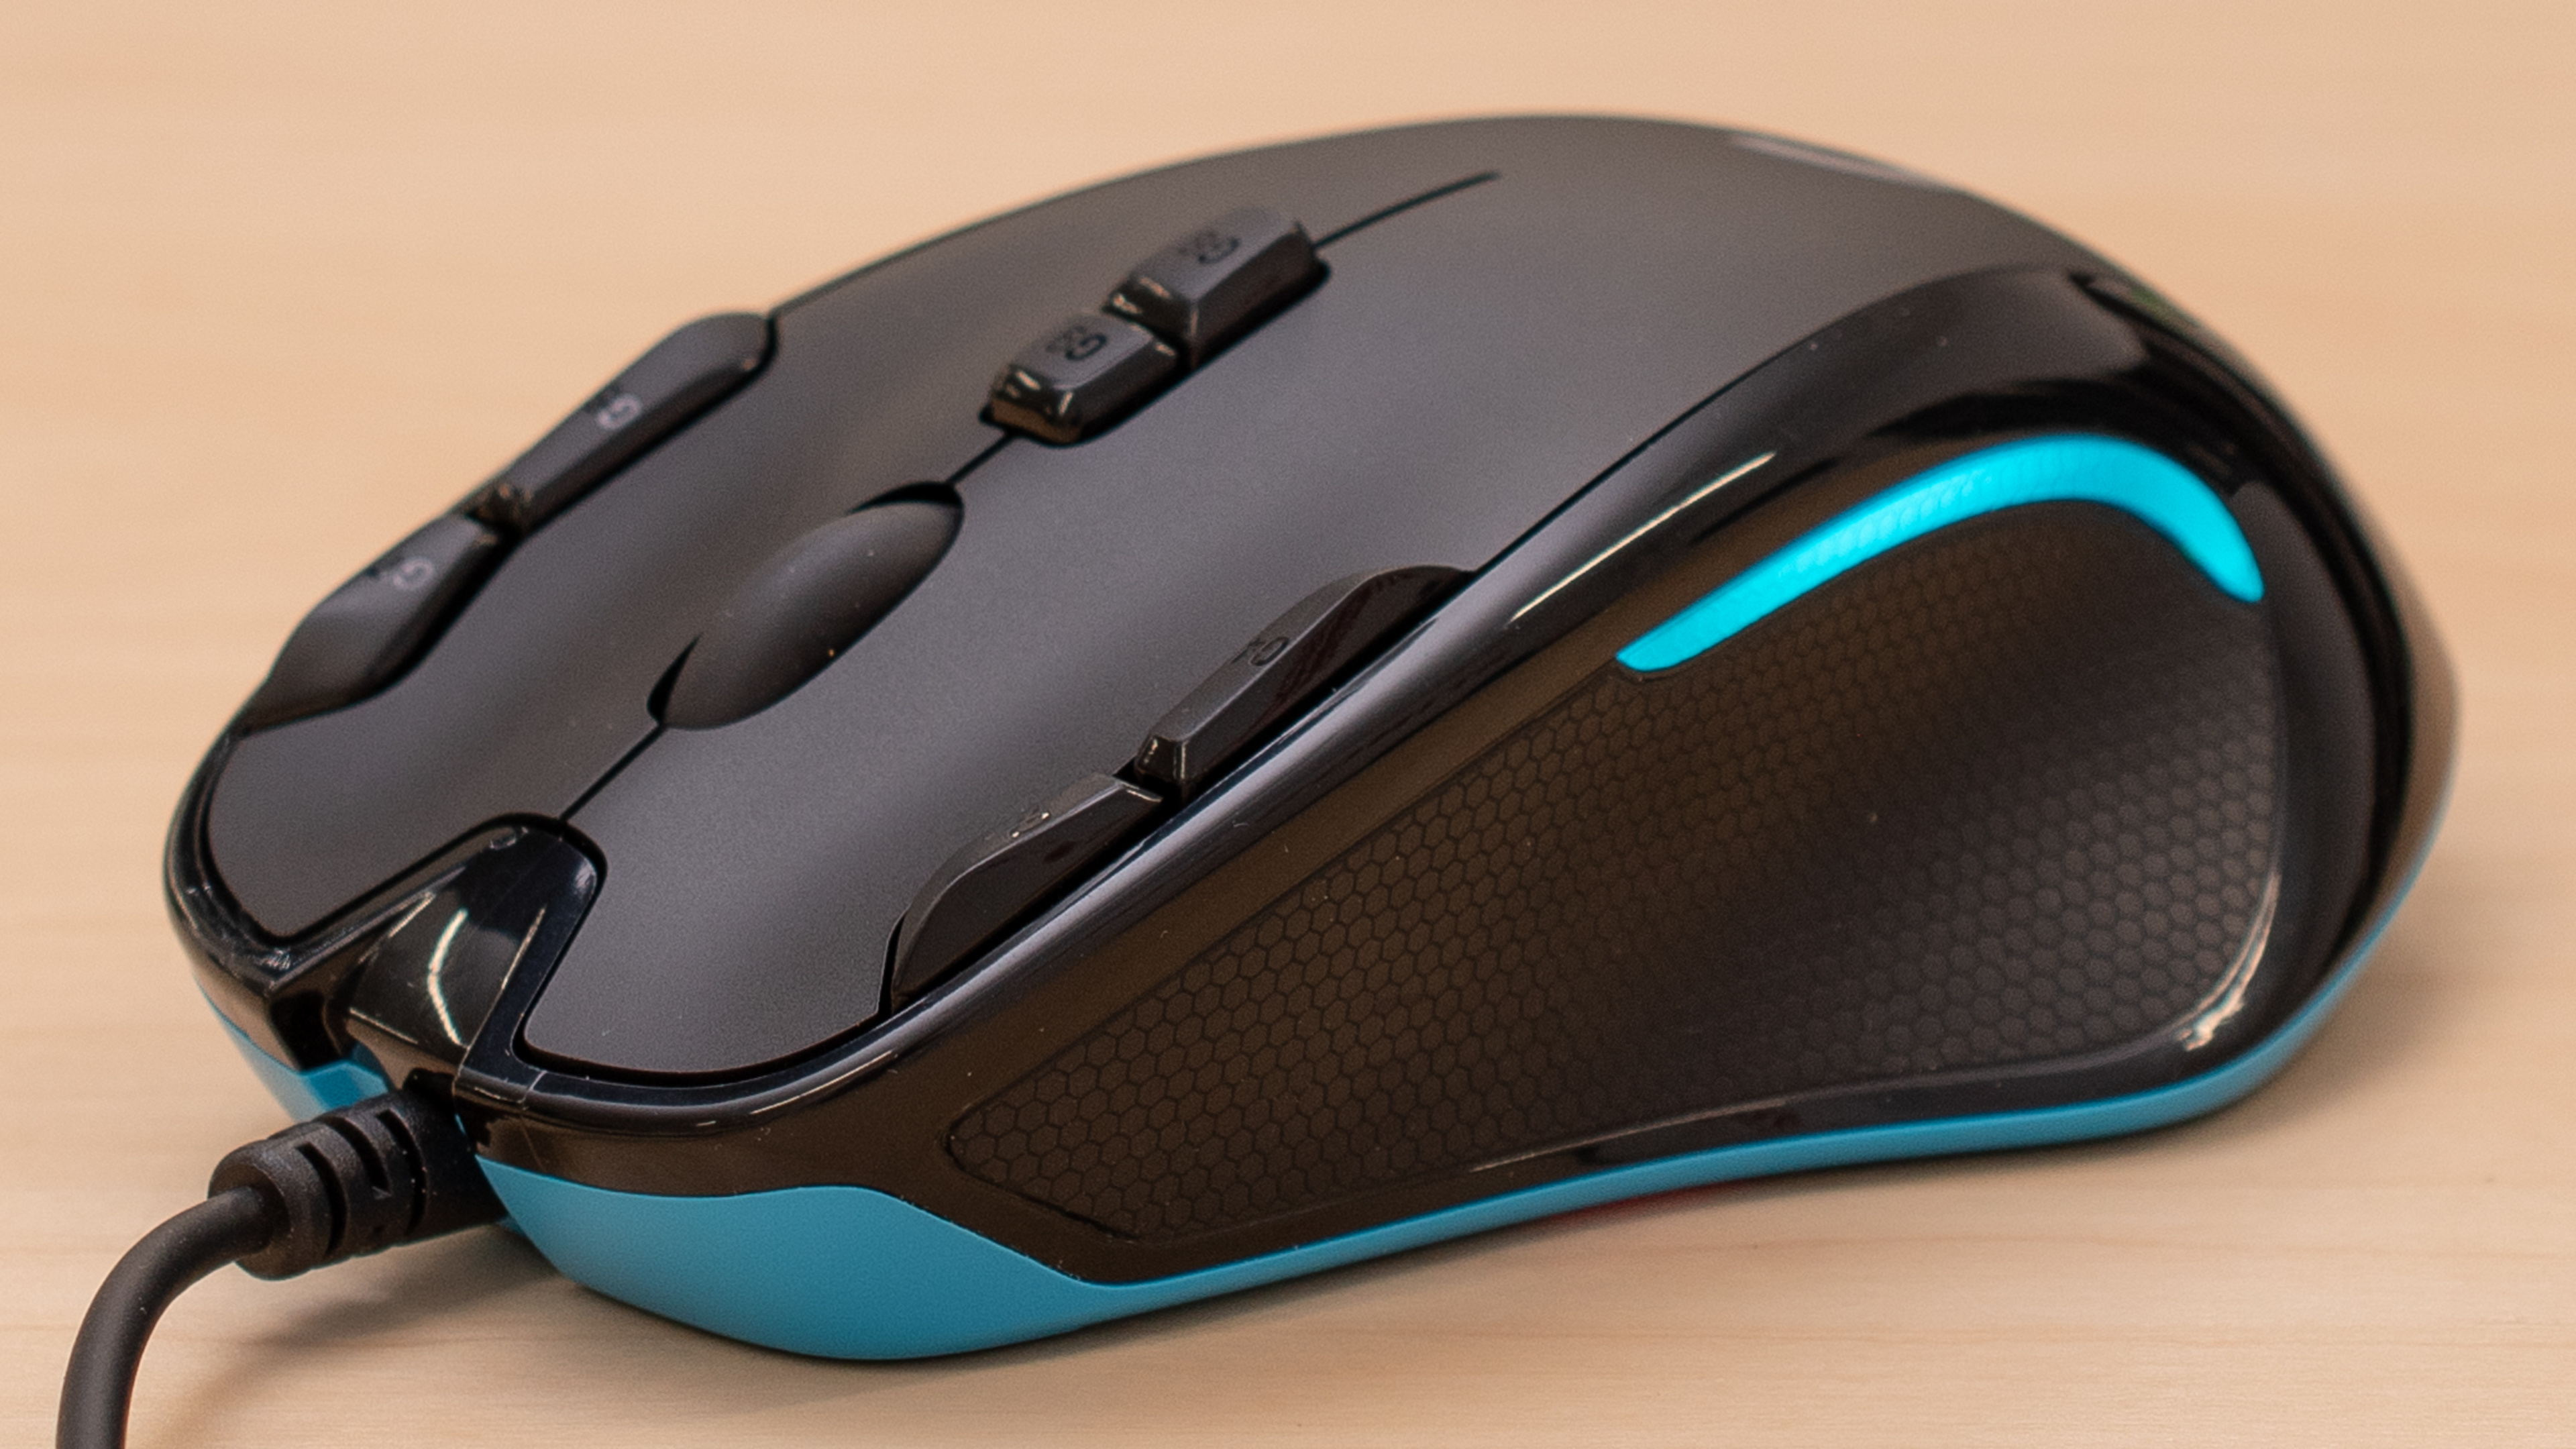
Are you looking to enhance your gaming experience by setting up an autoclicker on your Logitech Gaming Mouse G300? Autoclickers can be incredibly useful in various games, providing a competitive edge and streamlining repetitive tasks. The Logitech Gaming Mouse G300 offers a versatile platform for customizing your gaming experience, and with the right software and settings, you can easily configure an autoclicker to suit your gaming needs.
In this guide, we will walk you through the process of setting up an autoclicker on your Logitech Gaming Mouse G300, from downloading and installing the Logitech Gaming Software to connecting the mouse and configuring the autoclicker settings. By following these steps, you can optimize your gaming mouse for seamless autoclicker functionality, allowing you to focus on your gameplay without the hassle of manual clicking.
Whether you're delving into the world of MMOs, honing your skills in a strategy game, or simply looking to automate repetitive tasks, the Logitech Gaming Mouse G300's autoclicker feature can be a game-changer. With our comprehensive guide, you'll be equipped with the knowledge and tools to unleash the full potential of your gaming mouse and elevate your gaming experience. Let's dive into the step-by-step process of setting up the autoclicker on your Logitech Gaming Mouse G300.
Step 1: Downloading the Logitech Gaming Software
Before delving into the configuration of the autoclicker on your Logitech Gaming Mouse G300, you’ll need to ensure that you have the Logitech Gaming Software installed on your computer. This software serves as the control center for customizing and optimizing your Logitech gaming peripherals, including the Gaming Mouse G300.
To begin, navigate to the official Logitech website and locate the Logitech Gaming Software download page. Ensure that you are downloading the latest version of the software to access the full range of features and optimizations for your gaming mouse. Once you’ve located the download page, click on the appropriate link to initiate the download of the Logitech Gaming Software installer.
Once the download is complete, locate the installer file in your designated download directory and double-click on it to launch the installation process. Follow the on-screen instructions to complete the installation of the Logitech Gaming Software on your computer. Upon successful installation, you’ll have access to a powerful suite of tools and settings to personalize your Logitech Gaming Mouse G300, including the ability to configure the autoclicker feature.
With the Logitech Gaming Software installed, you’re one step closer to unlocking the full potential of your Logitech Gaming Mouse G300. This intuitive software will serve as the gateway to customizing and fine-tuning your gaming mouse to cater to your specific gaming preferences and requirements. Now that you have the Logitech Gaming Software at your disposal, let’s proceed to the next step of setting up the autoclicker on your Gaming Mouse G300.
Step 2: Installing the Logitech Gaming Software
After successfully downloading the Logitech Gaming Software, the next vital step is to install the software on your computer. The installation process is straightforward and user-friendly, ensuring that you can swiftly access the full suite of customization options for your Logitech Gaming Mouse G300.
Locate the downloaded Logitech Gaming Software installer file in your designated download directory and double-click on it to initiate the installation process. Follow the on-screen prompts to proceed with the installation, ensuring that you agree to any necessary terms and conditions as prompted. The installer will guide you through the installation steps, allowing you to select your preferred installation directory and additional settings as needed.
As the installation progresses, the Logitech Gaming Software will be seamlessly integrated into your system, ready to empower you with the tools to optimize your gaming mouse. Once the installation is complete, launch the Logitech Gaming Software to ensure that it is successfully installed and ready for configuration.
With the Logitech Gaming Software now installed on your computer, you have gained access to a wealth of customization options and features that will elevate your gaming experience with the Logitech Gaming Mouse G300. From configuring the autoclicker to fine-tuning button assignments and sensitivity settings, the Logitech Gaming Software provides a comprehensive platform for tailoring your gaming mouse to your unique preferences and gaming style.
Now that you have successfully installed the Logitech Gaming Software, you are poised to embark on the next steps of setting up the autoclicker on your Logitech Gaming Mouse G300. The installation of the software marks a pivotal milestone in harnessing the full potential of your gaming mouse, and with the software at your fingertips, you are ready to delve into the intricacies of customizing your Logitech Gaming Mouse G300 to align with your gaming aspirations.
Step 3: Connecting the Gaming Mouse G300
Now that the Logitech Gaming Software is installed on your computer, it’s time to connect your Logitech Gaming Mouse G300 and ensure that it is seamlessly integrated with the software. The connection process is simple and essential for enabling the customization and configuration of your gaming mouse, including the setup of the autoclicker feature.
Begin by locating an available USB port on your computer and carefully insert the USB connector of the Logitech Gaming Mouse G300. Ensure that the connection is secure to establish a reliable link between the gaming mouse and your computer. Upon connecting the mouse, your computer should automatically recognize the device and initiate the necessary driver installations to ensure proper functionality.
Once the Logitech Gaming Mouse G300 is successfully connected to your computer, launch the Logitech Gaming Software to confirm that the mouse is detected and ready for customization. Within the software interface, you should be able to identify the connected Gaming Mouse G300 and access its settings and features, including the option to configure the autoclicker to suit your gaming requirements.
With the gaming mouse successfully connected and recognized by the Logitech Gaming Software, you have laid the groundwork for tailoring the mouse to your specific gaming preferences. The seamless connection between the Gaming Mouse G300 and the software ensures that you can fully leverage the customization capabilities of the mouse, empowering you to optimize its performance and functionality according to your gaming needs.
Now that your Logitech Gaming Mouse G300 is connected and ready for customization, you are well-positioned to proceed to the next crucial step: setting up the autoclicker feature on your gaming mouse. The successful connection of the gaming mouse marks a pivotal juncture in preparing the device for personalized configuration, setting the stage for a tailored gaming experience that aligns with your gaming style and objectives.
Step 4: Setting Up Autoclicker on the Gaming Mouse G300
With the Logitech Gaming Software installed, the Logitech Gaming Mouse G300 connected to your computer, and the stage set for customization, it’s time to delve into the process of setting up the autoclicker feature on your gaming mouse. The autoclicker can be a valuable asset in various gaming scenarios, automating repetitive clicking tasks and providing a competitive edge in gameplay.
Launch the Logitech Gaming Software and navigate to the section dedicated to the Logitech Gaming Mouse G300. Within the software interface, you’ll find a range of customization options, including the ability to configure button assignments, sensitivity settings, and, crucially, the autoclicker feature. Locate the autoclicker settings within the software to begin customizing its behavior to align with your gaming requirements.
Upon accessing the autoclicker settings, you’ll be presented with options to define the clicking interval, duration, and activation method. Tailor these settings to suit the specific gameplay or task for which you intend to use the autoclicker. Whether you’re aiming to streamline resource gathering in a strategy game or optimize your performance in a click-intensive scenario, the autoclicker settings can be fine-tuned to accommodate your needs.
Once you have configured the autoclicker settings to your satisfaction, ensure that the feature is activated and ready for use. Test the autoclicker within the Logitech Gaming Software to verify its functionality and ensure that it aligns with your intended use case. By validating the autoclicker’s behavior within the software, you can fine-tune its settings as needed to achieve the desired performance.
With the autoclicker feature successfully configured and activated on your Logitech Gaming Mouse G300, you are now equipped with a powerful tool to streamline repetitive clicking tasks and optimize your gaming experience. The autoclicker’s seamless integration with the Logitech Gaming Software empowers you to harness the full potential of your gaming mouse, enhancing your efficiency and precision in various gaming scenarios.
By following these steps and customizing the autoclicker feature to align with your gaming needs, you have unlocked a valuable capability within your Logitech Gaming Mouse G300. The autoclicker stands as a testament to the versatility and customization options offered by Logitech’s gaming peripherals, providing you with a competitive advantage and a tailored gaming experience that reflects your unique gaming style and objectives.


