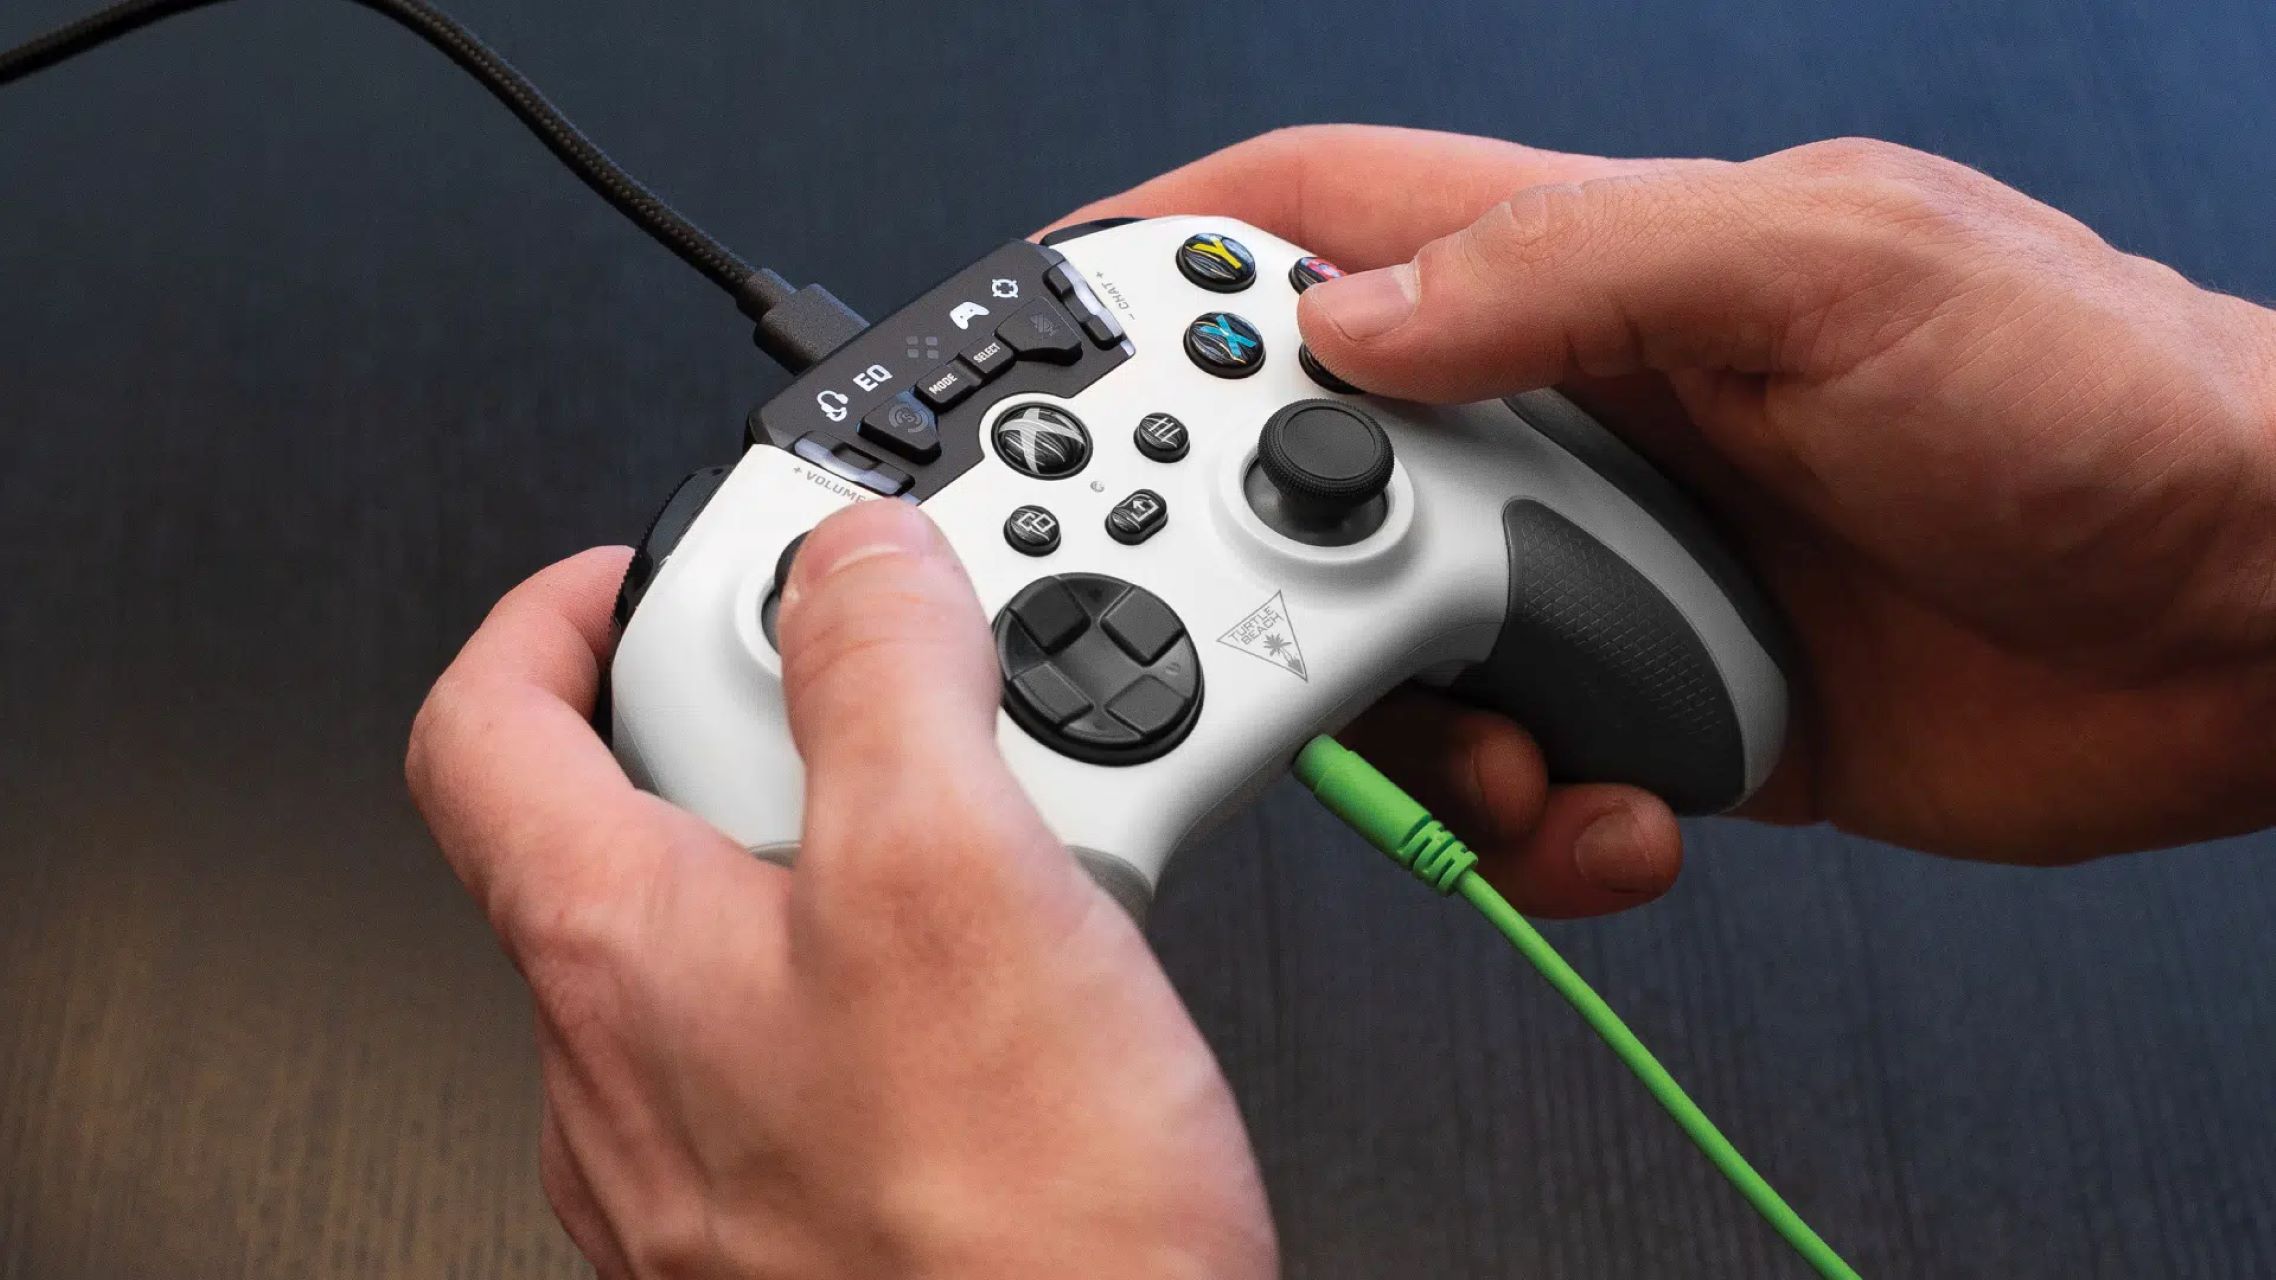
Introduction
Welcome to the world of custom game controllers, where creativity and technology converge to enhance the gaming experience. Building a custom game controller is a rewarding endeavor that allows you to tailor the design and functionality to your specific gaming preferences. Whether you're a seasoned gamer seeking a competitive edge or a hobbyist looking to explore the realm of do-it-yourself electronics, this guide will walk you through the process of creating your very own personalized game controller.
The allure of custom game controllers lies in the ability to customize every aspect, from the layout of the buttons to the aesthetic design. By embarking on this journey, you'll gain valuable insights into electronics, programming, and craftsmanship, all while expressing your unique style. Whether you're drawn to the retro charm of arcade-style buttons or the sleek functionality of modern controls, the possibilities are as limitless as your imagination.
Through this guide, you'll learn how to choose the right components, design the controller layout, wire and solder the components, build the controller enclosure, program the controller, and test and troubleshoot your creation. Each step is an opportunity to delve into the intricacies of hardware and software, culminating in the satisfaction of holding a custom game controller that you've brought to life with your own hands.
As you embark on this journey, remember that patience and attention to detail are key. Embrace the learning process, and don't be afraid to experiment and iterate on your design. Building a custom game controller is not only a technical endeavor but also a creative outlet, allowing you to infuse your personality into every aspect of the controller's construction.
So, without further ado, let's dive into the world of custom game controllers and unleash your creativity in the realm of gaming innovation. Whether you're a novice or a seasoned DIY enthusiast, this guide will equip you with the knowledge and inspiration to embark on an exciting and fulfilling project. Let's get started on the exhilarating journey of building your very own custom game controller!
Choosing the Right Components
Before embarking on the construction of a custom game controller, it’s essential to select the right components that align with your design goals and gaming preferences. The components you choose will shape the functionality and aesthetics of your controller, so thoughtful consideration is paramount.
When it comes to buttons and switches, there is a wide array of options to consider. From classic arcade-style buttons to high-performance microswitches, each type offers distinct tactile feedback and durability. Consider the ergonomics of the buttons and how they will complement your gaming style. Additionally, factor in the number of buttons needed for the games you intend to play, ensuring that your controller provides a seamless and intuitive gaming experience.
For directional controls, you may opt for a joystick or D-pad, each offering unique advantages. Joysticks provide fluid, multidirectional control, ideal for certain gaming genres, while D-pads offer precise digital input, well-suited for platformers and retro gaming. Evaluate the ergonomics and responsiveness of these controls to determine the best fit for your gaming needs.
When it comes to electronic components, the heart of your custom game controller lies in the microcontroller. Arduino and Raspberry Pi are popular choices, offering versatile programming capabilities and ample input/output options. Consider the programming environment and community support for each platform, as these factors can greatly influence your development experience.
Connectivity is another crucial consideration. Whether you opt for wired USB connectivity or wireless Bluetooth functionality, ensure that the chosen interface aligns with your gaming setup and preferences. Additionally, consider the power source for your controller, whether it be rechargeable batteries or a wired power connection, to ensure uninterrupted gaming sessions.
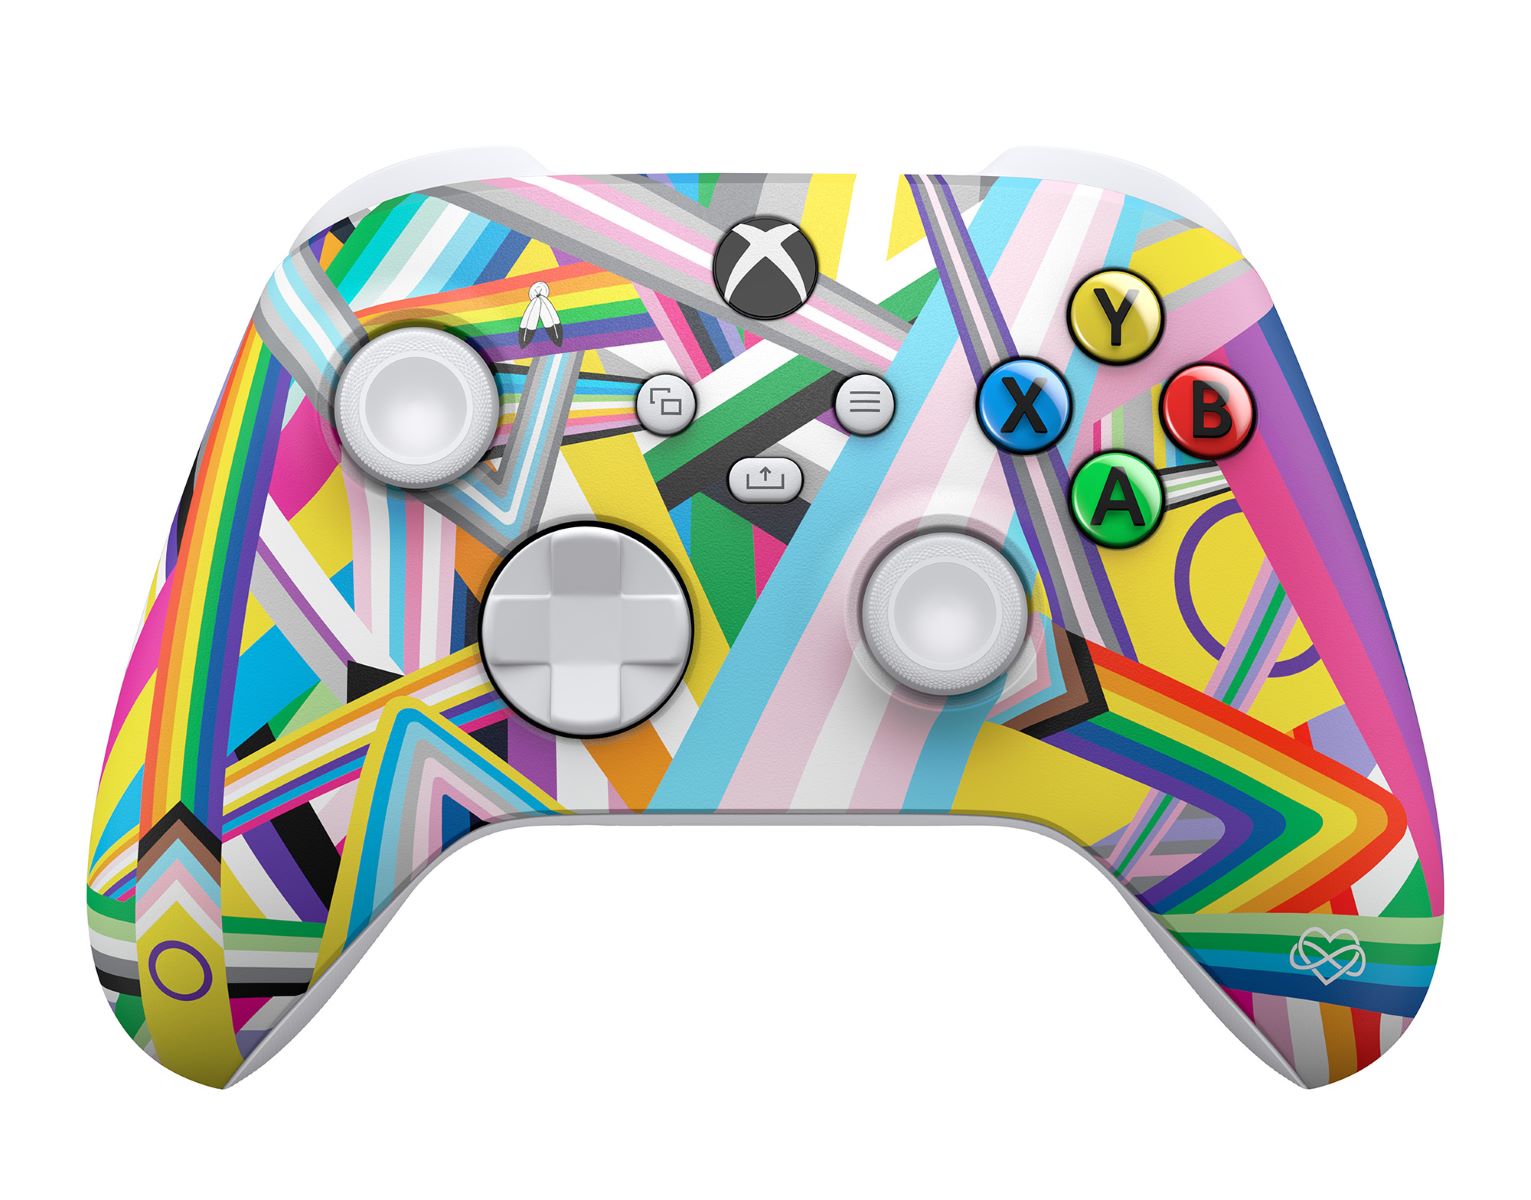
Lastly, don’t overlook the aesthetic elements of your controller. Consider the color, material, and overall design to create a visually appealing and ergonomic controller that reflects your personal style.
By carefully selecting the components for your custom game controller, you lay the foundation for a personalized gaming experience that seamlessly integrates with your gaming preferences and style. With the right components in hand, you’re ready to embark on the next phase of designing your custom game controller.
Designing the Controller Layout
Designing the layout of your custom game controller is a pivotal step that directly impacts the functionality and user experience. The arrangement of buttons, switches, and directional controls should prioritize ergonomics and intuitive access, enhancing your gaming performance and comfort.
Start by envisioning the ideal hand placement and finger reach for the controller. Consider the natural resting position of your hands and fingers to determine the optimal placement of buttons and controls. Ergonomics play a significant role in prolonged gaming sessions, so prioritize comfort and accessibility in your layout design.
Mapping out the controller layout on paper or using design software can provide valuable insights into the spatial arrangement of components. Consider the spacing between buttons, the placement of directional controls, and the accessibility of auxiliary functions. Iterating on the layout design allows you to fine-tune the placement of components to achieve an intuitive and ergonomic arrangement.
Furthermore, consider the tactile feedback and distinctiveness of each button. Tactile feedback is crucial for precise input during intense gaming moments, so ensure that the layout facilitates quick and accurate button presses. Additionally, differentiate buttons by size, shape, or texture to provide tactile cues without the need for visual confirmation during gameplay.
When incorporating directional controls, such as a joystick or D-pad, prioritize their accessibility and responsiveness. The placement of directional controls should align with the natural movement of your thumb or fingers, allowing for seamless and precise input during gameplay. Whether you opt for a symmetrical or asymmetrical layout, prioritize the comfort and usability of directional controls.
As you design the controller layout, consider the potential for future expansion and customization. Leave room for additional buttons or controls that may enhance your gaming experience in the future. Flexibility in the layout design allows for adaptability as your gaming preferences evolve.
By meticulously designing the layout of your custom game controller, you set the stage for a personalized gaming experience that seamlessly integrates functionality and comfort. The layout serves as the blueprint for the physical construction of the controller, shaping the way you interact with games and unlocking new levels of gaming immersion.
Wiring and Soldering the Components
Once you have selected and designed the layout of your custom game controller, the next crucial step is wiring and soldering the components to bring your design to life. This phase involves the meticulous connection of buttons, switches, directional controls, and the microcontroller, ensuring that each component functions seamlessly within the controller’s framework.
Begin by organizing the components and laying them out according to the designed controller layout. This step allows you to visualize the wiring paths and ensure that the connections are optimized for accessibility and efficiency. Group related components together, such as buttons and their corresponding microcontroller pins, to streamline the wiring process.
When wiring the components, prioritize cable management and organization to prevent tangled or overlapping wires within the controller enclosure. Utilize cable ties, sheathing, or wire channels to neatly route and secure the wiring, reducing the risk of interference or accidental disconnection during use.
Soldering plays a pivotal role in establishing reliable electrical connections within the controller. Ensure that you have a well-ventilated workspace and the necessary safety equipment, such as eye protection and heat-resistant surfaces, before commencing the soldering process. Familiarize yourself with proper soldering techniques to achieve strong and durable connections without damaging the components.
When soldering, pay close attention to the quality of the joints and the insulation of exposed wires. Properly tinned and secured connections minimize the risk of signal interference or electrical shorts, ensuring the long-term functionality of the controller. Additionally, insulate exposed connections using heat-shrink tubing or electrical tape to safeguard against accidental contact and environmental factors.
Thoroughly test each connection as you progress through the wiring and soldering process, verifying that the components respond as intended. This iterative approach allows you to address any wiring or soldering issues promptly, ensuring the overall integrity of the controller’s electrical system.
By meticulously wiring and soldering the components, you establish a robust electrical infrastructure within your custom game controller, laying the groundwork for reliable and responsive gameplay. The attention to detail in this phase ensures that your controller functions seamlessly, delivering the tactile feedback and precision required for an immersive gaming experience.
Building the Controller Enclosure
The controller enclosure serves as the physical housing for the components of your custom game controller, providing structural integrity, ergonomic comfort, and aesthetic appeal. Constructing the enclosure involves marrying form and function to create a durable and visually appealing housing that complements the internal components.
Begin by selecting the appropriate materials for the enclosure, considering factors such as durability, weight, and aesthetic versatility. Common materials for controller enclosures include acrylic, wood, and 3D-printed plastics, each offering unique benefits in terms of customization and structural integrity. Choose a material that aligns with your design vision and provides the necessary support for the internal components.
When designing the enclosure, prioritize ergonomics and user comfort. Consider the contours of the human hand and the natural resting positions of the fingers to inform the shape and grip of the enclosure. Smooth, rounded edges and ergonomic contours contribute to prolonged gaming comfort, enhancing the overall user experience.
Ensure that the enclosure provides ample space for the internal components, allowing for secure mounting and cable management. The layout of the enclosure should accommodate the wiring paths and the placement of the microcontroller, buttons, switches, and directional controls, ensuring a snug and organized fit for the components.
When assembling the enclosure, pay close attention to the structural integrity of the joints and fastenings. Utilize appropriate adhesives, fasteners, or mechanical connections to ensure that the enclosure remains sturdy and resilient during intense gaming sessions. Consider reinforcing critical stress points and mounting areas to withstand the rigors of gameplay.
For a polished and professional finish, consider surface treatments such as sanding, painting, or applying vinyl wraps to the enclosure. These treatments not only enhance the visual appeal of the controller but also provide protection against wear and environmental factors, prolonging the lifespan of the enclosure.
Finally, integrate any additional features or embellishments, such as custom artwork, LED lighting, or engraved designs, to personalize the enclosure and make it uniquely yours. These details add a touch of individuality and flair to the controller, elevating its visual impact and reflecting your personal style.
By meticulously crafting the controller enclosure, you create a harmonious marriage of form and function, encapsulating the internal components in a housing that embodies your design sensibilities and gaming preferences. The enclosure serves as the tangible interface between you and your custom game controller, blending aesthetics and usability into a cohesive and captivating gaming accessory.
Programming the Controller
Programming the microcontroller is a pivotal phase in the creation of a custom game controller, as it defines the behavior and functionality of the controller’s inputs and outputs. Whether you’re utilizing an Arduino, Raspberry Pi, or other programmable microcontroller, the programming stage empowers you to tailor the controller’s behavior to suit your gaming preferences and unique design features.
Begin by familiarizing yourself with the programming environment and language specific to your chosen microcontroller. Arduino, for example, utilizes the Arduino IDE and a variant of C/C++ for programming, while Raspberry Pi offers Python as a prominent programming language. Acquaint yourself with the syntax, libraries, and capabilities of the programming language to effectively implement the desired functionality.
Map out the intended behavior of each button, switch, and directional control within the game controller. Consider the game genres you primarily engage with and the specific input requirements for optimal gameplay. Whether it’s rapid-fire button sequences, analog joystick inputs, or custom macros, the programming stage allows you to tailor the controller’s behavior to enhance your gaming experience.
Implement debouncing and input processing algorithms to ensure reliable and responsive button presses. Debouncing mitigates the effects of mechanical switch bounce, ensuring that button presses are accurately registered without unintended multiple inputs. Additionally, consider input processing techniques to interpret analog joystick movements or implement custom input mappings for versatile gameplay control.
Leverage libraries and resources available within the programming ecosystem to expedite the development process. Community-contributed libraries, example code, and online forums provide valuable insights and pre-built functionality that can be integrated into your controller’s programming, saving time and expanding the capabilities of your design.
Thoroughly test the programmed behavior of the controller, verifying that each input functions as intended and delivers the expected response in compatible games or applications. Iterative testing and refinement allow you to fine-tune the programming to achieve optimal responsiveness and compatibility across a range of gaming scenarios.
By programming the microcontroller to orchestrate the behavior of the custom game controller, you breathe life into the physical components, transforming them into a cohesive and responsive gaming interface. The programming stage empowers you to infuse the controller with personalized functionality and fine-tuned responsiveness, culminating in a gaming accessory tailored to your unique gaming style.
Testing and Troubleshooting
As you near the completion of your custom game controller, thorough testing and troubleshooting are essential to ensure that the controller functions reliably and delivers the intended gaming experience. This phase involves validating the hardware and software integration, identifying and addressing any potential issues, and refining the controller to achieve optimal performance.
Commence the testing phase by conducting comprehensive functionality tests for each button, switch, and directional control. Verify that inputs are accurately registered, and that the tactile feedback aligns with your expectations. Iterate through various gaming scenarios to assess the responsiveness and compatibility of the controller across different game genres and applications.
Test the connectivity and communication between the controller and the gaming platform, whether it’s a PC, console, or mobile device. Ensure that wired or wireless connections are stable and that the controller is recognized and responsive within the gaming environment. Address any connectivity issues promptly to establish a seamless gaming experience.
Conduct endurance testing to evaluate the durability and reliability of the controller during prolonged use. Simulate intense gaming sessions to assess the structural integrity of the enclosure, the resilience of the wiring and soldered connections, and the overall comfort and usability of the controller. Address any ergonomic or structural concerns to enhance the controller’s longevity and user experience.
During the troubleshooting phase, systematically identify and address any issues that arise during testing. Whether it’s inconsistent button responses, connectivity disruptions, or programming anomalies, methodically diagnose and resolve each issue to refine the controller’s functionality. Leverage diagnostic tools, such as multimeters and logic analyzers, to pinpoint the root causes of any technical challenges.
Seek feedback from fellow gamers or beta testers to gather insights into the controller’s performance and usability. External perspectives can reveal nuances that may have been overlooked during the development process, providing valuable input for further refinement and enhancement of the controller’s design and functionality.
By rigorously testing and troubleshooting the custom game controller, you ensure that it meets the standards of reliability, responsiveness, and usability expected of a high-quality gaming accessory. The iterative nature of testing and troubleshooting allows you to fine-tune the controller, addressing any potential issues and optimizing its performance to deliver a seamless and immersive gaming experience.
Conclusion
Congratulations on completing the exhilarating journey of building your very own custom game controller! Through the meticulous selection of components, thoughtful design of the controller layout, precise wiring and soldering of components, meticulous construction of the controller enclosure, strategic programming of the microcontroller, and rigorous testing and troubleshooting, you have brought to life a personalized gaming accessory that embodies your creativity and gaming preferences.
As you hold the custom game controller in your hands, you’ve not only created a tangible and functional piece of technology but also a reflection of your unique style and innovation. The controller encapsulates your design sensibilities, ergonomic considerations, and gaming preferences, culminating in a gaming accessory that seamlessly integrates with your gaming experiences.
Embrace the learning experiences and challenges encountered throughout the construction process, as they have undoubtedly expanded your knowledge of electronics, programming, and craftsmanship. Your perseverance and attention to detail have resulted in a custom game controller that stands as a testament to your dedication and ingenuity.
Whether you embarked on this journey as a hobbyist, a DIY enthusiast, or a gaming aficionado seeking a competitive edge, the skills and insights gained from building a custom game controller will undoubtedly carry forward into future projects and endeavors. The fusion of creativity, technical expertise, and personalized expression exemplifies the spirit of innovation that drives the world of do-it-yourself electronics and gaming customization.
As you integrate your custom game controller into your gaming arsenal, relish in the seamless and intuitive gameplay experience it provides. Your personalized creation is not only a functional tool but also a source of pride and satisfaction, embodying the synergy of technology and creativity.
With your custom game controller in hand, you’ve ventured beyond the realm of off-the-shelf gaming accessories, carving a path that celebrates individuality and innovation. Your creation stands as a testament to the boundless possibilities that arise when passion and technology converge, and serves as an inspiration for fellow gamers and DIY enthusiasts to embark on their own journeys of creativity and customization.
As you embark on future projects and continue to explore the intersection of technology and personal expression, may the experience of building a custom game controller serve as a testament to your capacity for innovation, creativity, and unwavering dedication to crafting personalized solutions in the world of gaming and beyond.


